
We may earn revenue from the products available on this page and participate in affiliate programs. Learn More ›
Inspect Your Purchase Thoroughly
While you’re in the store, before you make your purchase, do a thorough inspection of the flat-packed box to make sure there are no nicks, dents, or dings on it. Don’t bother bringing the box home if it’s damaged, because the contents could be damaged too. When you find a pristine box and bring it home, inspect all the pieces and check them against the packing list to be sure you have everything you need. If something’s missing, call customer service, and they’ll send it to you free of charge.
Read the Instructions
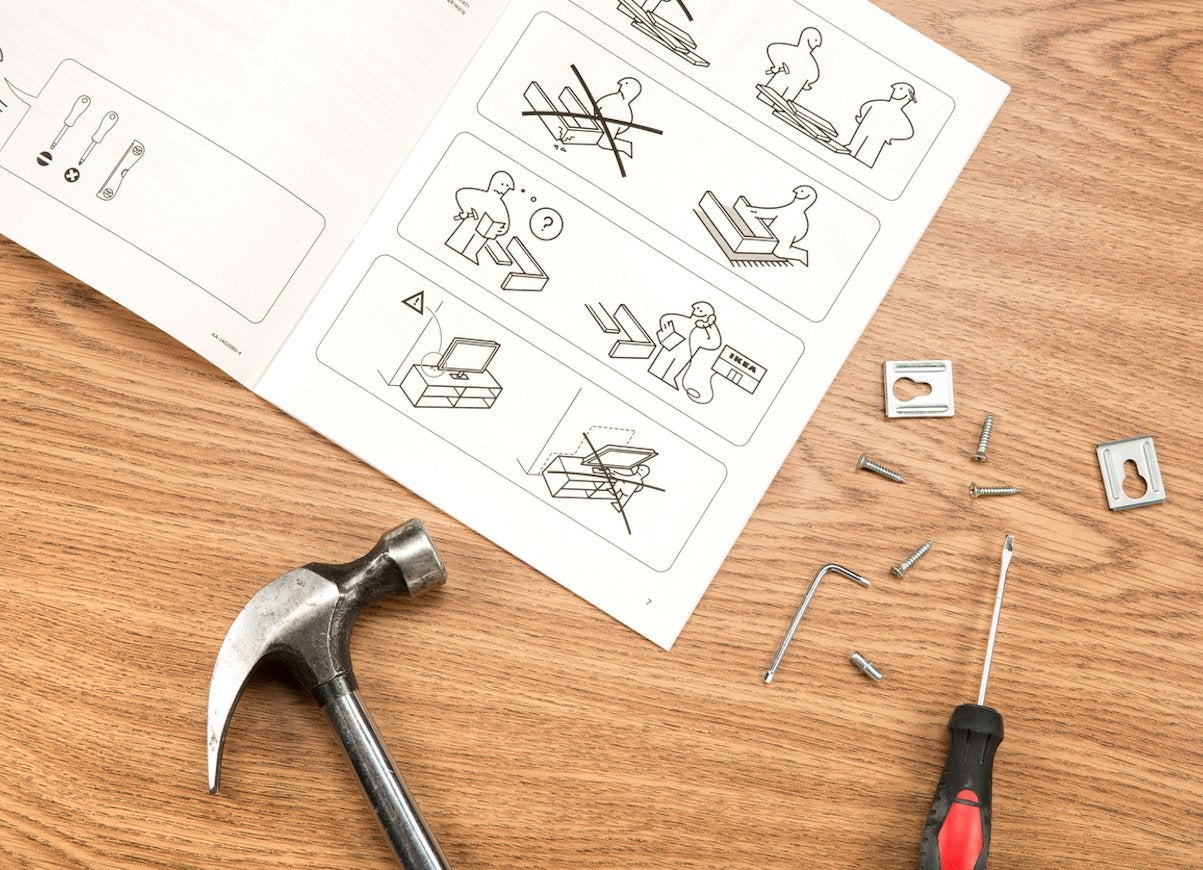
Don’t start assembling your IKEA furniture until you have read through the instructions completely. Check the drawings carefully, and lay all the pieces out to match up with the diagrams provided. Only then will you be ready to put it together!
Related: 14 New IKEA Hacks to Try in 2018
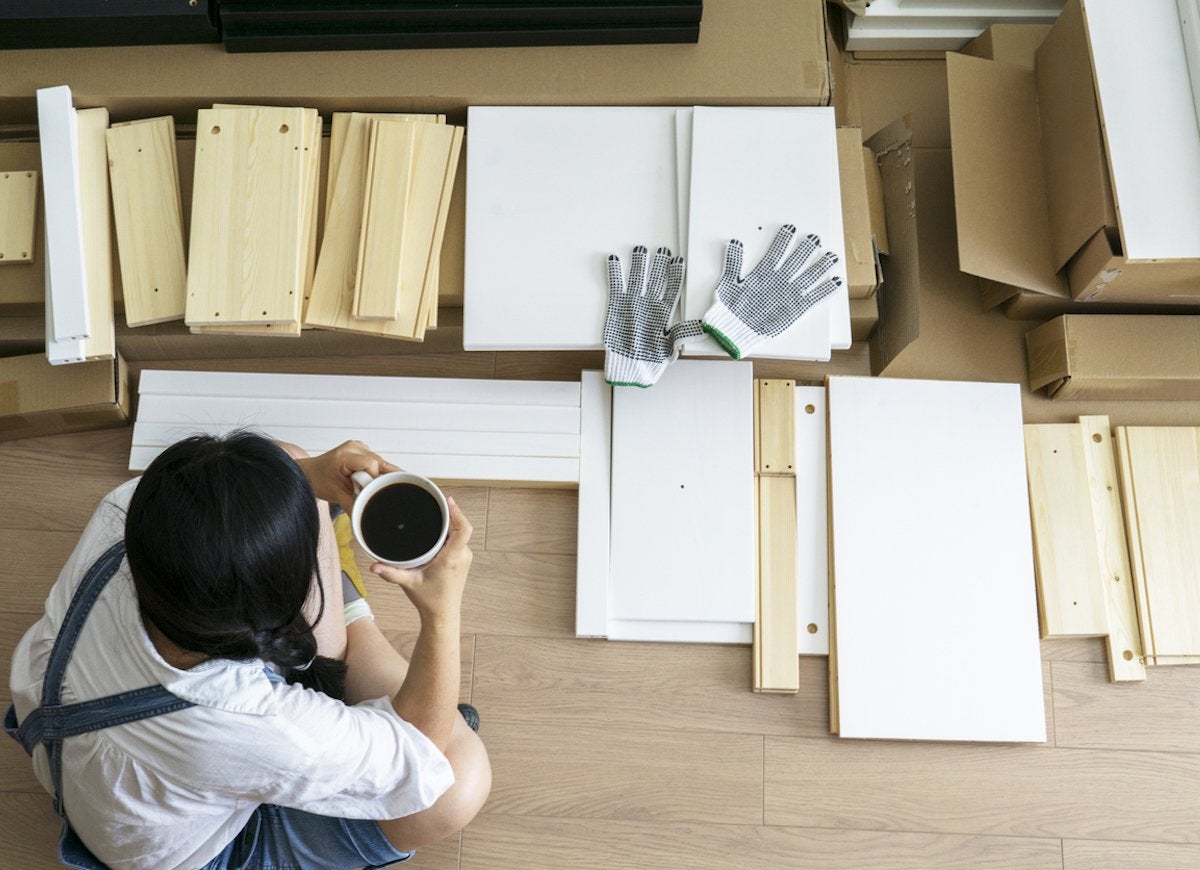
Prepare the Area

To avoid frustration, prepare your work area. Make sure you have enough space to put all the pieces together as well as room to move around. To protect both your flooring and the finish on your new furniture, line the floor with cardboard. You can even use the box the furniture came in!
Use Glue
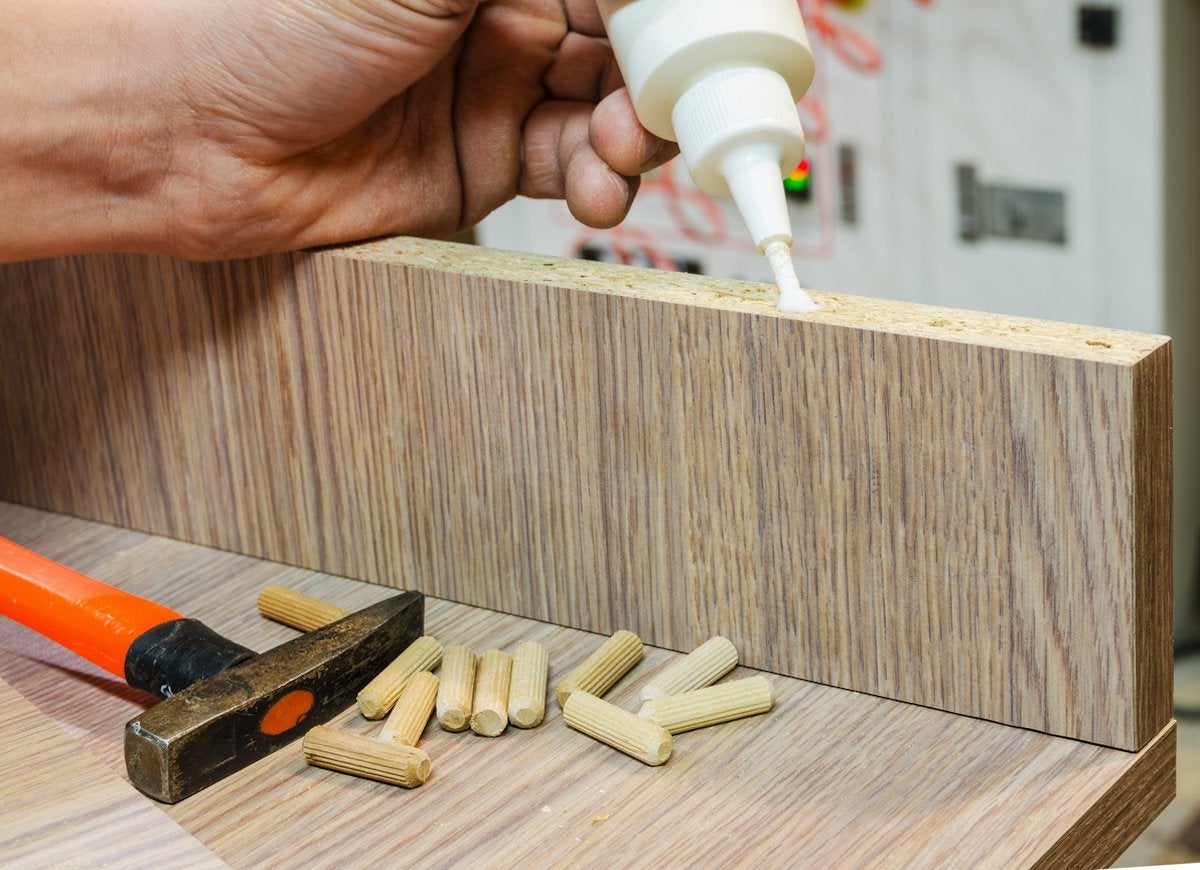
Flat-pack furniture is not necessarily known for its sturdiness. You can shore it up, though, with some wood glue. Just be sure to dry fit all the pieces together first before gluing them. Remember, once you’ve glued it, you can’t go back. While you’re fitting everything together, confirm that you have all the pieces in the right place and facing the right direction.
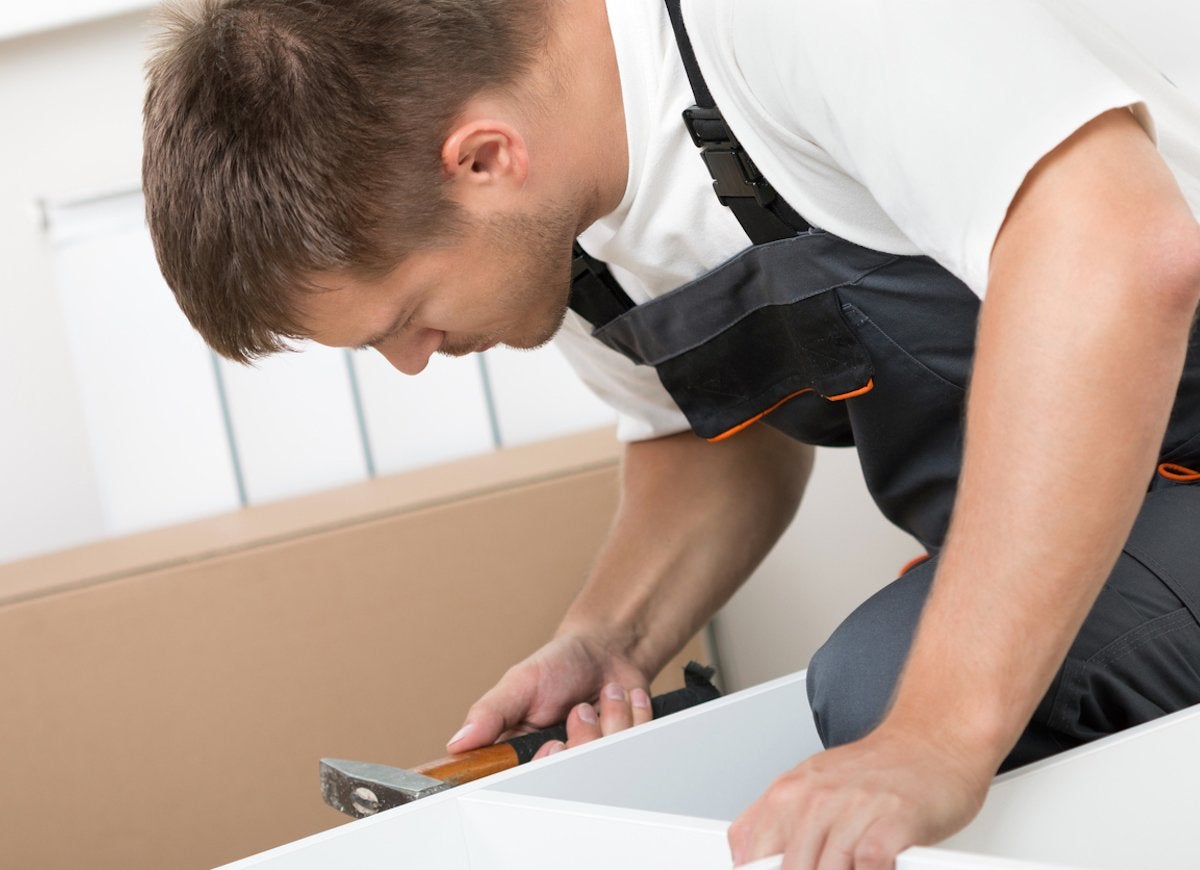
Have a Hammer Ready
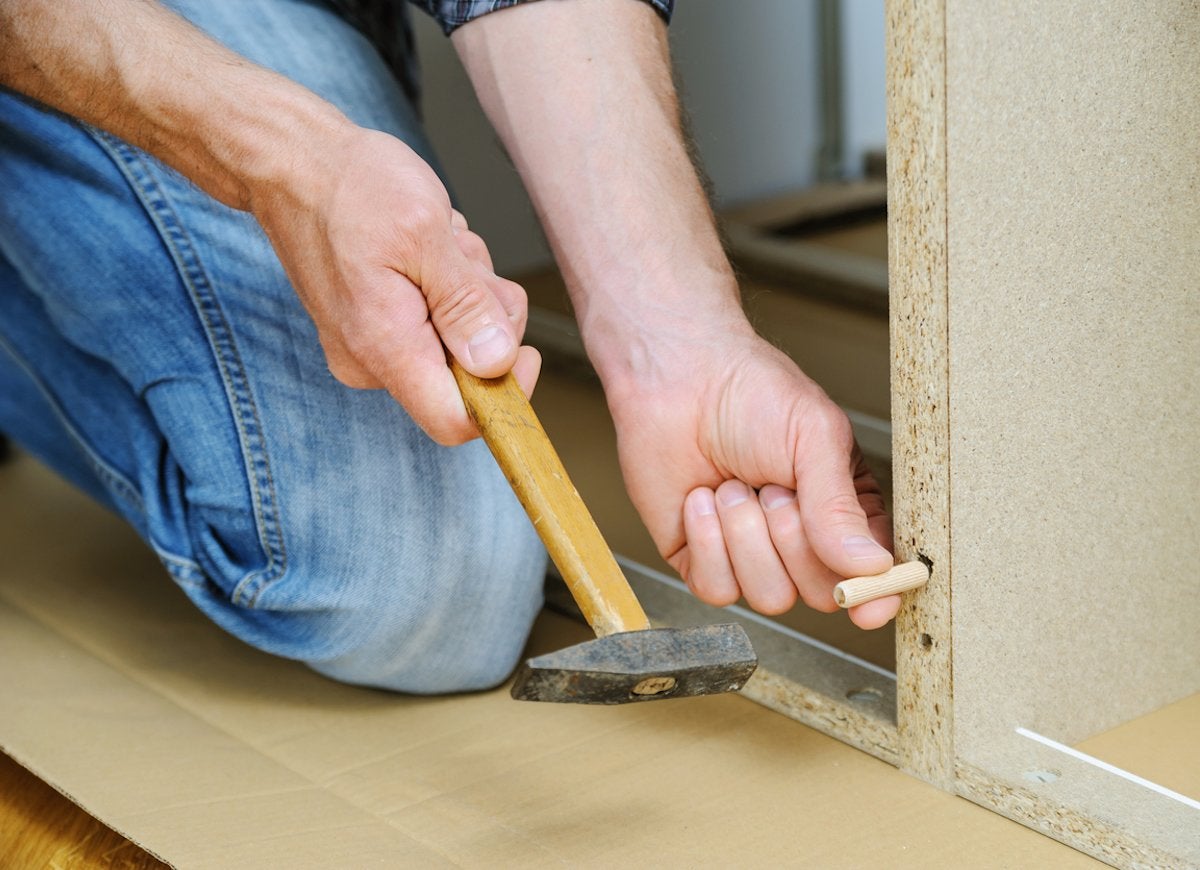
If you’ve purchased a piece that has dowel pins that need to be sunk into predrilled holes, do yourself a favor and use a hammer or rubber mallet for the heavy work. Those holes are a tight squeeze, and the hammer will help you get the pieces lined up and flush. Just be sure to be gentle; tap the dowels lightly to get them all the way in. Using too much force could end up damaging the piece.
Related: The 9 Most Unconventional Ways to Use an IKEA Shelf
Pull Out the Power Tools
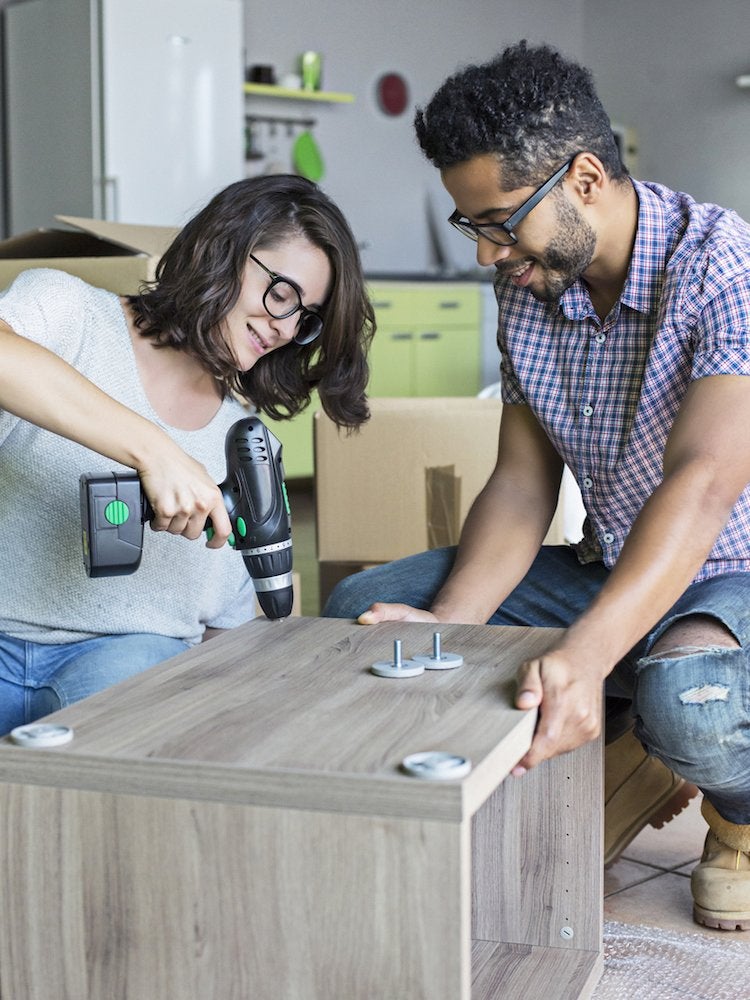
IKEA provides all the tools you need to assemble your furniture, but sometimes an allen wrench just doesn’t cut it. To speed some steps along, have a power drill handy, along with a hex bit set, and a Phillips head bit.
Related: Proceed with Caution: 10 Power Tools That Can Kill You
Call in the Pros
For those who can’t—or just don’t want to—do it themselves, IKEA has partnered with local professionals who will deliver AND assemble your purchase for you. In some markets, they’ll even do the shopping for you too.
Related: Hello, Homeowners: The 8 Most Useful Apps for Your Phone