We may earn revenue from the products available on this page and participate in affiliate programs. Learn More ›
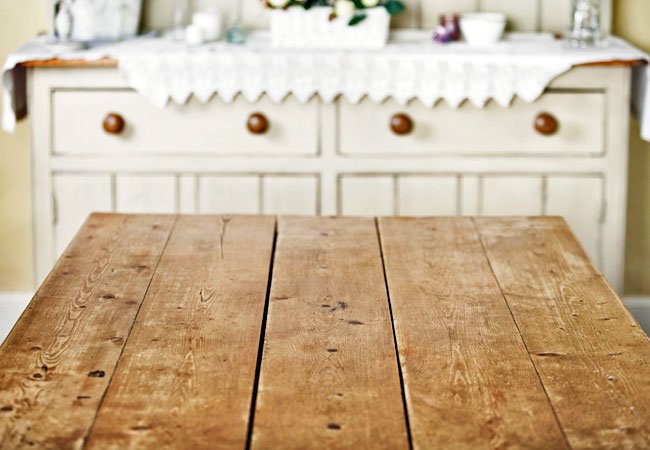
When debating whether to stain or paint an old piece of wood furniture, consider this third, often overlooked alternative: bleaching wood. This finish can help you mirror Scandinavian design, which often features “blond” wood to bring a lighter look to your space. Plus, if your piece is blotchy or discolored, bleaching wood is a great way to prep it for a new stain. While bleaching isn’t difficult to DIY, it does put you in direct contact with some caustic stuff. For safe, effective results, keep these top tips in mind.
DO know your bleaches.
The types of bleach available at your grocery store have varying degrees of effect on wood furniture.
- Common laundry bleach or chlorine will effectively remove stain or dye color from wood, but will not affect the wood’s natural color.
- “Two part” A/B peroxide-based bleaches refer to sodium hydroxide (caustic soda) and hydrogen peroxide. Combined, they cause a chemical reaction that creates bleach that will blanch the stain color and can also alter the color of the wood itself.
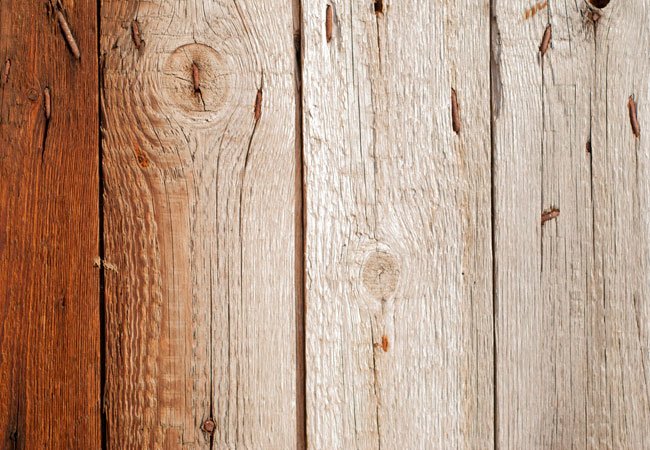
- Oxalic acid will remove water and rust stains, plus teak stain, and can be used to lighten the graying effect of weather-exposed wood. Note: Some restorers consider oxalic acid highly toxic, since the crystal form it typically comes in can be inhaled and cause lung bleeding. Many recommend using the A/B bleach for safer practices and greater overall bleaching power.
DON’T pour bleach into a metal vessel.
Bleach can damage metal; glass or ceramic bowls are the best choices to contain bleach as you work it over wood.
DO clean your wood.
Wipe it down with water or mineral spirits on a clean, soft rag, then go over every surface with a dry cloth. Wait a day or two for it to dry thoroughly before bleaching.
DON’T expect all wood to react the same.
The best woods for bleaching include oak, beach, ash, and gum. Varieties like poplar and pine are already so light that removing further natural wood color might render them bland and lifeless. Others, like cedar, redwood, rosewood, and cherry don’t take bleach well.
DO work in a ventilated open space.
As these bleaching agents are highly caustic, you have to take adequate steps to protect yourself. Start with the space: It should be well ventilated by open windows and operational fans, and, ideally, include a work surface that is concrete (the acidic aspect of bleach can damage many other materials). Always wear rubber gloves and eye goggles when bleaching wood—and, if using oxalic acid (view example on Amazon), also don a dust mask. Long sleeves and full-length pants will also help you minimize exposed skin.
DON’T get sloppy!
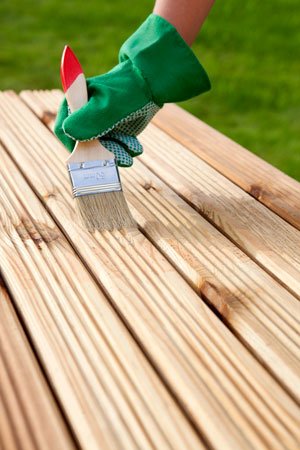
Apply bleach carefully and evenly with a clean, soft rag or paintbrush, in smooth, seamless coats. It’s difficult to correct uneven bleaching, so be mindful and wipe off any excess immediately with a dry rag.
DO neutralize wood between treatments.
To get your desired shade, you may go from chlorine to a peroxide-based two-part bleach (view example on Amazon). Before moving from one to another, soak a clean rag in a 50-50 white vinegar and water solution. Apply with clean rags, then wipe again with plain water. Let dry thoroughly overnight before the next bleach process.
DON’T mix the bleach ahead of time.
As soon as the agents mingle, the bleaching power is activated and begins to dissipate—meaning you’d have to work really fast. It is a fairly pricey product, so consider mixing smaller working batches of about one cup at time to ensure it stays active throughout the application.
DO neutralize your finished piece.
Upon the last dose of bleach, let your project dry for at least four hours. Then, working quickly, wipe it down with a rag soaked in a 50-50 water and white vinegar solution. Next, wipe it dry with a clean rag, and finally wipe it down again with clean water, drying well with a clean, dry, soft cloth. Let dry completely for two days before applying a stain or other treatment. Neglecting to neutralize after your final application may leave lingering bleach to chemically react with whatever finishing stain or varnish you apply next.
DON’T forget to sand.
Once you’ve bleached, neutralized, and dried the wood, you’ll find the grain has become coarse. Sand it with a 120-grit sandpaper then finish it with a 180- or 220-grit paper for a smooth finish.
DO experiment with bleach.
Consider using bleach as a first step towards a final product, especially since bare bleached wood is susceptible to everything from scratches to water damage. The neutral palette of a freshly bleached wood can be the starting point of all kinds of funky wood finish treatments, like “bone” or “pearl.” “Blond mahogany,” a popular finish in the ’40s and ’50s that’s enjoying a bit of a comeback, is achieved by bleaching wood with a two-part A/B bleach, followed by a light sanding and a mustard-colored pigment stain. Whatever finish you choose will protect your piece and make it pop with new life.

Loading comments…
Comments couldn’t be loaded. Please refresh the page.