We may earn revenue from the products available on this page and participate in affiliate programs. Learn More ›
If you live in an older home or plan to stay in your house for longer than five years, it’s likely that you will end up needing to recaulk your bathroom. If you aren’t sure what you are doing, however, a simple DIY job can turn into a messy, ineffective nightmare. Caulk should appear seamless while keeping your walls, windows, floors, and ceilings adjacent to showers, tubs, and toilets safe from the excess moisture that is typical in a bathroom. Read on to learn how to avoid common pitfalls and get great tips that will have you caulking the bathroom like an expert.
DO choose the best caulk for the bathroom.
Your average home improvement store will have an aisle full of different types of caulking. You’ll want to choose a caulk that is labeled “for bathroom use” or something similar to indicate that it is waterproof and resistant to bacteria, mold, and mildew. Caulk that utilizes silicone or latex is best for bathroom use. Silicone formulas, like GE Supreme Silicone caulk, provide a stronger seal against moisture, but latex tends to be easier to work with. DAP Kwik Seal Plus combines both types of products to create a siliconized latex caulk for a strong seal and easy workability.
DON’T forego using a quality caulk gun.
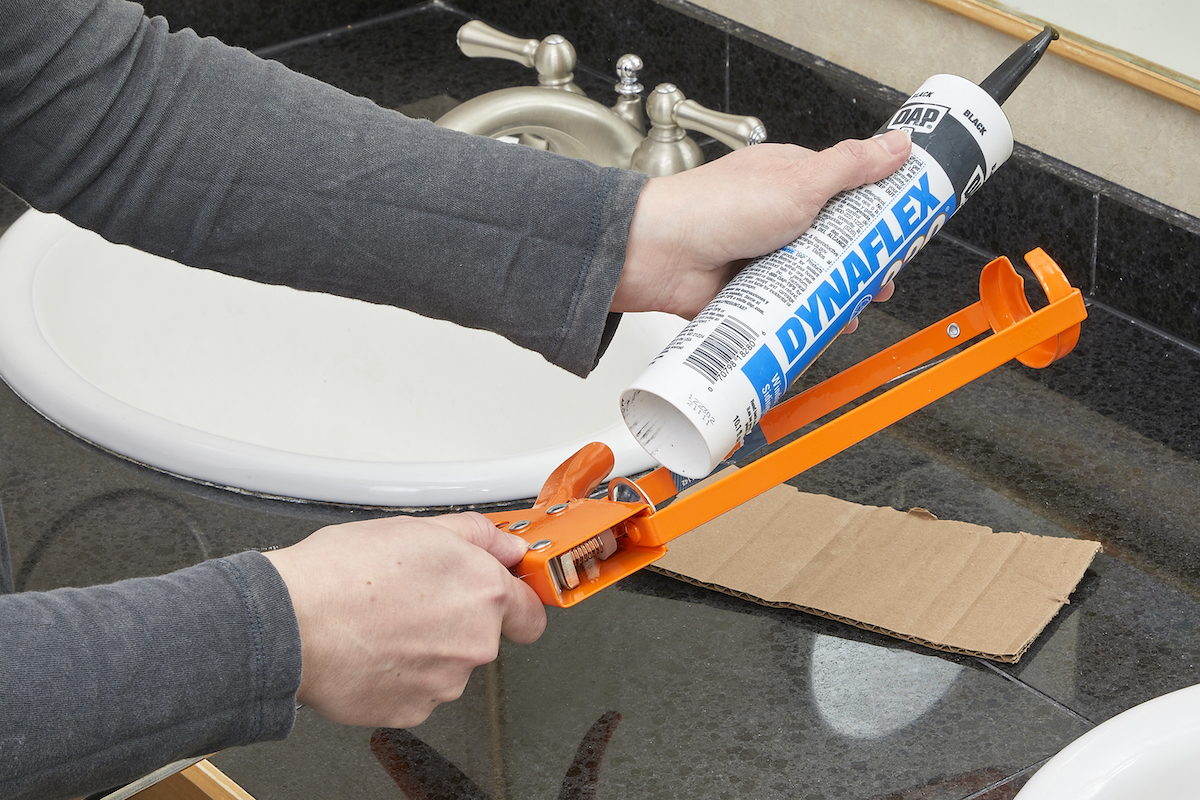
While you can use a tube of caulk without a caulk gun, it is a long and tedious process that can easily be avoided by purchasing a quality caulk gun. Using a caulk gun allows you to easily manage the flow of the caulk and will lead to better-looking results. Any decent caulking implement will have a durable plunger for pushing the caulk out of the tube, and a thumb pressure release that can quickly stop the flow of caulk from the gun. These useful tools are relatively inexpensive.
DO cut the tube of caulk the right length.
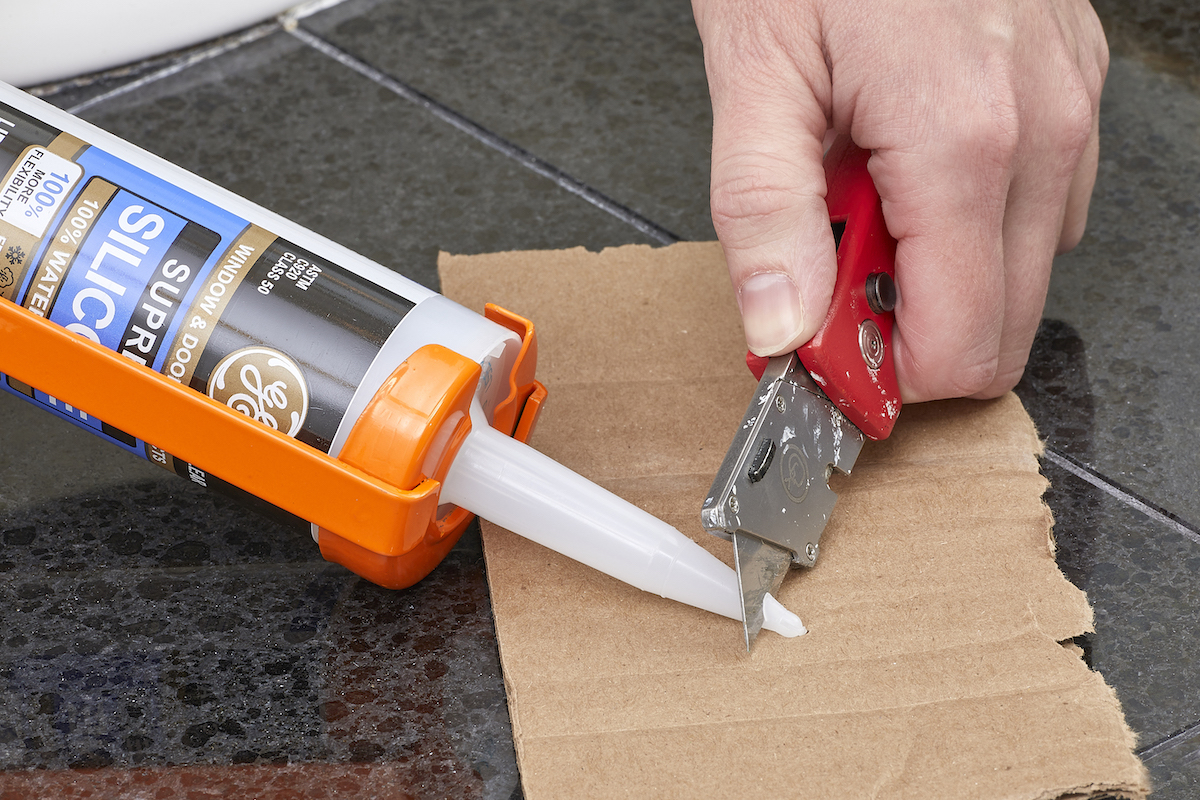
Caulking tubes are designed to apply pressure to the caulking within them so that you can squeeze out a bead of caulk with ease and precision. Cut a small portion of the tip off the tube and squeeze a bead of caulk out to test the width of the bead against the area you are caulking the bathroom. If you need your bead to be a bit wider, cut a little more from the tip of the tube and test it again. Remember, you can always cut more from the tip if you need to, but you can’t reattach a piece of caulk tube once it has been cut.
DON’T apply new caulking over old caulk.
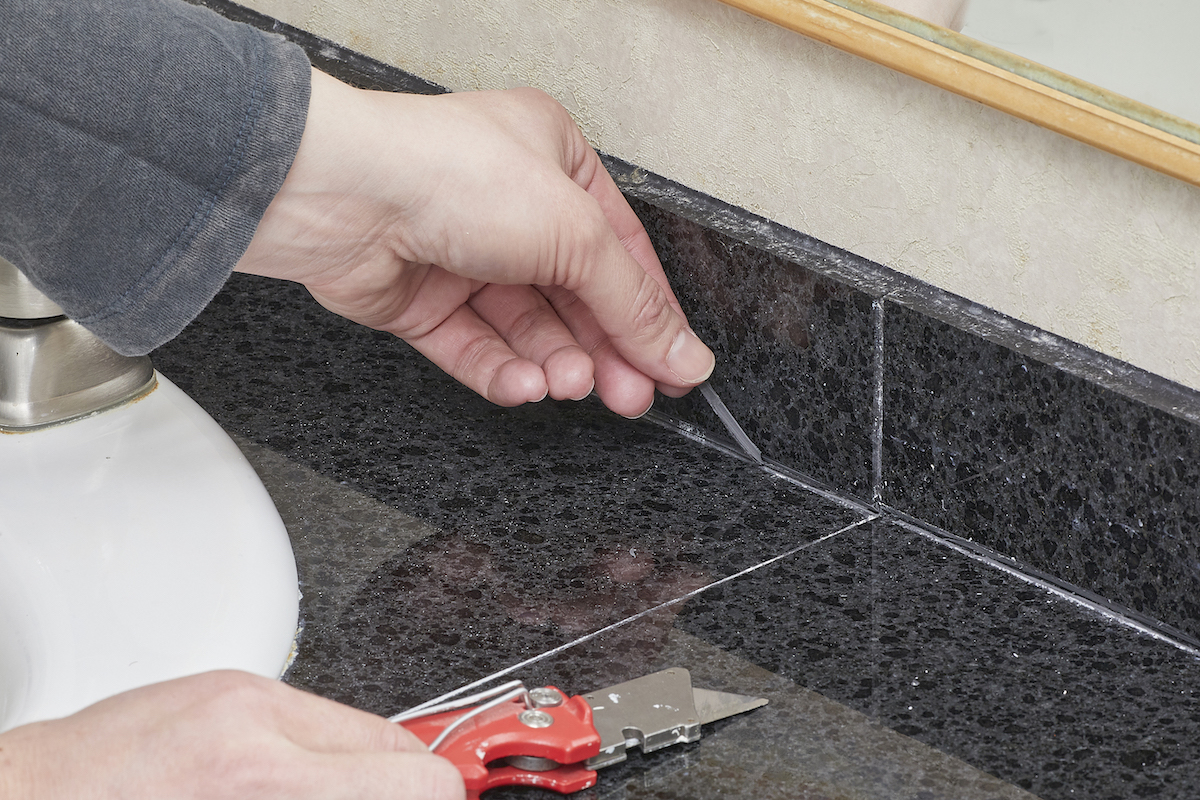
It may be tempting to simply caulk over your old, cracked caulking, but this would be a big mistake. If you apply caulking over old caulk, it won’t provide a strong bond and will result in leaks and cracks in your new caulk, leaving your bathroom vulnerable to ongoing water damage. Instead, remove the existing caulk using your chosen caulk remover, such as Goo Gone Caulk Remover (available on Amazon), and a simple putty knife, such as Hyde’s 1-1/2” Putty Knife (also available on Amazon).
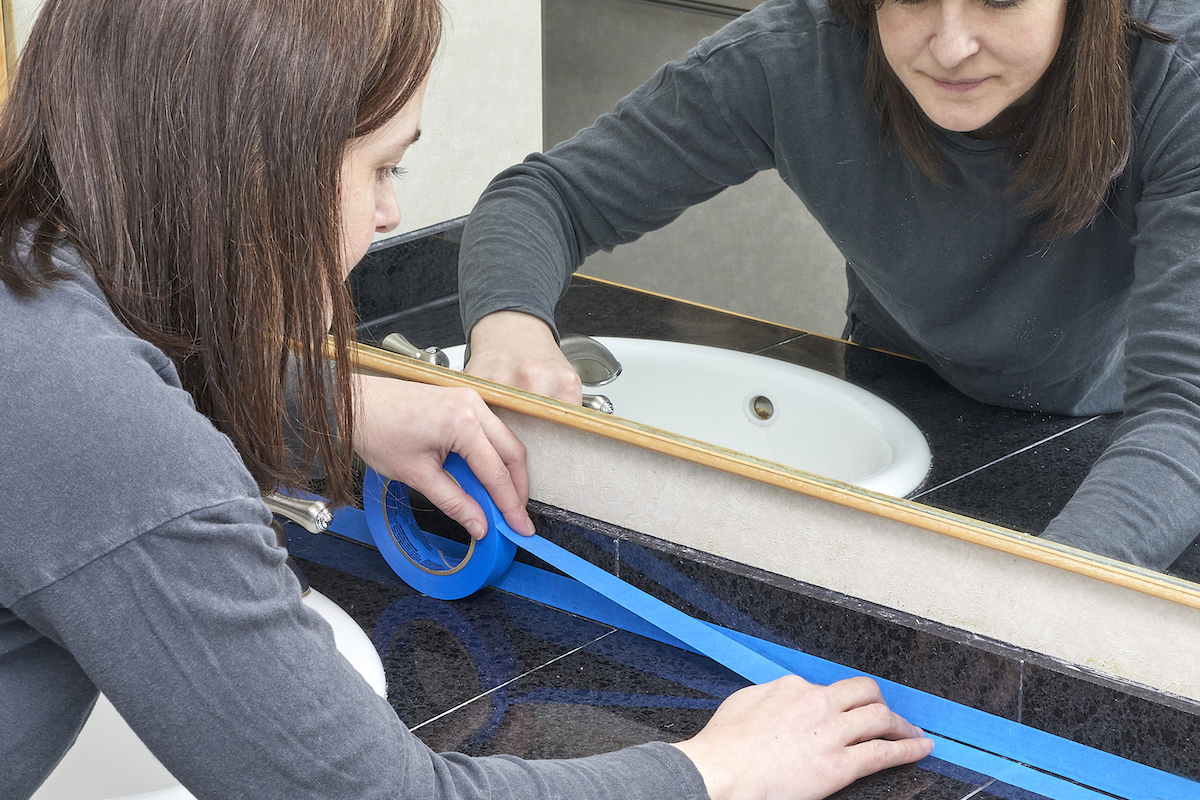
DO prepare your work area before caulking the bathroom.
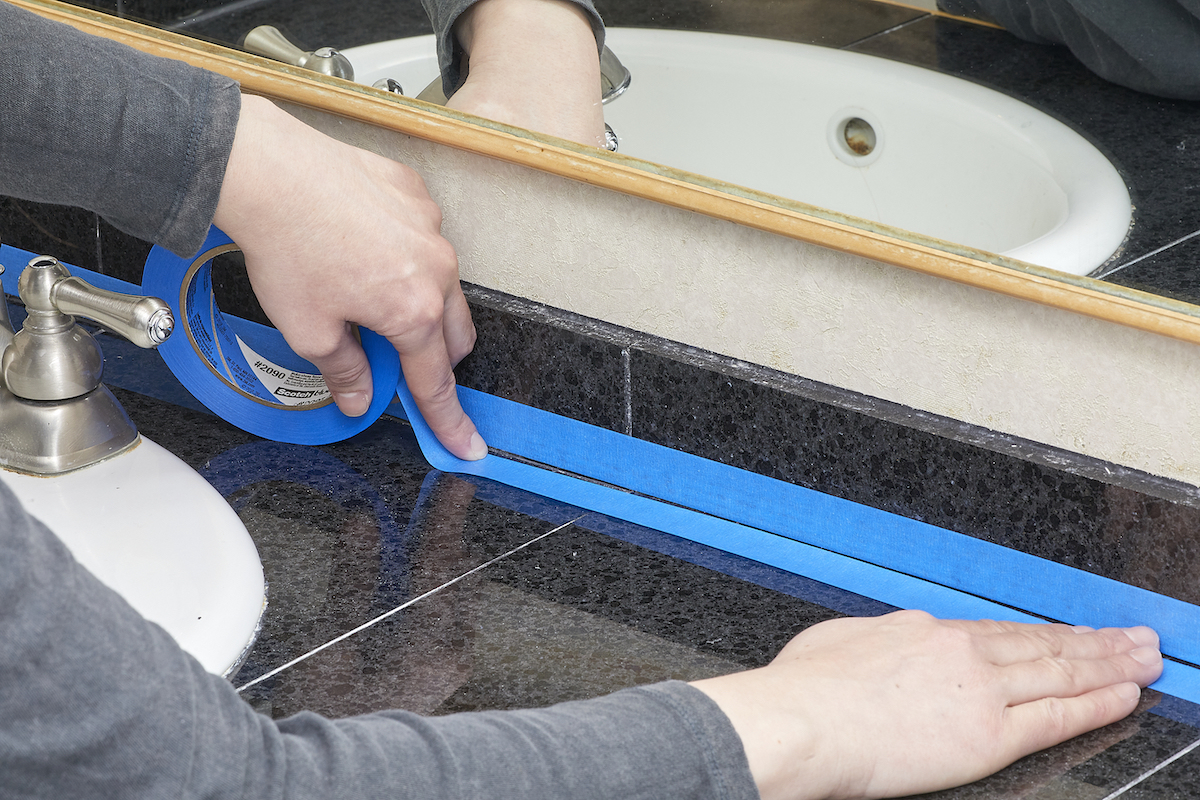
Painter’s tape allows you to section off the areas that you want to caulk while keeping your tiles, tub, and shower clean so that your finished product is neat and looks professional. Use long strips of tape to protect the surface of the surrounding area, leaving you free to apply your bead of caulk to your wall, shower, or tub. Also, keep in mind that caulk will not bond to a wet surface, so make sure that your area of work is clean and dry before applying the caulk.
Caulking around your tub is a relatively simple process, but after the job is done, a full bathtub will tend to pull away from the wall or tiles due to the added weight. To prevent this from happening, open the door to the room to ensure that any excess moisture is able to escape and fill the bathtub with room temperature water. Leave the tub full for the entire curing period, but make sure that the water is not able to touch or impact the caulk.
DON’T try to fill large gaps with just caulk.
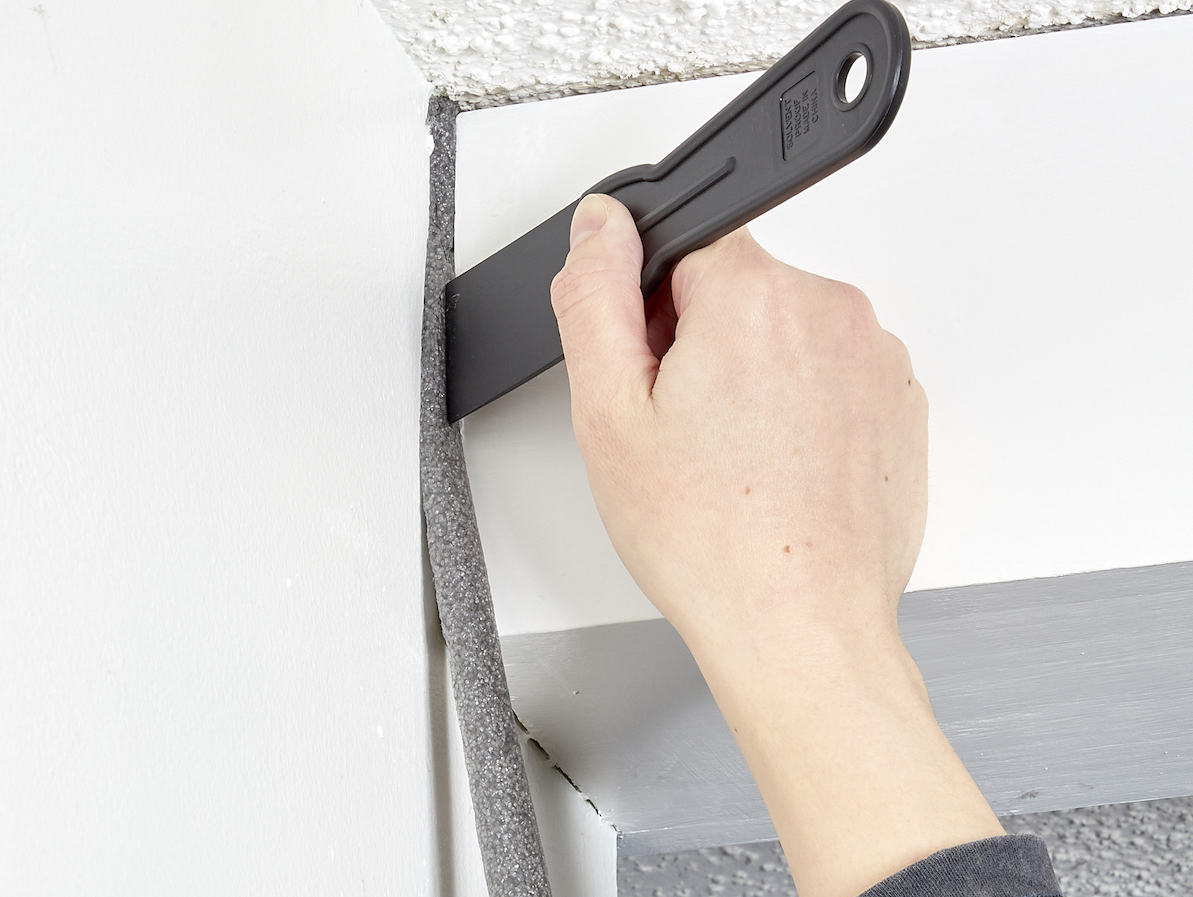
Openings that can be filled with caulk should be a maximum of a quarter-inch in width to a half-inch in depth. Any gaps that are wider or deeper than this should use backing material (such as this caulk backer rod) to fill in the gap and allow the caulk to sit securely across the opening. Backing material makes sure that caulk is not simply pushed into a vacant recess that is too large for the caulk to be of any use. Keep in mind that caulking has to be applied a clean, dry surface in order to create a successful seal against moisture. Simply applying large amounts of caulk will not create the watertight bond that is necessary to protect against water damage.
DO use the proper technique to apply the caulk.
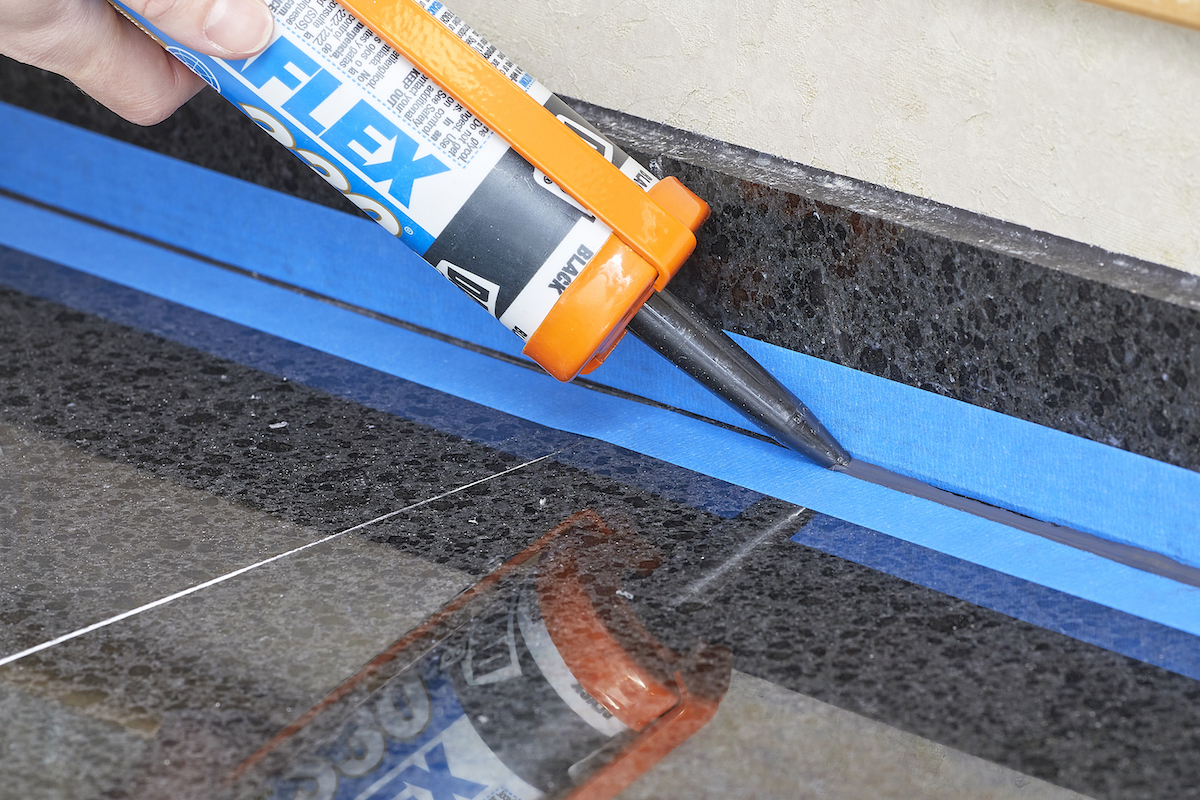
Caulking the bathroom doesn’t require a lot of strength or pressure. After ensuring that your painter’s tape is neatly applied, gently squeeze your caulking gun until a small amount of caulk begins to come out. Maintain the pressure you have on the handle, keeping the caulk right at the tip of the tube, while you line it up with the intended crevice. Once you are satisfied with your starting point, begin to apply more pressure so that the caulk is pushed from the tube. Keep the pressure uniform and move the caulking gun along the crack to apply an even bead that is about the width of a pencil.
It is helpful to start in a corner and apply a single bead that runs about half the length of the crack you are trying to fill. Then apply a second bead from the opposite end that will meet the first bead in the middle. However, any starting point that you are comfortable with will work. After caulking the bathroom, wet your finger and run it along the bead of caulking to remove any extra caulk. After you are content with the caulking job—and while the caulk is still wet—remove the tape.
DON’T use the bathroom until the caulk has cured.
Caulking can harden up quickly, but it is very susceptible to manipulation and damage until it is completely cured. As stated, remember that caulk does not bond to a wet surface, so even if your surface was clean and dry when you initially applied your caulking, water may be able to seep under caulking that has not fully cured. For the best results, allow at least 24 hours for the caulking to cure after application before using your bathroom.
