We may earn revenue from the products available on this page and participate in affiliate programs. Learn More ›
People go weeks, months, and even years without giving the toilet a second thought. The instant it clogs, however, the toilet becomes the center of attention. While most homeowners are wise enough to keep a plunger somewhere in the house—if not in the bathroom itself, then perhaps in the linen closet or basement—a remarkable proportion don’t actually know how to plunge a toilet. The correct technique is easy to master. Certainly, practice makes perfect, but just about anyone can capably handle the task. Simply follow the steps detailed below.
Tools & Materials
Bobvila.com may earn a commission from purchases made through these links.
Step 1
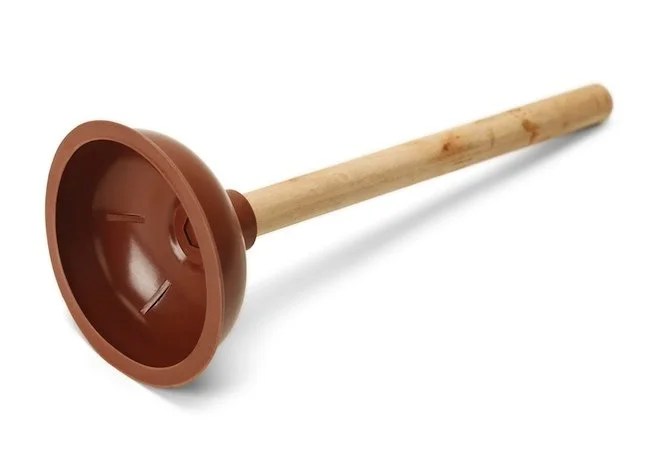
There’s more than one type of plunger, so make sure you’re using the one that’s best for the task at hand. One type of plunger looks like a basketball cut in half (this is commonly known as the “standard plunger”). The other type features an extended flange. Use this type to plunge a toilet. The flange is there to fit snugly into the drain hole, ensuring a tight seal and resulting in superior suction power.
RELATED: Buyer’s Guide: The Best Plungers for Sink, Shower, and Toilet Drains
Step 2
It can be messy work to plunge a toilet. Minimize cleanup by heaping dirty rags or old towels at the base of the toilet. The fabric here becomes the landing area for any water that splashes out during the process. Another cleanliness-oriented tip: Before plunging a toilet whose bowl is completely filled with water, don gloves and use buckets to bail out half of the fluid.
Step 3
You can plunge and plunge, working yourself into a frustrated sweat, but if there isn’t a tight seal between the tool and the toilet’s drain hole, you’re not going to be successful in clearing the clog. An easy method of improving plunger suction is to rub petroleum jelly on the rim of the flange—the part that goes into the drain hole.
Before you plunge, it’s recommended that you plug any other drains in the bathroom (for example, the sink and shower drains). Doing so isn’t strictly necessary, but it does make the plunger more effective.
Step 4
When you’re inserting the plunger into the bowl, take pains to be certain the flange has gone into the drain hole. Meanwhile, the rubber lip of the plunger should sit around that drain opening. Hold the tool in a vertical position, so the handle is pointing straight up. Though it may feel more comfortable to hold the plunger at an angle, doing so will compromise the seal between the plunger and the drain.
Step 5
Now move the plunger forcefully up and down for about 10 or 20 seconds. That’s about as long as it should take for the force of the water and air going back and forth in the drain to clear up the clog.
As mentioned, plunging a toilet can get a little messy, so it’s a bad idea to attempt to plunge after you’ve poured in a drain-clearing chemical. If that chemical finds its way out of the toilet, it can harm your skin or even corrode materials on the toilet or elsewhere in the bathroom.
RELATED: The Dos and Don’ts of Clearing a Clogged Sink
If after 30 seconds of steady plunging the clog has not cleared, call a plumber—that is, unless you happen to own a few plumber’s tools. What’s most likely needed now is what’s referred to as a snake, a flexible auger that is used to clear clogged pipes. To protect your toilet’s finish, it’s best to use an auger made specifically for toilets. Good luck!