We may earn revenue from the products available on this page and participate in affiliate programs. Learn More ›
I know you’ve heard it before, but it’s true: sharp tools are safer tools.
The chisel is a perfect case in point. A dull chisel requires more force to drive; the greater the force applied, the greater the likelihood it’ll slip or skid out of the cavity you are shaping and cut you instead of the wood. Dull chisels also tend to crush rather than cut wood, so the work done with a dull chisel is noticeably inferior.
Keeping your wood chisels sharp is not difficult. Unless you use them frequently, you don’t even need to sharpen them more than once or twice a year, or perhaps even less. But that assumes they are kept in proper storage: if you protect their edges, they will require less sharpening.
Wet Stone vs. Oil Stone Sharpening
When I was a boy, there was an ongoing argument in my elementary school between the Ford followers and the Chevy devotees. The discussion was not characterized by the expression of complex thought; it was usually a matter of one side insisting, “Fords are better” and the other countering, “No way, Chevys are the best.” Needless to say, the dispute has yet to be resolved.
A similar perennial argument goes on among the honing and sharpening crowd. There battle lines are drawn between the water-stoners and the oil-stoners: the former use water as the lubricant, while oil-stoners use petroleum-based cutting oil to aid sharpening. Which kind of stone is preferable?
For a while, I thought the oil-stoners had the upper hand, with their conviction that the Arkansas stone was the ultimate in sharpening stones. But in recent years, the wet-stoners have weighed in with the Japanese water-stones, which are excellent.
For me, it comes down to this: in order to sharpen scissors, knives, chisels, or any other hand-cutting tool you need a sharpening stone. That’s a given. And you need to do it right, with proper preparation, patience, and procedure. I’ll leave the resolution of which stone is best to others.
I suggest you buy a high-quality common sharpening stone and use it well, taking whichever side of the argument you wish. Experiment with both, if you like. But use and store the stone with the same care you lavish on your chisels.
Preparing Your Sharpening Stone
Start by lubricating the stone according to the instructions that come with it.
- In the case of water stones, that generally means immersing the stone in a bath of clean water for several minutes before use.
- With oilstones, it means wiping a sheen of fine cutting oil onto the stone. The water or oil allows the fine particles of steel ground off the edge that is being sharpened to float on the surface of the stone, preventing the stone from getting clogged.
Make sure the stone is clean before beginning the honing.
Using Your Sharpening Stone
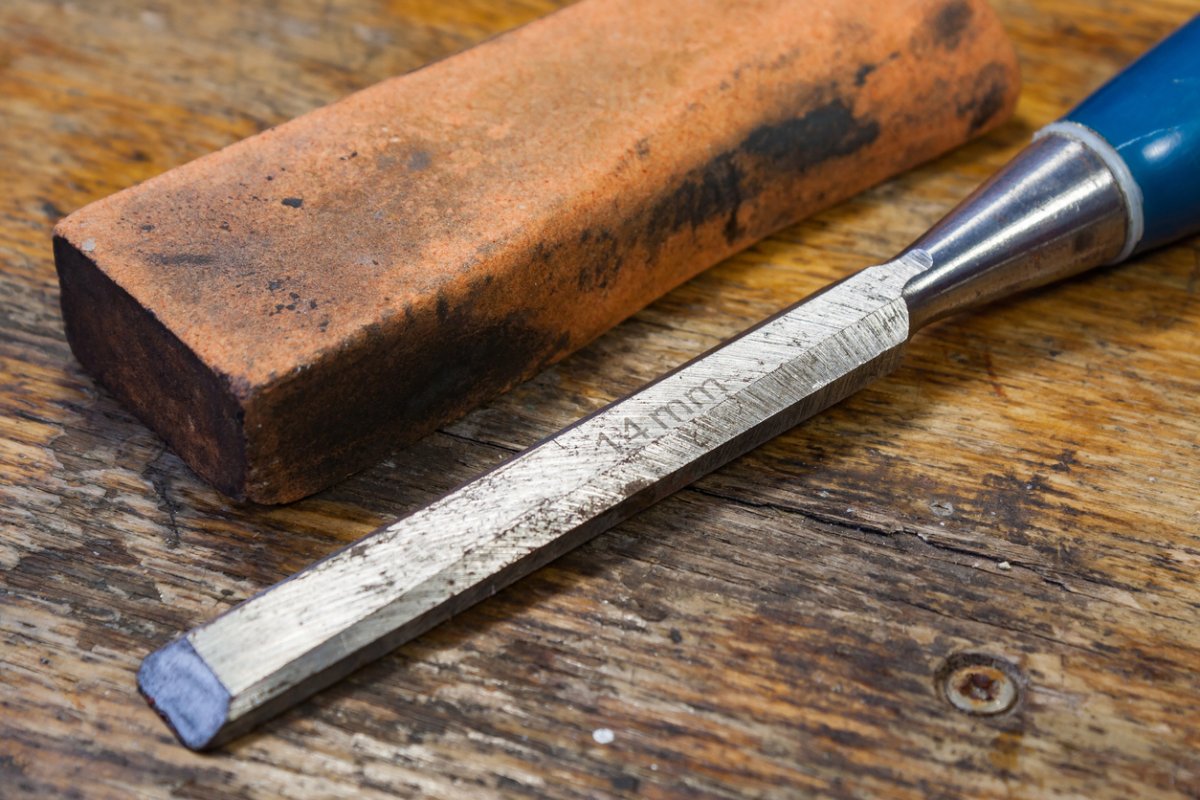
Most sharpening stones have two faces, one coarse and one fine. You’ll start with the coarse stone and then proceed to the fine surface. Use the entire surface of the stone. Too many strokes in the same area of the stone will cause it to wear unevenly, perhaps leaving a hollow that will sharpen edges unevenly.
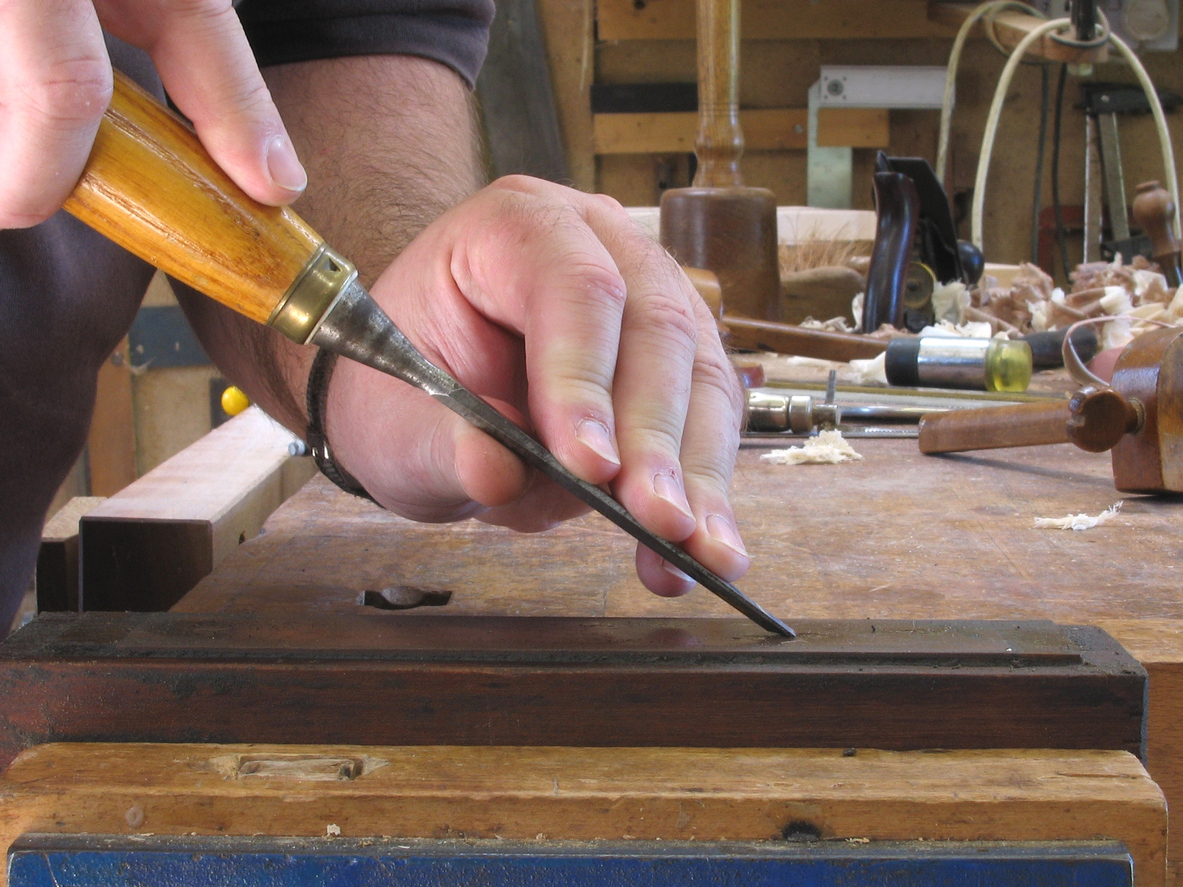
- Hold the chisel with the bevel flat to the stone.
- Use both hands to steady the chisel, and slide it backward and forward on the surface of the stone.
- Take pains to maintain the proper angle to the stone at all times (or, to put it another way, don’t rock the chisel, but slide it precisely).
- Don’t be in a hurry, either, but rub the bevel of the chisel along the stone in a smooth, even stroke.
- Repeat the whetting process on the fine surface of the stone.
Removing the Burr
The stone will have caused a small amount of the blade to extend beyond the back of the chisel, forming a slight burr. To remove it, turn the chisel onto its back (bevel side up) and hold it flush to the fine stone surface. Slide it back and forth a few times, taking care to keep the back flat on the stone surface.
Some people favor a thorough stropping at this stage, which is drawing the blade of the chisel across a leather surface that has had a polishing compound applied. A few stropping strokes certainly won’t harm the blade, but aren’t essential.
After you have completed the sharpening process, wipe off any residue from the stone with a clean cloth.
Optional: A step favored by some is the addition of a second, steeper bevel at the tip of the blade. Only a few strokes on the finest stone are necessary, with the tip held at a pitch that is perhaps five degrees steeper than the previous whetting. Again, this is optional and, for the novice sharpener, an unnecessary complication.
Grinding the Bevel
Unless there are nicks in the tool or its edge has become flattened by many honings, there is usually no need to grind the edge on a wheel. If it is necessary, use a grinding jig to hold the blade at the precise angle of the bevel. Press the chisel gently against the wheel, moving it back and forth across the face of the stone, applying pressure evenly.<
What About Plane Irons?
The chisel-like blades in hand planes, called plane irons, are sharpened in much the same way as chisels. Follow the same procedure, except that the angle at which the plane iron is presented to the stone should be higher in jack or jointer planes (perhaps forty-five degrees) or lower for block plane irons (around twenty degrees). Match the original angle as closely as you can.
