We may earn revenue from the products available on this page and participate in affiliate programs. Learn More ›
Whether you’re ready to build a new wood deck, furniture, or wood wall paneling—or aim to spruce up existing ones—you’ll ultimately want both beauty and longevity. While chemical preservatives can be applied to untreated wood to prolong its life, and stain or paint can enhance visual appeal, these time-consuming treatments must be undertaken separately. So why not consider shou sugi ban (pronounced shoh shoo-gee bahn), a much-buzzed-about technique that allows any DIYer comfortable with using a blowtorch to fortify and beautify wood in a single process? Read on for the 411 on the technique that produces a burnt wood finish, plus tips for a successful application.
What is shou sugi ban, and how is it used?
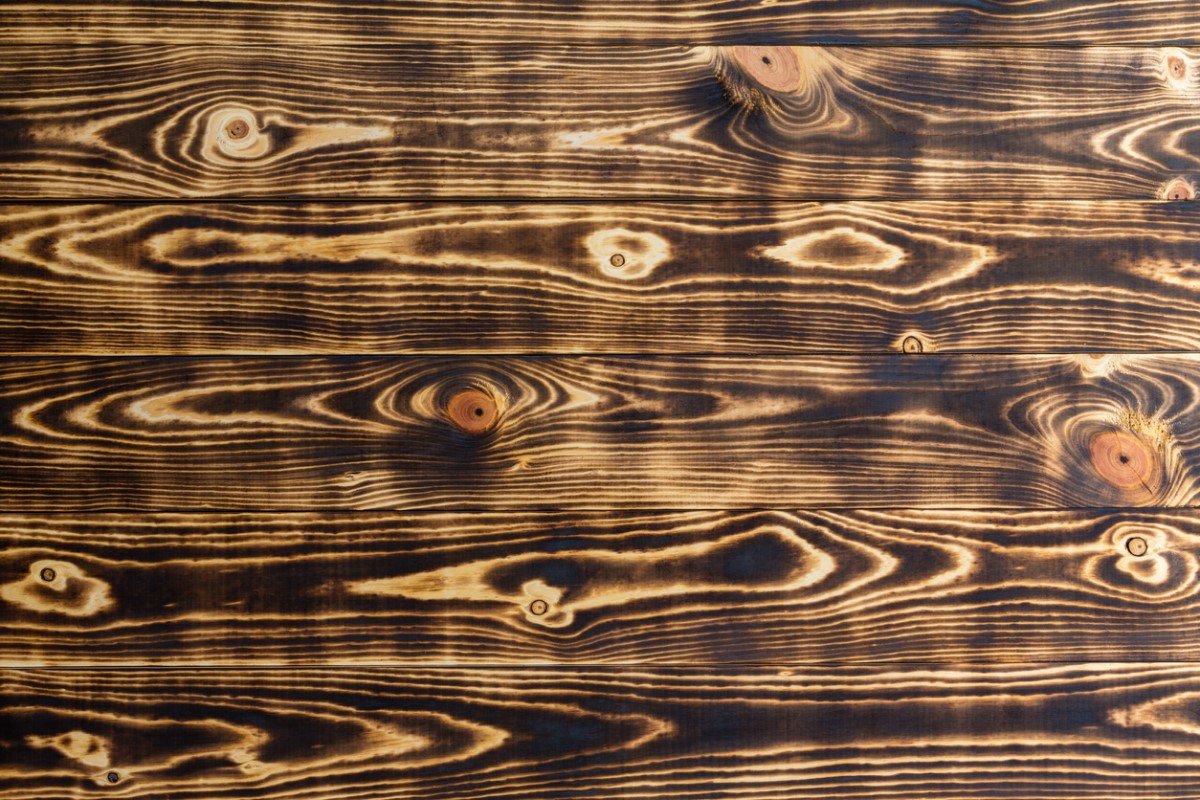
Shou sugi ban is the term commonly used in the West for yakisugi, an ancient Japanese technique for preserving wood with fire. Literally translating to “burnt cedar board” in English, shou sugi ban traditionally involves scorching wooden boards with a torch or controlled fire, cooling the wood, softening the char with a wire brush, removing dust, and, if desired, topping the wood with natural oil. The process fortifies the wood (more on how below) and provides a matte black finish with elegant silver streaks, resembling obsidian rock.
Though examples of shou sugi ban were seen as early as 700 A.D., the technique generally dates back to 18th-century Japan, where it was primarily applied to wooden boards used in exterior siding to weatherproof them and thereby prolong their life. Japanese cedar, called sugi, was the traditional wood species used because it was thought to produce the most pronounced charred effect.
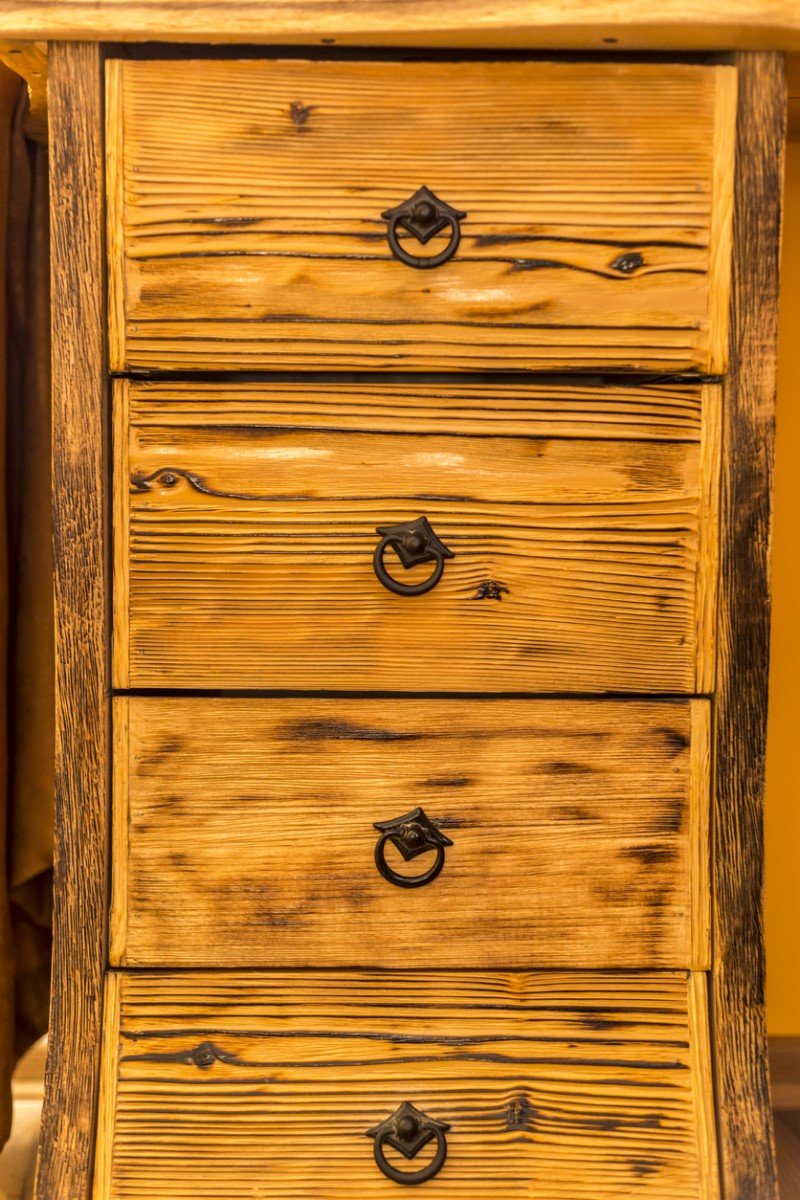
In recent years, shou sugi ban has been used on other softwood species in addition cedar for interior and exterior applications, both on wooden boards used in the construction of large surfaces, such as siding, decks, and wall paneling, and on smaller pre-built woodworks, such as tables, chairs, and dressers. It is prized not only for the protective qualities it confers on wood, but also the striking burnt wood finish it renders, which is versatile enough for both rustic and modern homes. While DIYers can create the finish simply by wielding a blowtorch, pre-made shou sugi ban-treated woodworks abound, from coffee tables (available on Amazon) to decorative signs (also available on Amazon).
What are the benefits of a burnt wood finish?
Here’s how the shou sugi ban treatment enhances wood:
- It resists moisture. The charring process leaves behind a two- or three-millimeter layer of char on the surface that shields underlying wood from water and water vapor, keeping it from eroding or absorbing moisture and swelling, warping, or rotting. This ability to waterproof wood is particularly useful for structures in moisture-prone spaces, such as garden benches or poolside lounge chairs.
- It fends off bacteria and pests. Shou sugi ban serves as an eco-friendly fungicide and pesticide for wooden siding, decking, fencing, and patio furniture. Fire-treating wood breaks down its cellulose, which contains nutrients such as sugar that bacteria and insects thrive on. Without cellulose, wood becomes inhospitable to pests, preventing fungal- and insect-related structural damage. With shou sugi ban, there’s no need for chemical commercial wood preservatives.
- It reduces fire risk. As charring vaporizes the softer cellulose layer of wood, it leaves behind the harder lignin layer, which requires a higher temperature flame and longer flame exposure time to burn. So there’s less chance of shou sugi ban-treated wood catching fire, an important asset for pieces like patio tables used in close proximity to a grill or fireplace.
- It offers a rich color. Shou sugi ban can range in color from subtle charcoal-gray to dramatic jet black depending on the original color of the wood, the degree of scorching, and how much char you brush off. This makes it an excellent alternative to black or dark gray wood stain or paint. A jet-black patina is ideal for statement-making exteriors or on surfaces in contemplative spaces, such as accent wall paneling in a bedroom, while a charcoal hue would suit spaces where more visibility is important, such as a deck.
- It gains dynamic texture. The texture of shou sugi ban may be cracked or scaled depending on the intensity of the burning, the natural striations in the wood, and the arrangement of the boards on the surface. A traditional arrangement of one board stacked atop or alongside another offers a more seamless look, desirable in rooms where polish is desired, such as wall paneling in a formal dining room. If going for a more striking, visually variegated look, such as for a desk in a craft room or art studio, a staggered arrangement of boards adds depth and dimension to the burnt wood finish.
How should DIYers approach the shou sugi ban process for the best results?
For a durable burnt wood finish that will last 50 years or more, follow these shou sugi ban application tips:
- Apply on softwoods only. As a result of its porous nature, cedar—Japanese cedar in particular—readily chars to the depth needed for a protective and appealing burnt wood finish. However, other softwoods, including pine and fir, are also good candidates. Avoid hardwoods, such as teak or walnut, which are denser and don’t char as readily.
- Skip the sanding. Because burning the wood surface removes any existing rough patches, there’s no need for sanding the wood before scorching it. If, however, there are splinters or deep grooves in the wood, lightly sand uneven areas with 150-grit or higher sandpaper.
- Use propane torches for maximum flame control. Although both propane torches and controlled fires (small, self-ignited fires on the ground) are suitable fire sources, propane torches (e.g., Red Dragon Torch on Amazon) offer the average DIYer greater control over where the flame hits and the intensity of the burn in that area. The breakdown of cellulose and formation of char occurs in wood at a flame temperature of between 500 and 1,000 degrees Fahrenheit, so look for a torch that reaches a maximum temperature of at least 1,000 degrees Fahrenheit in the open air; most propane torches more than fit the bill, offering max temperatures of 2,000 degrees Fahrenheit or higher.
- Prepare the work area. Because the torch flames can emit gases such as carbon monoxide into the surrounding air, only apply shou sugi ban in an open area such as the driveway—never indoors. Likewise, don’t work on windy days; wind can redirect the flame to a nearby surface that you don’t want to burn. Set the wood plank or woodwork on a flat, level, inflammable surface, such as a concrete driveway or a metal worktop. Always wear safety glasses and fireproof work gloves during the process, and keep a fire extinguisher handy.
- Use a short flame to scorch small sections at a time. The size of the flame produced by the torch controls the heat and intensity of the burn; the smaller the flame, the more intense the burn, since the hotter, dark blue inner core of the flame is closer to the wood surface; the larger the flame, the less intense the burn, since the wood is mainly exposed to the cooler, light blue outer core of the flame. Use the torch adjustment valve (usually a knob on the torch) to achieve a flame size of one to two inches long to ensure an intense burn.
- Maintain a steady hand. Move the torch slowly from one end of the surface to the other, holding the flame over each six-inch area for five to 10 seconds until it blackens, then moving to the next section until the entire wood surface has blackened. If small cracks start to appear in the wood surface at any point, use the adjustment valve to increase the flame size, which will reduce the burn intensity.
- Brush to your desired color depth. Wait five to 10 minutes for the wood to cool completely, then gently scrub the entire board with a wire brush to soften the char and reveal the grain of the wood until you achieve the desired depth of color. The longer you brush, the lighter in color the board will be.
- Use a wet cloth or air compressor to remove excess soot and dust. After brushing the wood, loose soot and dust may remain on the wood surface; these particles make the finish look less vibrant, so remove them by wiping down the wood with a water-saturated cloth. For bigger areas, use an air compressor (available for rent at The Home Depot), which releases air onto the wood surface to blast away soot and dust.
- Finish with oil for added longevity. You can leave the charred wood bare for a rough-hewn look or apply a drying oil such as linseed or tung oil to lend a soft sheen and enhanced weather protection. These oils harden with prolonged exposure to air, making the wood even more durable. Re-apply the oil every 10 to 15 years for the best results.