We may earn revenue from the products available on this page and participate in affiliate programs. Learn More ›
Whether you’re looking to convert your garage into a second living space or simply make it more comfortable for work, play, or just hanging out without freezing, a garage door insulation kit can help. Insulation itself won’t make a garage warm and toasty, but it will help retain heat. Adding this layer of insulation helps prevent heat from escaping and blocks cold air from entering the garage.
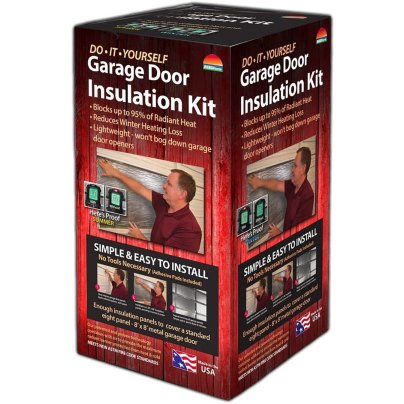
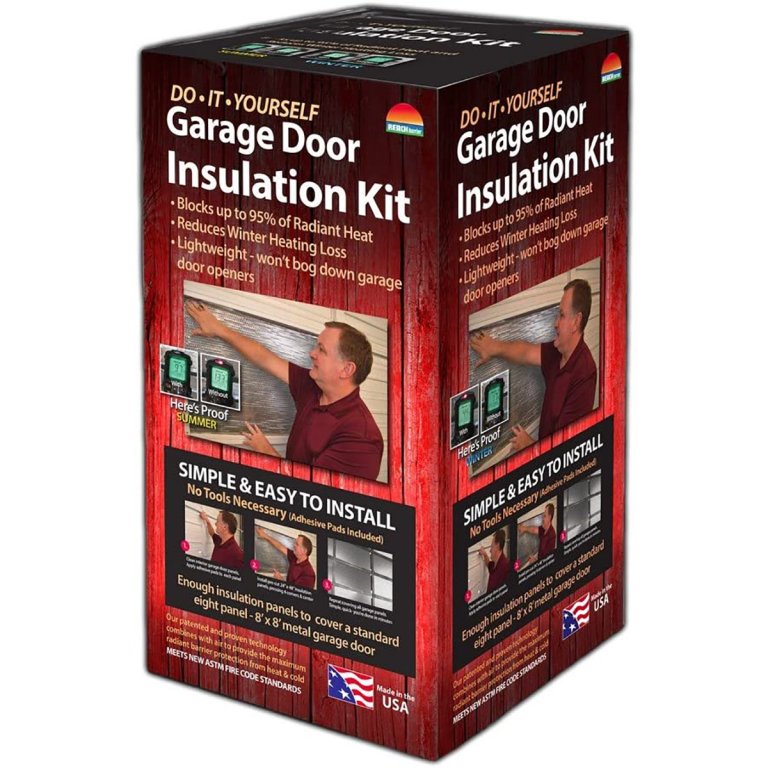
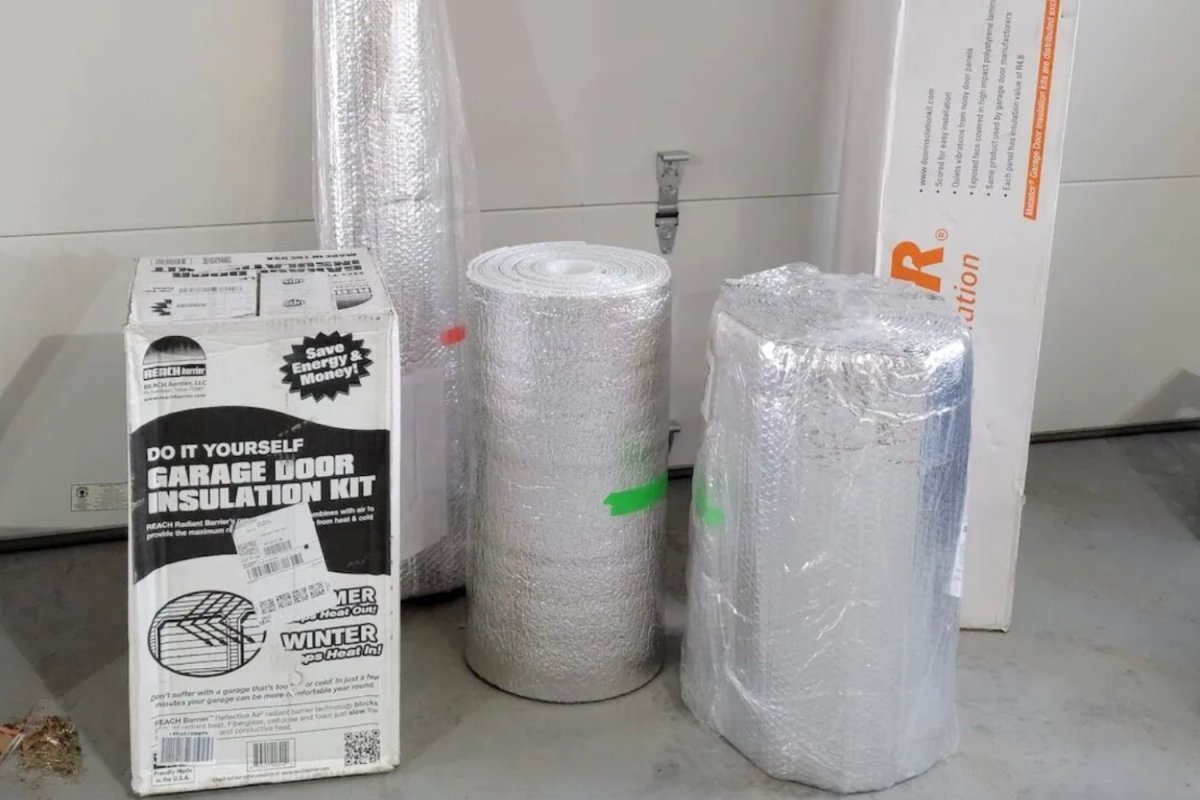
We carefully evaluated popular garage door insulation kits and tested those that made our shortlist for features like ease of insulation and how significantly they affected the temperature on the inside of the garage door. Our top recommendation is the Reach Barrier 3009 Garage Door Insulation Kit thanks to its very simple installation and impressive noise-dampening capabilities. Keep reading to discover what we learned while performing hands-on testing on our lineup of the best garage door insulation kits.
- BEST OVERALL: Reach Barrier 3009 Garage Door Insulation Kit
↓ Jump to Review - BEST BANG FOR THE BUCK: US Energy Products Double Bubble Reflective Foil
↓ Jump to Review - UPGRADE PICK: US Energy Products Nasatek 2-Car Foam Insulation Kit
↓ Jump to Review - BEST REFLECTIVE: US Energy Products Nasatek 1-Car Reflective Insulation Kit
↓ Jump to Review - BEST EASY INSTALL: Matador Garage Door Insulation
↓ Jump to Review
| Testing Stats | |
| Products tested | 5 |
| Time spent testing | 1 week |
| Tests performed | 4 to 5 |
| Price range | $30 to $130 |
Product Comparison
| Type | Size | Installation Kit | |
| Reach Barrier 3009 Garage Door Insulation Kit | Radiant barrier | Eight panels, each 4 feet long by 2 feet wide | ✅ |
| US Energy Products Double Bubble Reflective Foil | Radiant barrier | 10 feet long by 4 feet wide | ❌ |
| US Energy Products Nasatek 2-Car Foam Insulation Kit | Radiant barrier | Four rolls, each 18 feet long by 2 feet wide (ours came in 9-foot-long rolls) | ✅ |
| US Energy Products Nasatek 1-Car Reflective Insulation Kit | Foam | Eight panels, each roughly 9 feet long by 2 feet wide | ✅ |
| Matador Garage Door Insulation | Rigid foam | Eight panels, each 54 inches long by 20.25 inches wide (ours was closer to 21 inches) | ❌ (shouldn’t need one) |
Our Top Picks
We chose the top-rated products below for their quality, price, and ease of installation to help find the best garage door insulation kit for any garage door. And, to ensure we’re only suggesting the best garage door insulation kits, we performed hands-on testing with the following products.
Note: Each of these products effectively retained heat on the garage side of the door. Our test garage was 2-bay, and we left one door uninsulated to serve as a “control door.” An hour after insulation, we took readings with an infrared thermometer, and each showed a difference of 8 to 10 degrees warmer on the insulated side.
Best Overall
Reach Barrier 3009 Garage Door Insulation Kit
What We Like
- Immediately reduced on noise
- Simple installation
- Made the garage noticeably comfier
What We Don’t Like
- 4-foot strips were not long enough
Product Specs
- Type: Radiant barrier
- Size: Eight panels, each 4 feet long by 2 feet wide
- Installation kit: Yes
Our Ratings: Ease of Installation 5/5; Performance 5/5; Sound Mitigation 5/5; Value 5/5
The Reach Barrier 3009 is ideal for helping to keep a garage warm in the winter and cool in the summer. It uses reflective aluminum on the front and back, with a laminated bubble layer sandwiched between the layers to create an effective boundary between the garage and the fluctuating temperature outdoors. The kit comes with eight precut panels that measure 4 feet long by 2 feet wide—a size suitable for most standard single-car garage doors.
We noticed an immediate decline in the sound transfer through the door, and the temperature measurements on the insulated side were higher than on the uninsulated side. Our only complaint was that the 4-foot strips were not long enough for our 9-foot test door, which would mean we’d either have to live with bare spots or patch them with scrap cutoffs.
What our tester says: Some garage door insulation kits can be a hassle to install, but this one makes installation easy. “All that’s required is to clean the door, attach the adhesive squares, and stick the panels in place. During testing, I found that the Reach Barrier was as easy to install as claimed: I simply placed a few of the adhesive squares along the perimeter of each section and pressed the insulation into place.” —Tom Scalisi, Product Reviews tester and writer
Get the Reach Barrier garage door insulation kit at Amazon or The Home Depot.
Best Bang for the Buck
US Energy Products Double Bubble Reflective Foil
What We Like
- Thicker than other radiant barriers
- Blocks sound well
- Minimal weight offers plenty of installation options
What We Don’t Like
- Not specifically designed for garages
- Doesn’t come with installation kit
Product Specs
- Type: Radiant barrier
- Size: 10 feet long by 4 feet wide
- Installation kit: No
Our Ratings: Ease of Installation 3/5; Performance 4/5; Sound Mitigation 5/5; Value 5/5
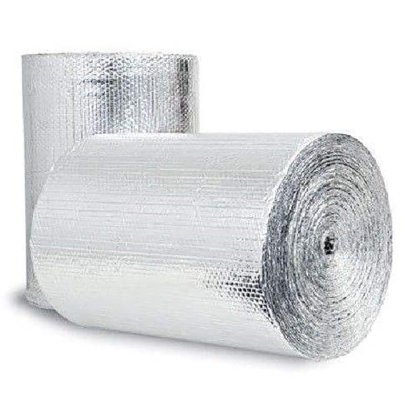
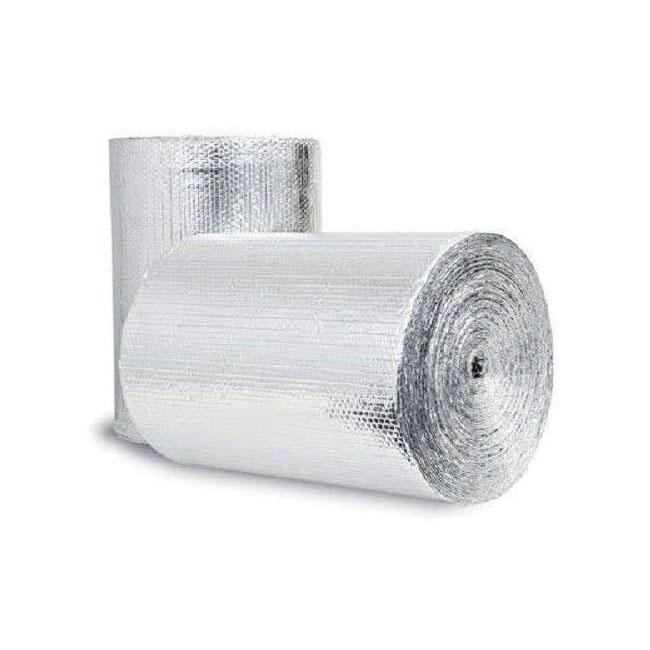
Reduce your heating bill and save money with this affordable Double Bubble Reflective Foil insulation. It has an R-value of 4, and according to the manufacturer, it reflects 97 percent of radiant heat. The insulation comes in a 10-foot-long by 4-foot-wide roll that cuts easily to the proper size with a utility knife or scissors.
This insulation kit for garage doors features two layers of polyethylene air bubbles to help reduce the transmission of heat through the air layer. This is sandwiched between a reflective film of aluminum polyester designed to reflect radiant heat away from the garage door and back into the open garage space. The insulation is lightweight yet durable enough to be installed with tacks, staples, or nails if necessary.
Testing the product was rather tricky. First, this isn’t a garage-door–specific kit, so we needed to cut the sheet into strips. Even then, we didn’t have enough to cover an entire door. We needed to use our own double-sided tape to hang it as well; because it’s so lightweight, though, that really wasn’t an issue. However, we did find that this reflective foil insulation did a good job of keeping out unwanted noise, and it measured warmer than the uninsulated door (at least in the areas where we were able to install it). The doubled layers were thicker than the other radiant barriers as well.
Get the US Energy Products double bubble garage door insulation at Amazon.
Upgrade Pick
US Energy Products Nasatek 2-Car Foam Insulation Kit
What We Like
- Best installation kit and instructions in the test
- Nice workable lengths
- Blocked sound and temperature transfer
What We Don’t Like
- Strips weren’t cut squarely from the factory
Product Specs
- Type: Radiant barrier
- Size: Four rolls, each 18 feet long by 2 feet wide (ours came in 9-foot-long rolls)
- Installation kit: Yes
Our Ratings: Ease of Installation 5/5; Performance 4/5; Sound Mitigation 4.5/5; Value 5/5
For garages with two doors, a standard garage door insulation kit won’t provide the necessary amount of insulation. This Nasatek 2-car garage door insulation kit comes with four rolls of 18-foot-long by 2-foot-wide foam core insulation. This kit also includes a utility knife to cut the insulation to the right size, a squeegee to help prepare the garage door for installation, and heavy-duty double-sided tape used to attach the insulation.
The premium-priced reflective white foam core has an R-value of 8, which can reduce the temperature inside the garage by 30 degrees in hot summer weather. Installing the insulation is simple using the double-sided tape, though the kit also comes with an instruction booklet.
Like the other barriers, it did a good job of blocking sound, and the insulated door measured warmer than the uninsulated door. If we had a complaint, it would be that the ends of the strips weren’t cut squarely, which made the installation look a little sloppy.
What our tester says: “In regard to installation gear and instructions, this kit was by far the most complete and best quality. It came with plenty of tape, a few razor knives, and squeegees for ensuring the tape and the insulation were attached correctly. Also, the rolls came in 9-foot lengths as opposed to the 18-foot lengths described, so they were very easy to work with.” —Tom Scalisi, Product Reviews tester and writer
Get the US Energy Products 2-car garage door insulation kit at Amazon.
Best Reflective
US Energy Products Nasatek 1-Car Reflective Insulation Kit
What We Like
- Effectively retains warmth while keeping noise out
- Installation kit includes high-quality tape
- Choice of surfaces when installing
What We Don’t Like
- The white surface was a bit too much
Product Specs
- Type: Foam
- Size: Eight panels, each roughly 9 feet long by 2 feet wide
- Installation kit: Yes
Our Ratings: Ease of Installation 5/5; Performance 4/5; Sound Mitigation 5/5; Value 4/5
Garage owners who’d prefer to use lightweight, reflective insulation for garage doors should check out this kit from US Energy products. This radiant barrier kit features a layer of foam sandwiched between a white layer and a reflective layer, offering a clean look with the benefit of a radiant surface.
The kit comes as a set of eight precut panels for 9-foot doors. It also comes with the double-sided tape required for hanging it (which is quite easy).
During the test, this kit also proved to be effective at keeping noise, as well as the cold air, at bay while working in the garage. The kit was very easy to install, and the double-sided tape was effective enough to hold this lightweight foam up through multiple up-and-down cycles with the garage door. We liked that there were two options for the surface (the directions even state that there is no “right side”) since we weren’t really into the white.
Get the US Energy Products 1-car garage door insulation kit at Amazon.
Best Easy Install
Matador Garage Door Insulation
What We Like
- Minimal weight gave us hanging options
- Effective sound and temperature transfer control
- Thick, dense foam, but it’s easy to cut
What We Don’t Like
- Only really works for garage doors with rails
Product Specs
- Type: Rigid foam
- Size: Eight panels, each 54 inches long by 20.25 inches wide (ours was closer to 21 inches)
- Installation kit: No (shouldn’t require one)
Our Ratings: Ease of Installation 5/5; Performance 4/5; Sound Mitigation 5/5; Value 4/5
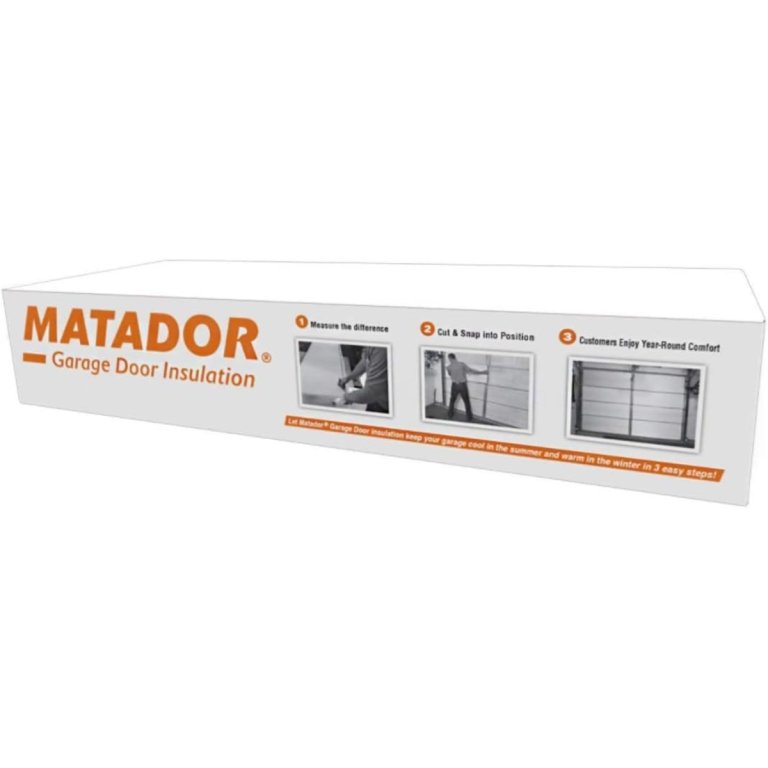
Anyone who wants to insulate a garage door but is uncomfortable using adhesives or fasteners should check out this easy -to-install garage door insulation kit from Matador. The kit comes with eight polystyrene laminate panels that can be cut to the perfect size for any garage door panels. Each piece of polystyrene laminate measures 54 inches long by 20.25 inches wide by 1.25 inches thick and has an R-value of 4.8.
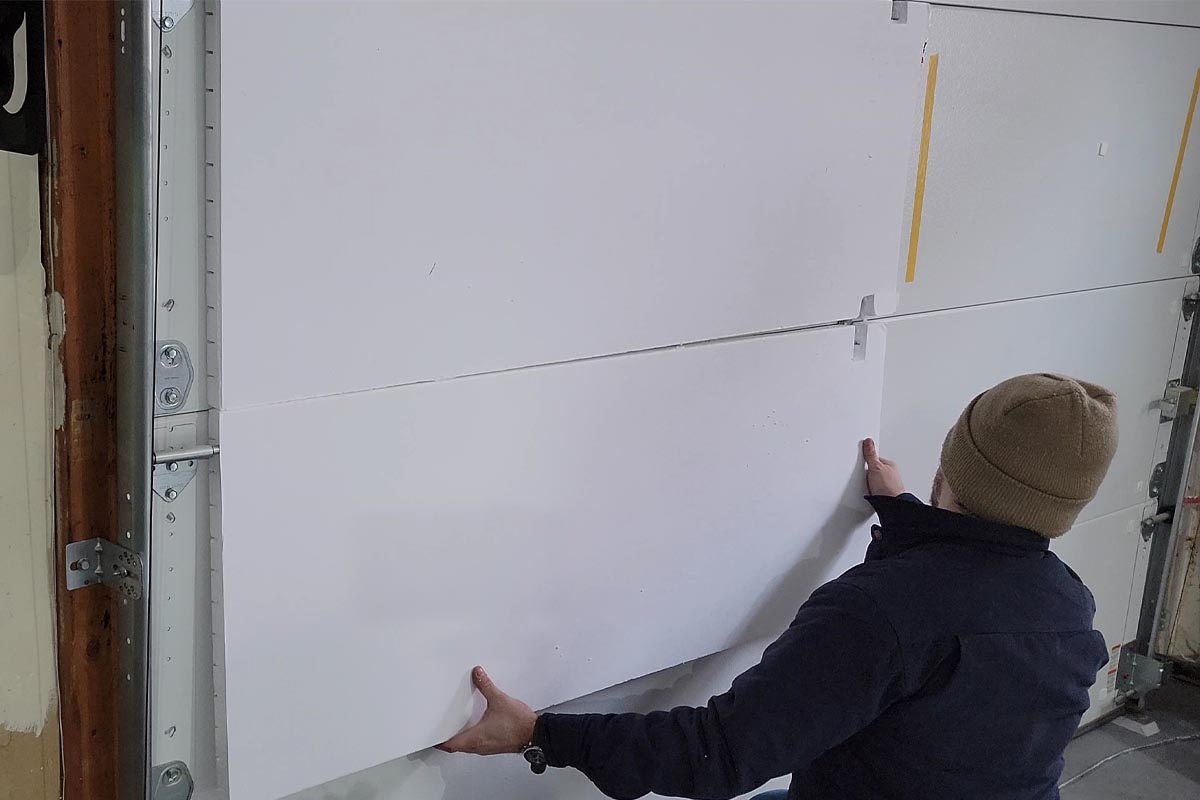
With this insulation kit, tape, glue, pins, or any other adhesives or fasteners aren’t necessary. After cutting everything to size, carefully slot them in between the horizontal and vertical rails on the garage door. The insulation also has a bright white and easily washable surface to keep the garage looking great.
In full disclosure, these panels didn’t work with our garage door since we didn’t have the rails to slide them between. However, since they’re lightweight, we were able to tape them in place with the extra adhesive and tape from the other kits. Once we did, we were very impressed with the noise reduction and temperature difference between doors. The foam is thick and dense, but it’s easy enough to cut for custom-fitted panels (though doing so does make a mess).
Get the Matador garage door insulation at Amazon, Ace Hardware, or The Home Depot.
Jump to Our Top Picks
How We Tested the Best Garage Door Insulation Kits
While installing garage door insulation is generally simple, testing these products is difficult. First, we needed to understand that garage door insulation will not keep a space toasty warm; it’s not that type of insulation. As our test garage contained two bays, though, we left one door uninsulated while we installed the kits on the other. This gave us a reasonable “control” subject to test the doors against.
First, we installed each kit according to the instructions (some didn’t come with any). We used double-sided tape and adhesive squares to hold each strip in place. Then, we trimmed all the sheets to size with a razor knife. We then opened and closed the door several times to ensure the product had adhered properly.
Finally, we took note of the apparent noise transfer and temperature transfer through the garage door. It’s difficult to say which product was more effective since the temperatures and sun’s position change throughout the day. However, each product appeared to be effective at reducing heat loss. We checked the insulated door against the uninsulated door and recorded the temperature readings.
| Ease of Installation | Performance | Sound Mitigation | Value | |
| Reach Barrier 3009 Garage Door Insulation Kit | 5 | 5 | 5 | 5 |
| US Energy Products Double Bubble Reflective Foil | 3 | 4 | 5 | 5 |
| US Energy Products Nasatek 2-Car Foam Insulation Kit | 5 | 4 | 4.5 | 5 |
| US Energy Products Nasatek 1-Car Reflective Insulation Kit | 5 | 4 | 5 | 4 |
| Matador Garage Door Insulation | 5 | 4 | 5 | 4 |
What to Consider When Choosing a Garage Door Insulation Kit
Finding the best garage door insulation kit for a home isn’t difficult once you decide which type of insulation you’d prefer. Even so, there are still a few things to consider. Here are some important points to keep in mind while shopping for a garage door insulation kit.
Types of Garage Door Insulation Kits
Garage door insulation kits can come in many types, including radiant barrier, fiberglass, foam, and cellulose. And, because the garage is one of the places that could most benefit from better insulation, it’s worth getting familiar with the various types.
Radiant Barrier
Radiant barriers are usually inexpensive and are made of highly reflective materials such as aluminum. This type of garage door insulation kit is used to block the radiant heat energy instead of absorbing it like fiberglass insulation. It typically features one or two layers of reflective material to create a heat barrier in addition to an “air space” layer that can be made of bubble wrap. This air space layer creates a pocket that reduces both conductive and convective heat flow (spreading and containing heat) to help keep the garage warm.
Fiberglass
Fiberglass is commonly used to insulate homes, so it only makes sense that it can have the same effect on a garage door. This thick, fibrous material has a high R-value, meaning it’s a great material to insulate a garage, attic, ceilings, walls, and floors. (R-value is determined by the thickness and the density of a material. The higher the R-value, the better the material will insulate.) The only downside of fiberglass is that it’s messy to work with.
Foam
Foam garage door insulation can be split into two categories: spray foam and rigid foam, which is also known as foam core.
- Spray foam is exactly what it sounds like: a foamy substance that sprays onto a garage door. It’s cheap and easy, but it’s not the best option for garage doors.
- Rigid foam, or foam core, is made from Styrofoam. It’s lightweight, user-friendly, and affordable. There are three types of rigid foam used for garage door insulation, including expanded polystyrene (EPS), extruded polystyrene (XPS), and polyisocyanurate (polyiso).
Cellulose
Cellulose is a low-thermal product that’s made entirely from organic material like plant fibers, cotton, or wood. This type of insulation can also use recycled materials such as old newspapers, cardboard, office paper, and other paper products. Cellulose also contains a fire-resistant borate treatment to help protect the home from fire.
Cellulose must be sprayed onto the garage door panels in the same way as spray foam insulation, and it provides a highly effective method of retaining the garage heat. Unfortunately, cellulose is also the most expensive garage door insulation kit type, so it may not be an option for DIYers on a budget.
Compatibility
When selecting a garage door insulation kit, ensure that it’s compatible with the garage door. For instance, some insulation kits require metal channels along the garage door support frame to securely install the insulation.
Before purchasing a garage door insulation kit, look into its installation instructions and requirements to avoid accidentally buying a kit that’s for a different size or type of garage door.
Size
The size of the garage door itself, along with the size of each individual panel, is also an important consideration. While many insulation kits come with panels that can be customized to fit any garage door, it’s better to find a product that comes close to the size required to save money and reduce waste.
For those who go with spray foam or cellulose, measure the space beforehand to ensure there’s enough spray insulation to properly insulate the entire door. Some insulation kits are designed to move with the door, while others only insulate the individual panels, allowing movement at the garage door seams.
Effectiveness
The effectiveness of a garage door insulation kit can be estimated using two measurements: U-factor and R-value.
- U-factor and U-value are interchangeable terms used to describe the measurement of the thermal efficiency of a garage door and the rate of heat transfer, with ratings ranging from 0 to 1. These measurements are given in decimal form only and operate on a reverse scale from R-value. What this means is that the lower the U-factor, the more efficient the insulation. For example, a U-factor of 0.05 is more efficient than a U-factor of 0.10.
- R-value measures the rate of heat loss and thermal efficiency of the garage door insulation material, but it doesn’t measure the thermal efficiency of the door itself. This rating is frequently used by manufacturers and is measured on a scale that begins at 0 and typically ranges up to 16.
Weight
When thinking about adding insulation to a door, remember that doing so will also add weight. If the weight of the insulation is too great, then it can affect the operation of both automatic and manual garage doors. The best way to avoid this issue is to use lightweight insulation that will not overburden or hinder the garage door.
Fiberglass and rigid foam are easy to install and don’t often cause weight issues, though radiant barriers are much lighter. Spray foam and cellulose can quickly become heavy if the layers of insulation are too thick. Always use these insulation sprays carefully to avoid over-spraying the garage door.
Adhesive
Garage door insulation kits can be attached to a door in a variety of ways; some use clips and tape, while others just require tucking the insulation into the framework of the panels. Adhesives, however, can make the installation process easier and can be used with any type of garage door.
Adhesives may connect pins to the door, providing a secure base to attach the insulation panels, or they may be used to secure the insulation directly to the door without the need for additional fasteners. This type of installation method is one of the easiest, but adhesives are also difficult to remove. Even so, they’re still not as difficult to remove as spray foam.
Ease of Installation
The installation process is relatively easy regardless of the type of insulation chosen; however, spray insulation should be used only for those who are confident in their ability to moderately spray expanding foam on a vertical surface. Some insulation works well with metal doors because it can be slotted into the frame on the door without needing to be attached, glued, or fastened to anything.
From this basic install, the difficulty increases to include adhesives that can either fasten directly to the garage door or affix with retaining pins to the garage door. The retaining pins pierce the insulation and secure it with a retaining cap. It’s also possible to use spray foam or spray cellulose, which is very easy to apply but can be difficult to create an even layering across an entire door without blocking the flexible garage door seams.
The Advantages of Insulating a Garage Door
Having a garage attached to a home or as a detached building on a property offers a secure location to store vehicles, tools, sports gear, and yard equipment. But keeping it warm can be difficult. Whether heating the garage via the home’s heating system or pulling out the old electric heater from time to time, there’s no doubt that insulating garage doors can help save money. This simple upgrade helps keep heat in and cold out, reducing the amount of electricity or gas it takes to warm a garage.
Adding insulation to a garage door also increases the weight and support of the garage door panels so that they become more durable. This update to the garage door also makes it quieter, reducing the transmission of sound through the door and the vibration of the door panels. Garage door insulation installation helps protect vehicles, tools, and other items from freezing temperatures and frigid winds so that the car will start in the morning.
- Adding garage door insulation can reduce electric bills (saving money).
- Insulation makes garage doors quieter and more durable to operate.
- With insulated garage doors, vehicles (and pipes) will be better protected against frigid temperatures.
FAQs
Garage door insulation can be attached to your garage door with fasteners, tape, adhesives, or a hardening insulation foam spray. The insulation then acts to slow the conductive and convective heat flow, preventing heat from escaping through the garage door and also blocking cold air from entering the garage.
Whether the R-value of a garage door insulation kit is good enough for your garage is based on several factors, including the number of shared or detached walls, the heating system inside the garage (if it has one), and the average climate in your city or state. However, for most garages, an R-value of 4 to 8 is acceptable for insulating your garage door, though for maximum heat retention, you can get insulation with an R-value up to 16.
This depends on the specific manufacturer, but typically you receive installation instructions, insulation panels, and fasteners, such as adhesive retainer pins and retainer caps, to securely attach the insulation to your garage door.
Learning how to insulate a garage door is fairly simple with the help of the right insulation kit. Simply follow these steps:
Vacuum the garage door to remove dust and debris (and consider investing in garage door threshold for future convenience). If your garage door insulation kit uses adhesive, wash the door with soapy water and dry it with a clean rag.
Measure and attach the retainer pins to the garage door. Follow the manufacturer’s instructions for exact spacing for your product.
Measure and cut the insulation panels to fit tightly inside the garage door panels.
Line up the insulation with the garage door panel and guide it into place. The retainer pins should pierce the insulation.
Push the retaining cap over the pin until it snaps into place.
Repeat steps 4 and 5 until each insulation panel has been fastened to its intended garage door panel.
This shouldn’t affect the way the garage door opens, so if you experience some issues with the door’s operation, you’ll need to do some troubleshooting.
On the low end, installing an insulated garage door costs less than you might expect—especially if you install it on your own. If you plan on heating your garage, the insulation can make it less expensive to do so. For most folks considering insulating their garage, the answer is yes, the comfort and cost savings make garage door insulation kits a worthwhile investment.
Meet the Tester
Tom Scalisi is a freelance writer specializing in the home design, construction, tools, and automotive industries. He has been involved in the trades for over 15 years as both a contractor and a commercial building mechanic. His work has been featured on This Old House, Family Handyman, and Forbes. He also owns and operates a pest control blog RiddaBugs.com. As a lover of all things tools, construction, and DIY, he’s always looking for new tools and techniques while also sharing his knowledge with the DIY world.
Additional research provided by Timothy Dale.
