
We may earn revenue from the products available on this page and participate in affiliate programs. Learn More ›
Is your siding looking a little ho-hum? Have you noticed some damage that needs to be repaired, or is the color just a little dated? You can hire a painter, sure, but painting houses is well within the skill set of DIYers who can climb a ladder. All it takes is the right approach, a little background information, and knowing which products are right for a particular job.
This guide on how to paint a house will explain all that and more. A new exterior paint job can increase a home’s sale price by 2 percent to 5 percent, so it is well worth the effort. Ahead, learn how to choose paint for houses, which tools you’ll need, and the steps to follow.
Note: This guide is intended for painting house exterior siding made of wood. Aluminum and vinyl siding can be painted, but they require slightly different techniques. Most folks with these kinds of siding opt to simply re-side the house when the color begins to fade.
Tools & Materials
Bobvila.com may earn a commission from purchases made through these links.
- Pressure washer or long-handled brush and bucke
- Putty knife
- Painter’s tool
- Sanding block
- Caulking gun
- Silicone-based paintable caulk
- Ladder
- Paint brush
- Paint roller frame
- Extension pole
- Paint trays
- Paint sprayer
- House washing solution
- Epoxy wood filler
- Sandpaper (100- and 150-grit)
- Plastic sheeting
- Painter’s tape
- House paint or stain
- Primer (optional)
- Roller sleeves
Project Overview
Working Time: 3 weeks
Total Time: 3 weeks
Skill Level: Intermediate
Estimated Cost: Around $800 in materials for the average size home
How to Paint Your Home’s Exterior
Step 1: Choose your exterior paint.

The first step in the house-painting process is to choose an exterior paint or, in some cases, stain. Both will do a good job of protecting the wood underneath, but stains can be easier to touch up or recoat. Stains involve less prep work when it’s time to repaint the entire home, though a glossy finish is not an option. Paint will usually hide imperfections better and is available in different sheens, but can flake or peel over time (especially if there is moisture under the paint).
Choosing a paint color is partly personal preference, but also depends on your neighborhood and the style of your home. Painting to improve curb appeal so you can sell the home may also affect your color choice. One rule that many folks like to follow when choosing an exterior paint color is to paint the house the same color or darker, since painting the home a lighter color may allow the old color to bleed through in some areas. Having said that, however, dark-colored homes absorb up to 90 percent more energy from the sun. If your summers are sweltering, you may want to stick with lighter colors.
It helps to consider trim color as well, since some paint color combinations hold better appeal. It almost goes without saying, but you should also always select a good quality exterior paint.
Step 2: Wash the house.
Make sure that the surface of the house is clean before painting. The goal is to remove all of the dirt, pollen, grease, and other impurities that could affect how the paint adheres to the wood.
Using a pressure washer is the easiest way to clean the house, and you can rent one from a local home center if you’d prefer not to buy one. Fill the reservoir with a house-cleaning solution and spray one side of the house at a time. Start at the bottom and work your way up to prevent streaks. Make sure to maintain a safe distance (generally about 6 feet) from the home to prevent the stream of water from gouging the wood or damaging the home. Rinse when done.
RELATED: The Best Pressure Washer Soaps for Cleaning, Stripping, and Degreasing
If your home is smaller and a single story, you can get the job done without a pressure washer. Instead, use a long-handled brush, a bucket, some house cleaning solution, and a hose. Wet the siding first and then scrub it with the brush. Work one side at a time, and thoroughly rinse each side once you’re done scrubbing.
Allow the home time to dry. On south-facing sides, the wall could be dry in a few minutes. On north-facing walls, it could take a few hours.
Step 3: Repair damaged areas.
Take notice of any areas on the home’s exterior that might need repairs. This could include damaged or loose clapboard, holes in the siding, or damaged soffits and corner boards. It’s best to fix these items now before painting. Here are some tips:
- Replace heavily damaged or rotten clapboards rather than repair them.
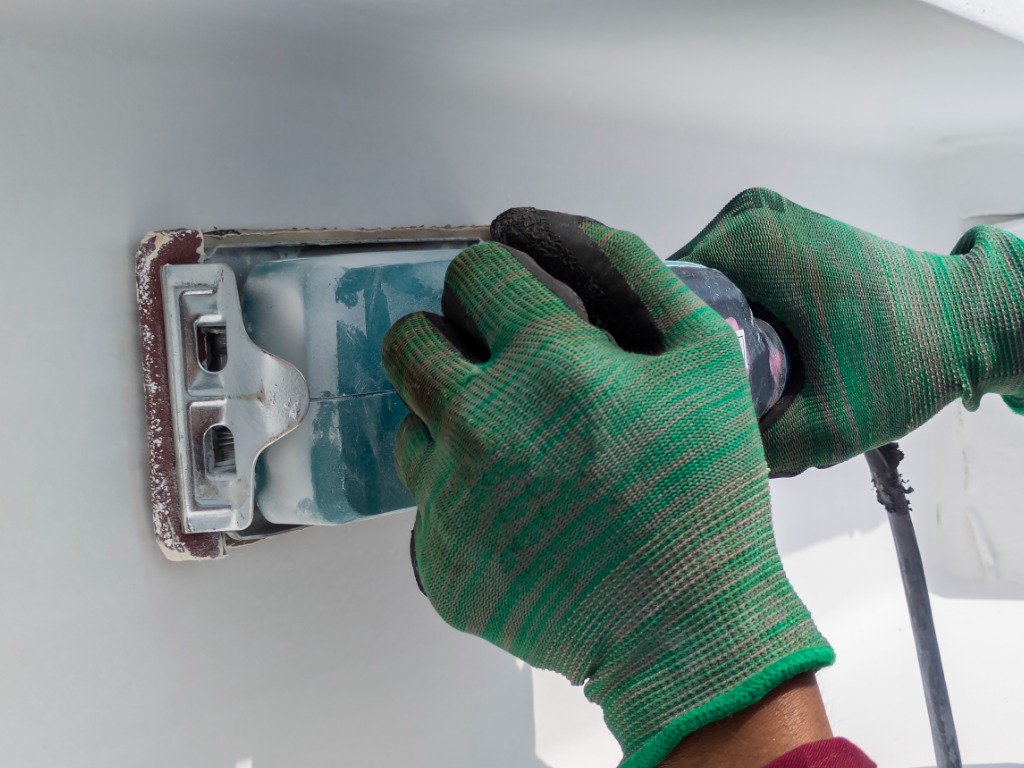
- Patch holes with an epoxy wood filler and a putty knife. Allow the epoxy to dry, and then sand the surface smooth with a sanding block and sandpaper.
Step 4: Scrape loose paint.
Use a stiff putty knife or painter’s tool to remove loose paint from the surface of the wood siding. Start by laying plastic sheeting down under the siding to collect the chips. Then, simply place the blade on the end of the tool at the base of the loose paint and push it underneath the loose paint.
While some scraping of loose paint is typical, if your entire home needs to be scraped before applying a coat of paint or stain, it might be a better idea to call a professional for help. This step of the project alone can take days to complete.
Step 5: Caulk the trim.
Use a silicone-based paintable caulk to clean up the trim around the doors, windows, and other areas. Cut the tip of the caulking tube at a 45-degree angle, place it in the caulking gun, and squeeze a bead along the edges where the trim meets other surfaces. This will make the home look better when the paint job is finished, plus it will prevent moisture from getting underneath the finish and rotting the siding.
Allow the caulk time to cure. Each manufacturer’s instructions are different, and outside conditions can affect drying time, but give the caulk at least a day or two to cure. Depending on the conditions and thickness of the bead, it could actually take up to 10 days to cure.
Step 6: Cover windows, doors, and lights.
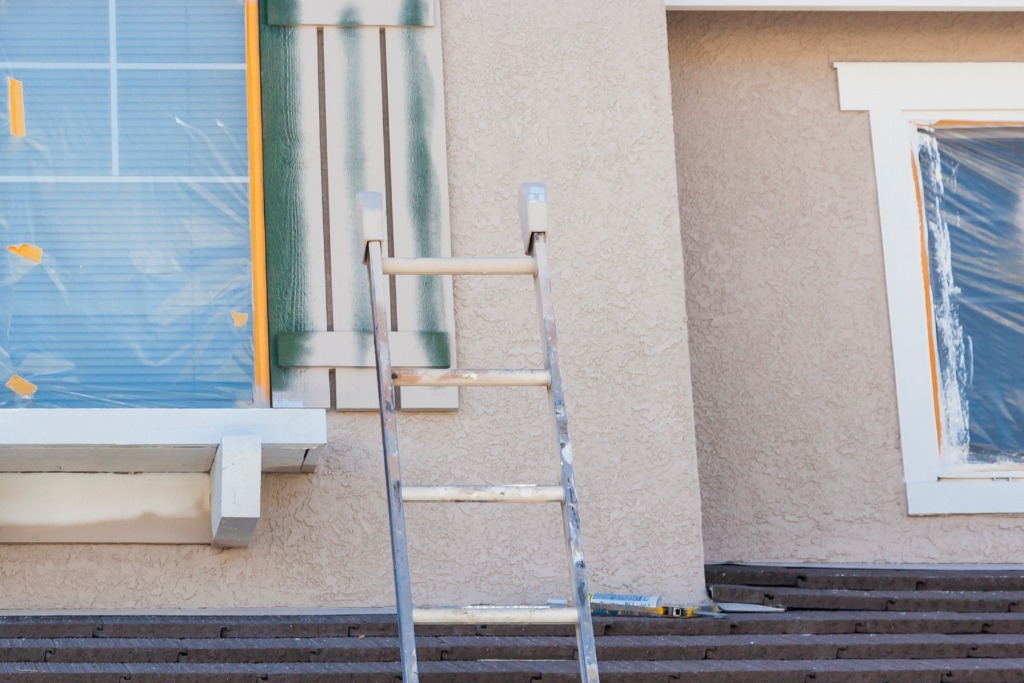
A little bit of prep work can save lots of time down the road. Using plastic sheathing or plastic bags, cover porch and flood lights, and tape the plastic in place with painter’s tape. Also, if you’re using a paint sprayer, be sure to cover the windows and doors with painter’s tape and plastic sheeting as well.
Step 7: Prime, if necessary.
In an ideal world, you wouldn’t have to prime the exterior of your house before painting it. The sun can sometimes make primed and painted areas stand out against the rest of the home. But, so can painting or staining fresh wood after a repair. If the wood isn’t primed, it can suck the color and sheen right in, making the repaired area seem like a different color (or a duller, flatter version of the same shade). Simply spot-prime the areas that need it with a brush and can of primer. If the area is too large to prime with a brush, use a roller and paint tray.
If you’re painting the exterior a darker color, or if the siding didn’t need any major repairs, you can probably skip the primer. Also, don’t prime if you’re using a stain. Stain needs to soak into the wood to preserve it, and primer can prevent it from penetrating.
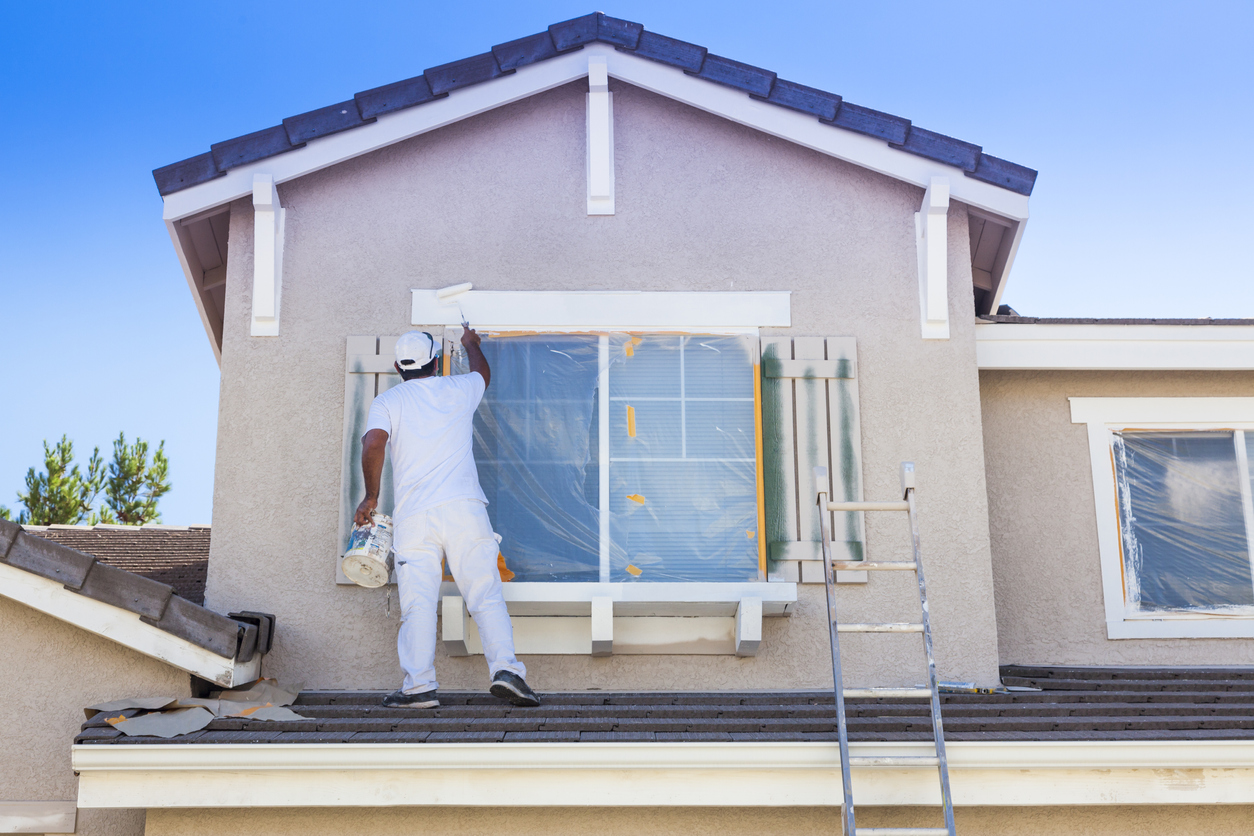
Step 8: Paint your house’s exterior.
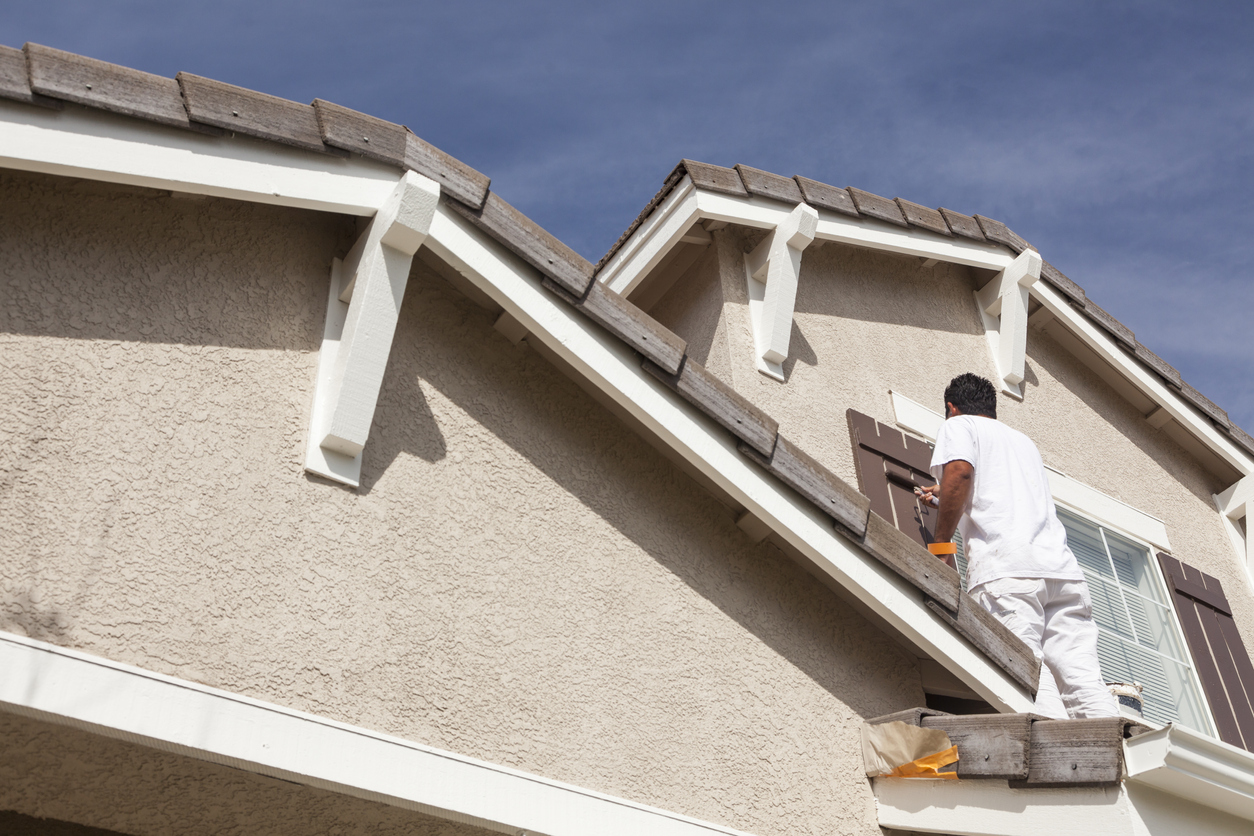
It’s finally time to paint. There are two methods you can use to paint your home: the brush and roller method or the paint sprayer method. Using a brush and roller is the easiest and best option for level surfaces, though it’s also the slowest. Sprayers are much faster, but they can make a mess, and they take some getting used to.
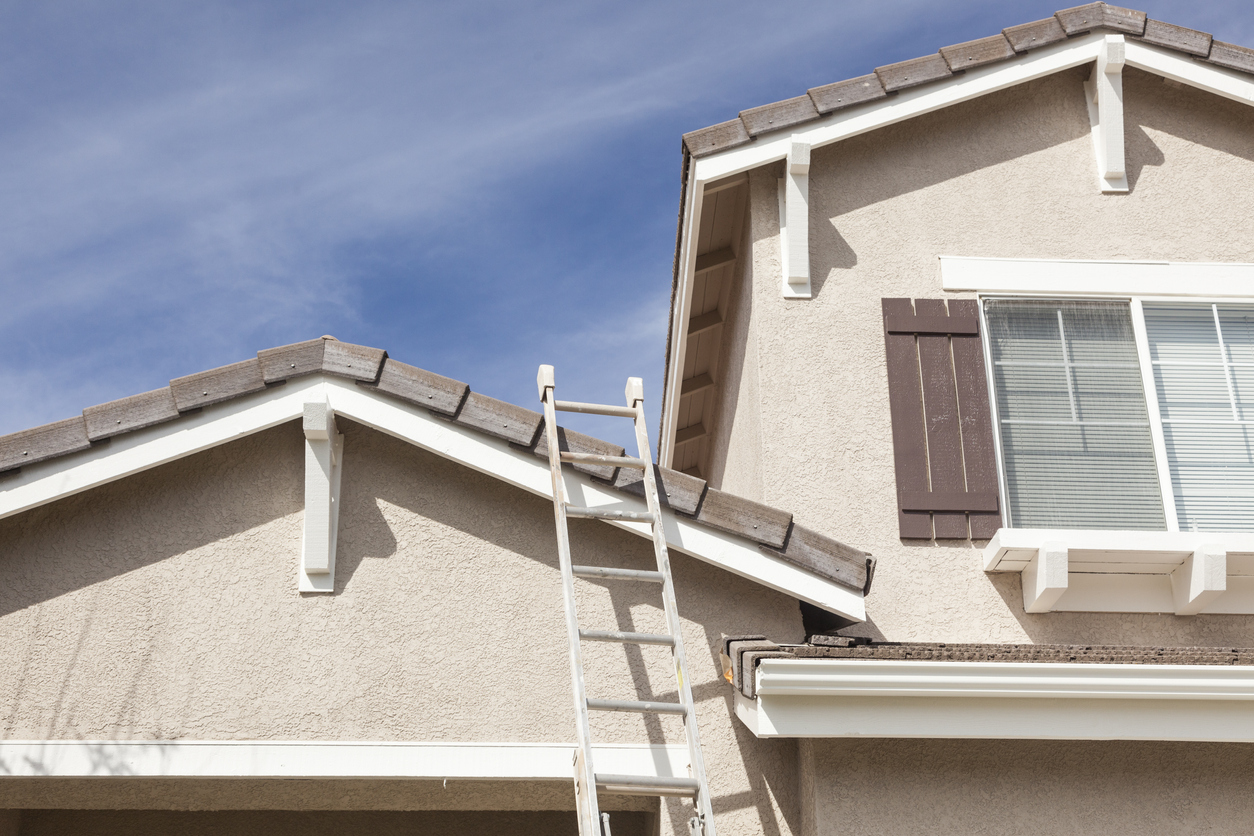
Start the painting process by setting up a ladder and working from the top of the home down. It’s also a good idea to work moving toward your dominant hand. So, if you’re a righty, work from left to right to stay safer on the ladder and minimize the mess. Use the roller to apply the finish in the wide, flat areas, and the brush to touch up, catch runs, or cut in around the windows and doors.
The same principles apply if you’re using a sprayer, which you can buy or rent from a local home store. While the idea is the same, you will have to dial in the sprayer’s pattern and determine the best distance to hold the sprayer from the home—each sprayer is slightly different. Again, work left to right if you’re a righty or vice versa if you’re a lefty, starting at the top and working your way down.
A few tips:
- Paint or stain one side of the house at a time.
- Work toward a natural break, like the corner of a window or door.
- Make sure to overlap previous passes with the sprayer to prevent areas of thin coverage.
Step 9: Paint trim and doors.
Allow the paint to cure or the stain to dry according to the manufacturer’s instructions (again, conditions will affect how long this takes). In the meantime, remove the painter’s tape and plastic bags and sheathing around the windows, doors, and lights.
Use the paint brushes and small trim roller to apply paint to the trim around the home. Cut in along the edges of the trim and try to avoid runs or drips. A roller can make the job easier on wider trim.
How much does it cost to paint a house?
The average cost to paint a house is between $1,811 and $4,435, with a national average of $3,087. Costs can vary based on the region, time of year, type and size of the house, and many more factors. When using a pro, labor costs take up the bulk of the price. For DIY jobs, cost depends largely on the home’s size, selected paint, and the cost of extra tools and materials for prepping and painting that you don’t have on hand; average costs range from as little as $500 to about $1,000. Find out more in this guide on the cost to paint a house.
Should I hire a professional house painter?

Painting a house isn’t difficult, but it’s time-consuming and some folks don’t fancy the idea of hanging off of ladders all day. It might be better to hire a professional for 2-story houses or large homes, especially if you’re already tight on time or you’re not so great with heights. Enlisting a helper can save you some time, and if you go with a pro, prepping the house yourself can save you on costs.
Also, if your home is in a state of serious disrepair, it may be worth calling in a professional. If there is substantial damage or plenty of scraping and sanding to do, hiring the project out to a team of house painting professionals could be the way to go.
Final Thoughts
Painting a house can seem like a daunting task, but when you have researched how to paint exterior house siding and trim and take it one side at a time, it’s certainly doable. You can save hundreds to thousands of dollars and give your home a fresh new look that’s sure to turn heads. With this guide and its steps, such as prep work, you should be ready to tackle your next house painting project and learn how to avoid painting problems. Just be sure to choose appropriate, high-quality materials, and give yourself plenty of time to get the job done.
