We may earn revenue from the products available on this page and participate in affiliate programs. Learn More ›
Concrete, that durable, go-to material for foundations and footings, also deserves a place in your home’s yard—and we don’t just mean in a driveway or sidewalk. Whether you’re trying to support something heavy or create an outdoor spot for entertaining, concrete could be precisely what you need. See how five common outdoor projects can be brought to life with a few bags of Quikrete concrete.
Before you start… It’s tempting to grab a shovel and get right to work, but some advanced planning can help ensure you have the exact location and all of the supplies for the job.
• Contact your local building authority to determine if you need to obtain a permit and what, if any, rules they have regarding where you can pour.
• Call Dig Safe (811) to identify and mark any utility lines that are under the location of your planned concrete slab.
• Figure out how much concrete you’ll need. Quikrete’s calculator eliminates the guesswork: Just enter the square footage for the slab, and it will crank out the size and number of bags of concrete mix for either a 4-inch- or a 6-inch-thick slab.
1. PATIO
When summer arrives and good weather calls, what better place than a patio to enjoy the sunshine with your nearest and dearest? The easy-to-customize concrete slab can accommodate seating, fire pits, grills, and more, with room to stretch.
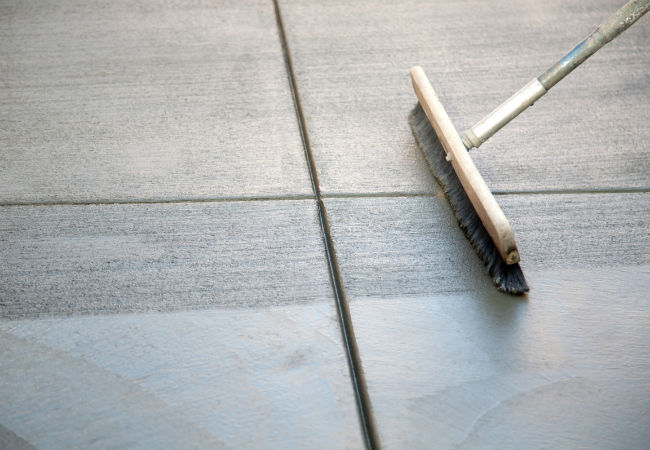
Pouring a patio is just like pouring any other slab, just on a larger-scale (often 300 square feet or more). As such, it’s a good idea to use an electric mixer—the Quikrete team can guide you through the process—and work in sections. Frame the entire patio, then section out smaller, more manageable areas of, say, 6 feet by 8 feet, and pour one section at a time. Doing so will give you ample opportunity to screed (level) the wet concrete, brush it, and cut control joints as outlined in Quikrete’s slab-pouring video. Keep in mind when you’re leveling the forms that a patio should have a minimum slope of 1/8 inch per foot and that the patio should slope away from your house. With a couple of friends and the help of Quikrete, you can pour a patio that will keep your family entertained all summer long. Applying a sealer to your cured concrete patio will be key in protecting it from moisture and minimizing the maintenance it requires.
Pro tip: If you’re pouring a patio alongside your home’s foundation, local building codes may require you to tie the patio into the foundation. This is done by drilling holes into the bottom of the foundation and then inserting the ends of rebar rods into the holes. The remaining part of each rod will extend into the slab. The rebar won’t be visible once the patio is poured, but it will keep the edge of the patio from sinking at the foundation level.
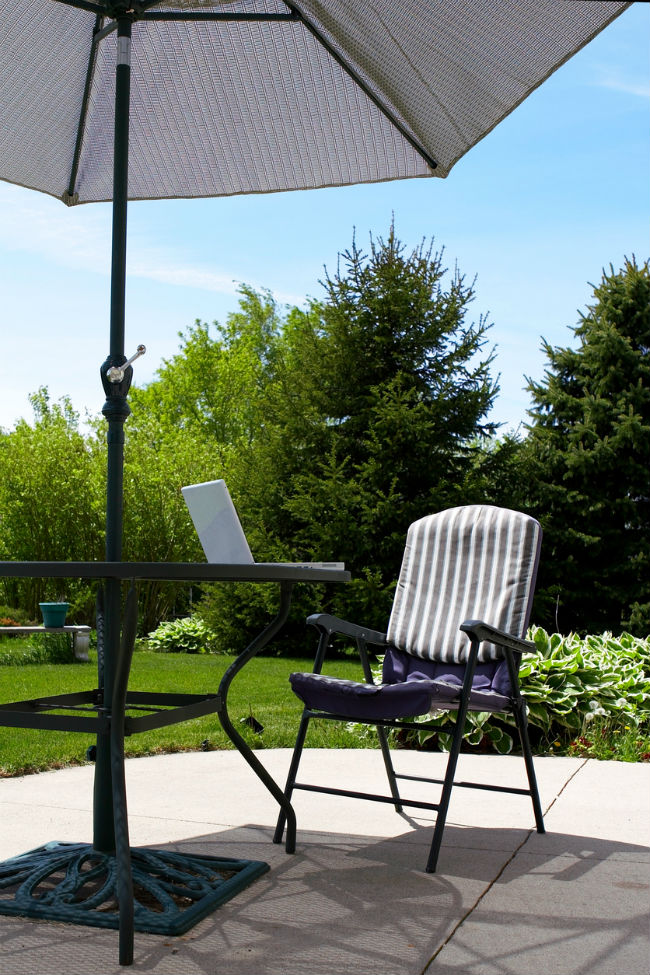
2. SHADY SPOT
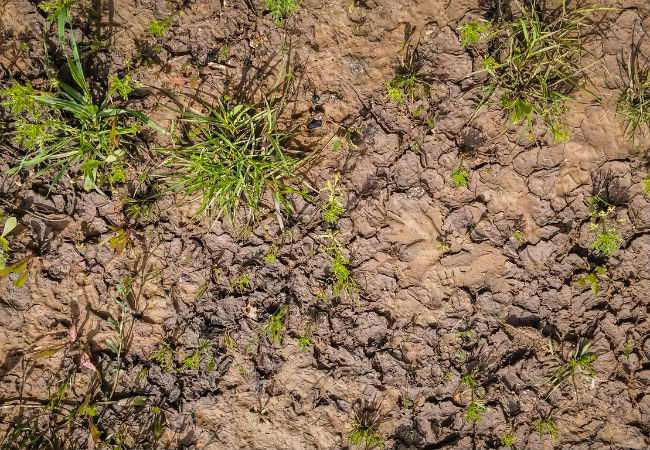
Do you have an area in your yard where the shade is so dense that not even grass will grow? It’s not that uncommon, considering how easily tall walls and towering trees can cast enough shadow to affect natural lighting around your yard. When there’s very little natural light, even shade-tolerant grass varieties won’t grow well. If you’re stuck with a dirt patch with an occasional tuft, and it just turns into a mud pit when it rains, you can make better use of that shady spot by pouring a slab of concrete over it.
This is one of the more creative uses for a concrete slab. It could serve as the foundation for a garden bench, a hammock, a grill station, or even a bubbling fountain. Don’t feel tied to a square or rectangular shape. Depending on your yard, perhaps a sinuous semicircle would be a better option. Check out Quikrete’s instructive video on how to pour a slab to get started. If you want curved edges, swap out the suggested 2×4 or 2×6 form boards for 4- or 6-inch-wide strips of ¼-inch lauan (a type of tropical plywood) or ¼-inch fiber-cement backer board—either can be coaxed into a gentle curve using stakes to hold the boards in place. However you design your slab, top with a sealer (either a glossy acrylic sealer or a silicone-based waterproofing sealer, both available from Quikrete) to protect your newly poured slab all water: precipitation, morning dew, and your sprinkler schedule.
Pro tip: When constructing the form for the slab, make one side slightly lower to encourage water to drain away. You shouldn’t be able to perceive the slope with the naked eye; aim for approximately 1/8 inch of fall per foot. For example, if you have a 10-foot square slab, one side would be 1¼ inch lower than the opposite side.
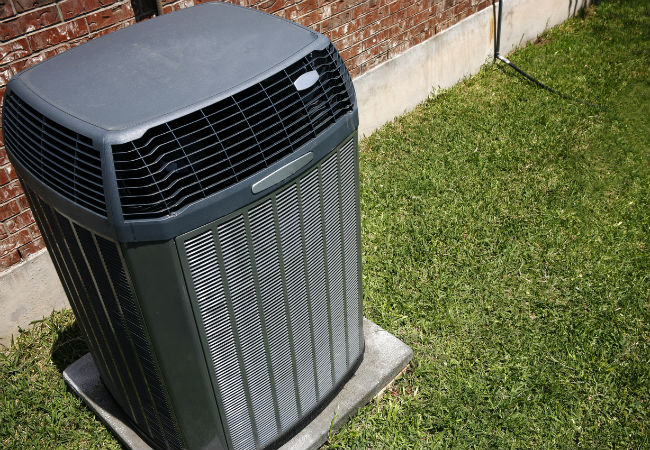
3. UTILITY SLAB
One of the most common reasons for pouring a concrete slab in the yard is to provide a level multi-purpose surface for anything from outdoor air-conditioning unit to a trash can station. In most cases, the slab needs to extend only four inches beyond each side of whatever sits on it. For example, if your AC unit measures 36 inches by 36 inches, you’ll need a 44-inch square base. If you’re eager to get that slab done so you can schedule an HVAC appointment or so that you can move on to other weekend projects, use Quikrete’s Fast-Setting Concrete Mix, which will set hard in 20 to 40 minutes. But before you call it a day, apply Quikrete’s Acrylic Cure and Seal to the freshly poured concrete to expedite the curing process and protect the slab that is regularly exposed to dirt, corrosive agents, and more, like a trash can station.
Pro tip: Unlike patios and driveways, which need a slightly sloped surface to allow water to drain off, most AC slabs need to be completely level to benefit the long-term operation of the unit. To get going on your project, check out Quikrete’s easy-to-follow instructions for pouring and finishing a concrete slab.
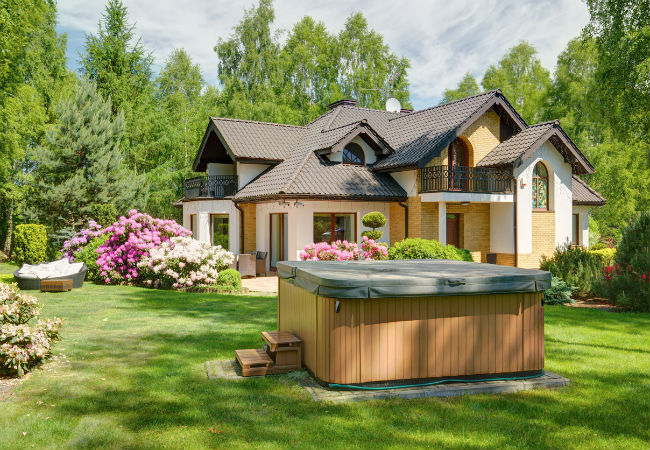
4. HOT TUB
A hot tub—that luxurious backyard amenity—can become very heavy when filled with water and people. A standard six- to eight-person hot tub, for example, holds about 420 gallons of water; add seven adult occupants to that volume of water, and the tub could weigh as much as 5,600 pounds. With that much weight sitting on bare ground, the hot tub could eventually sink and settle, leaving you feeling a little lopsided during your soak. Pouring a quality concrete slab to sit beneath it will protect your investment and improve the look of the hot tub. Find out how to form and pour your own slab here with a helpful video from Quikrete. Don’t forget to apply a sealer to the cured concrete to keep it safe from splashes!
Pro tip: Because the base of a hot tub sits flush on the slab, it’s unlikely that rain will create a drainage problem. All the same, you may want to pour the slab two to three feet wider than the dimensions of the hot tub on one or more sides to allow easy access around the tub. As with an AC foundation, a hot tub slab should be perfectly level.
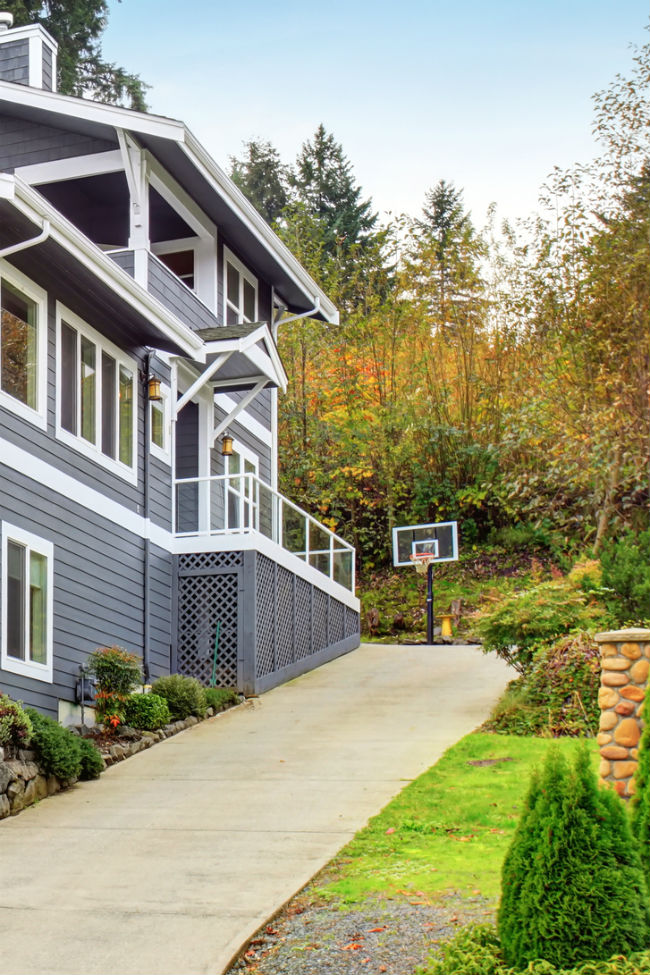
5. BASKETBALL HOOP
If you have kids, or if you’re still a kid at heart, a basketball goal will provide endless hours of fun and exercise. While you could install a post along your driveway, it could interfere with parking—and put your cars at risk of dents from errant basketballs. If space allows, a better option would be to install the goal a foot or two away from the driveway in a fresh slab.
Pouring a slab for a basketball hoop is slightly different than pouring other slabs because, while the slab itself need not be much larger than three to four feet in diameter, you must first dig a large hole in the center of that space and fill it with concrete in order to stabilize the pole—this is known as a constructing a pier.
Pro tip: Frame the edges of the slab as shown on this video from Quikrete. Before adding concrete, dig a hole in the center that is approximately 48 inches deep and 24 inches across (check your goal’s manufacturer specs for exact dimensions). Once the entire hole and the surrounding slab have been filled with concrete, you’ll insert long anchor bolts attached to a heavy steel surface plate deep into the hole of wet concrete, following the instructions that came with your goal. Then, finish the top of the slab as shown in the Quikrete video. After the slab has cured for a few days, you’ll be able to coat it Quikrete’s Concrete and Masonry Waterproofing Sealer, attach your new basketball goal to the sturdy plate, and start shooting hoops.
This content has been brought to you by Quikrete. Its facts and opinions are those of BobVila.com.