We may earn revenue from the products available on this page and participate in affiliate programs. Learn More ›
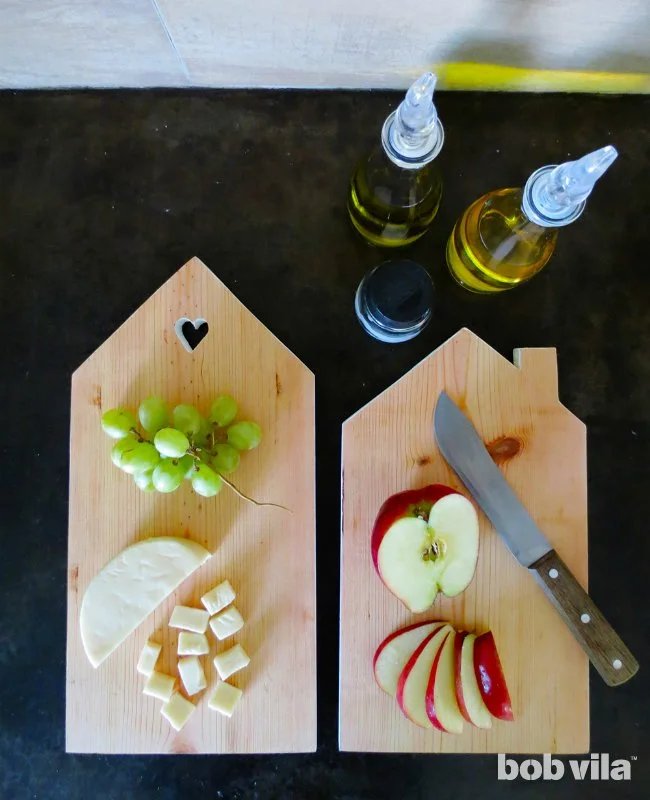
Family and food go hand in hand this time of year, and the kitchen is generally bustling with all of the action. If you plan to host (or are looking for the perfect gift for the do-it-all host and hostess in your life), personalize the holiday get-together with a custom cutting board. With detailing a unique geometric shape, carved heart, and two-tone color scheme, your finished project can make itself at home in the kitchen during meal prep or on the buffet as a serving tray for appetizers.

TOOLS AND MATERIALS
– Hardwood lumber, 8 inches by 15 inches
– Protractor
– Ruler
– Pencil
– Handsaw
– Jigsaw
– Drill
– 1⁄2-inch wood drill bit
– Clamp
– Sandpaper (80- and 150-grit)
– Painter’s tape
– Food-safe acrylic paint
– 1″-wide foam brush
– Mineral oil
– Rubber pads
STEP 1
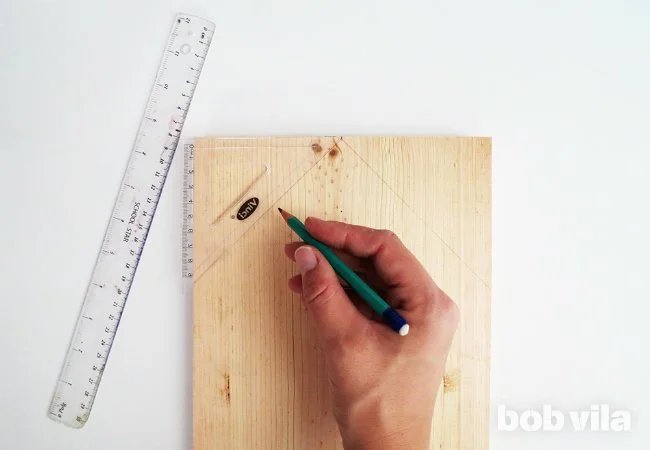
To make a cutting board durable for all of your future meal prep, it’s best to choose a hardwood, like maple or beech. Avoid pine wood all together, which will quickly become damaged by the slicing and dicing of your blades.
Cut a piece of lumber to 8 inches wide and 15 inches long; this length will be enough material for one cutting board. On either of the shorter sides, measure to find the center. From here, use your protractor to draw two straight lines at 45-degree angles to make the point of your roof. If you’d like, you can even draw a chimney along the roofline; just add a rectangular shape to one of the slants.
STEP 2
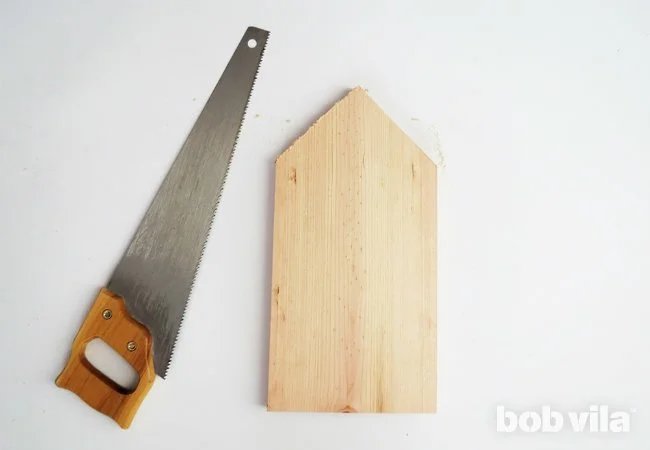
Cut out the roof shape along the penciled lines using a handsaw or a jigsaw.
STEP 3
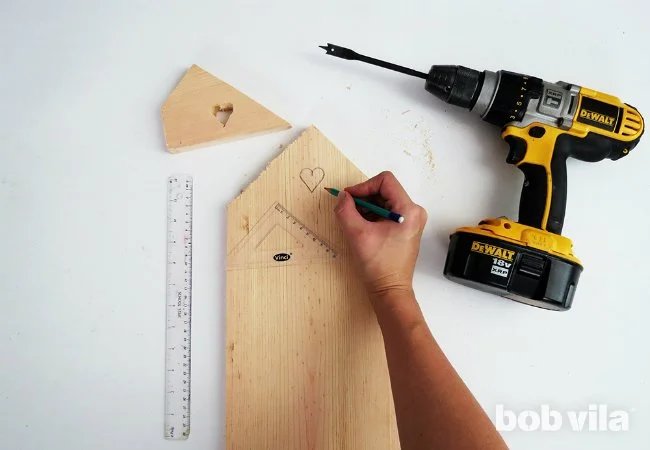
Next, you’ll add a heart-shaped hole in the “roof” in order to string and later hang the cutting board. Center the hand-drawn heart near the top of the cutting board. You will use a 1⁄2-inch bit to drill the curved parts of the heart, so your sketch should be at least 1 inch wide by 1-1⁄4 inches tall.
STEP 4
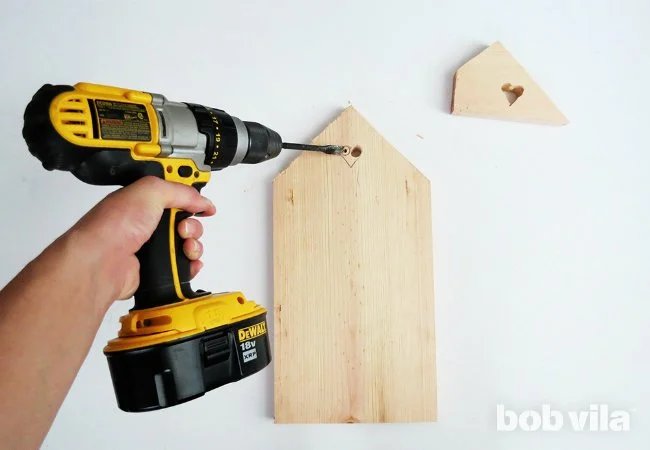
First, cut the two curves of the heart out by drilling two holes very close to one another using a 1⁄2-inch wood drill bit. (It’s not a bad idea to practice this cut once or twice on one of the angled scraps you cut from your lumber in Step 2 before trying it on your cutting board.)
STEP 5
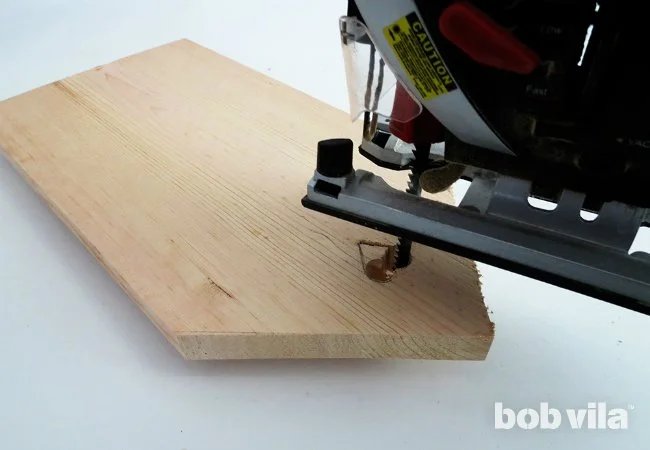
Then secure the board with clamps and use a jigsaw to cut out the pointed bottom of your heart.
STEP 6
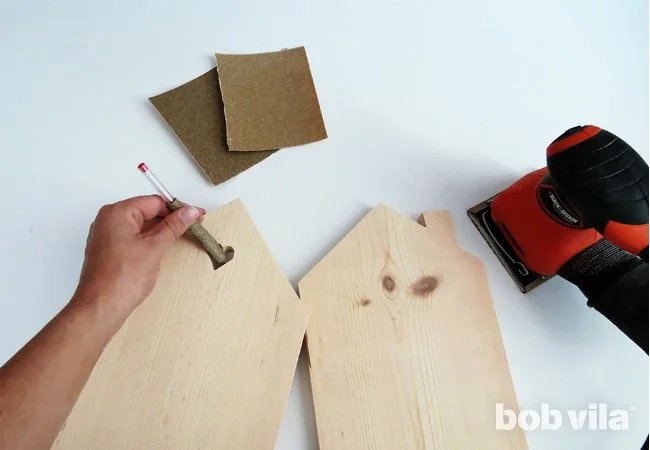
Sand down the board entirely, especially its corners and the inside of its cut-out. Start with a coarse 80-grit paper and finish with a finer 150-grit to smooth out the surface. To sand inside the heart hole, use a round file or simply wrap a piece of sanding paper around a pencil and maneuver the ad hoc tool along the edges.
STEP 7
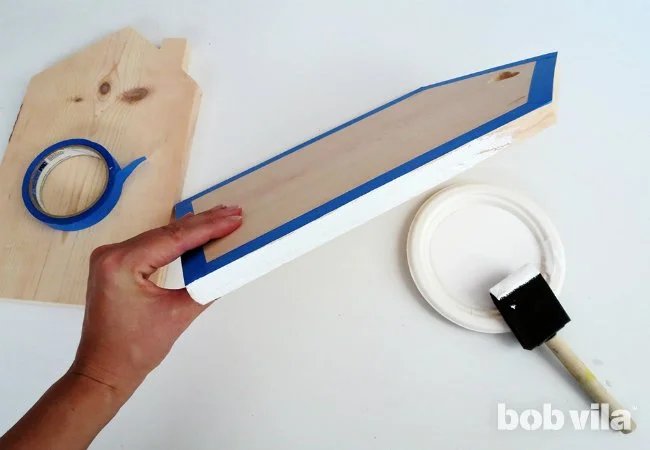
Lay your house-shaped cutting board flat, then outline the top of the lumber in strips of painter’s tape, including as best you can around the hole. Repeat the process on the back, so that no brushstrokes will touch the cutting side when you go to paint the edges of the board.
Since this woodworking project will be used for meal prep and serving snacks, it’s important to select a food-safe acrylic paint. Double-check the paint’s label for an AP non-toxic seal (issued by the Art and Creative Materials Institute, Inc.) before you get started. Once you have picked appropriate paints, apply a coat around the edge with a small foam brush. Lay the board flat to dry.
STEP 8

After the sides of your board have totally dried, peel back the painter’s tape. Then, rub a food-safe mineral oil over the top and bottom surfaces of the cutting board, working in the direction of the wood grain with a clean cloth. (Note: Choose mineral or linseed oil over vegetable ones like olive or corn, which can turn rancid and will leave an unpleasant taste on your food.) An even coat of oil every six months of use will prevent your handiwork from drying out and cracking.
STEP 9
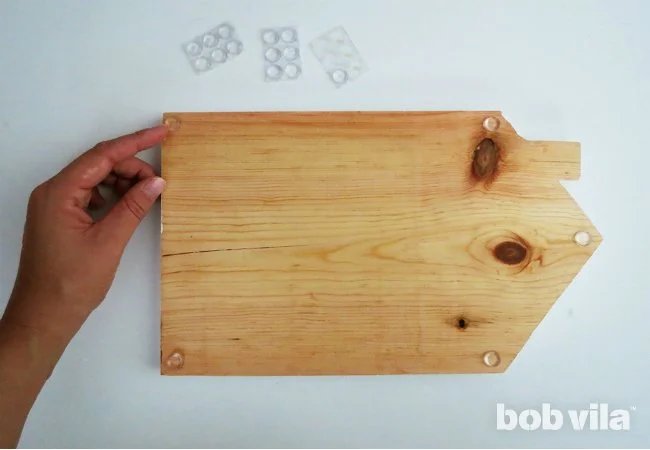
Glue a rubber pad at each corner on whichever side will be the bottom of your cutting board; these will help keep your cutting board to slipping around while you’re wielding a knife. Then, set out on the counter for immediate use serving up celebratory wine and cheese!
Ama is a DIY addict and the creative mind behind Ohoh Blog. She likes home decor, lighting, and furniture projects that may involve painting, sewing, drilling…no matter the technique! Whatever she has on hand is inspiration to create, and fodder for her serious addiction to upcycling.