
We may earn revenue from the products available on this page and participate in affiliate programs. Learn More ›
Copper and Wood Standing Lamp
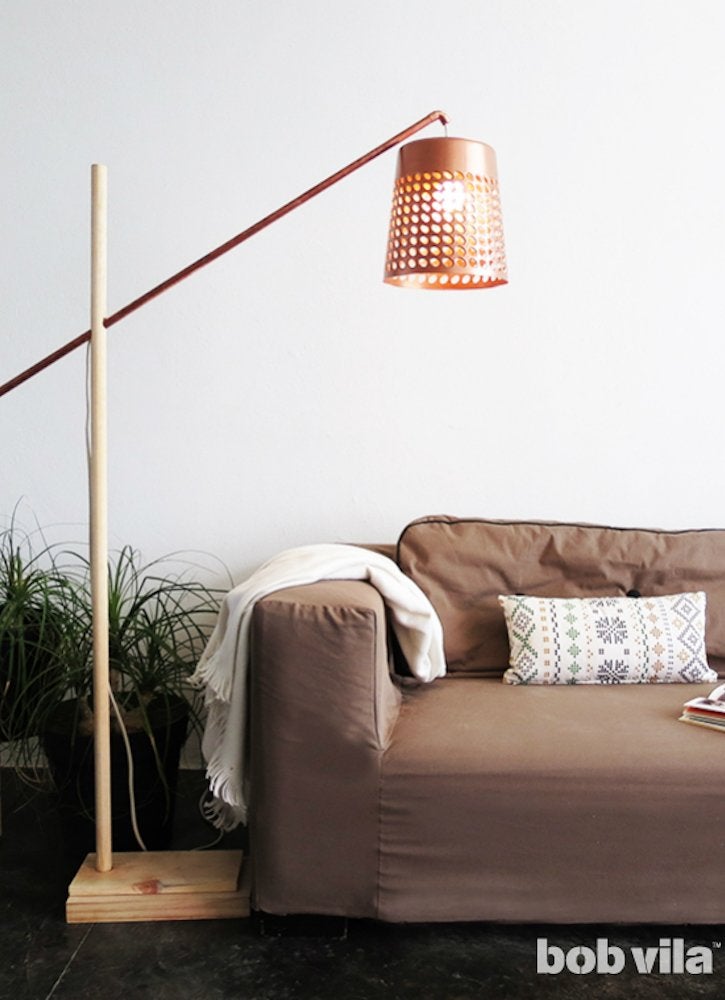
Pair the warmth of light-toned wood with the glamour of copper for this handcrafted lamp. Assemble it by fitting a large dowel into a hole drilled into a thick rectangular wooden base; glue in place. Drill an angled hole through the dowel, run a length of copper pipe through it, and glue in place. Drill a hole in the base of a small plastic basket to accommodate a light bulb socket, then spray-paint the basket in metallic copper. Then fit the plastic basket over the bulb and thread the cord of the lamp kit through the copper pipe.
Vintage-Style Cage Bathroom Fixture
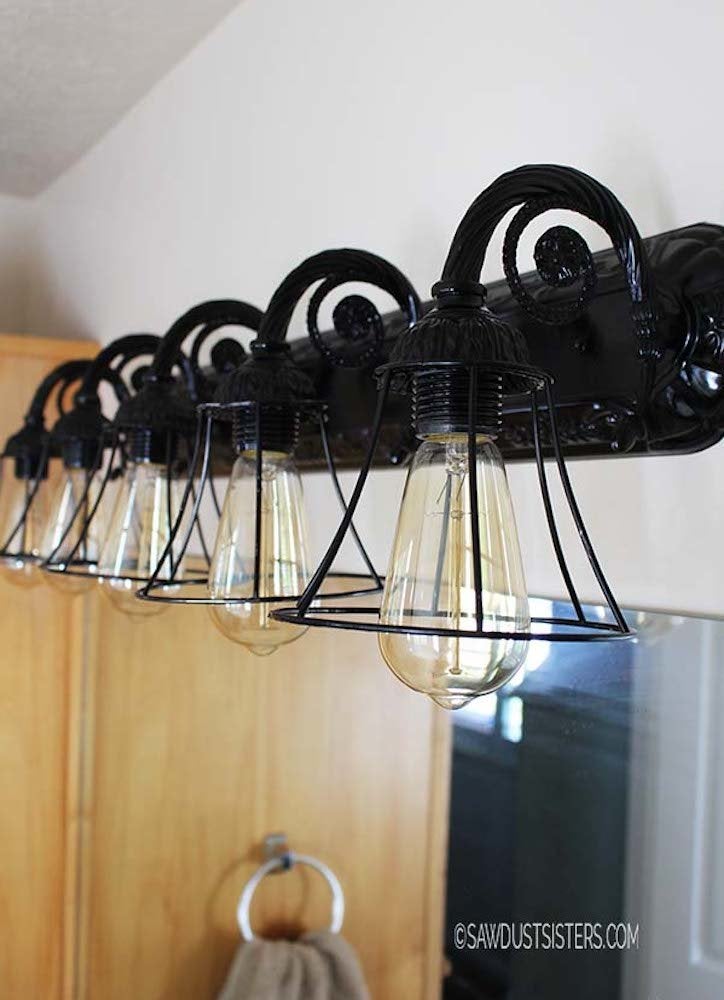
Turn your outdated bathroom fixture into a vintage-inspired beauty with little more than new shades and a coat of paint! To achieve the look, find small fabric shades that are about the same size as the shades currently on your fixture, then strip off the fabric. Remove the fixture from the wall, then spray-paint it and the lamp shade cages black. Once everything is dry, reattach the fixture to the wall, install the spray-painted cage lamp shades, and swap in filament light bulbs. Now you have a “brand-new” industrial-farmhouse lighting fixture that cost you next to nothing.
Related: 12 Vintage Bathroom Features That Never Go Out of Style
Wooden Tripod Floor Lamp
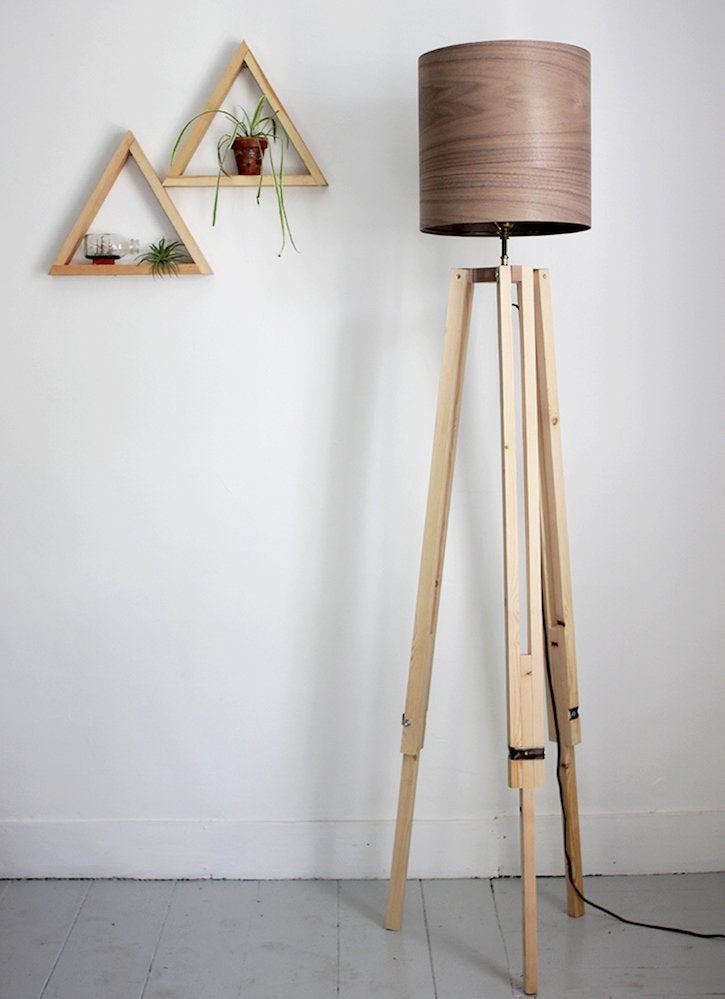
Put your carpentry skills to use and build yourself a sleek and stylish floor lamp! To make this fun design, you’ll need a lighting kit, pine boards, a wood plank, assorted hardware, and familiarity with a circular saw. Trim the boards and fit three together to create each of the tripod legs. Cut the plank into a triangular shape with a rectangular tab at each corner, and screw one leg onto each tab. Drill a hole through the plank, run the lighting kit through it, then top with a wood veneer-look shade or a lamp shade of your choice.
Nautical Rope Chandelier
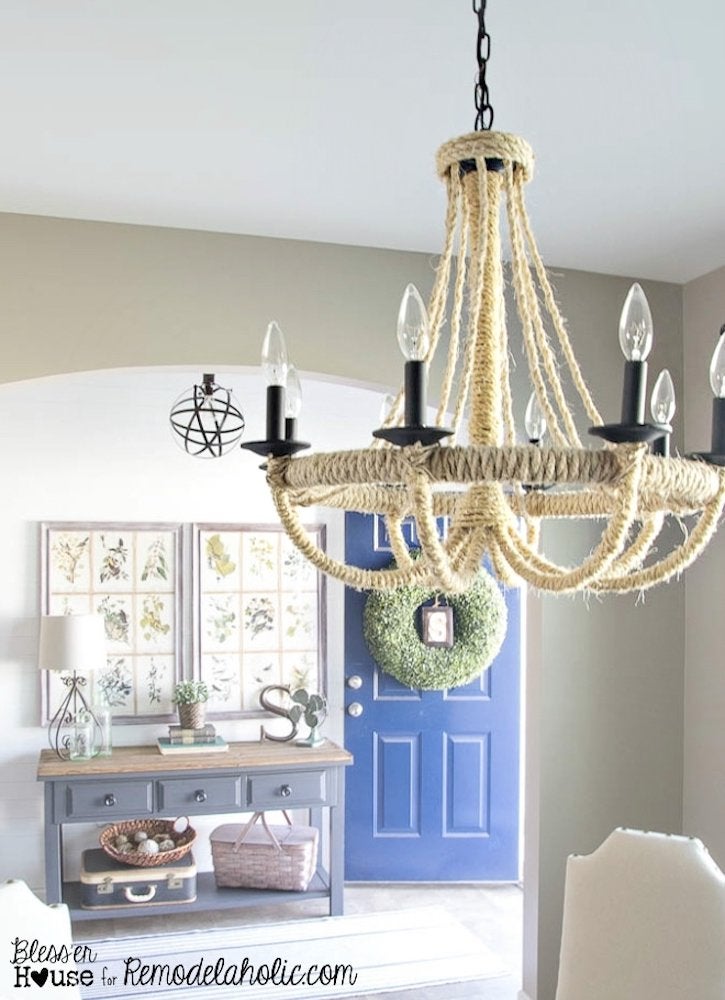
Transform a simple metal chandelier into a beach-house-worthy statement piece with this DIY idea. Start with a plain metal hanging fixture. If it needs more bulk or a more interesting shape, cut a hula hoop down to size and glue it into position inside the arms of the chandelier. Then, little by little, apply a few inches of hot glue to the chandelier, wrapping with sisal rope until the whole fixture is covered.
Industrial Pipe Multi-Light Fixture
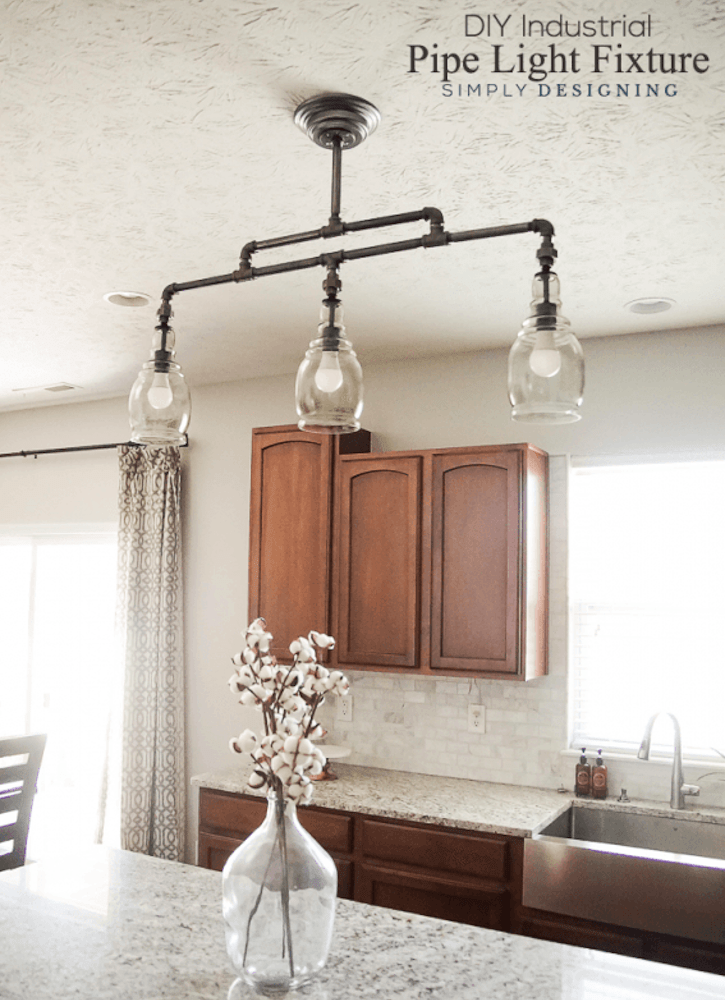
Incorporating plumbing pipes into your home design is a popular way to play with the industrial trend. Honestly, what’s more fun than fitting connectors, elbows, and flanges into endless combinations? To make this elegantly simple industrial pipe light fixture, start with a pipe decor kit (or buy each of the pieces individually) and as many individual mini pendants as you plan to use. Lay out your design, then feed the wires of the lights through the pipes as you fit them together. Attach to your electrical source, and install per the manufacturer’s directions.
Brass Globe Sconce

Chic and versatile, this brass globe sconce is an ideal light source in a small or tricky space. To make it, start with a neckless frosted globe and a porcelain socket, along with a brass-toned canopy, socket cup, neckless holder set, and arm. Following the instructions in the tutorial, assemble the pieces and run a wire through them to connect to your electrical source. Mount the fixture on the wall, then attach your light bulb and the globe.
Brightly Colored Halo Lights
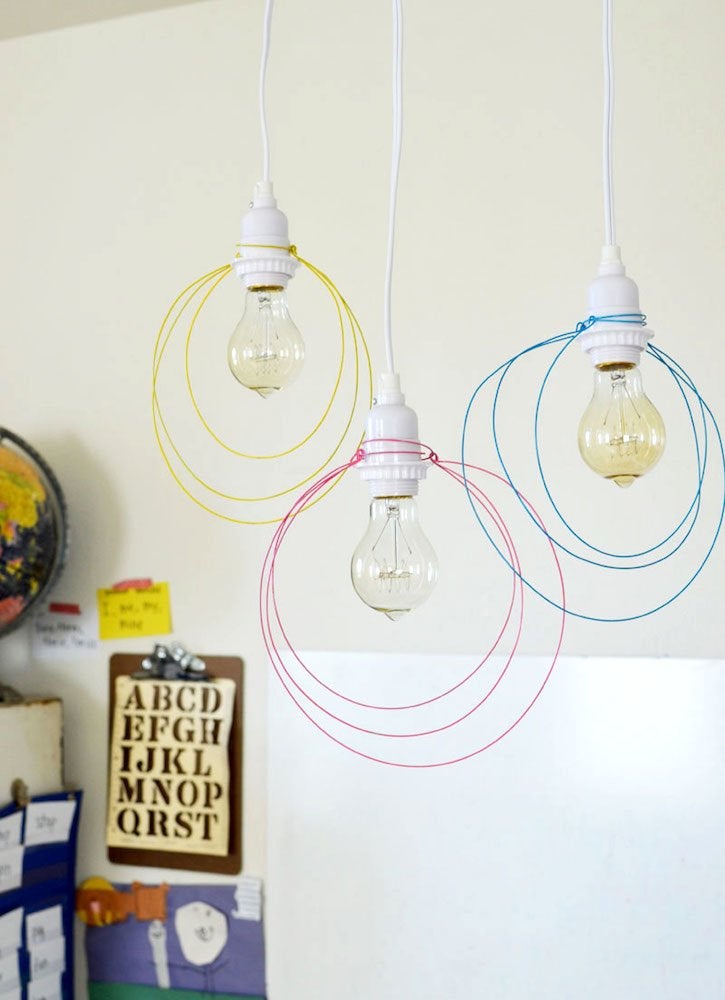
These whimsical lights are a breeze to assemble and can be made in any color you want! They’re great for a kids’ room or playroom, so long as they’re well out of reach. Begin by measuring and cutting wire into four lengths of graduated sizes. Wrap the shortest one into a circle that fits snugly over the top of a white pendant light kit. Bend the three longest pieces into large circles with loops at the ends. Spray all the wire circles one color, let them dry, then flip them over and spray the other side. Once the wires are completely dry, slide the loops at the ends of the three largest circles onto the small wire circle, and hang it over the top of the pendant light.
Large Recycled Bottle Lamp
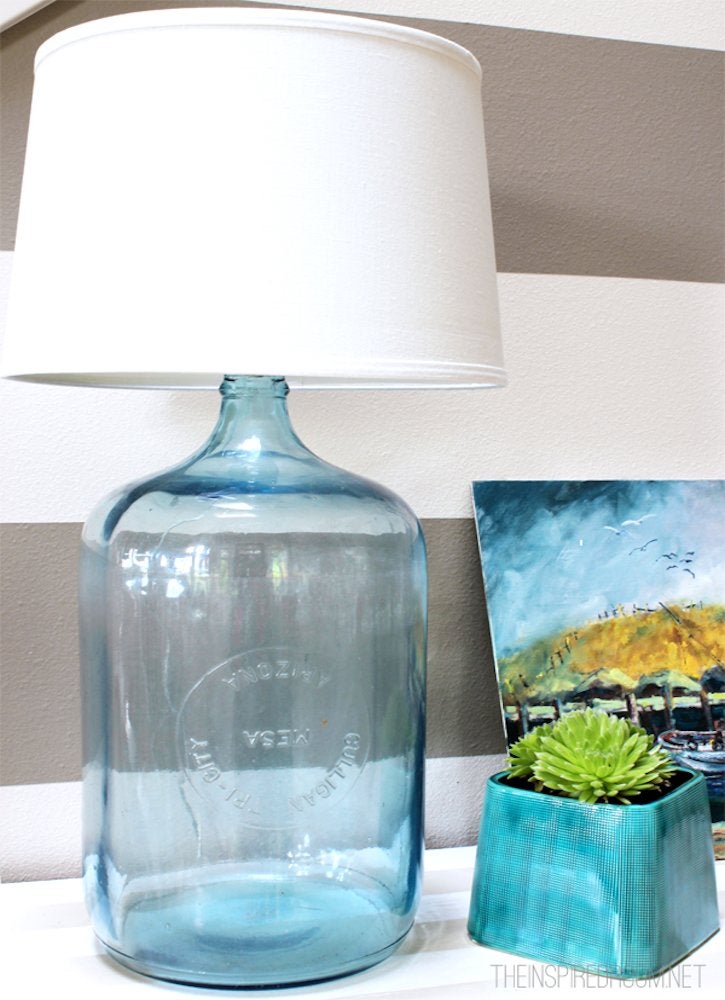
This is a great project for a flea market find—old wine jugs, glass water bottles, or beer growlers look great converted into lamps. Once you’ve found the perfect vessel, get a lamp socket, clear lamp cord, and shade kit. Assemble the socket and cord, then fit the socket (and the cord) into the top of the jar, using hot glue to secure them in place. Screw in the light bulb, add the shade, and turn on your light!
Geometric Copper Pipe Pendant
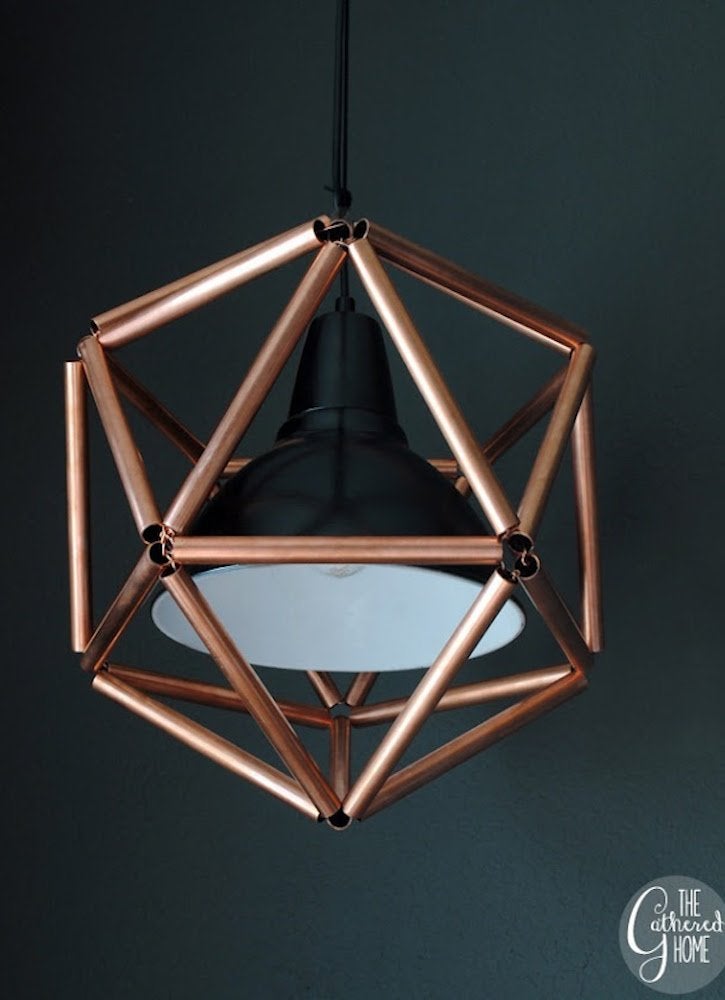
This copper pipe stunner is an on-trend addition to any space! Start with a basic pendant and spray-paint it black. Next, cut your copper pipe into 30 equal pieces, and clean them with steel wool. Use copper wire to assemble them into triangles, then attach the triangles to each other, fitting the pendant inside the sculpture before you close it entirely. Then simply hang the pendant from the ceiling.
Related: 9 Cool Projects You Can Make with Pipe and Fittings
Minimalist Wooden Disc Pendant

This project is so simple you’ll be wanting to try it on all your unused dinnerware! Start with a large but lightweight wooden serving bowl. Drill a hole in the center, then thread through it a pendant light kit that has a good-looking cord—you could even try it with a colored cord. Voilà, that’s it!
Stacked Wood Slice Lamp
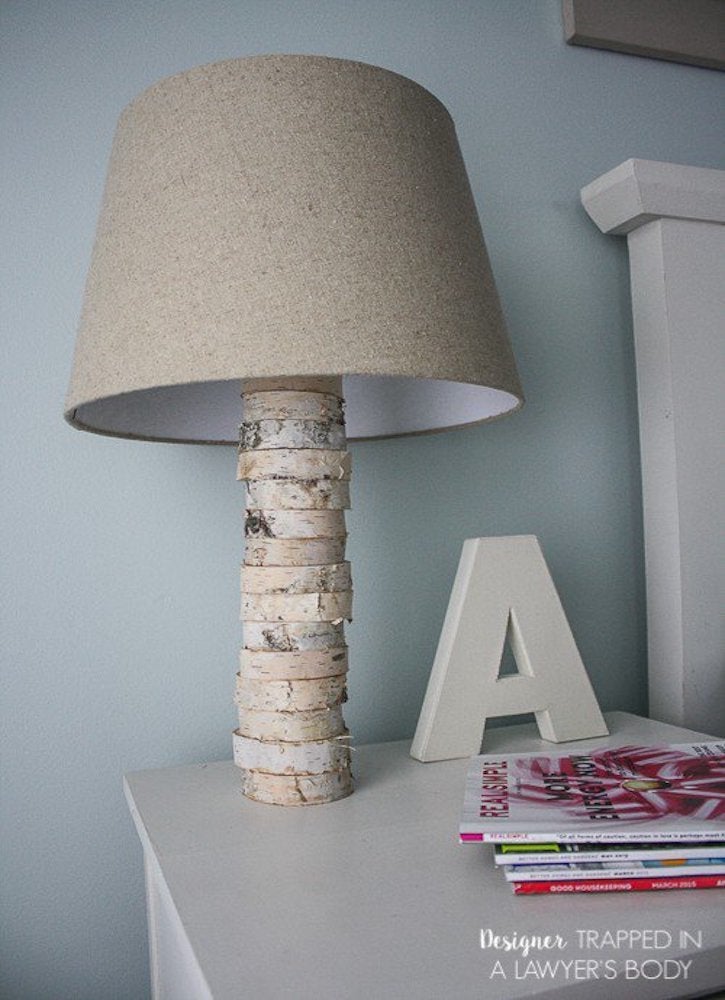
Birch slices add a lovely soft, natural element to your home—and stacked together, they make an intriguing table lamp. Drill holes roughly through the center of 15 to 20 birch wood slices. Stack them, then string the cord of a lighting kit through the bunch. Add wood glue between each slice and let dry, then top with a shade.
Wire Basket Wooden Wall Sconce
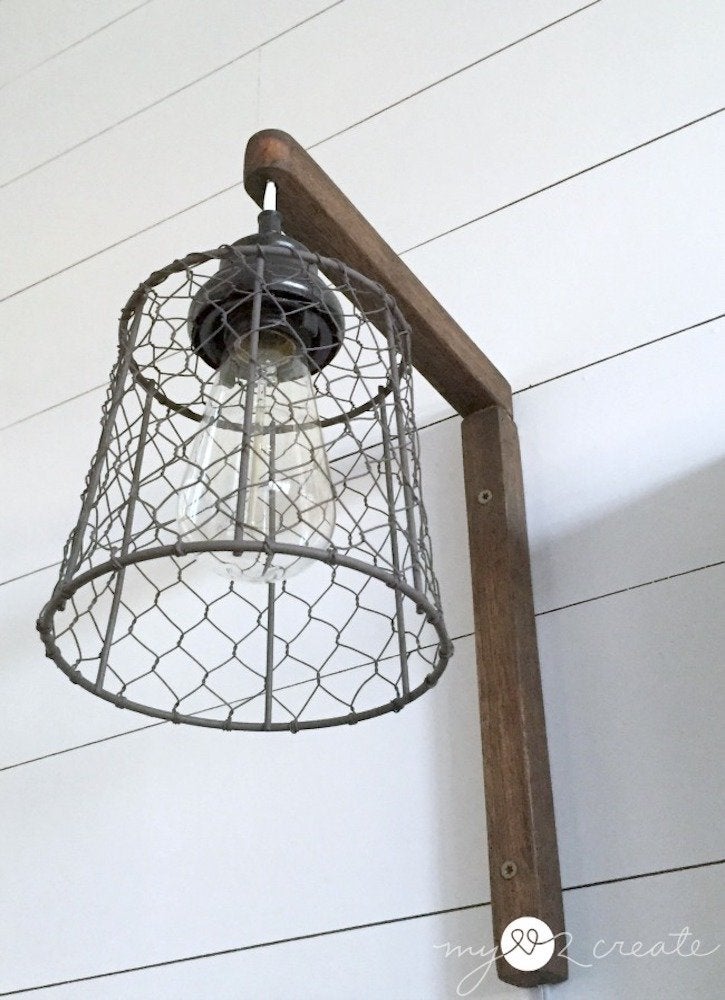
These minimalist industrial wall sconces make perfect reading lights in the bedroom. Begin by cutting two pieces of wood for the bracket. Next, use a router to carve a channel for the electrical cord along the back of each piece; for the top piece of wood, the channel should run straight into a hole drilled through the piece, close to the front edge. Screw the two pieces of wood together to form a right angle. Stain the wood in your desired shade and let dry. Then, string a cord through the hole and down the back. Mount the fixture to the wall, then screw in the light bulb.
Funky Piñata Lamp
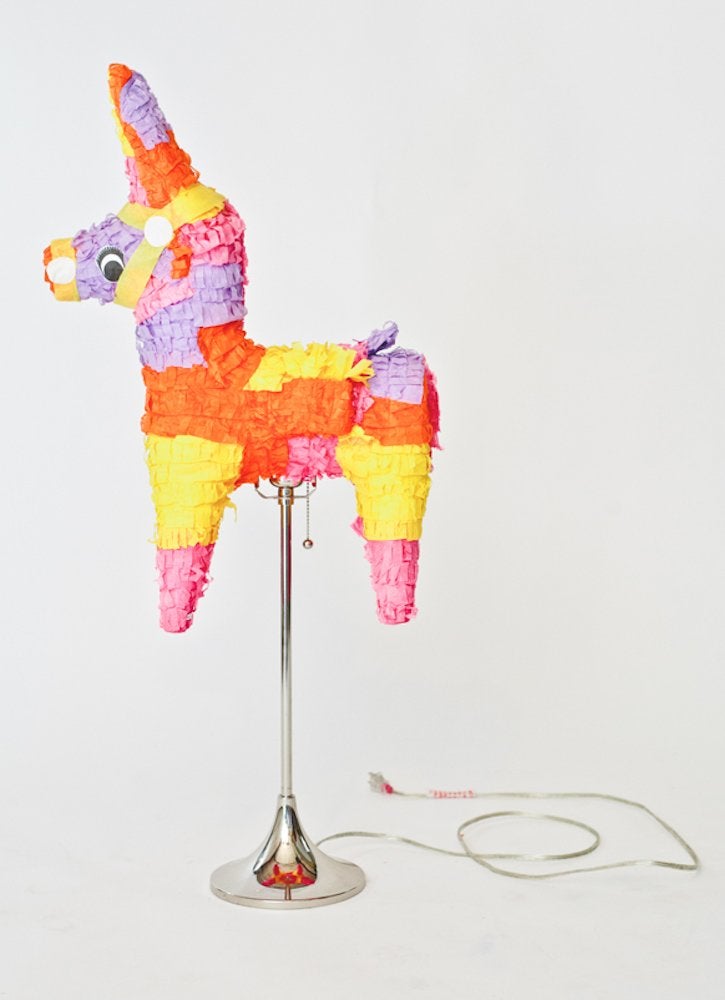
This playful donkey piñata lamp would be a great accent for a party or special event! Start with a piñata—you can make your own using papier-mâché and tissue paper, or simply buy one ready-made. Cut a small hole in the bottom, then fit the piñata over a table lamp with the shade removed. Just make sure you’re using a low-temperature bulb to avoid a fire hazard, and never leave it on unattended.
Related: Types of Light Bulbs and Light Bulb Shapes Every Homeowner Should Know
Outdoor Table Lantern
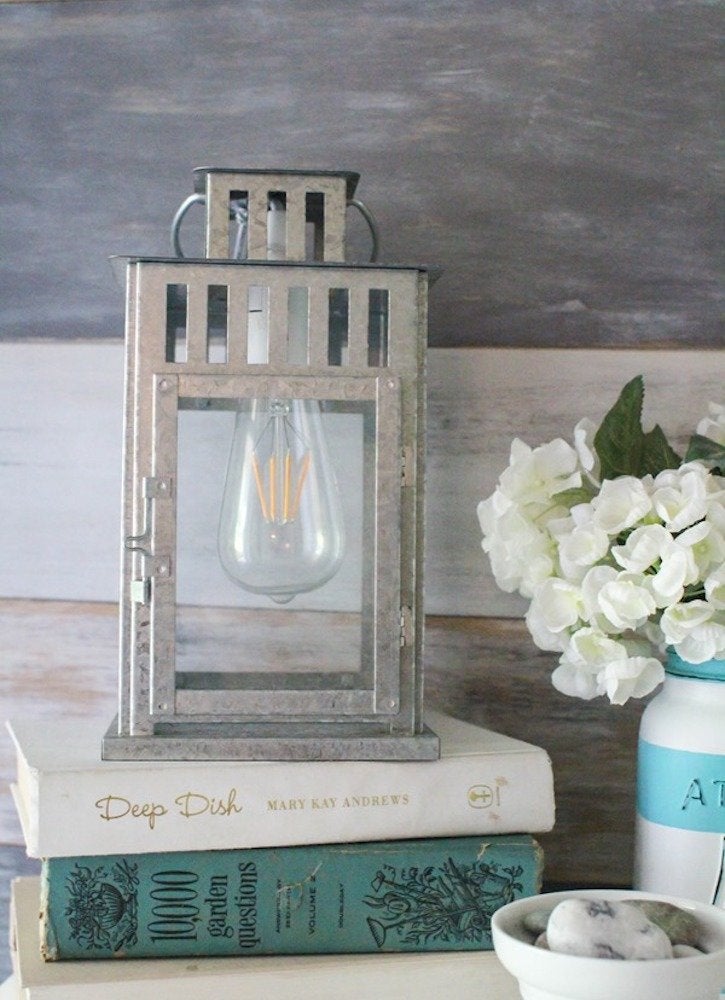
Metal lanterns are a lovely choice for outdoor settings, and indoors they bring a casual, friendly charm to any room. Start with a metal lantern of any size, and thread the cord of a lamp kit through the top of the lantern; you may need to take the cord kit apart and put it back together again to do this. Attach a small adhesive decorating hook to the inside top of the lamp, then hang the bulb from it.
Recycled Cardboard Pendant Lights
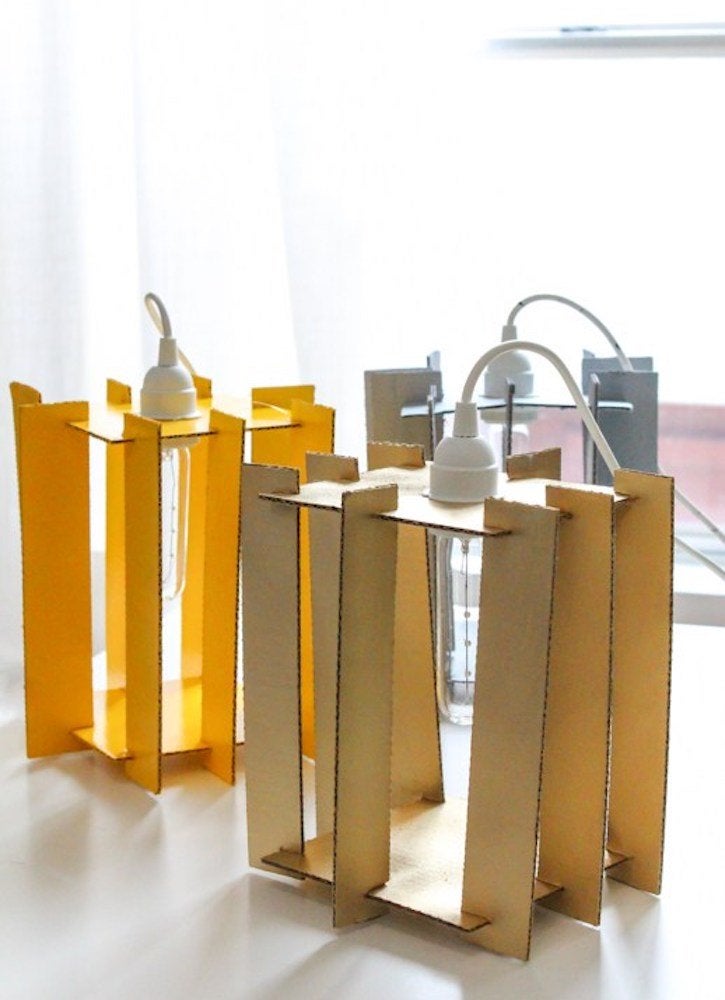
These colorful lights may look like they’re made from metal, but they’re actually made from recycled cardboard! This cheap (or free!) material gives you lots of room to play with shape and color. To re-create this approach, cut squares for the top and bottom, then cut eight strips to run between them. Cut a hole in the center of the top square, big enough to fit the light socket of your pendant light kit. Cut notches into the base and side pieces and fit them together as shown, then spray-paint the whole thing in the color of your choice. Once it’s dry, fit the cardboard form onto your light kit, and hang it with pride.
Modern Geometric Pendant
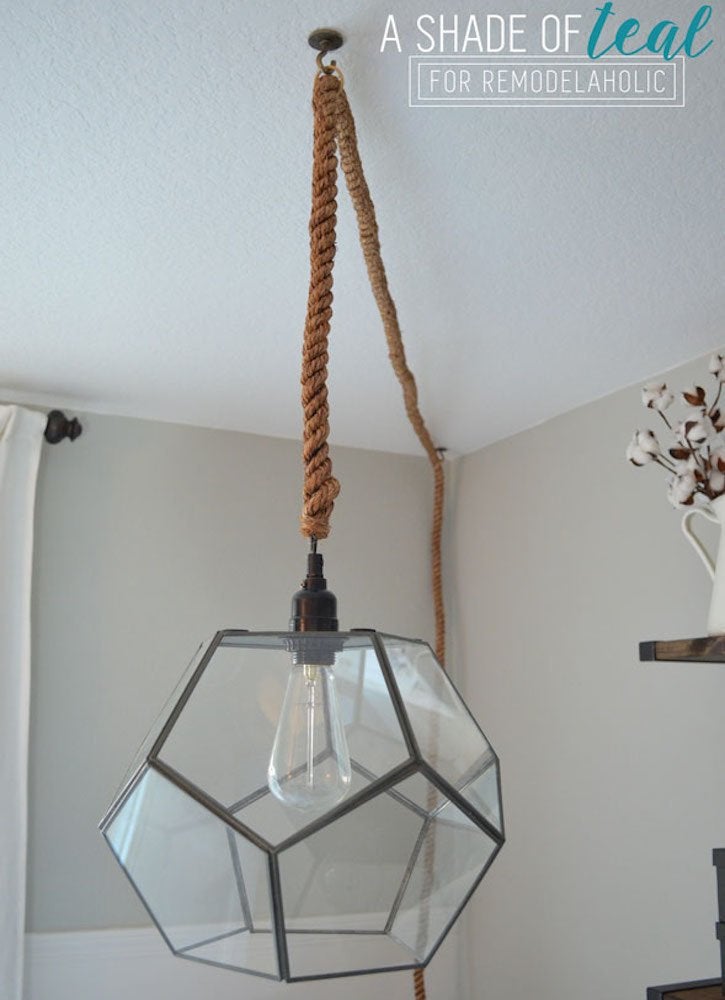
Construct a glass pendant to show off that trendy Edison bulb. This one was made from a glass terrarium and a swag kit. Simply flip the terrarium over, drill a hole through the metal base to accommodate the bulb socket (the hole for this one was two inches wide), then screw the swag kit into the base according to the manufacturer’s instructions. Fit the socket with an Edison bulb, and suspend the fixture upside down from a hook in the ceiling.
