We may earn revenue from the products available on this page and participate in affiliate programs. Learn More ›
Pipe curtain rods are super popular right now and very easy to make!
What You’ll Need
I used the following supplies to make the ones seen in my office’s progress:
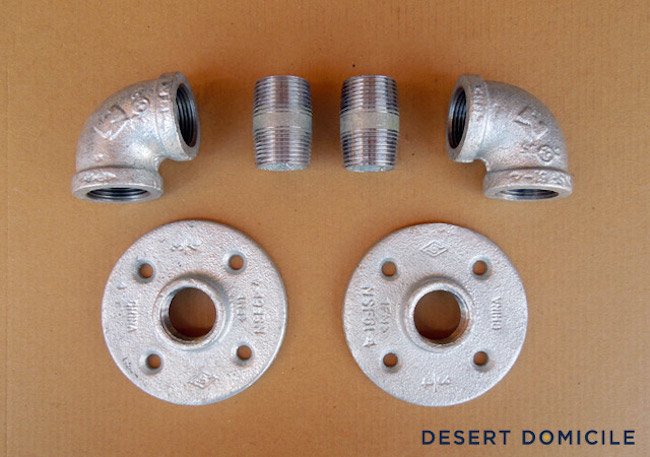
GALVANIZED PIPE PIECES
- (2) 3/4″ floor flanges
- (2) 3/4″ x 1 1/2″ nipples
- (2) 3/4″, 90-degree elbows
- (1) 72″ long pipe (or however long you want your rod to be)
Note: If you need a really long curtain rod (say 8′ or longer), you’ll need two pieces of pipe (say 4′ each) and a tee pipe in the middle so nothing sags or rips out of your wall.
TOOLS
- Drill
- Tape measure
- Level
- Stud finder
- Ladder or tall step stool
- Pencil
- Heavy duty anchors + the screws that go with them (if you can’t find a stud)
- Screws (if you can find a stud)
OTHER MATERIALS
- 1 can of oil-rubbed bronze spray paint (or your color of choice)
- Curtain rings (optional)
- Gloves (gardening, kitchen, etc.)
- An extra set of helping hands
How to Make a DIY Plumbing Pipe Curtain Rod
STEP 1
Assemble two sets of the floor flanges, nipples, and 90-degree elbows into “arms” like so:
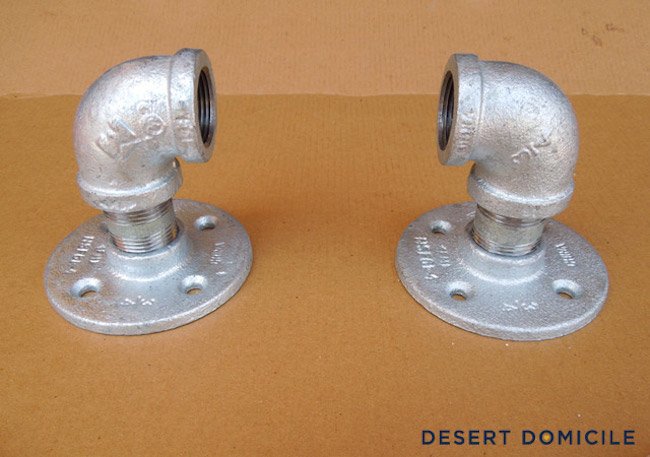
Tip: wear your gloves (gardening, kitchen, etc.) when you’re screwing everything together so you don’t get little cuts from the pipe’s threading on your finger tips!
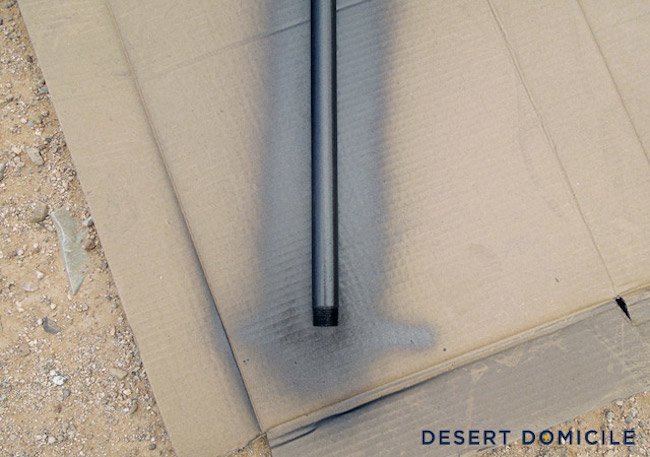
STEP 2
Your pipe is what’s being used as the curtain rod and it’ll run from elbow to elbow. Don’t screw it into the 90-degree elbows just yet. After you have your curtain rod “arms” assembled, spray paint everything (including the long pipe) the color of your choice.

STEP 3
Once the paint has dried and is no longer sticky (I waited 24 hours), measure out the placement of where you’d like the curtain rod to be on your wall. Remember: curtains look best when they’re hung high and wide!
Find studs if you can since the rod + curtains added to it can be a bit heavy and you probably don’t want everything crashing down at 2am! If you can’t find studs, use heavy duty anchors instead.
Unscrew one of your arm pieces so you can screw one of the floor flanges into place where you marked your measurements on your wall. Once that’s secure, screw the rest of the arm (the 1 1/2″ nipple + the 90-degree elbow) into the floor flange until your “arm” looks like this:

STEP 4
Next, screw one end of the long pipe into the end of the 90-degree elbow that’s attached to the arm that you just screwed into the wall. This is where it’s nice to have an extra set of helping hands so one of you can screw the pipe into the elbow while the other holds the pipe up so it doesn’t fall on your head! After you’ve screwed one end of the pipe in, slide your curtain rings onto the pipe.
If you’re not using curtain rings and simply sliding the curtains onto the pipe, do that step now but know that everything is going to become extra heavy from the weight of the fabric hanging down from the pipe!
Once your rings/curtains are on the pipe, switch places with your partner and screw the other side of the long pipe into the 90-degree elbow that’s attached to the arm you haven’t screwed into the wall yet. Since this arm isn’t screwed into the wall yet, we’ll need to mark the placement of its screws.
Hold the floor flange tight against the wall while your partner grabs the level. Make sure the entire curtain rod is level before marking the screw’s placement!
Now this is the tricky part:
- If you didn’t find any studs, you’ll need to unscrew the long pipe from the arm that’s already attached to the wall so you can put your anchors into the exact location of the marks you just made on the wall without there being a pipe in the way. Then you’ll need to screw the arm back onto the long pipe so you can screw the floor flange into the wall. You won’t be able to put a screw into the hole behind the pipe (see below) because the pipe is in the way but that’s OK!
- If you did find studs, leave all of the pieces screwed together and have you or your partner hold the pipe in place while the other person screws the floor flange into the wall. It’s a bit of a pain to do but it can be done!
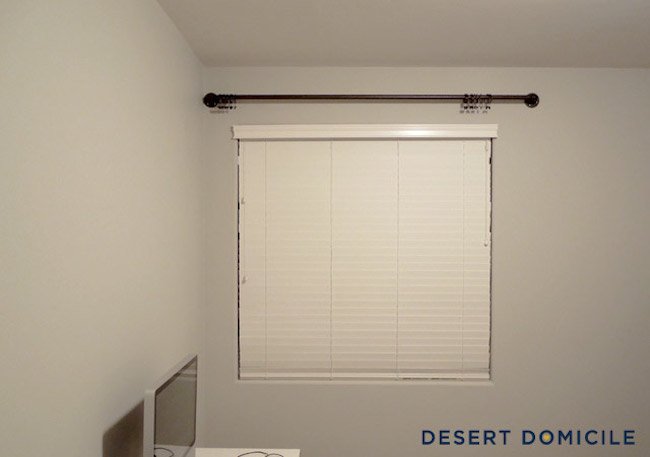
After everything is all said and done and your pipe curtain rod is securely hung, take a step back and admire your work!
STEP 5
If you slid your curtains onto the rod sans rings, fluff them up and space them out how you see fit. If you added curtain rings, it’s time to start ringing your curtains up!
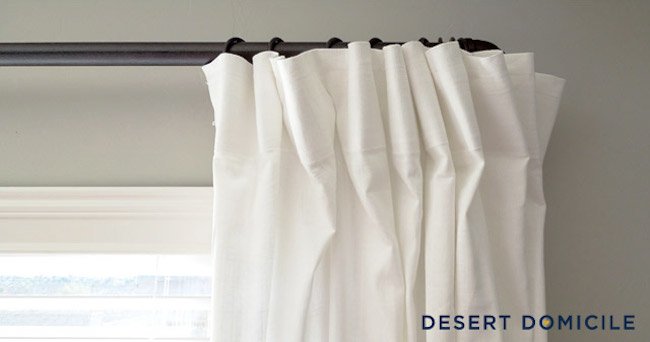
I like to do a faux pinch pleat treatment to my curtains. It sounds fancy but it’s really not! Basically you take a little bit of the curtains fabric and pinch it together in the back. Then you clip the curtain ring about 1/2″ to an 1″ below the top onto the pinched part like so:

Repeat as many more times as you have curtain rings.
Fluff everything up, hem the curtains if needed (on my to-do list!), and then marvel at your handiwork.