We may earn revenue from the products available on this page and participate in affiliate programs. Learn More ›
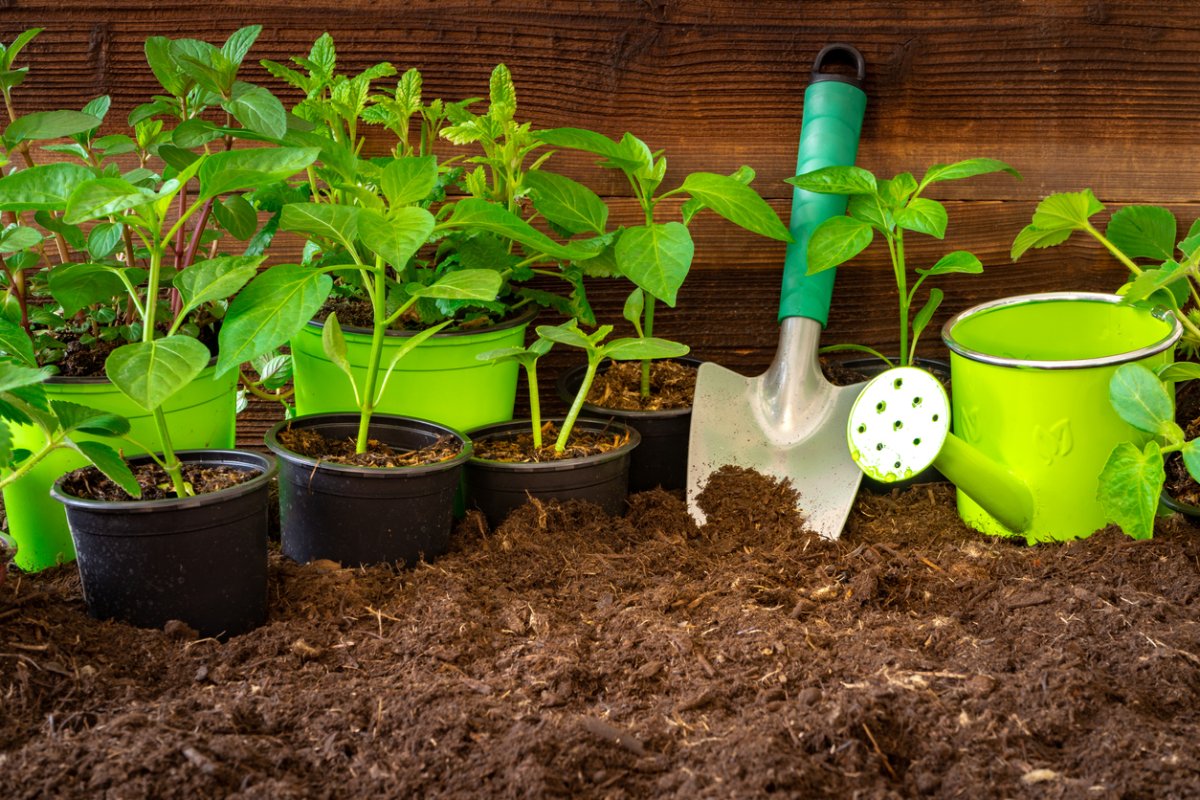
The soil in which you grow flowers and food is an essential part of the garden’s success. If you need just a small amount of soil to fill a few containers, it probably will be most economical for you to simply buy a bagged mix rather than opting for DIY potting soil. Should you require a large amount, though, you sometimes can save money by purchasing the ingredients separately and combining them yourself.
Most mixes include both a moisture-maintaining ingredient and an ingredient to encourage good drainage, usually in equal amounts. This helps create a balanced soil that will stay damp—but not soggy—for a while after being watered. Some might also incorporate fertilizers and lime to sweeten the pot.
Related: Garden Soil vs. Potting Soil: What’s the Difference?
DO use a moisture-maintaining ingredient to prevent your mix from parching.
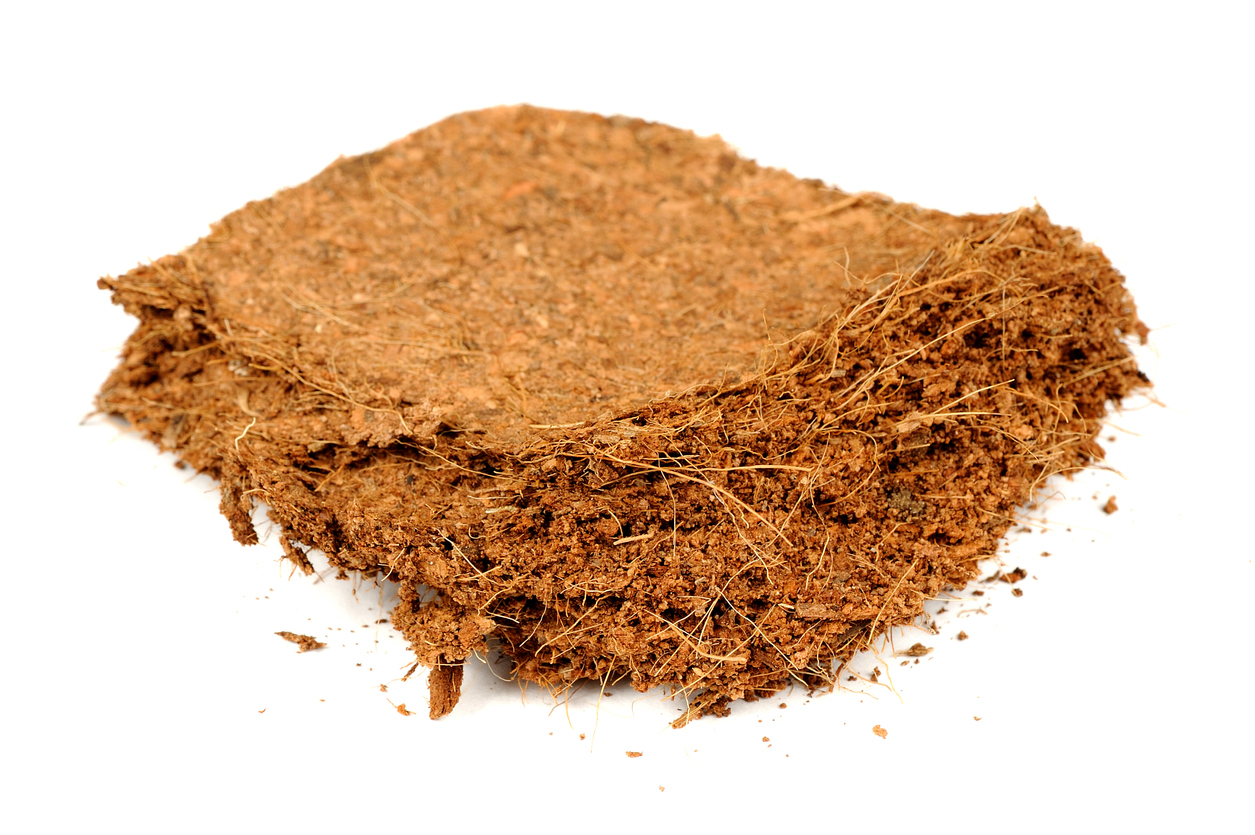
Although peat moss has long been a standard ingredient in potting mixes for its ability to keep the mix damp, it is not the only substance suitable for that purpose. You can substitute coconut coir (procured from coconut husks) or compost if you have environmental concerns about the depletion of peat bogs.
Keep in mind that although peat moss holds moisture well once wet, it can be difficult to moisten when completely dry unless it has had a wetting agent previously added to it. If your moss doesn’t include such an agent, place a few drops of dishwashing soap in each gallon of water you use to moisten it, adding the soap after the water already has been run to avoid suds. (You’ll need about 20 gallons of water for every 3 cubic feet of peat moss.) Always wear a dust mask when working with mix ingredients to avoid inhaling fine particles.
DO add a drainage-promoting ingredient to save your mix from sogginess.
If you use sand for this purpose, you’ll want to make that coarse builder’s sand, since other types can be too dense to provide enough aeration to the soil. Alternatives to sand include perlite (heated volcanic rock) and vermiculite (heated mica).
Keep in mind that coarse grades of perlite and vermiculite drain more quickly and hold less water than finer grades do, though vermiculite in general retains more water and nutrients than perlite, which may or may not be a good thing. So, vermiculite would be most appropriate for plants that prefer constantly damp conditions, while perlite will work better for those that prefer drier soil.
Alternatively, as The Old Farmer’s Almanac recipe suggests, you might want to use equal parts of perlite and vermiculite as your moisture-maintaining ingredient. In recent years, some gardeners have used pine chips as a substitute for perlite.
DON’T add excessive amounts of sand, or your containers will be too weighty to lift.
The downside of sand is that it weighs a lot, about 80 to 100 pounds per cubic foot when dry. So, potting mix that includes it might be unacceptably heavy if you are using that sand to make up more than 10 percent of the mix. Of course, a little extra weight might be a good thing when you are potting up plants that tend to be top heavy and need a stabilizing base.
However, if you want to spare yourself the heavy lifting involved, opt for perlite—at 6 to 8 pounds per cubic foot—or vermiculite—at 5 to 8 pounds per cubic foot, both of which are much lighter than sand, while providing the same benefits of good aeration and drainage.
DON’T use unsterilized garden loam, which can cause unnecessary problems.
You can create a simple soilless mix with a combination of one moisture-retaining ingredient and one ingredient that encourages good drainage, such as equal parts of peat moss and perlite. But, if you prefer to add garden soil, you’ll want to purchase the bagged commercial variety that specifies it has been sterilized. That will spare your potted plants any of the disease spores, insect eggs, or weed seeds that are likely to lurk in soil taken directly from your garden.
Sterilization of garden soil requires heating it to 200 degrees, a smelly process that you probably won’t want to inflict on your family. A Penn State potting soil recipe suggests that you mix bagged garden soil with equal parts of peat moss and perlite, which ensures that it is light enough for pots, recycled containers, and vertical gardens.
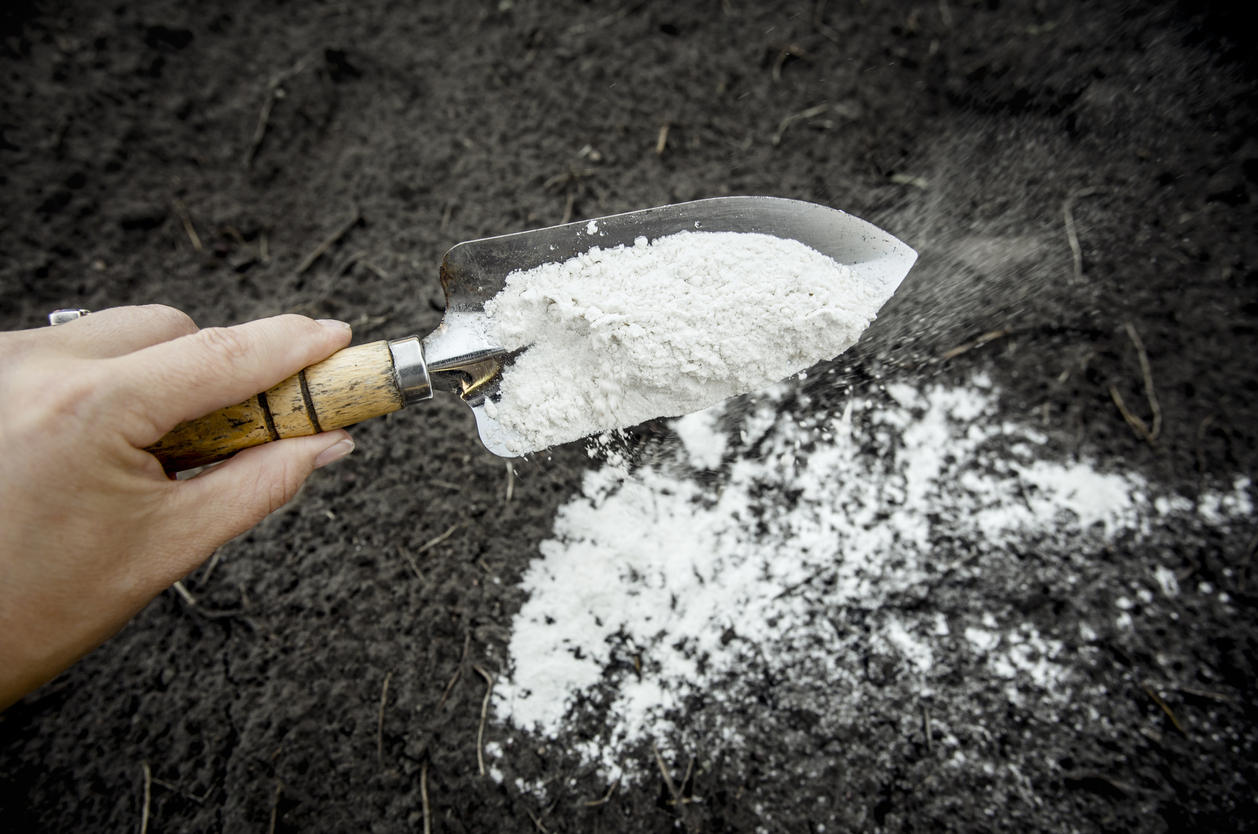
DO add supplements as necessary so the mix maintains the proper pH and adequate nutrients.
If peat moss, which has a pH around 4.5, makes up a large percentage of your potting mix, that mix might be too acidic. Planet Natural suggests adding 10 pounds of limestone to every cubic yard of a peat moss or coir/perlite mix. However, you probably can reduce or eliminate the limestone when using coir, since it is less acidic than peat moss.
If you wish to add fertilizers as well, the recipe recommends 20 pounds of bone meal and 10 pounds of blood meal for that cubic yard of mix. Or, according to the previously mentioned Farmer’s Almanac recipe, you can blend 2 cups of timed-release fertilizer pellets into about every 6 ½ gallons of mix instead.
Related: How to Test Soil pH
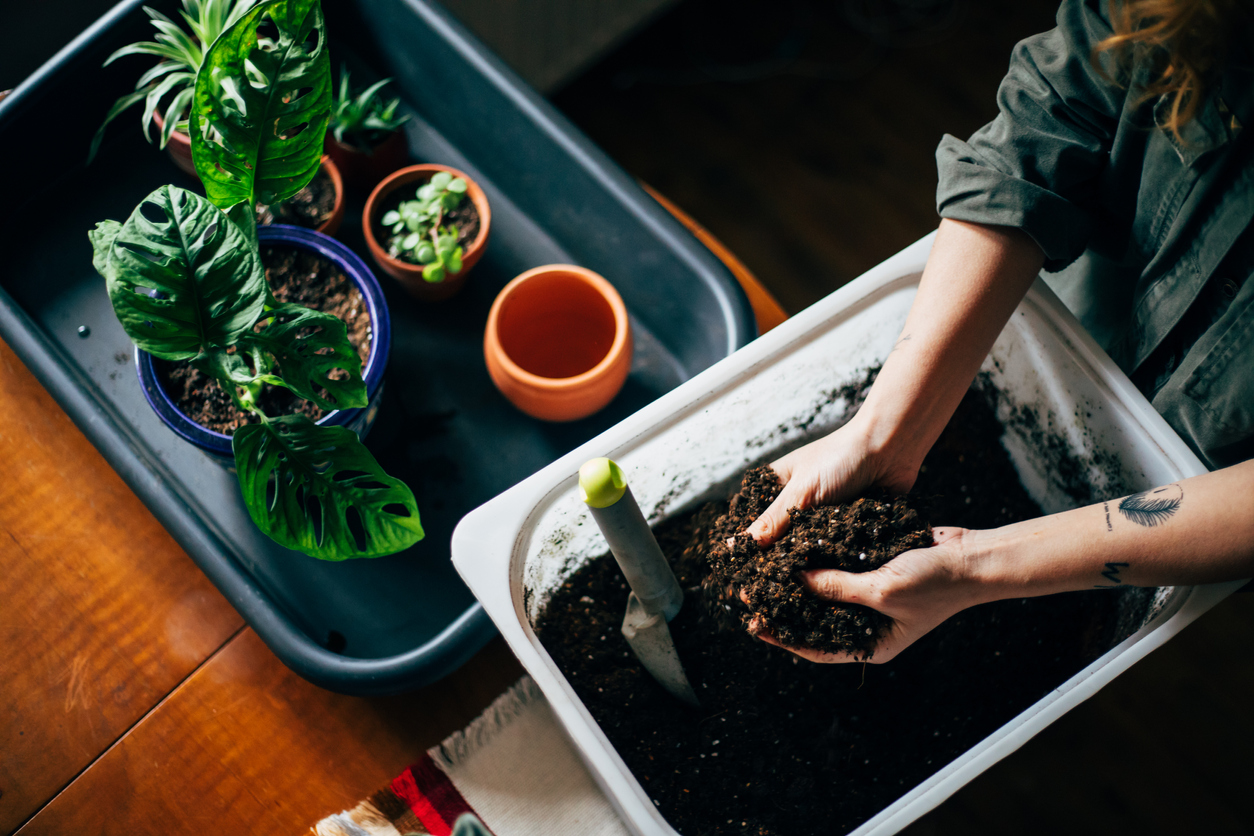
DO modify the composition of the potting mix so that the end result is light, free-draining soil.
If your mix looks lumpy once you are finished with it, use ¼-inch or ½-inch mesh hardware cloth as a sifter, pressing the soil through it to break up the clumps. This generally works best if you staple the hardware cloth to a wooden frame and place the frame over a wheelbarrow or storage container.
As with a bread recipe, you might need to adjust the ingredients if your mix appears either too sticky or too dry. For “too sticky,“ add more of your drainage-promoting ingredient, and add more of the moisture-retaining one for “too dry.” Once the mix is just right, store it inside a tightly covered plastic trash can to keep it damp.
