We may earn revenue from the products available on this page and participate in affiliate programs. Learn More ›
Longevity and luster make stainless steel a popular choice material for appliances, countertops, and other fixtures. But the metal is notoriously prone to greasy fingerprints, smudges, and streaks, not to mention dirt and stains caused by everyday spills. What’s more, improper cleaning techniques can add to the mess on stainless. Commercial stainless steel cleansers cost between $7 and $15 per 15 ounces, but thrifty homeowners and those committed to natural cleaning approaches might prefer a do-it-yourself alternative made from inexpensive, chemical-free ingredients. Read on for the easy recipe and how to use your new homemade stainless steel cleaner for cleaning stainless steel around the house.
How to Make and Apply DIY Stainless Steel Cleaner
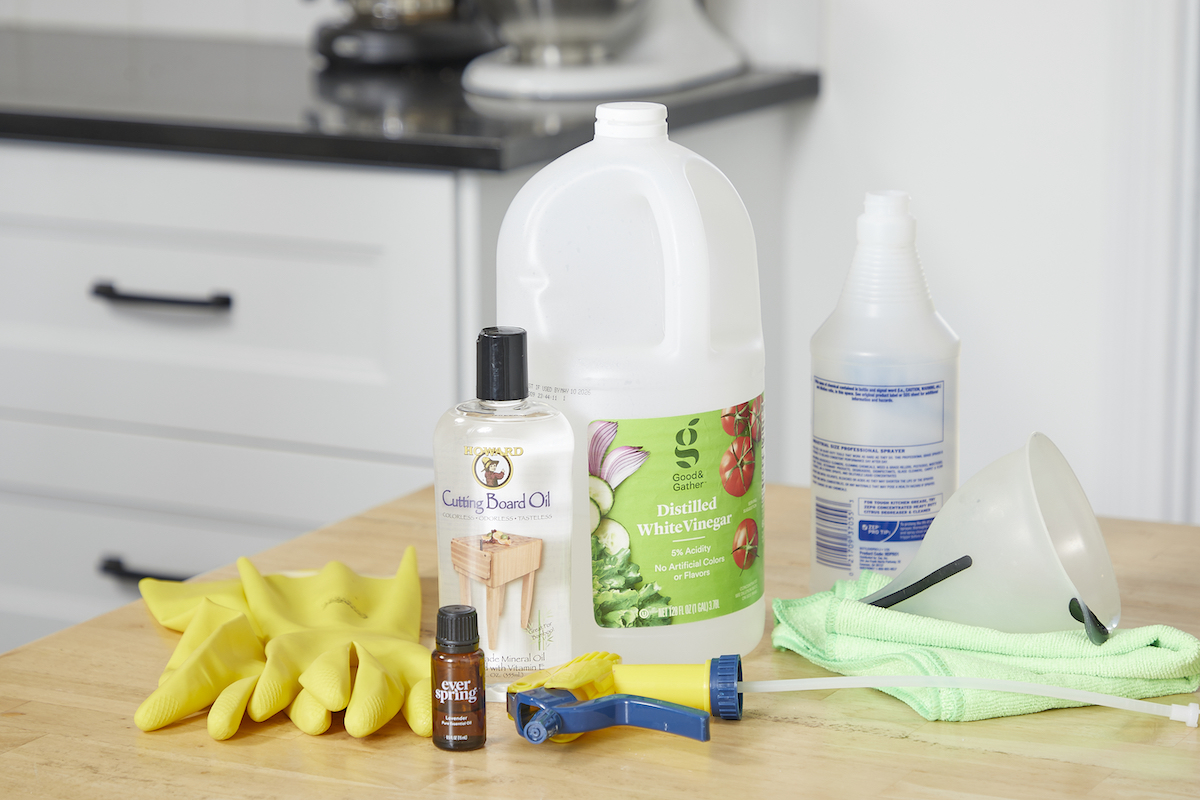
Tools & Materials
Bobvila.com may earn a commission from purchases made through these links.
Step 1: Fill spray bottle with vinegar.
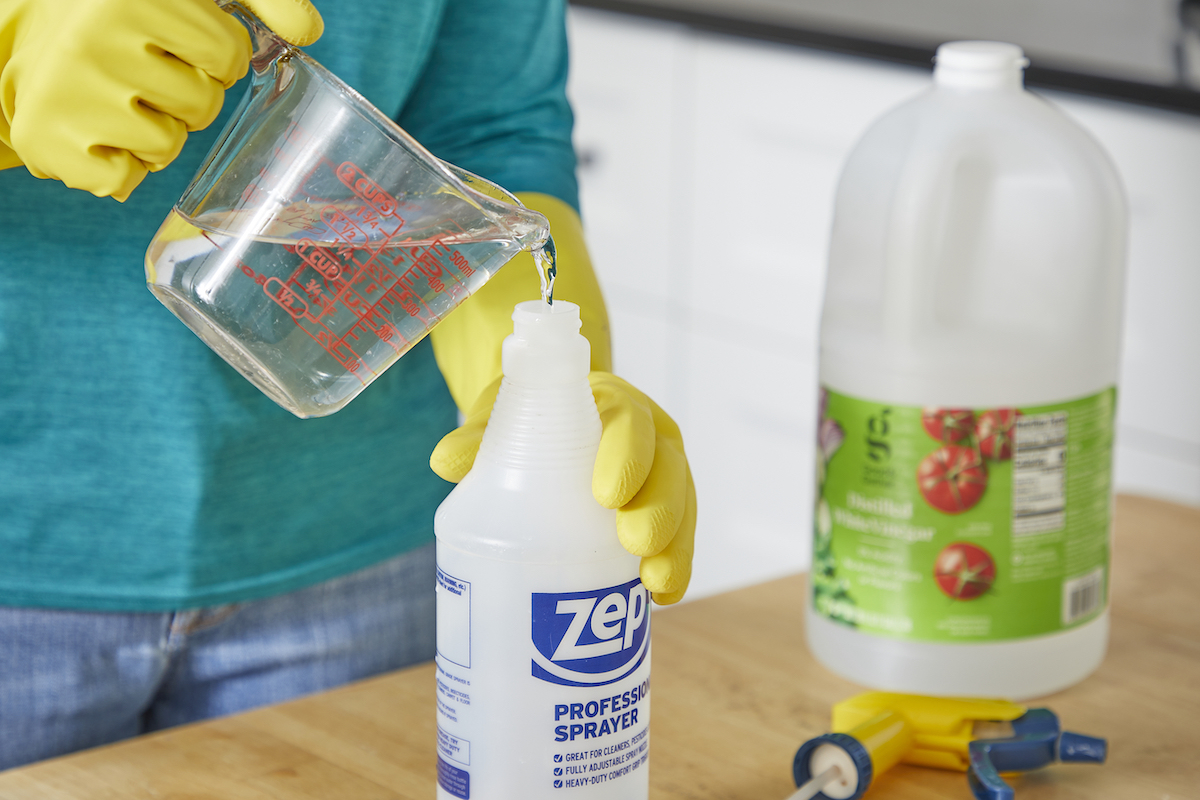
Remove the top from the spray bottle and add in at least 16 ounces of food-safe cleaning vinegar such as Aunt Fannie’s Extra Strength Cleaning Vinegar, which contains 6 percent acetic acid and can cut through grease and grime easily. (Plain white vinegar has 5 percent acidity.) You’ll need more or less vinegar depending on what you are cleaning: One to two ounces will cover a standard toaster, but you’ll use a lot more than that when cleaning a refrigerator. Stainless steel is non-reactive to acids, so it won’t be damaged by the vinegar-based homemade stainless steel cleaner.
Note: Check your owner’s manual to ensure that appliances and fixtures don’t have an oleophobic (oil-repellent) coating, which can be stripped by the vinegar solution.
Step 2: Add essential oil to the spray bottle.
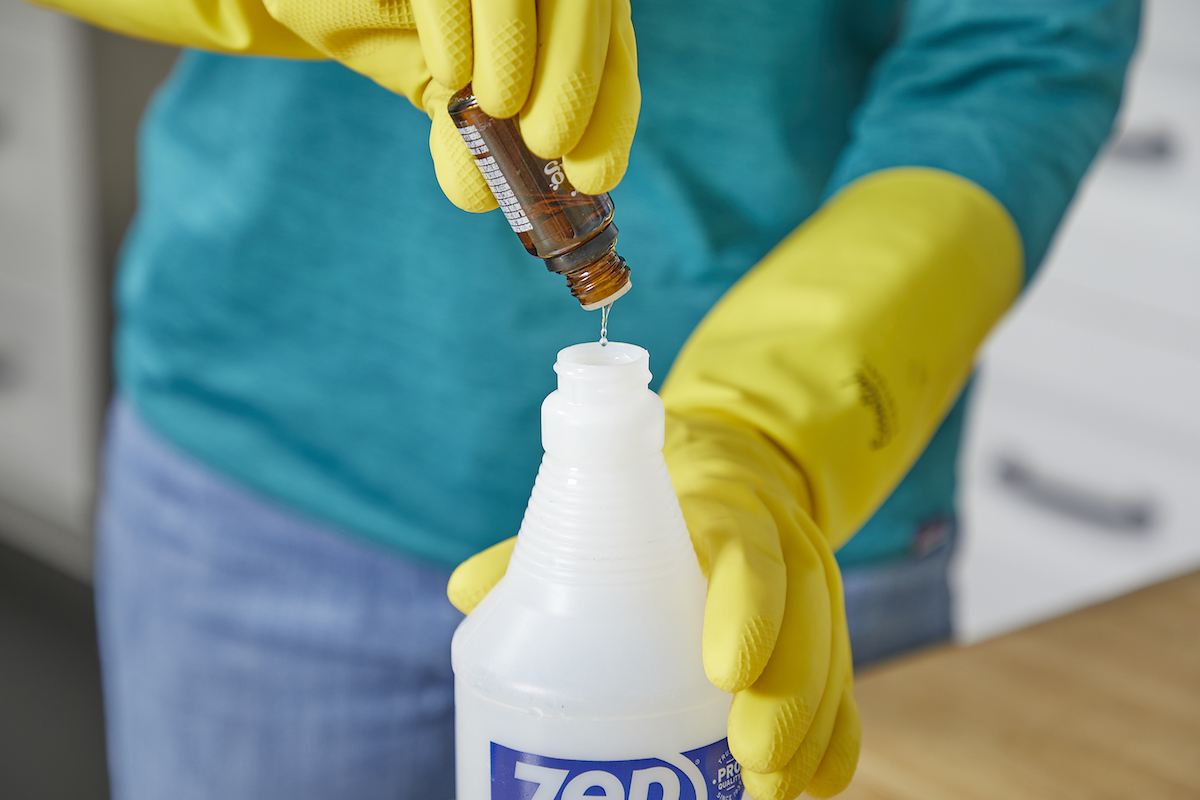
To offset the pungent scent of the vinegar, add in 10 to 20 drops of your favorite food-grade essential oil to impart a temporary fragrance. Mildly acidic essential oils such as lemon oil are safe for use on the tough metal.
Secure the spray head back onto the bottle, then gently shake to combine.
Step 3: Prepare polish.

Fill a small bowl with 1 to 2 ounces of food-grade mineral oil to polish the metal after spraying it with the homemade stainless steel cleaner. Avoid olive or other cooking oils, which will go rancid with prolonged exposure to sunlight. (Alternatively, pour a couple of tablespoons of mineral oil directly onto a microfiber cloth and set it aside. You will want two different microfiber cloths: One for applying the vinegar cleaner, and one for the oil.)
Tips for Cleaning Stainless Steel Appliances and Fixtures
-
- Small appliances: For a toaster, portable microwave, or similar device, unplug the unit and allow it to cool completely.
-
- Large or built-in appliances: For refrigerators, dishwashers, microwaves, and cooktops, there’s no need to unplug the appliance. Just be sure that heating appliances are turned off and cool.
-
- Countertops and sinks: Turn off off sink faucets. Avoid spraying the cleaner on unsealed grout at the edges of countertops or sinks; vinegar will be readily absorbed by the ultra-porous surface of the grout and prematurely weaken it.
-
- Range hoods: Turn off the light and exhaust fan prior to spraying.
-
- Cookware: This food-safe cleaning formula is ideal for use on stainless steel pots and pans. If the cookware is scorched or burnt food remains, let the cleaner sit for at least 15 minutes of to loosen crud before wiping it clean.
Step 4: Start cleaning.
Start using the cleaner and mineral oil on all your stainless steel surfaces:
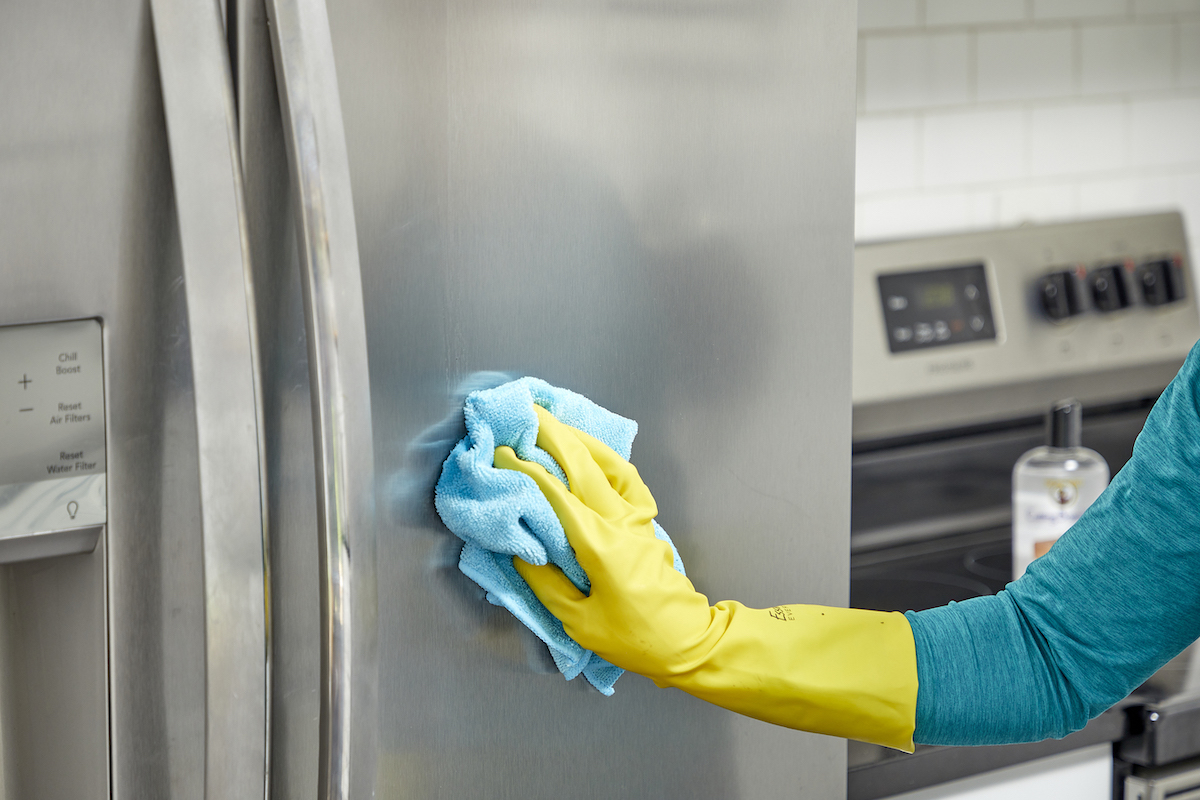
- Determine the direction of the “grain” (i.e., the pattern of lines) on the stainless steel, either horizontal or vertical. You’ll want to avoid cleaning against the grain, which will leave streaks behind.
- Moving in the direction of the grain, wipe down the sprayed area with a microfiber cloth (avoid abrasive scrubbers like steel wool, which can scratch) to dust, grit, and loosened grime. Be sure to wipe around knobs, levers, and other grooves and recesses. Repeat the process of spraying and wiping to clean the entire appliance.
- If you still see stains or buildup, spray additional homemade stainless steel cleaner on the problem area and use the microfiber cloth to vigorously wipe in the direction of the grain. Once the steel is clean, immediately wipe up any errant liquid with the microfiber cloth (the cleaner can leave streaks if left to air dry).
- Dip a clean soft cloth in the mineral oil and gently rub down one face of the appliance at a time in the direction of the grain to erase any streaks or prints and lend a lustrous shine. Make a second pass over the rubbed areas with a clean soft cloth to remove excess oil and boost the shine. Repeat this step on the other areas of the appliance until you’ve polished the stainless steel to perfection.
Step 5: Store stainless steel cleaner safely.
If you plan to store the cleaner for later use, label the bottle and store it at room temperature in a dry location where kids and pets can’t access it.