We may earn revenue from the products available on this page and participate in affiliate programs. Learn More ›
Water coolers provide fresh filtered drinking water at the press of a button. Since they’re a common fixture in offices, gyms, and homes, you may use one of these convenient dispensers on a near-daily basis. But have you thought about what goes into keeping them clean? Water coolers create a moist environment that can harbor mold, grime, and germs. Frequent cleaning helps keep bacteria and other nasties at bay. Read on to learn how to clean a water cooler and keep your drinking water healthy.
Tools & Materials
Bobvila.com may earn a commission from purchases made through these links.
BEFORE YOU BEGIN
A water jug cooler should be cleaned every time the bottle is changed or every 6 weeks, whichever comes first. Keep in mind that it’s easier to work with an empty water gallon dispenser than a full one, so it’s best to plan for cleaning when it’s time for a bottle change. It’s also prudent to consult the manufacturer’s directions for cleaning, since steps can vary from model to model. Ahead, we’ve outlined the basic steps of how to clean out a water cooler.
STEP 1: Unplug the cooler and remove the water bottle.
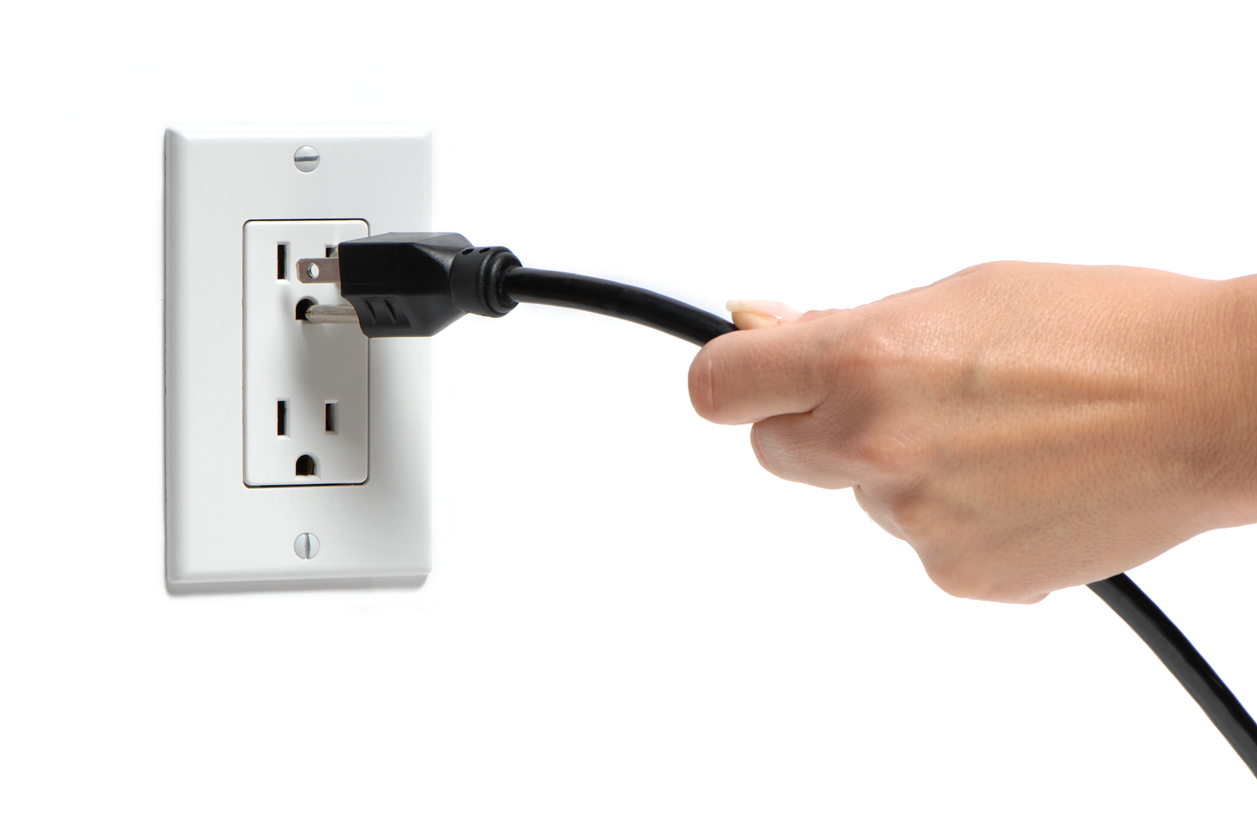
Before we jump into how to clean a water dispenser, there’s one important step to remember: always unplug the cooler before you start cleaning. This ensures that the water cooler is safe to clean, even in the case of accidental spills. Once unplugged, remove the empty water bottle and drain any remaining water using the drain plug or spigots. With the cooler unplugged and the water source removed, you’re ready to start cleaning the water bottle dispenser.
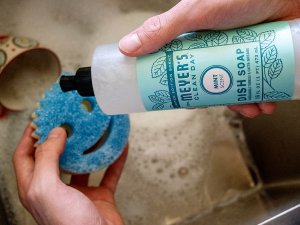
STEP 2: Remove and wash the water guard and baffle with dish soap and warm water.
To properly clean the inside of the water cooler, you’ll need to remove the water guard and baffle. If they don’t come out easily, follow the manufacturer’s directions to remove these parts without damaging them. Wash these parts with mild dish soap and warm water. If you prefer, you can clean them with a non-abrasive sponge. Rinse each piece well with clean water to ensure no soap residue or taste is left over. Let the parts air dry completely or dry them with a soft, clean cloth.
STEP 3: Mix up a vinegar cleaning solution and pour it into the water cooler reservoir.
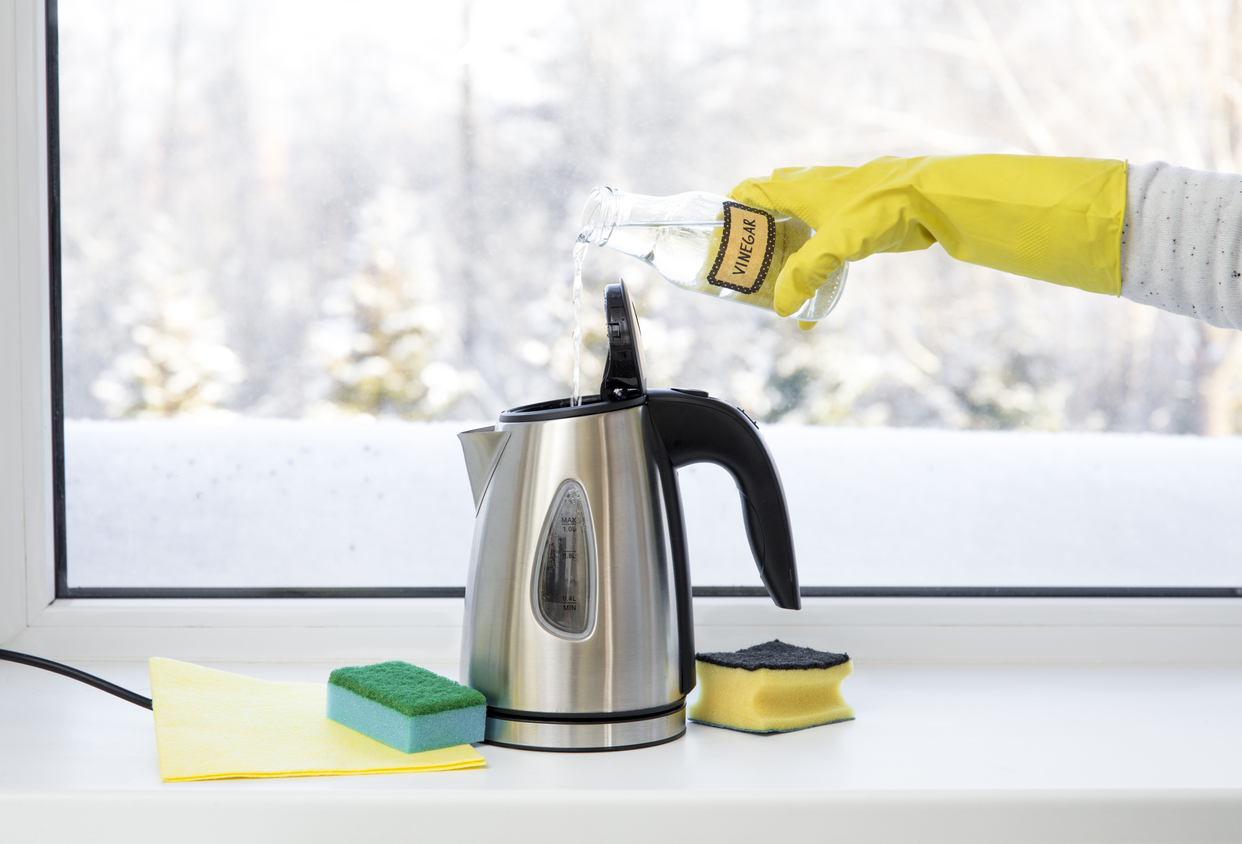
A vinegar cleaning solution is a natural and safe way to disinfect a water cooler. Mix a vinegar solution from 1 cup of distilled white vinegar and 3 cups of hot water (or any 1:3 ratio) and fill the cooler reservoir. Use a gentle scrub brush with a long handle to scrub the inside of the reservoir. Let the solution sit for a few minutes to soak interior parts. After cleaning the reservoir, open the spigots to allow some of the cleaning solution to flow through and help clean out the spouts.
STEP 4: Drain, scrub, and rinse the reservoir.

With a large enough bucket under the taps, drain the remainder of the vinegar cleaning solution from the reservoir. Refill the reservoir with clean water and rinse thoroughly to remove the vinegar solution. Use the scrub brush again to ensure that surfaces are squeaky-clean and remove any leftover cleaning solution. Repeat the drain, refill, and rinse step two or three times to ensure no vinegar taste or smell is left over. Dispose of the drained solution and rinsing water down the drain.
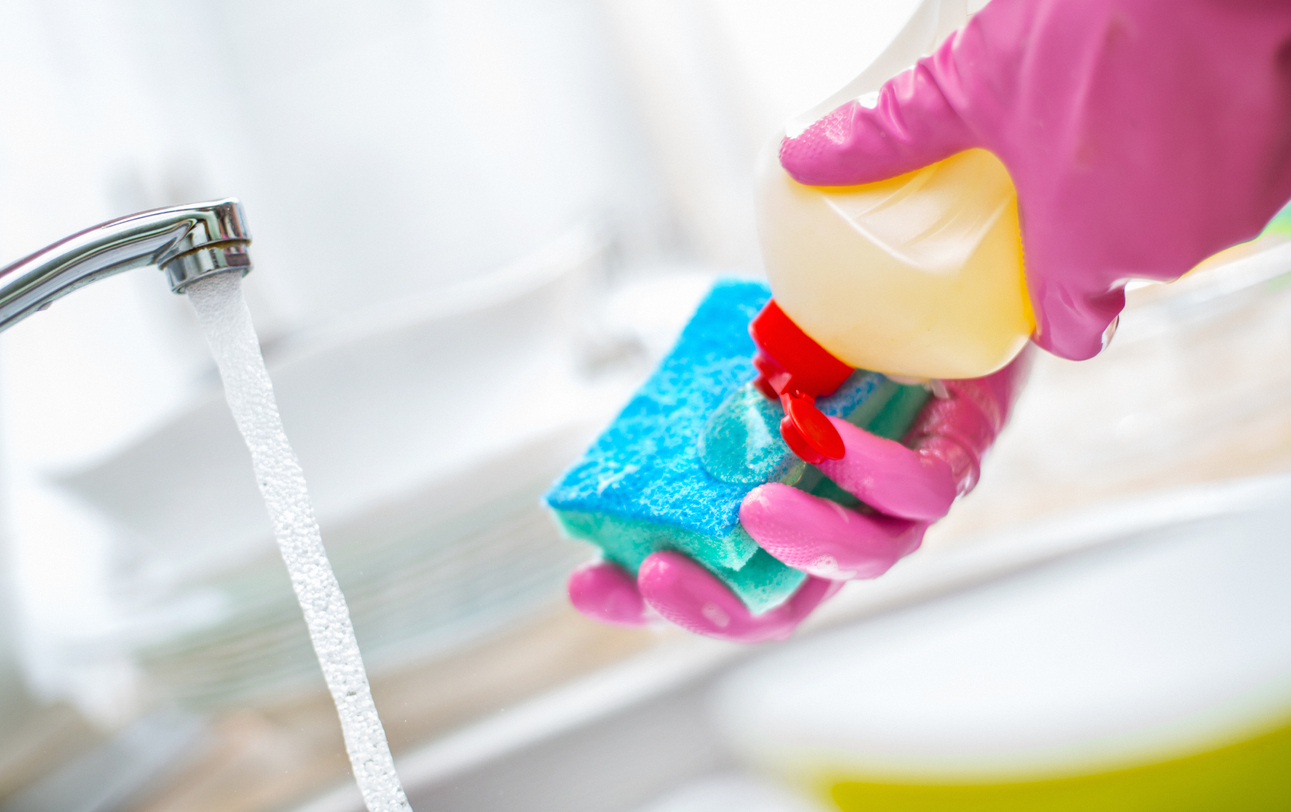
STEP 5: Remove the taps and drip tray; clean them with dish soap and warm water.
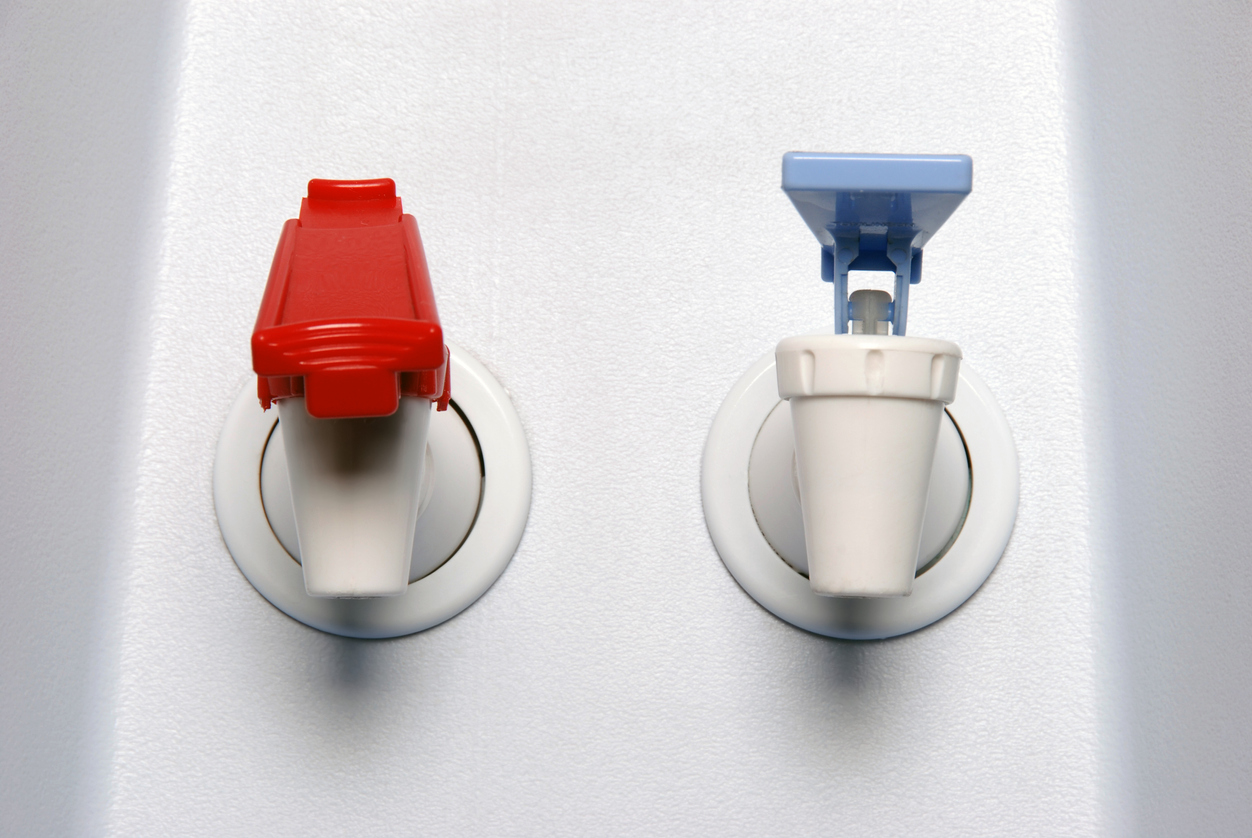
The taps and drip tray are high-touch and high-moisture surfaces that need frequent cleaning. Remove these pieces from the bottled water dispenser and clean them in a sink using dish soap and warm water. If applicable, separate the tray and the screen for cleaning. The same non-abrasive sponge can be used to scrub these pieces if you want a better clean. Rinse the parts well and let them air dry completely or dry them with a soft cloth. If the taps cannot be removed, clean them with a cloth and hot, soapy water.
Related: After Filtering 50+ Gallons, Our Tests Show Faucet Water Filters Don’t Have To Be Expensive
STEP 6: Wipe down the outside of the water cooler.
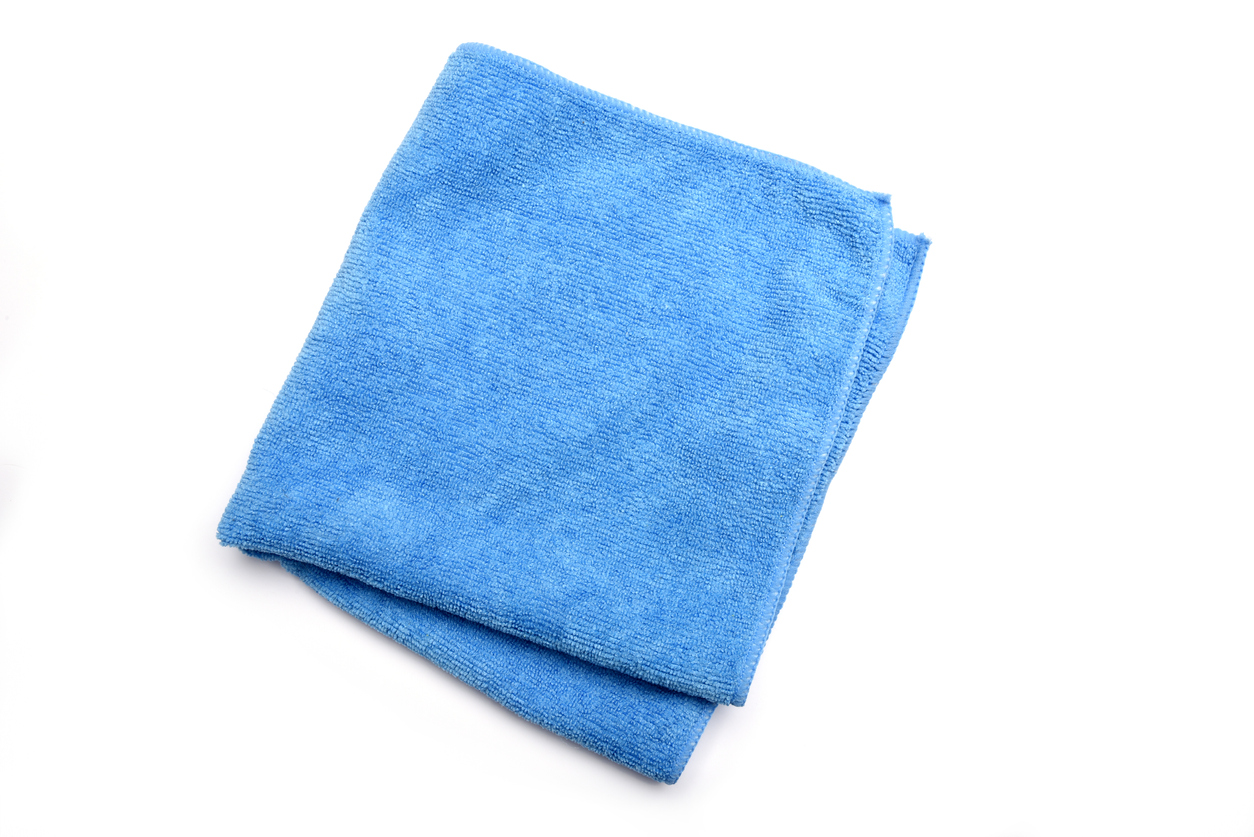
The outside of the water cooler is also a high-touch surface that can collect germs, dirt, and dust. Using a soft cloth, wipe down the outside of the water jug cooler. For a better clean, add a small amount of soapy water or non-toxic cleaner (like the vinegar cleaning solution) to wipe down the exterior. Make sure to only use non-abrasive cloths and cleaners to prevent any scratches.
STEP 7: Replace all clean parts, install a new water bottle, and plug in the cooler.

Put back the freshly cleaned and dry parts (the water guard, baffle, taps, and drip tray). Ensure they are installed properly to avoid any leaks or spills. Install a new water bottle in the water cooler and press the spigot until the water starts flowing. If needed, refill the water cup holder and taste the water to ensure there is no unpleasant aftertaste. Plug the water cooler back in and it’s ready to use.
At best, a dirty water cooler is a nasty sight. At worst, it can be a breeding ground for harmful germs and bacteria. Keeping a water cooler clean ensures healthier and better-tasting water. Frequent cleaning (every time the bottle is changed, or every six weeks) is an important step in water cooler maintenance. By following the steps above, you can ensure that no nasty germs are lurking in your water cooler and you’ll always have cool, refreshing water on demand.
Related: The Best Whole-House Water Filters