We may earn revenue from the products available on this page and participate in affiliate programs. Learn More ›
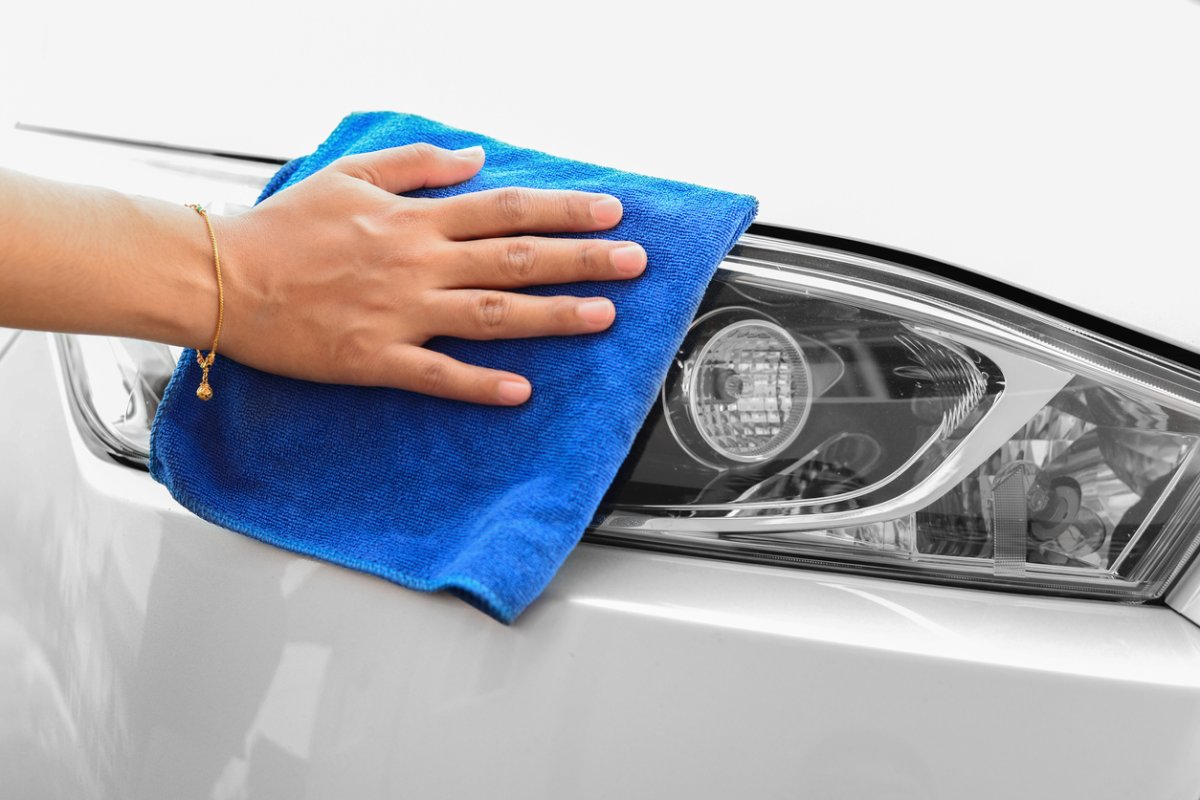
You clean your car’s windows to help you see more clearly and keep your car in tip-top shape. But, what about the headlights? Keeping the headlights clean is an important car maintenance task. If your headlights are yellow or cloudy, they won’t be able to fully do their job and enhance your visibility as you drive. This is a safety hazard that can be avoided when you learn how to clean headlights.
Before we get into the three methods outlined below to help you clean cloudy headlights, one quick note: Do not clean headlights with WD-40. You may have seen this method recommended before, but using WD-40 can end up damaging your headlights. Over time, the oil may leak into the bulb, potentially causing it to burn out. The headlight cleaning methods shared below are safer and more effective than using WD-40, though they are still temporary solutions that you will need to repeat periodically.
RELATED: 15 Genius Tricks for Keeping Your Car Clean

How to Clean Headlights With a Headlight Cleaning Kit
A headlight cleaning kit includes everything you’ll need to restore cloudy headlights. While the steps below provide a general overview for using this method to clean yellow headlights or cloudy headlights, check the directions for the specific product you purchase before beginning.
SUPPLIES
– Headlight cleaning kit
– Painter’s tape
– Water
– Microfiber towels
STEP 1: Move the car out of direct sunlight and protect its painted finish.
Choose a dry day when temperatures will remain above freezing before deciding to clean your headlights. Move the car so that its headlights are not in direct sun. Then, use painter’s tape to cover the vehicle’s painted surfaces around each headlight. Doing so will help avoid accidental damage to your car’s finish.
STEP 2: Apply the surface activator.
The kit should include a surface activator that helps to break down and loosen the original UV coating on the headlights. Spray a generous amount of the activator onto the lenses and let it sit for about 30 seconds; then rinse it off with water.
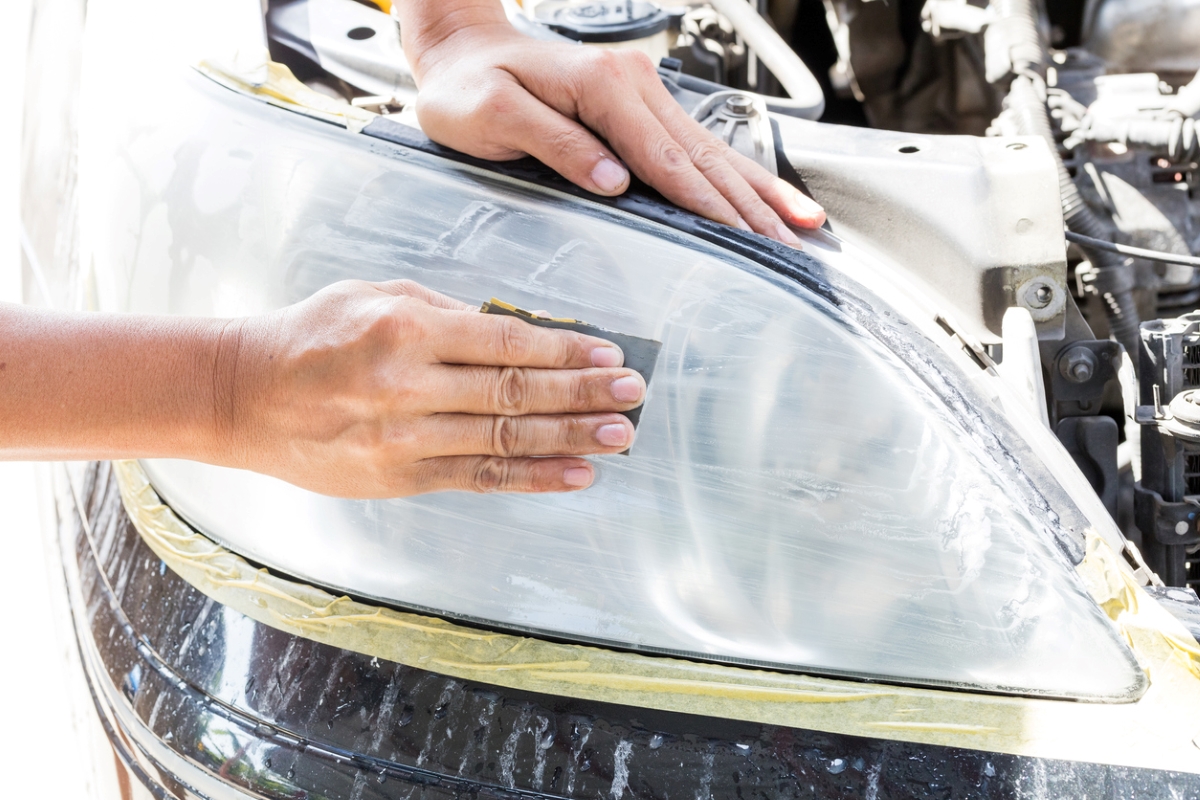
STEP 3: Use sandpaper to remove the original UV coating.
The kit should come with a few pieces of wet sandpaper in increasing grits. (The Sylvania kit used in this guide includes 400-, 1,000-, and 2,000-grit sandpaper.) Starting with the lowest grit, thoroughly wet each lens and sand away the old UV coating. Continue adding water and sanding the surface in a circular motion until it is uniformly smooth.
Repeat the sanding process above with the 1,000- and 2,000-grit sandpapers. Rinse the lenses and use a clean microfiber towel to dry them completely. At this stage, the lenses will have a light white haze.
STEP 4: Polish the lenses with the clarifying compound.
Apply half of the included clarifying compound to a clean cloth and buff it onto one of the headlight lenses. Continue working the compound over the lens in a circular motion for about 5 minutes; then rinse it off with clean water and dry it completely with a clean towel. Repeat this process for the second headlight; all haze should be removed after this step.
STEP 5: Apply the new UV coating.
Use a clean cloth to apply a thick, even layer of the provided UV coating to one headlight at a time. Work in a continuous motion across the lens, making sure to cover the entire surface without overlapping or leaving bare spots. Repeat the process for the second lens.
Allow the coating to fully cure for 4 to 6 hours before driving. It is important to make sure that the car is parked in an area where it will not be exposed to water or high humidity levels during the curing process.
RELATED: How to Clean Leather Furniture
How to Clean Headlights With Toothpaste
If you’re looking for home remedies to clean headlights, consider trying toothpaste. Toothpaste is mildly abrasive and can effectively remove stains from headlights, just as it removes plaque and tartar from your teeth. Read on to learn how to clean headlights with toothpaste.
SUPPLIES
– Microfiber cloths
– Small bucket
– Water
– Dish soap
– Painter’s tape
– Whitening toothpaste
STEP 1: Clean the lenses with warm, soapy water.
Begin by cleaning each headlight with a microfiber cloth dipped in warm, soapy water. This will remove surface residue and help you further assess what needs to be cleaned with the toothpaste.
STEP 2: Tape off the painted finish on the car.
Use painter’s tape to cover the painted finish surrounding each headlight. Doing so will help prevent you from accidentally scuffing or scraping it as you clean the headlights.
STEP 3: Apply toothpaste to a dampened cloth and use it to rub the entire headlight surface.
Dip a clean microfiber cloth in warm water, and squeeze out the excess. Apply a small amount of whitening toothpaste—about the size of a dime—to the cloth. Work using a circular motion to rub the entire surface of each lens. Use elbow grease and apply more toothpaste as needed to remove all the gunk from each headlight.
STEP 4: Rinse the lens and let it dry.
Dip another clean microfiber cloth in warm water and rinse all of the toothpaste off of each lens. Leave the headlights to dry.

How to Clean Headlights With Baking Soda and Vinegar
If you’re looking for a cheap way to clean headlights, you can use products that you likely already have in your pantry or laundry room. Continue reading to learn how to clean headlights with baking soda and vinegar—the solution is both effective and environmentally friendly.
SUPPLIES
– Microfiber cloths
– Water
– Soap
– Painter’s tape
– Small bucket
– Distilled white vinegar
– Baking soda
STEP 1: Clean the lenses with warm, soapy water.
Remove as much dirt and grime from each headlight using a microfiber cloth dipped in warm, soapy water.
STEP 2: Tape off the painted finish around the headlights.
Protect painted surfaces around the headlights by taping them off using painter’s tape.
STEP 3: Make a cleaning solution using baking soda and vinegar.
In a small bucket or mixing bowl, combine distilled white vinegar and baking soda in a 2:1 ratio. Mix well to ensure the two ingredients are well combined.
STEP 4: Use a microfiber cloth to rub the cleaning solution over each lens.
Dip a clean microfiber cloth into the baking soda and vinegar solution. Scrub vigorously over each headlight to remove as much residue as possible. You will likely need to re-wet the cloth with more of the cleaning solution several times as you work.
STEP 5: Rinse the headlights with clean water and let them dry.
Fill a small bucket with warm water. Dip a clean microfiber cloth into the warm water and use it to rinse away all of the baking soda and vinegar residue. Once fully rinsed, let the headlights air dry.
Final Thoughts
Learning how to clean foggy headlights is an important part of maintaining and cleaning your car. When your headlights are clean, not only do they look nicer, but your lights will also shine more brightly to ensure better visibility as you drive. The methods shared above offer a quick and easy way to get your headlights cleaned. If you’re looking for the most effective and long-lasting way to clean headlights, consider sanding them, applying a clear coat for headlights over the sanded surface, and protecting them against the elements when you’re not driving.
