We may earn revenue from the products available on this page and participate in affiliate programs. Learn More ›
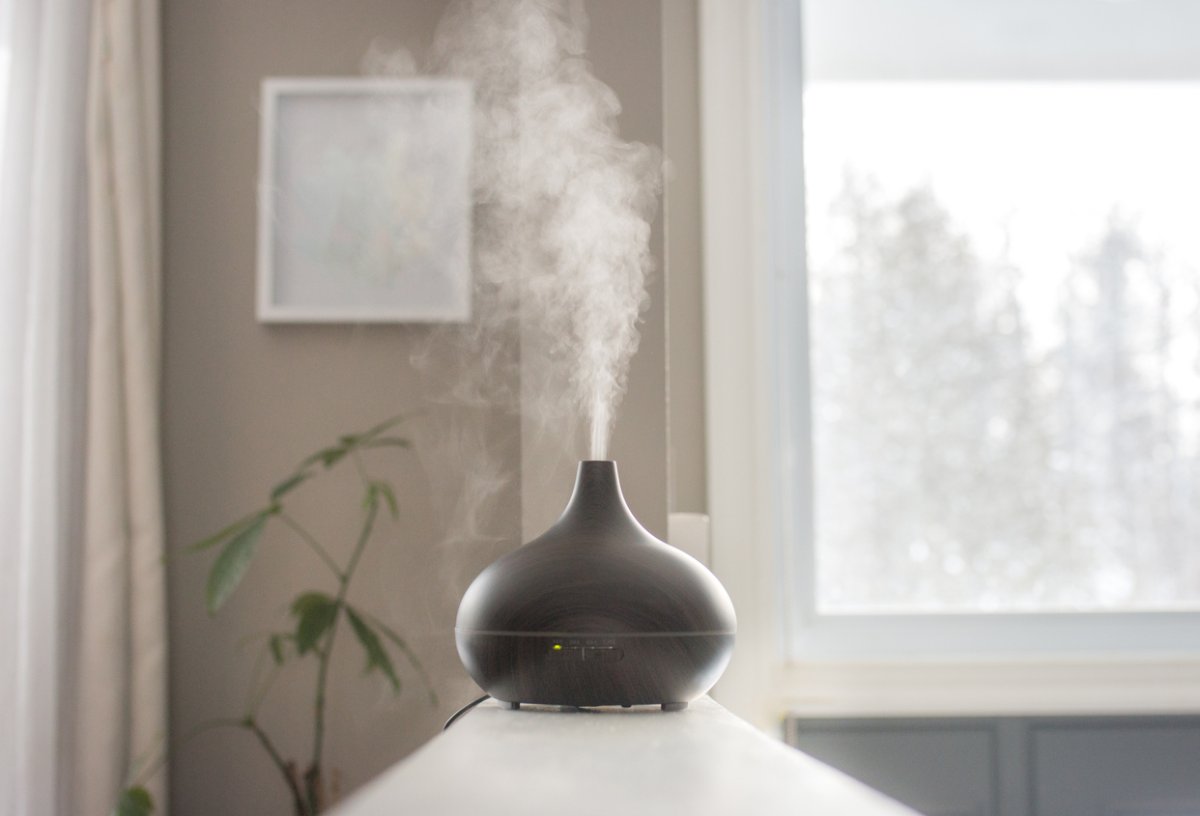
Essential oil diffusers can help set the right mood at home, depending on the scents you choose. If you enjoy diffusing essential oils, then it’s important to learn how to clean a diffuser. Proper cleaning helps a diffuser continue functioning properly and make the most of your fragrant oils. Cleaning can also prevent mold growth in diffusers.
Keep reading to learn the best way to clean a diffuser after each use, along with some diffuser maintenance tips for deep cleaning and care.
RELATED: Does Your Home Smell Funny? 12 Odors That Could Mean Big Trouble
How to Clean a Diffuser After Each Use
Cleaning an essential oil diffuser after every use eliminates the risk of oil residue gumming up the diffuser. Cleaning gets rid of any standing water, where mold or mildew can grow. Another reason to clean the diffuser between uses is to prevent scents from mixing the next time you use it.
Follow the steps below to give your diffuser a quick cleaning between uses. These instructions serve as a general overview, and different manufacturers may offer their own care and cleaning guidelines. Always defer to your diffuser’s owner’s guide for this reason.

SUPPLIES
– Microfiber cloths
– Dish soap
– Cotton swabs
– Rubbing alcohol or white vinegar
STEP 1: Unplug the diffuser and empty the reservoir.
Before starting the cleaning process, unplug your diffuser from the wall. As with other electronic devices, diffusers should not be plugged in during cleaning. Afterward, pour out any water or oil left in the reservoir.
STEP 2: Clean the reservoir using a microfiber cloth and dish soap.
With the reservoir empty, wipe it clean. Add a drop of natural dish soap to a soft, damp cloth. Wipe down the entire reservoir, then rinse it under water to remove any soapy residue. Dry the reservoir using a dry microfiber cloth.
STEP 3: Use a cotton swab and rubbing alcohol to clean the ultrasonic plate.
Oils can build up on the ultrasonic plate or chip as these parts work to break down essential oils. Removing this buildup can ensure that the plate continues to function properly. Use a cotton swab dipped in rubbing alcohol or white vinegar to gently rub the plate or chip and clear any buildup.
STEP 4: Reassemble the diffuser.
Now that you have clean diffuser parts, you can put everything back together. If desired, the diffuser is now ready for immediate use.
How to Deep Clean an Essential Oil Diffuser
Whether you have an easy-to-clean diffuser or a more complex model, the steps below can help you give it a deep cleaning every month. A monthly deep cleaning can prevent mold in diffuser reservoirs, reduce the risk of corrosion, and help you to avoid other potential problems.
SUPPLIES
– Distilled white vinegar
– Water
– Microfiber cloths
– Cotton swabs
– Rubbing alcohol
STEP 1: Unplug the diffuser and empty the reservoir.
Begin by unplugging the essential oil diffuser from the wall. Then, empty the reservoir to remove any remaining water or oil.
STEP 2: Add water and distilled white vinegar to the tank.
Next, clean the diffuser with vinegar and water. Vinegar is an effective disinfectant that kills germs, prevents mold and mildew from building up in the tank, and descales the diffuser’s surfaces. Fill the diffuser tank about halfway with water, then add approximately 10 drops of distilled white vinegar.
While you might be tempted to use bleach, which is known for its disinfectant properties, it should never go into a diffuser. Bleach is toxic, and diffusing it can release dangerous gases into the air.
STEP 3: Plug the diffuser back in and run it for 15 minutes.
Once the water and vinegar cleaning solution is in the tank of the dirty diffuser, plug it back in. Let it run for about 15 minutes so that the vinegar has a chance to work and disinfect the various components of the diffuser. If you prefer not to have your room smell like vinegar, set it outside or by an open window. After 15 minutes has passed, unplug the diffuser from the wall again to continue cleaning it.
STEP 4: Empty and wipe down the reservoir.
Pour out the remaining water and vinegar cleaning solution from the reservoir. Use a damp microfiber cloth to wipe the tank down and remove any lingering residues, then dry it using a new microfiber towel.
STEP 5: Use a cotton swab and rubbing alcohol to clean the ultrasonic plate.
The ultrasonic plate or chip should be cleaned during the deep cleaning as well. Dip a cotton swab in rubbing alcohol and use it to gently clean the plate. This will help remove any oil residue.
STEP 6: Use a damp cloth to wipe down the outside of the diffuser.
Next, use a damp microfiber cloth to wipe down the outside of the diffuser and remove any dust or debris that may be present. No soap or other detergents are necessary for this step; plain water will suffice.
STEP 7: Reassemble the diffuser.
Finally, put the diffuser back together so that it is ready when you next wish to use it.
Final Thoughts
Keeping an essential oil diffuser clean prevents mold from growing, keeps different scents from mixing together, and helps ensure that the diffuser will continue to work properly. Remember, follow the steps outlined above to give your diffuser a quick cleaning after each use and a deep clean approximately once a month. When you take care of your diffuser, you can enjoy your favorite home fragrances whenever you like.
RELATED: 11 Ultra Powerful Products That Cut Your Cleaning Time in Half
