We may earn revenue from the products available on this page and participate in affiliate programs. Learn More ›
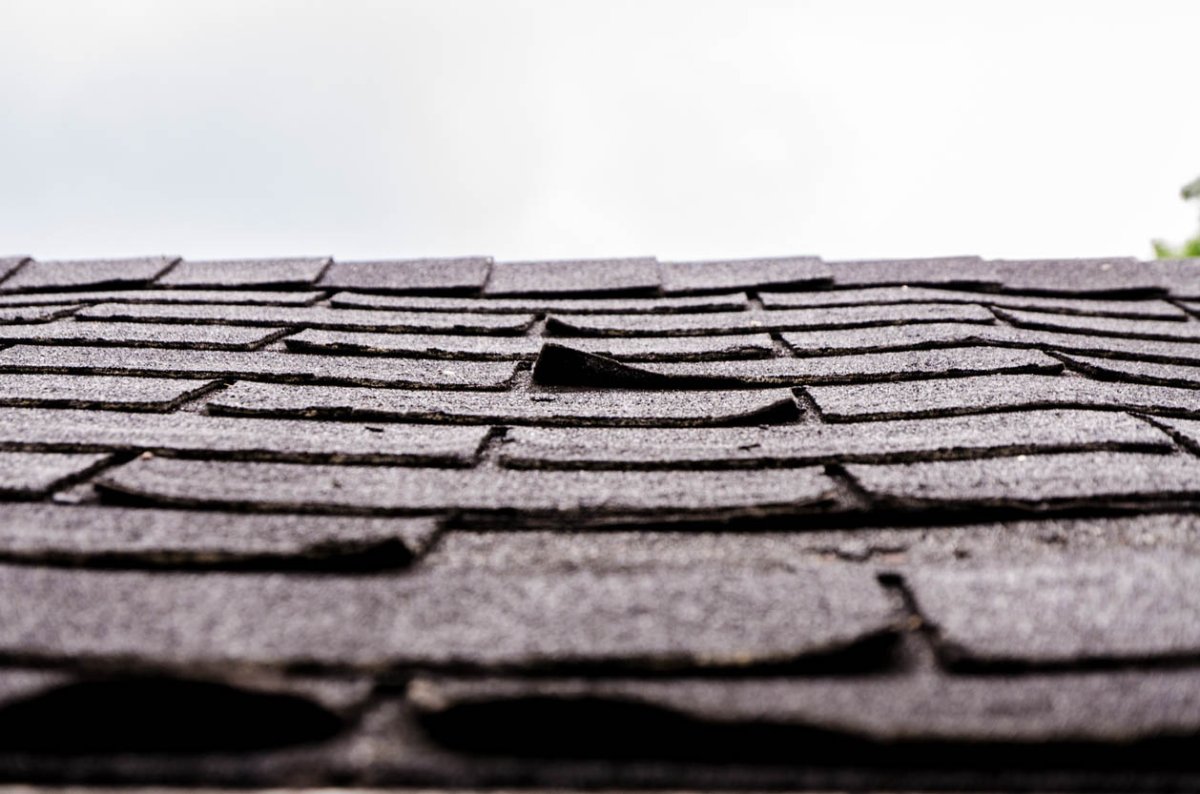
A roof is one of the essential components that protects a home from harsh elements such as strong winds, ice, and heavy snowfall. If you notice that your roof line sags, curves, or dips and isn’t arrow straight, it is likely that your roof needs repair. Several factors that cause a sagging roof include age, water damage, excess weight, design flaws, low-quality or incorrectly sized materials, and even faulty installation.
While some sagging may not pose an immediate threat of collapse, a sagging roof can be a serious issue that requires prompt remediation. Only experienced roofers should take on this project due to the level of difficulty.
Time required: 1 to 2 weeks
Difficulty: Expert
Estimated cost: $750 to $2,000
Tools & Materials
Bobvila.com may earn a commission from purchases made through these links.
- 2x4s
- Steel “L” channel
- Lag bolts (⅜-inch by 2-inch or longer, depending on the size of the opening)
- Carriage bolts, nuts, and washers
Before You Begin…
Fixing a sagging roof is an extensive project, so you’ll want to make sure that you are experienced in roofing to avoid significant issues or risk a faulty job. First, an inspection is needed to figure out why your roof is sagging and what exactly is causing it to droop. This vital step can help you assess the damage and plan material costs.
If your roof is sagging, it may be because of broken trusses or rafters that need fixing. The extent of the damage will determine the cost of the repair. If the structural beams have been damaged, prices can rise significantly; however, if only a small portion of the roof needs repairing, the cost could be lower.
Tips for How to Fix Sagging Roof
- Take a look at your home from the curb, and then walk around the entire house and assess the sagging ridge line, bowing, or dips.
- Take a camera up to the attic, if there is one, so that you can take pictures of the damaged trusses or rafters.
- Inspect the plywood or metal gusset plates to ensure they aren’t broken.
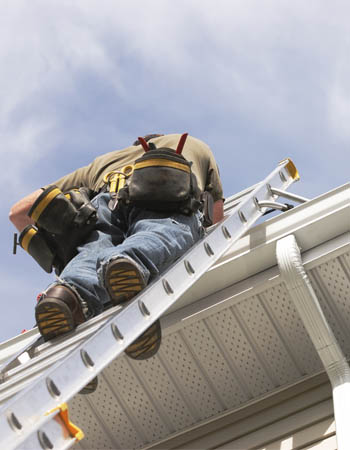
Safety Considerations
- Be cautious when entering your attic: they are often dark, confined spaces. Consider bringing in additional lighting.
- When fixing a sagging roof, use proper safety equipment, including safety glasses, masks with appropriate filters, and gloves.
- A severely sagging roof can be dangerous and may collapse, causing injury or even death.
STEP 1: Inspect the roof and identify any damage.
First, you’ll want to inspect the roof for sagging. It’s a good idea to look at the roof from the street. Next, check the roof from inside the home by grabbing a flashlight and heading up to the attic. This perspective can give you an idea of the extent of the damage. Pay attention to your roof truss construction, which is the frame that supports the roof. Look for damage that includes cracks, rotting, and breakage. In most cases, a saggy roof is due to the trusses or rafters needing repair.
STEP 2: Drill holes in a steel “L” channel.
Generally, one of the most challenging aspects of repairing a rafter or truss is putting it back into its original placement after it was damaged. The best way to accomplish this is to get a steel “L” channel with a minimum measurement of 1½ inches by 1½ inches and no less than 2 feet long. Start by drilling four ⅜-inch holes in the base of the steel “L” channel and four holes in the side. The holes should be evenly spaced.
STEP 3: Remove any chips or splinters in the wood.
The next step is to clear out any wood fragments that may have broken off on the truss or rafter. Broken pieces of wood and debris can interfere with the alignment of the rafter or truss, so removing chips and splinters in the wood is a crucial step in the process.
Tip: The ideal tools for removing broken pieces of wood would be a chisel or reciprocating saw suitable for rough cutting or demolition work.
STEP 4: Mount the “L” channel onto a rafter and fasten the end.
Locate the damaged part of the truss or rafter and mount the “L” channel with the ⅜-inch by 2-inch lag bolts. Next place the carriage bolts and washers (which are typically ⅜ inch by 2½ inches) in the holes on the side of the steel “L” channel.

STEP 5: Measure the gap between the rafter and the “L” channel.
Now it’s time to measure the gap between the “L” channel and the rafter or truss. It is suggested to select a lag bolt that is ⅜ inch by 1½ inch to 2 inches longer than the gap found between the “L” channel and the truss or rafter’s bottom.
Tip: It is advised to use a lag bolt that is 2½ inches to 3 inches if you have a 1-inch gap. However, if your opening is slightly larger at around 2 inches, select a lag bolt that measures 3½ inches to 4 inches long.
STEP 6: Add two bolts at the bottom of the “L” channel and tighten them until the rafter is secured.
Next, add two lag bolts at the bottom of the “L” channel and begin to tighten them until they are flush with the steel. It is recommended to tighten the bolt that is farthest away from the separation until the other bolt head is ¼ inch from the steel. Then you can begin to tighten the front bolt until it’s ¼ inch away from the steel and continue this process until the rafter or truss fits closely to the steel.
Need help with your roof?
Get free, no-commitment roofing estimates from qualified pros in your area.
STEP 7: Add additional bolts if needed, and tighten everything.
If additional bolts are needed, two more holes can be drilled in line with the holes on the side of the “L” channel. Then you can insert the carriage bolts and ensure that the nuts and washers are snug against the steel and thoroughly tightened until everything is securely in place.
Tip: Once the rafter or truss is secured in place, it is an excellent idea to add extra support, such as additional 2x4s, to keep the roof in tip-top shape.

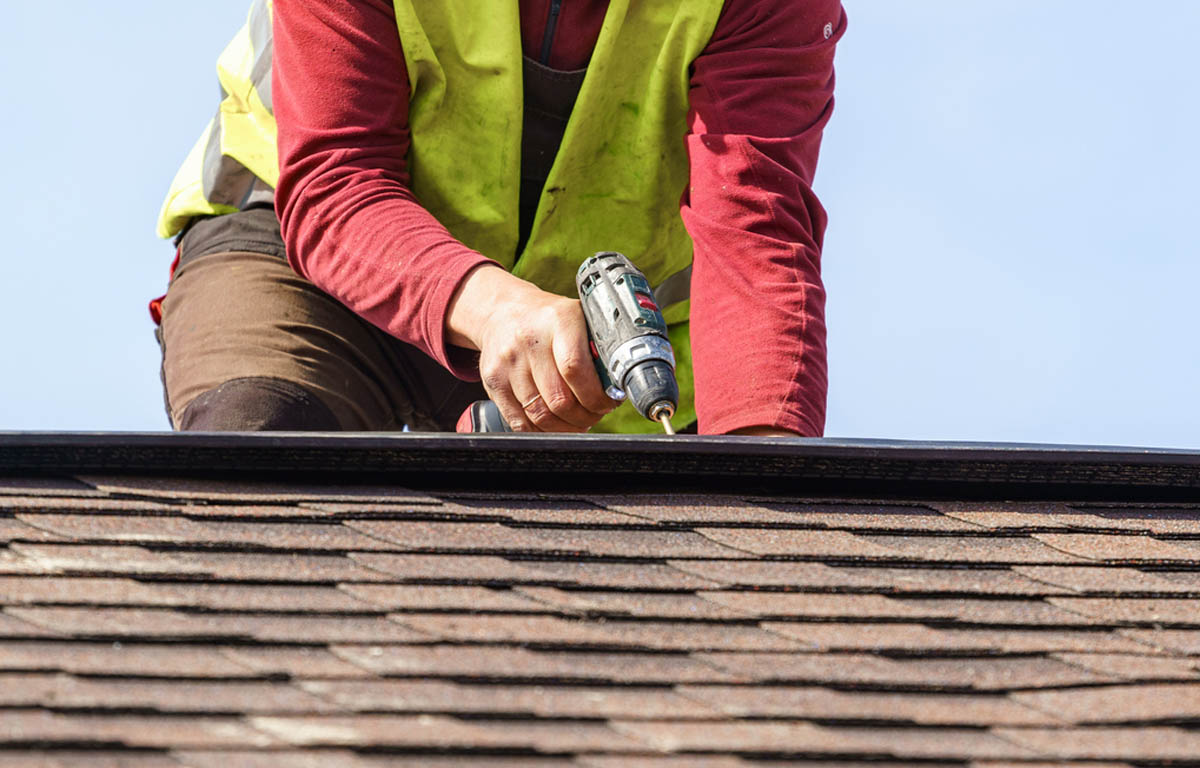
STEP 8: Contact a roofing professional.
If you have any doubts about your abilities to fix a sagging roof on your own, or if you’re having trouble DIY-ing this task, you may want to hire a roofing professional. Unless you have tremendous experience repairing sagging roofs, it would likely be very hard to complete the task in a satisfactory and safe way. An expert can effectively finish the task while helping you avoid long-term expenses and headaches. Experienced roofers know precisely the type of materials and tools that are needed to finish the process correctly.
When considering whether to fix a sagging roof with a do-it-yourself method, there are many aspects to take into account. It’s essential to take that first step to see why your roof is sagging, dipping, or bowing due to weight, rot, or normal wear and tear. If you decide it’s not a project you can easily take on, a professional roofer can make sure the correct steps are taken with expertise and quality materials in mind. Once the roof has been fixed, it’s a good idea to have routine inspections on your roof every year.