We may earn revenue from the products available on this page and participate in affiliate programs. Learn More ›
Charles Schulz’s Linus believed a pumpkin patch must be sincere, but it actually need only be sunny and well watered to produce great pumpkins. Growing pumpkins will allow your children to raise their own Jack-o’-lanterns, carve their names into small fruits to watch those names expand, decorate for fun fall projects or parties, or even raise a milk-fed pumpkin as Laura Ingalls Wilder’s Alonzo did.
Although the how-to-grow pumpkins part isn’t difficult, the humongous vines can hog a large percentage of your garden. So you might want to plant them on the edge of it, to ramble over a not-too-necessary section of lawn instead.
Related: 35 Ways to Decorate for Fall When You’re Sick of Pumpkins
Tools & Materials
Bobvila.com may earn a commission from purchases made through these links.
BEFORE YOU BEGIN
Keep in mind that each pumpkin vine generally produces about eight male flowers before it makes any female ones. So don’t panic if you fail to see any fruits for a while.
STEP 1: Select your seeds.
If you and your family are “pumpkin eaters” like Peter of nursery rhyme fame—with a taste for pumpkin pies and breads—choose small sugar pumpkins such as ‘Winter Luxury’ for the best flavor. Should you prefer pumpkins your kids can carve for Halloween, look for traditional Jack-o’-lantern varieties such as ‘Howden’ or those with warts or ghostly white hues such as ‘Knuckle Head’ and ‘Moonshine.’
If autumn decorations are more your thing, select mini-types such as ‘Jack-Be-Little.’ And, if you just want to grow a really big pumpkin and live in an area with a long enough growing season, opt for a giant—‘Dill’s Atlantic’ or otherwise!
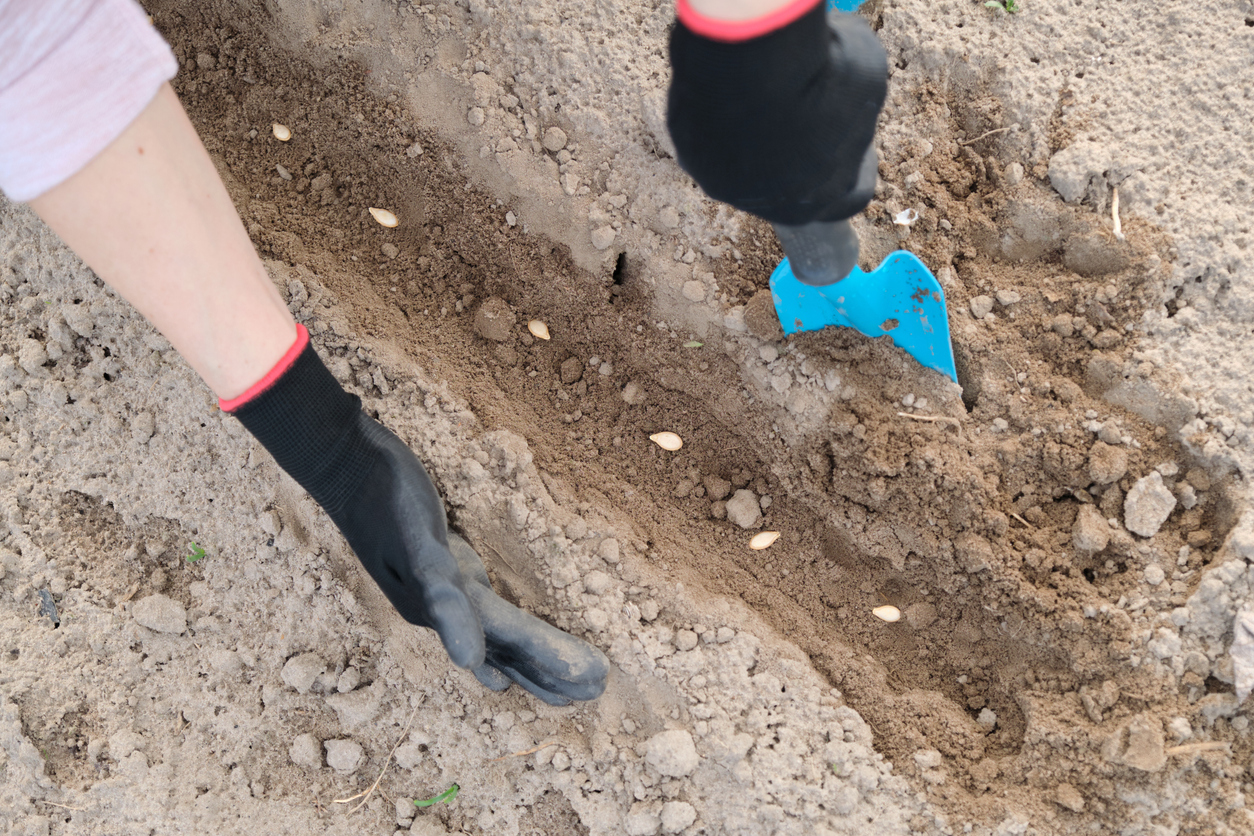
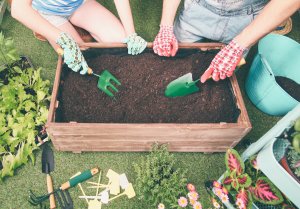
STEP 2: Sow your seeds.
Before planting your seeds, work a couple inches of compost or composted manure into the top foot of soil that has a pH between 6 and 6.8. Then pile up soil to make hills 6 inches high and 3 feet across. Space those hills 4 to 8 feet apart, depending on the mature size of the plants.
Sow four or five seeds 1 inch deep in each hill, expecting them to sprout in 5 to 10 days. Once they stand 2 to 3 inches tall, snip off the weakest plants, leaving the strongest two or three in place.
STEP 3: Pamper your pumpkins.
Because pumpkin vines are large, they require at least 1 inch of water per week, preferably delivered by a sprinkler hose or drip irrigation if rainfall is inadequate. Always water them in the early morning so they will dry off quickly, thus avoiding fungus problems. Once they are growing well, feed pumpkins with an organic fertilizer with a good mix of phosphorus, such as 5-10-10.
To prevent the fruits from discoloring where they rest on damp soil, place black plastic mulch beneath the vines. That covering should suppress weeds and keep the fruits off the ground. The plastic also can help retain moisture; just make sure to place it where it won’t block water getting to the plant’s roots.
Related: How Much Mulch Do I Need?
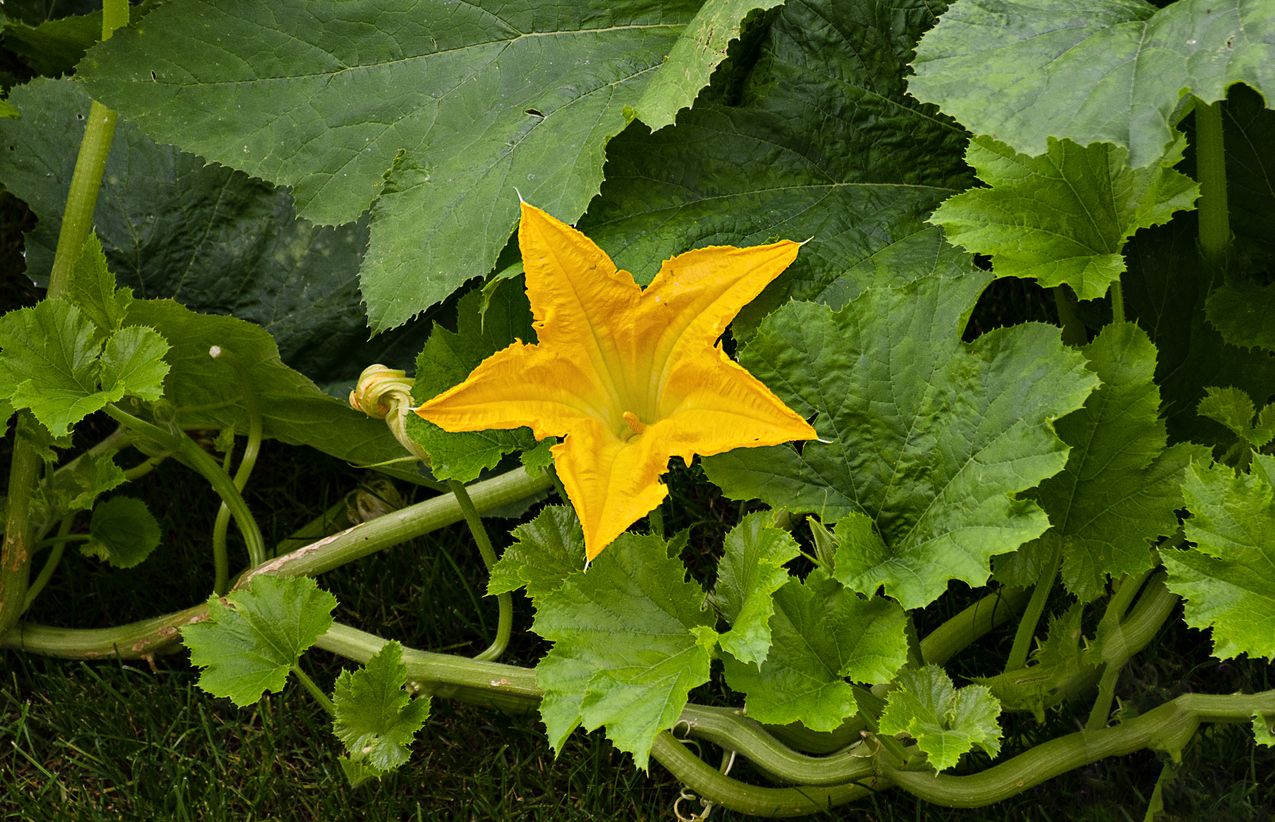
STEP 4: Pollinate your posies.
If you fear your local bees aren’t doing their job, you can pollinate the large yellow pumpkin blooms yourself. However, you will need to do so in the early morning, since they usually close before noon. Each female blossom will have a bulge on the stem just below that bloom called an “ovary.”
Pick a male flower that lacks that bulge, strip off its petals and use its pointer (stamen) to “paint” pollen onto the clusters (stigmas) at the centers of the female flowers. If the bulges beneath their blooms soon begin to expand, they have been properly pollinated.
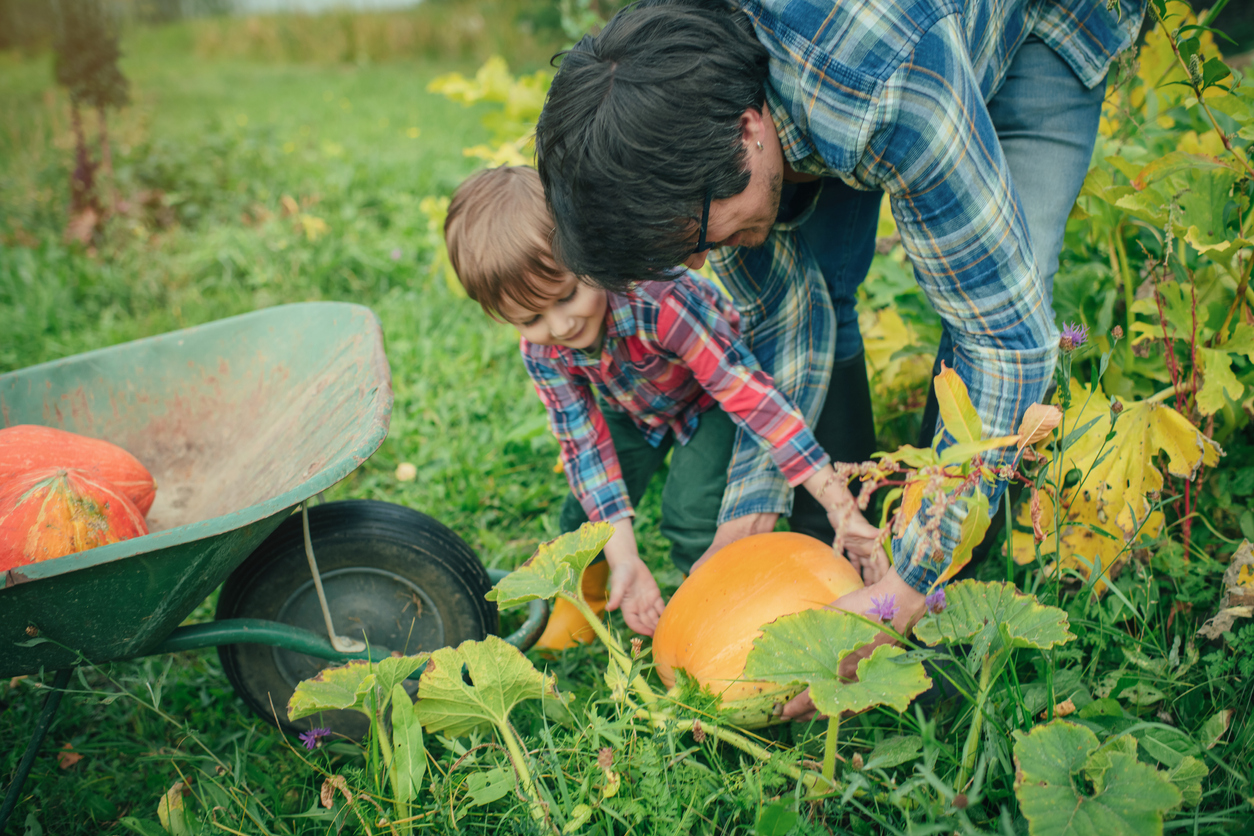
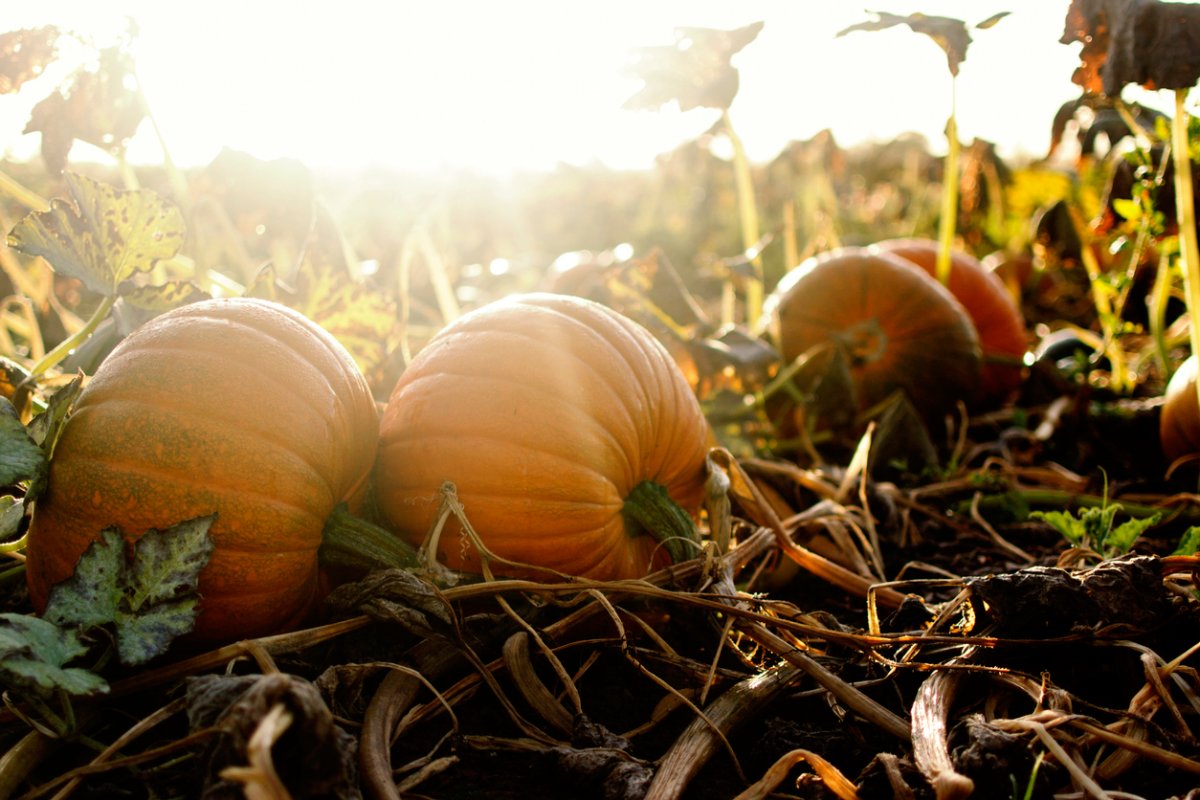
STEP 5: Pick your pumpkins.
Your pumpkins should be ready to harvest when the fruits are fully colored, hard enough to resist the imprint of your fingernail, and their vines have begun to die back. That generally will occur in late September or early October.
Use pruning shears to cut the pumpkins from the vine, leaving 3 to 4 inches of stem on each fruit, and allowing them to lie in a sunny, dry place to ripen for 1 to 2 weeks. Then store them in a cool, well-ventilated location, such as an unheated attached garage, where temperatures remain in the 50s.
If you follow these steps, your great pumpkins should reward you for assiduousness. But, if you still have no luck with them, you can always try the concrete kind for decorations.
Because some pumpkin cultivars can take more than 3 months to mature, it’s best to plant them by the end of May in the north. Southern gardeners should sow pumpkin seeds by the middle of July. Should you need to spray your vines or other nearby plants with insecticide, do so in late afternoon or evening after the blossoms have closed, when bees no longer are buzzing around the blooms.