We may earn revenue from the products available on this page and participate in affiliate programs. Learn More ›
When intact, your garden hose is a trusty tool for hydrating your lawn, rinsing debris from your deck, and just about every exterior task requiring water. But a bent, torn, or otherwise leaky hose wastes water and makes outdoor chores more difficult. Plus, you often only discover there’s a problem after you’ve started a job when running out to buy a new hose is darned inconvenient. Fortunately, it’s fairly easy to extend its life by repairing a garden hose with the smart (and cheap!) DIY fixes we’ve assembled here. Read on to learn more about garden hose repair.
RELATED: This Must-Have Garden Hose Promises Not to Kink, Puncture, or Leak
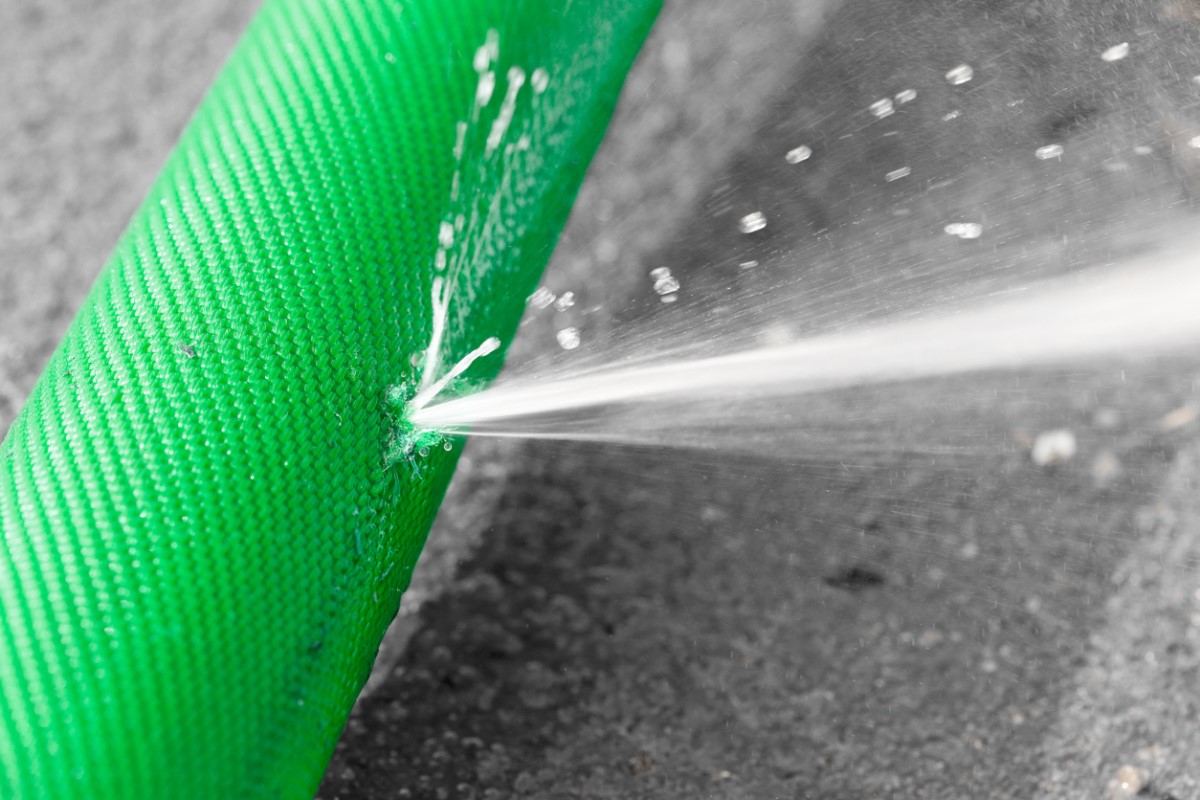
1. Seal small holes with electrical tape.
Pesky pinholes are often only visible to the eye when you connect the water and spot small, geyser-like spurts of water from the punctured section of the hose. Such small leaks can direct water away from the lawn or plants you’re aiming for—not to mention squirt you in the eye! Electrical tape, usually made of a PVC backing and a rubber-based adhesive, has the elasticity, insulation, and weather resistance needed to effectively plug these holes, but you may eventually need a hose mender (see below) if leaks persist.
Turn off the water, disconnect the hose, and wipe it dry with a rag. Mark the punctured section with a marker, then wrap electrical tape around the marked section, overlapping a few times to ensure good adherence. Take care not to wrap so tightly that the hose creases, as this might impede water flow. Reconnect the hose to the spigot or a spray nozzle and turn on the water to verify that you’ve solved the problem.
2. Repair large tears with a hose mender.
Larger tears in a hose often result from snagging on a tree or bush, cracking with exposure to extreme heat or cold, or chewing by a naughty pet. Water will gush from such tears when you turn on the tap, but a hose mender—a short plastic or metal tube that replaces the damaged section, available (e.g., Nelson Compression Fit Hose Mender on Amazon)—can come to the rescue.
Turn off the water, disconnect the hose, and remove the torn section with a hose cutter or garden shears. Attach the cut ends of the hose to the connectors of the hose mender, twisting the two collars on the mender clockwise to tighten. Reconnect the hose to the spigot or a nozzle and turn on the water to verify there are no leaks.
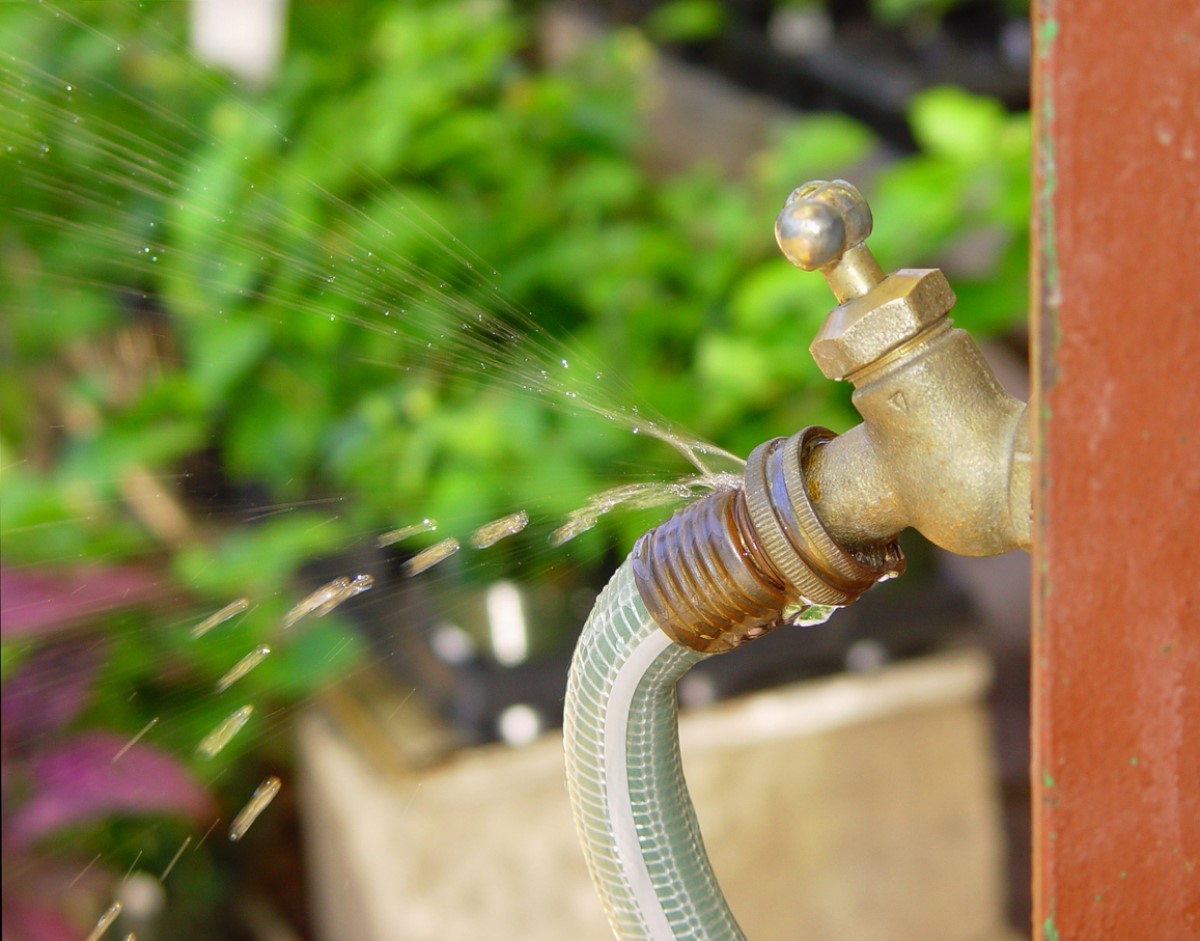
3. Fix a leaky coupling with a new hose gasket.
One of the peskiest garden hose problems is a leak in the coupling: the metal or plastic fitting found on both ends of a hose used to connect the hose to the spigot, a nozzle, or a sprinkler. If you spot a steady drip coming from the hose couplings when you connect it to a source, the gasket may need to be replaced. Gaskets naturally wear with time and water exposure, so plan to switch out your hose gaskets every three to 10 years.
Turn off the water, disconnect the leaky hose end, and use needle-nose pliers to pull out the existing gasket inside the coupling on that hose end. Use your fingers to push the new gasket inside the hose coupling. Generally, the thicker O-ring gaskets (e.g., Nelson O-ring, available on Amazon), the more watertight the seal; flat gaskets don’t mold to the contours of the coupling quite as well. Reconnect the hose to a spigot or nozzle and turn on the water to ensure the coupling no longer leaks.
RELATED: After 50 Hours of Testing, We Found the Absolute Best Hose Nozzle
4. Replace a bent coupling with a new hose coupling.
If the coupling on either end of the hose continues to leak after a gasket replacement, the coupling may have gotten physically misshapen by a run-in with a lawn mower or other piece of heavy equipment. A bent coupling loses the watertight seal between the hose and a spigot, nozzle, or sprinkler, causing a leak.
Replacing a bent coupling with a new one that suits your needs will provide a permanent solution for the leak. There are two types of couplings: female (e.g., Nelson Female Hose Repair, available on Amazon) connects to the spigot and male (e.g., Nelson Male Hose Repair, available on Amazon) connects to a nozzle or sprinkler. Also be sure to choose a coupling with the same diameter as that of your hose (e.g., 5/8-inch coupling for a 5/8-inch-diameter hose). Both the coupling type and diameter will be stated on the packaging.
Turn off the water, disconnect the hose, and remove the entire bent coupling with a hose cutter. Push the exposed end of the hose into the connector of the coupling, and then twist the collar of the coupling clockwise to tighten it. Connect the hose to a spigot or nozzle and turn on the water to ensure the coupling doesn’t leak.
Safeguard your hose to avoid future damage.
Use these tips to stave off future damage to your garden hose and ensure leak-free lawn maintenance:
- Avoid leaving a hose outside in extreme heat or cold. Existing creases in a hose can progress into cracks with exposure to high heat or if cold water inside the hose freezes. A cool, dry environment like the garage is best for hose storage.
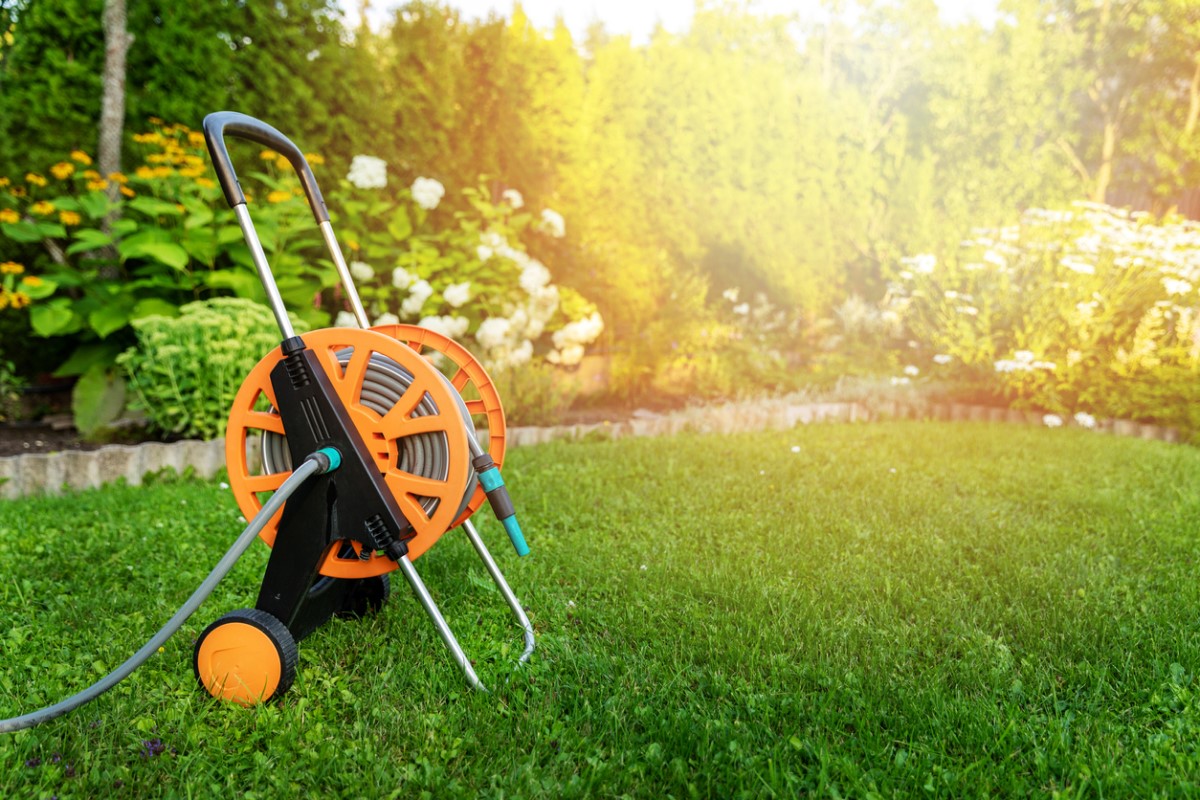
- Lightly coil and store your hose on a hose cart (e.g., Ironton Hose Reel Cart, available on Amazon) when not in use to keep it kink-free (creases can eventually lead to tears). A hose cart will also make it easier to transport your hose to and from the garage or shed to the lawn without the hose snagging on trees or bushes, equipment, and other sharp objects or abrasive surfaces that can cause holes or tears in it.
- Drain any remaining water in a hose after a watering session by spraying it out with a nozzle and then lifting and gently shaking the hose with the hose end facing down to remove any leftover water. Standing water can weather the gaskets inside the hose and reduce the integrity of their seal over time.
If you must replace your hose, choose one made of rubber instead of vinyl. Rubber hoses tend to be more resistant to temperature changes and are less likely to crack over time than vinyl equivalents.
RELATED: The Best Hose Timers, Tested and Reviewed
