
We may earn revenue from the products available on this page and participate in affiliate programs. Learn More ›
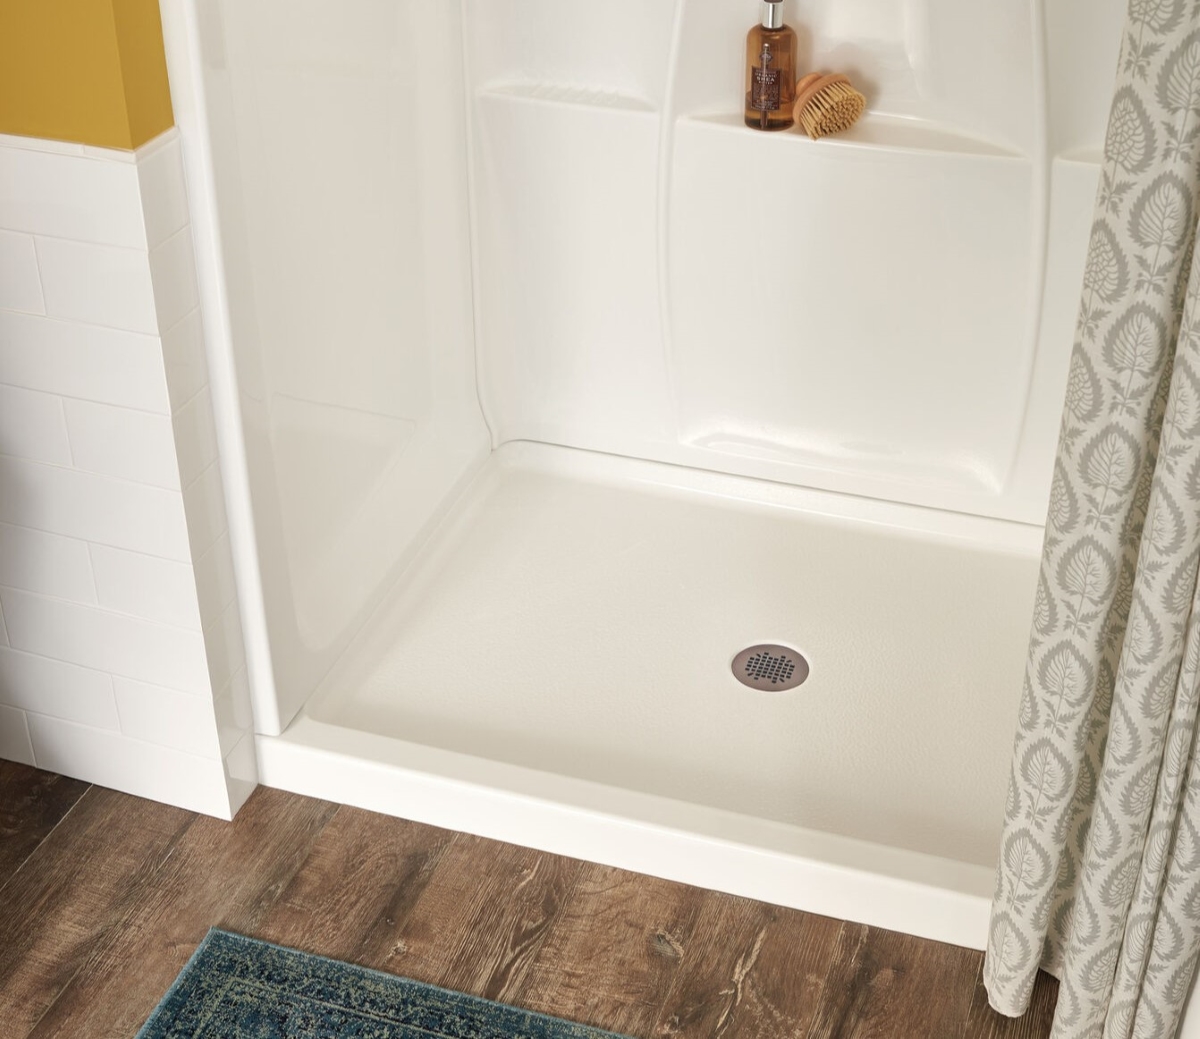
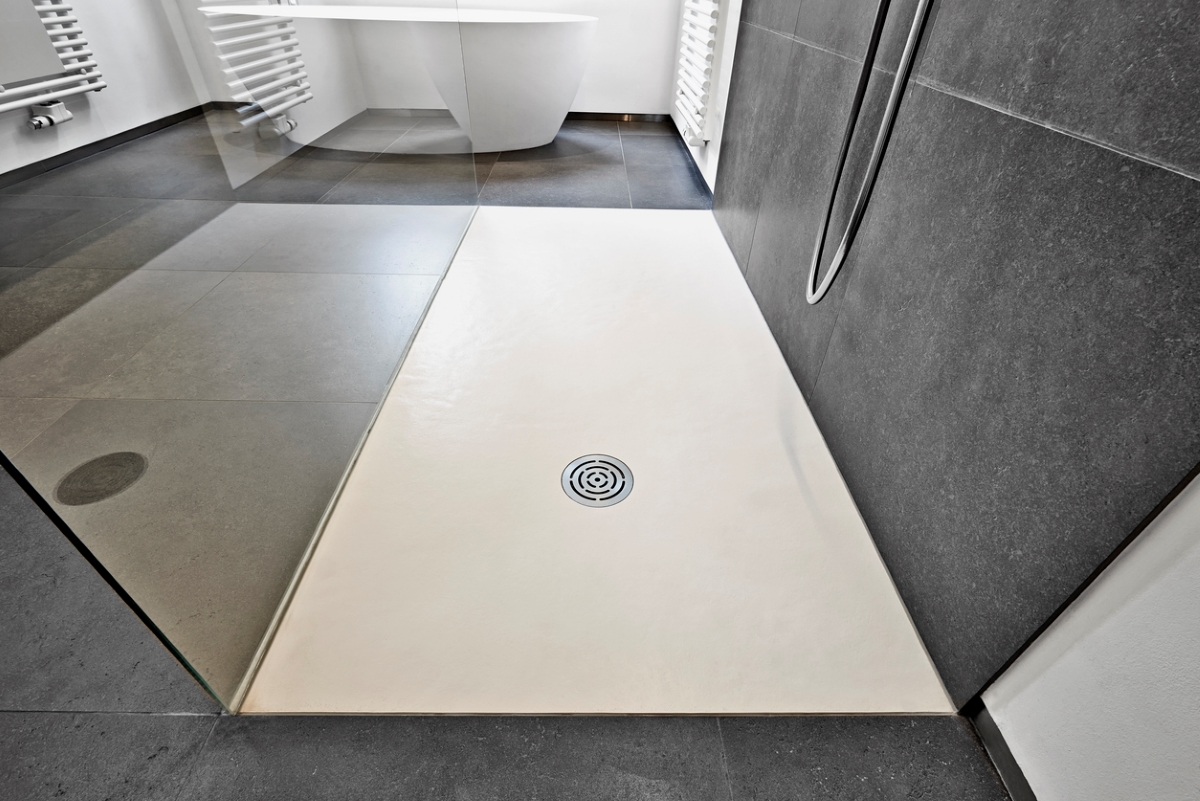
A shower pan is a key part of a shower system, protecting your subfloor from water damage by aiding drainage. This waterproof floor covering, which is often made of fiberglass, acrylic, or tile, slopes just enough to direct water toward the drain in the floor. When installed and maintained properly, it eliminates most problems caused by lingering water: from mold and mildew growth to structural issues like wood rot.
While one-piece shower pans are an option that make the DIY installation process a little easier, custom shower pans are an opportunity to create a non-standard sized shower and add style and character to the bathroom and daily shower experience.
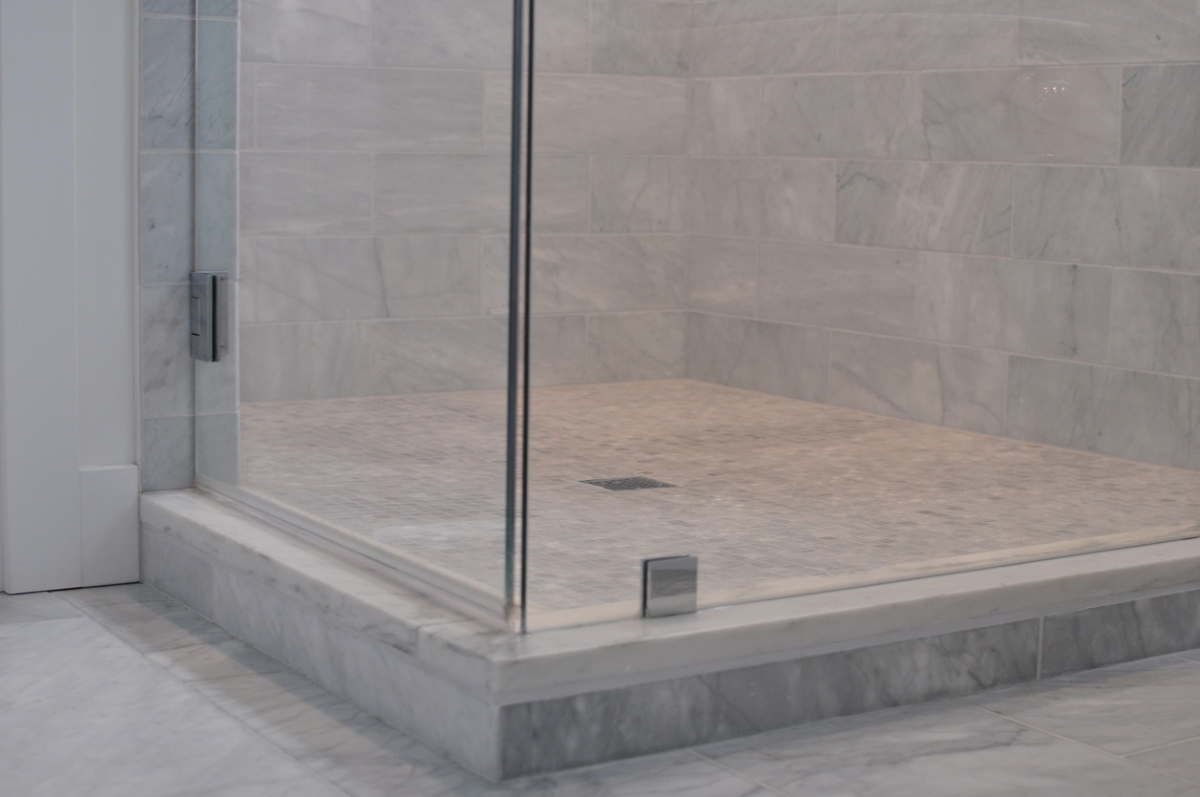
Incidentally, “shower pan” and “shower base” are often used interchangeably, but they’re technically two different things. A shower pan is the part of the shower that the bather actually steps on, whereas the shower base is the structure beneath the shower pan.
Whether the goal is to remodel a bathroom to add a shower where it didn’t exist before, replace a bathtub with a shower, or replace a shower pan that’s at the end of its service life, basic plumbing skills and a free weekend are all that experienced DIYers need when learning how to install a shower pan or how to replace a shower pan.
Tools & Materials
Bobvila.com may earn a commission from purchases made through these links.
- Trowel
- PEX plumbing parts (elbows, couplings, and compression fittings)
- Shower pan
- Wood or composite shims
- Plumber’s putty or silicone
- Shower pan mortar
Project Overview
Working Time: 4 hours
Total Time: 2 days
Skill Level: Advanced
Estimated Cost: $300 to $500
Before You Begin
Replacing an old shower pan with a prefab pan can be a relatively straightforward project, as the size is predetermined and the surface is likely level and ready for installation. However, installing a new shower pan in an area where there used to be a bathtub (or nothing at all) can be more difficult as more prep may be needed before you can begin the project. Installing shower pans that are custom will require more planning, too.
How to Install a Shower Pan
It’s important to follow the manufacturer’s instructions for a prefab pan, but their installation directions will likely be similar to the below steps. Even though custom shower pans vary widely from one installation to the next, they share many of the same shower floor pan installation considerations with ready-made shower pans. Here are the general step-by-step shower pan installation steps, including how to prepare the base, how to set a shower pan shower pan drain installation, and shower pan drain assembly, that you’ll need to know.
Step 1: Measure the shower area.
If you are replacing a shower pan, measure the old one to ascertain the exact size that’s needed. For those who are installing a new shower pan in a location where a shower does not yet exist, it’s important to determine the size of the shower area and the location of the drain. These measurements will inform which off-the-shelf sized shower pan will work for the area.
Note: If you are planning to install a custom shower pan, then the measurements of the shower base will determine the materials needed to create the shower pan.
Step 2: Prepare the subfloor.
Before installing the shower pan, you need to know how to install a shower base, which is the structure underneath the pan. First, the subfloor needs to be in good shape before a shower base installation starts. If there are any signs of mold or if there is damaged plywood or rot, it’s important to take care of that first. Also, check for any lumps and bumps that the shower’s space might contain.
Many shower pans have supports or ribs underneath that hold up the majority of the weight while maintaining a slope.
- Use a tape measure and pencil to measure and mark the locations of these feet on the subfloor.
- Then use shims placed on the shower floor to create a level space for the pan. Composite shims are best for this since they are impervious to water and have greater load-bearing capacity.
If the shower pan does not have supports, it will require a bed of mortar mix. The mortar will eliminate the need to shim the pan.
Step 3: Dry-fit the shower pan.
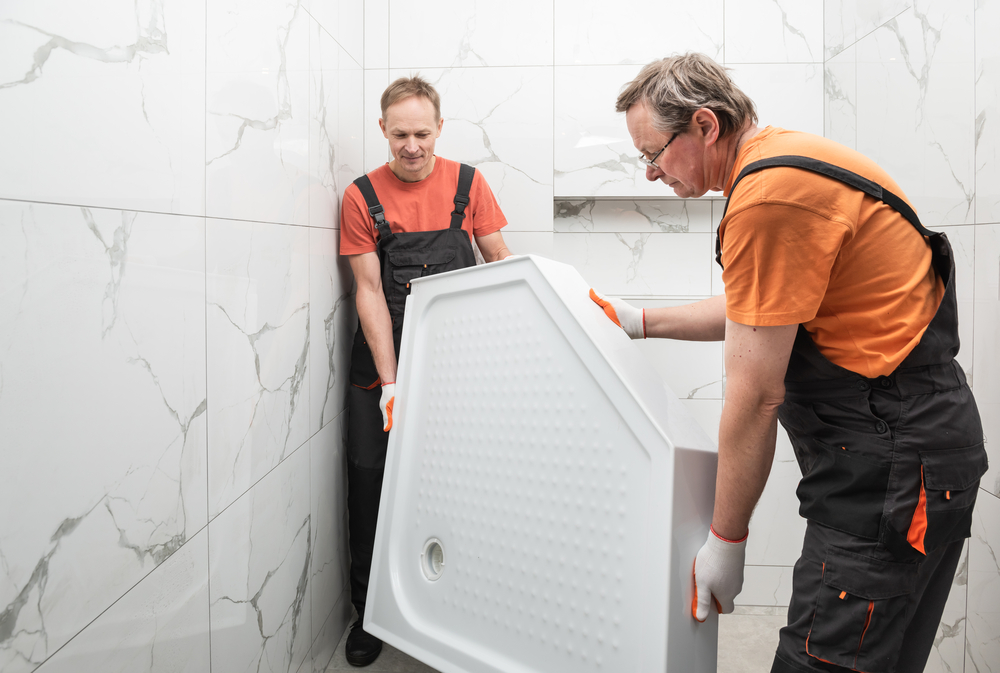
Next, dry-fit the shower pan into place. This step serves several purposes: First, it allows you to determine whether or not you need to move the drain and piping. This is often necessary, especially when moving to a large shower pan or switching from a tub.
This step also allows a DIYer to check that the shimming they did in the previous step was effective. Use a box beam level to check that the pan is sitting level. If it’s not, adjust the shims until the pan sits level. Once level, predrill the shims and screw them to the subfloor.
Then, mark the height of the shower pan’s flange on each stud. These will serve as reference marks during the final pan installation.
Step 4: Install the shower drain flange.
If you are installing a new drain flange, now that the dry fit of the shower pan is complete and the drain location is confirmed, it’s time to install the new shower drain flange. While these are the typical steps, always follow the manufacturer’s directions.
- Unbox the shower drain flange and separate its parts.
- Remove the shower pan from its dry-fit position.
- Place a bead of plumber’s putty underneath the rim of the drain flange and place it through the shower pan from the top.
- On the underside of the shower pan, place the rubber or foam gasket and then the paper gasket over the drain flange’s threads.
- Finally, place the nut on the threads and tighten the nut by hand before cinching it down with the pliers.
Pro Tip: Check the shower pan’s instructions. Some manufacturers recommend using silicone instead of plumber’s putty during a shower drain replacement or installation, as putty may affect a fiberglass shower pan.
Step 5: Secure the shower pan in place.
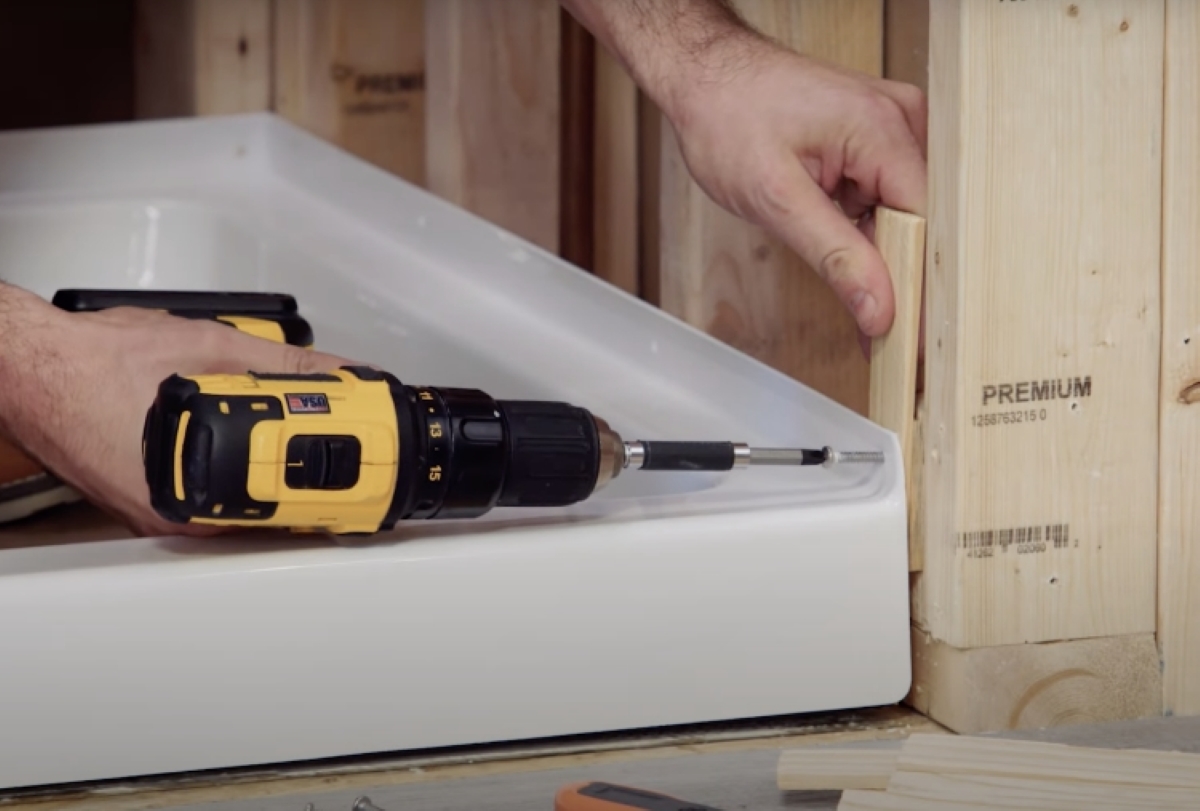
Place the shower pan in the space. If the pan has supports or feet, it most likely also has clips that hold it to the studs, or the manufacturer’s instructions may recommend drilling the flange and screwing it to the studs.
- If the shower pan needs a base of mortar, mix the mortar according to the manufacturer’s instructions.
- Pour this shower pan mortar onto the base and level it with a trowel.
- Carefully wiggle the shower pan into place until it’s level and aligns with the reference marks along the rim.
- Attach the shower pan to the flanges to hold it in place.
- Once in place, lay a bag of mortar in the middle of the pan to weigh it down and prevent it from lifting as the mortar dries.
Pro Tip: Don’t fill the entire subfloor with mortar or there won’t be enough empty space under the pan to compress the mortar.
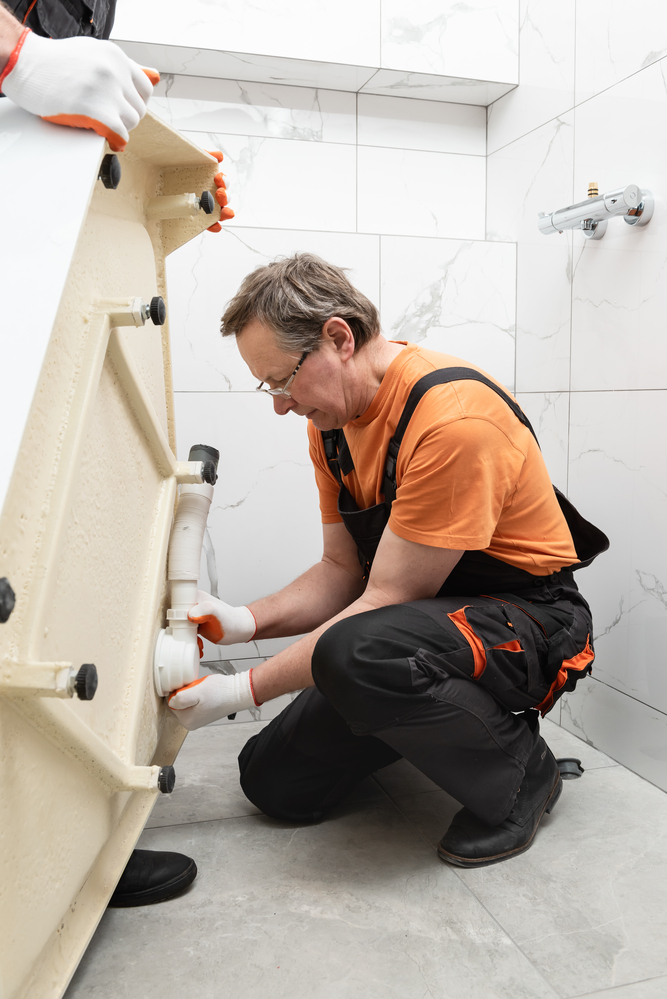
Step 6: Complete the shower drain assembly.
Cut a short length of pipe and install the shower flange, securing it with the rubber compression ring included in most kits.
Head to the room below the shower pan and gain access to the shower drain assembly (this may require cutting the ceiling’s drywall. There should be unobstructed access to the drain flange, the tailpiece, and the rest of the shower drain plumbing sticking through the floor.
Note: If the bathroom is on the ground floor or if there is limited access underneath the shower, it is usually best to call a pro to install the drain assembly.
Attach the existing plumbing to the tailpiece by sliding the compression fitting over the tailpiece and tightening it in place.
Step 7: Run the water and check for leaks.
Once you’ve successfully fit the pan, attached the drainpipe, secured the shower drain flange, and made all connections according to the manufacturer’s instructions, run the shower once to inspect for leaks.
It’s also wise to plug the drain for a minute while the water is running, then stop the water and see if the water level holds to make sure the pan is not leaking anywhere. If everything looks okay, the shower should be good to go.
When to Replace Your Shower Pan
Assuming it’s installed properly, a prefab shower pan should last a decade or more. While a desire to update the bathroom for aesthetics or lifestyle reasons may happen before it nears the end of its lifespan, a shower pan can break down and require replacement.
“Replacing a shower pan can fall into two categories: need vs. want. Needs can include cracks, leaks, water damage, loose tiles, and health or other concerns that require an immediate change for quality of life and care,” says Caitlin Roberts, CKBD, at Russell Room Remodelers in Woodbury, Minnesota. “Wants may include the age and condition of the shower pan, size and shape of the shower, outdated tile design, and taking proactive measures to ensure you don’t reach the “need” category for one of the reasons previously mentioned.”
To prevent a compromised pan from letting water permeate and damage the subfloor of your bathroom, keep your eyes open for these signs of excessive wear:
- Visible cracks are in the shower pan. “Sometimes a small crack can seem like no big deal but left undone can become a big problem down the road,” says Aaron Harrison, Remodeling Specialist and co-owner of Sims Exteriors and Remodeling in Stoughton, Wisconsin.
- Water is spilling out onto the bathroom floor. In some cases, if you can see the source of the leak, you may be able to repair it. For less than $10 and an hour spent caulking, you may be able to get another few years from the pan. Moisture stains are on the walls or ceiling beneath the shower. A leak may be present through the bottom of the pan or along the seams, which can be completely out of sight. If the bathroom is on the first floor, you may see similar damage in the crawl space or basement.
- The shower pan is worn down. After years of use, the surface of the shower pan can be so worn that it’s no longer safe or clean. “There also may come a point that the pan does not appear completely clean anymore,” says Shane Allis, Kohler’s Showering Fixtures Marketing Manager. “This could be the surface wearing down after many years of use.”
- Movement in the pan when using it. When you feel buckling or warping underfoot, those are signs that it’s time to prioritize a replacement shower pan. Buckling can indicate that the subfloor under the shower pan has suffered serious water damage due to a leak or crack.
- Change in shower needs. Lifestyle changes can prompt a need to switch the shower pan and the rest of the shower system. It may become difficult for a family member to get in and out of the shower and a zero threshold shower pan may be needed.
“If a customer is unsure if the shower needs replacement, a professional that specializes in bathroom remodeling can help a customer determine whether it requires replacement,” says Roberts.
How to Choose the Right Shower Pan
Choosing a shower pan depends on the needs of the users, the space available, budget, aesthetics, and the overall shower design.
Size Matters
The size of the shower is the first consideration when selecting a new shower pan. If the shower is a standard size, prefab options simplify the process. In terms of actual dimensions, a shower pan can be as narrow as 27 inches and up to 66 inches in width. There are a range of off-the-shelf shower pan sizes and shapes that allow for the flexibility to fit awkward corners and the configurations of most bathrooms.
If the shower is not a standard size or shape, and you are looking for a more personalized design, a custom shower pan made from concrete, stone, or tile can work well.
Shower Door Selection
When determining the right pan size, you also need to account for the space required by whatever door you select for the shower enclosure. Consider the variety of doors and stalls available: sliding versus swinging, corner door versus side door, or perhaps no door at all. In modern dwellings, some skip the door altogether, either hanging a curtain to contain splashes or leaving the shower area open and placing a drainage hole in the bathroom floor to draw away overspray.
Each type of door has its pros and cons.
- A swinging door requires enough clearance outside the shower for it to open without hitting a toilet or other fixture—and this may mean that there will be a little less square footage available for the shower stall and pan.
- A sliding door requires enough space to retract, so one side of the pan needs to be double the width of the door.
- No door offers the most flexibility in cramped spaces, but at the price of having to deal with overspray every time you take a shower.
Drainage Location
The location of the drain is an important factor when selecting a shower pan, especially when choosing a prefab shower pan as the drain location is built into the pan. “Different pans offer options with drain location, which can be important if you are just doing a replacement with the drain in the same location, or a larger remodel and can choose the location of the drain to optimize the showering experience,” says Allis.
If the drain location isn’t predetermined or if you are converting a bathtub to a shower, it’s important to decide on the drain before designing or selecting the shower pan. “It’s a huge headache to go and place the pan in place only to realize the plumbing for the drain is not lined up,” says Harrison.
Material Options
In addition to aesthetics, the budget, timeline, and material performance also affect the choice of materials for a shower pan. Most store-bought shower pans feature acrylic, fiberglass, or porcelain finishes in a neutral hue, while custom creations in such materials as concrete and tile encourage a little more creativity in execution and appearance. A custom shower—a renovation that can boost a home’s resale value—can certainly be left to the pros, but it could also be a DIY job for a homeowner who is comfortable working with concrete or mortar and tile.
“One of the biggest mistakes can be to choose an acrylic shower base without understanding all of their limitations,” Harrison. “While acrylic shower pans are often the most cost effective, they can often come with the most limitations. Aesthetically, they tend to lack the visual appeal of tile or stone. Acrylic can be prone to scratches and more wear and tear over time and are not customizable. They are restricted to only the specific sizes offered by manufacturers.”
Roberts points out that time is also a factor when it comes to selecting the shower pan material. For example, a one-piece shower pan is quick to install and a custom-tiled shower pan takes more time.
Accessibility and Aging-in-Place
Accessibility makes showers an attractive remodeling choice. The low, 3- to 4-inch threshold of a standard shower pan as well as helpful features like shower rails make bathing simpler for homeowners who are aging in place or who have to contend with limited mobility. “Selecting a low- to zero-barrier threshold is ideal for the client looking to age in place. Zero barrier means a threshold of 1 inch or less,” says Harrison.
“Typically, a lower threshold product that makes it easy to get into and out of the shower is recommended for aging-in-place,” says Allis. “In some situations, a zero-threshold product may be required if the consumer needs a “roll-in” solution. Another key feature of a pan for an aging-in-place application would be a slip-resistant surface on the pan to help with stability while using the shower.” And, Harrison points out: “Choosing a shower pan that is rated with proper dynamic coefficient of friction will assure that you are selecting a product that is slip resistant when wet.”
Plus, if down the line a shower seat or bench becomes necessary, the relatively flat surface of a shower pan is more conducive to sitting than the curved bottom of a tub. Walk-in showers also tend to be sleeker in style than boxy or bulky bathtubs, and the glass walls that often enclose them contribute to an airier, less cramped aesthetic in smaller bathrooms, too.
Final Thoughts
Installing a shower pan can be successfully done by an experienced DIYer. With the right technique, a bit of know-how, and the correct products and materials, the job can go fairly smoothly. Ensuring that everything is level and appropriately supported is the most important part to prevent leaks.
