We may earn revenue from the products available on this page and participate in affiliate programs. Learn More ›
Whether you’re a keen DIYer or a pro, there’s little more frustrating than being unable to find the right tool when you need it. Digging through a disorganized pile of wrenches, hammers, and pliers can also result in painfully scuffed knuckles.
Yet many of us go through it time and time again, often assuming that we simply don’t have time for tool box organization. In fact, the opposite is true. Once you know how to organize a tool box, you can retrieve any tool almost without thinking about it. So let’s do that.
3 Types of Tool Boxes to Know
Before we get to the tool organization ideas, it’s worth first reviewing the most common types of tool storage. Each type has its pros and cons depending on the kinds of work you do.
1. Portable Tool Box
Portable tool boxes offer enormous choice, with designs to suit all needs. They vary from small lightweight models designed to hold a few basic tools for home projects to large wheeled carts that can organize a host of power tools, hand tools, fixtures, and fittings.
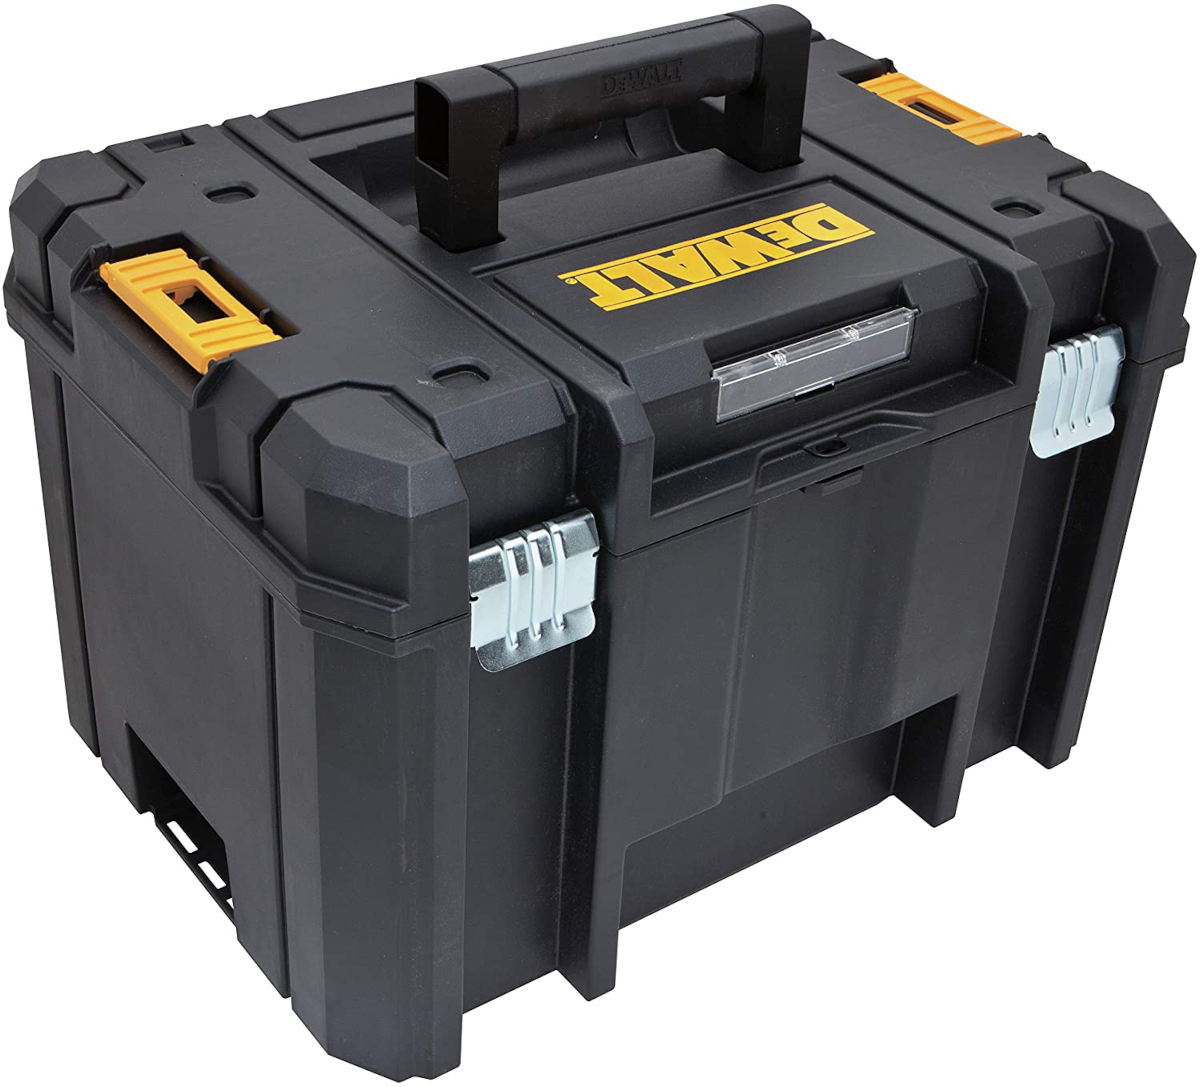
Our Recommendation: DEWALT TSTAK Tool Box on Amazon for $27.77
This DEWALT tool box is tough, has lots of space, comes with a large lift-out tray, and is part of a modular system that offers solutions for all kinds of tool storage.
2. Tool Bag
The main advantage of quality tool bags is they can store tools in pockets on the outside, making them easy to get at. They are often preferred by those who use a multitude of small hand tools like screwdrivers, pliers, and cutters. Shoulder straps make them more comfortable to carry, and also leave the hands free.
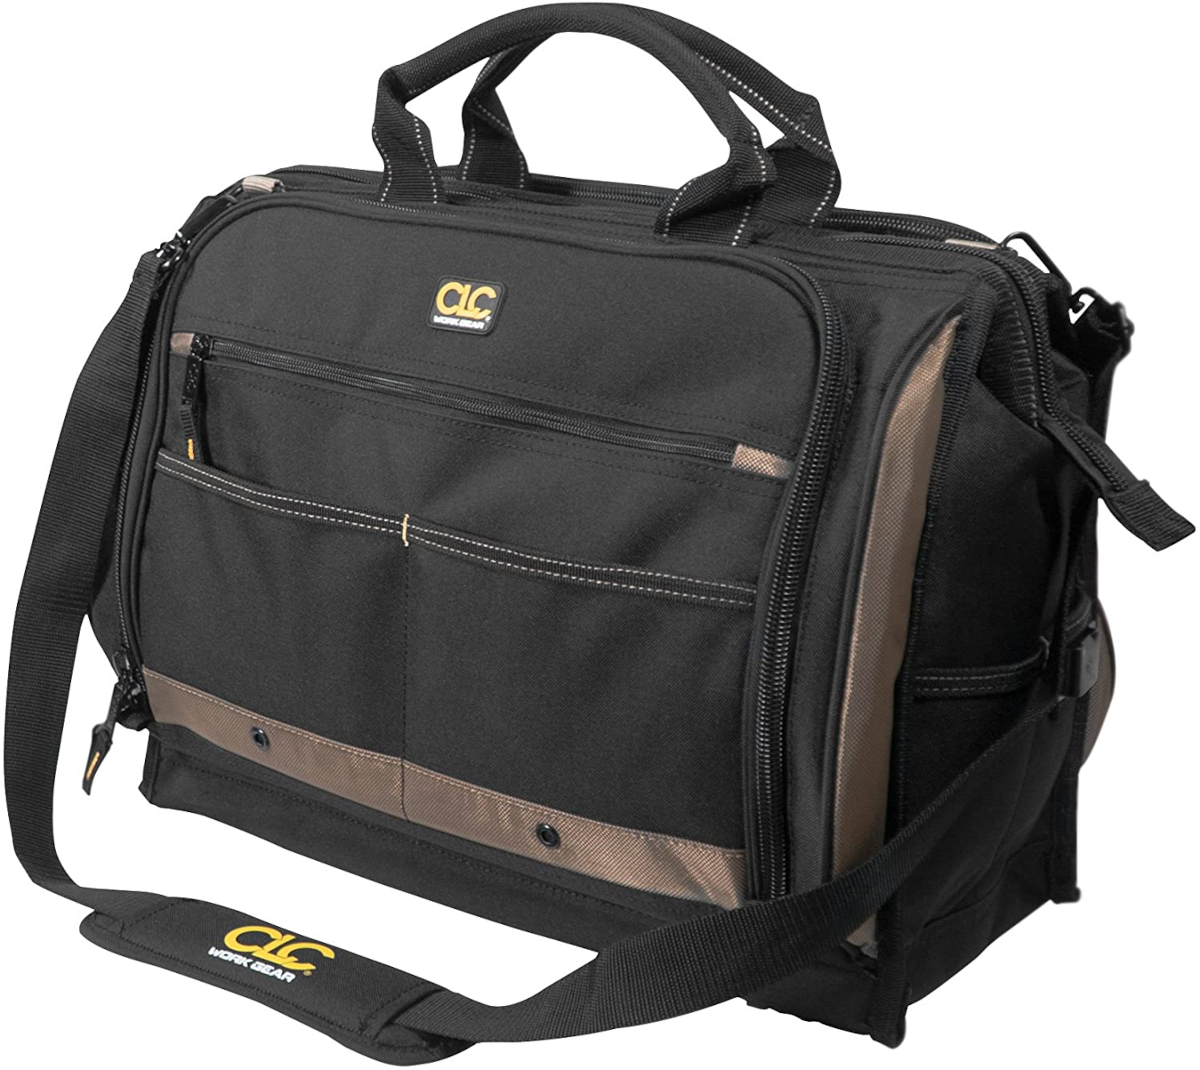
Our Recommendation: Custom Leathercraft Tool Bag on Amazon for $76.50
This well-made CLC tool bag has 50 different compartments, including a central space for power tools and batteries and an array of outer pockets for fast access.
3. Tool Chest
Tool chests generally offer much more storage than portable tool boxes or bags. They usually have several sliding drawers and have long been a favorite as a mechanic’s tool box. Many tool chests have deeper sections at the top with a hinged lid, useful for larger tool organization. Some also have wheels for convenient mobility.
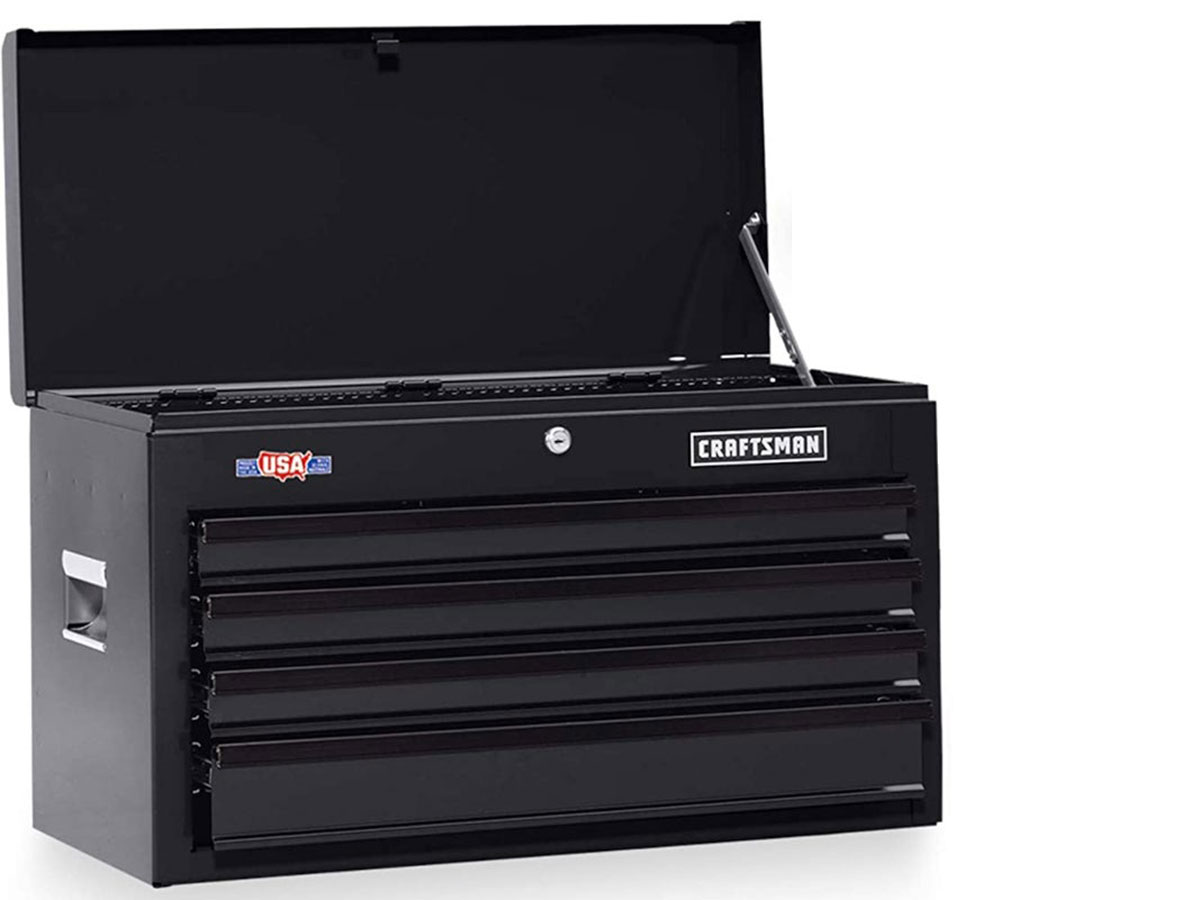
Our Recommendation: Craftsman Tool Chest on Amazon for $149
The Craftsman tool chest is a classic mechanic’s favorite with drawers for sockets and wrenches, along with a lidded top section and a lock to keep the contents secure.
RELATED: The 30 Easiest Organizing Tasks Ever
How to Organize Tools in a Tool Box
Although tool bags are soft-sided, most of the below tool box organization ideas and methods work well regardless of the type of tool storage used. Here’s how to get your tools in order for quick and easy access.
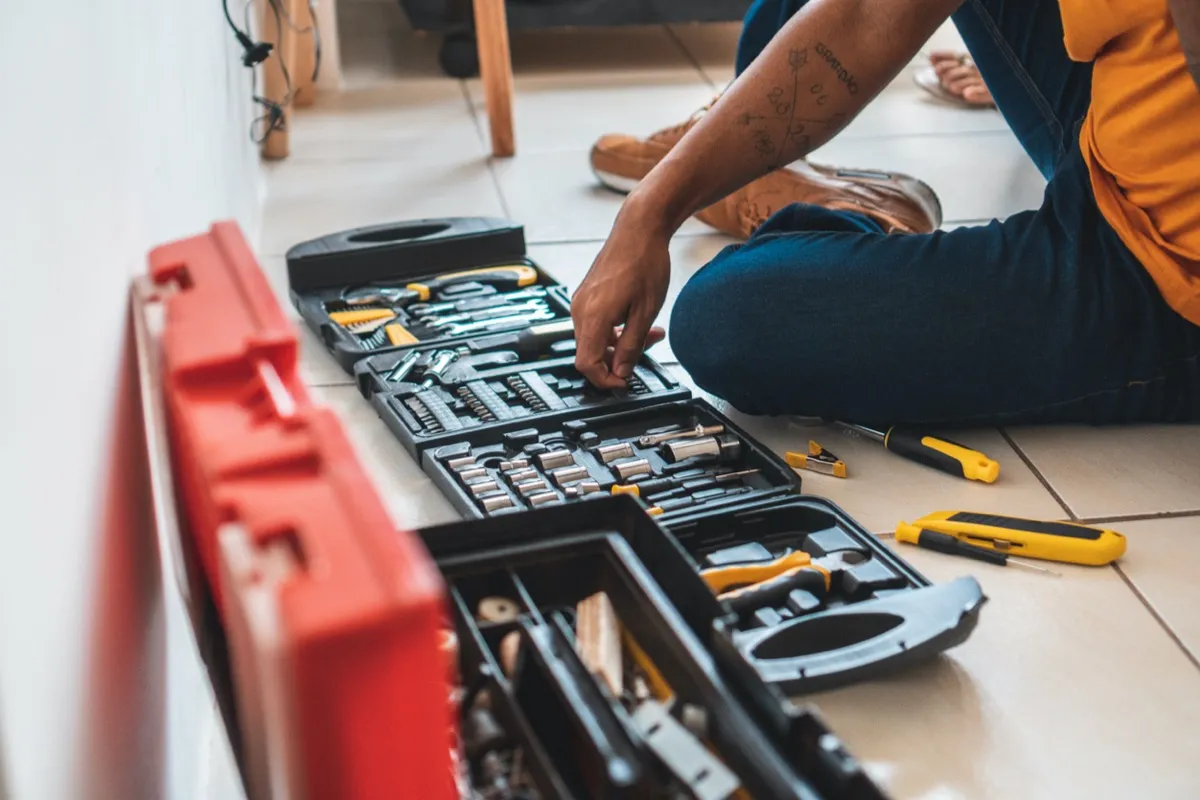
STEP 1: Take stock of your tool collection.
If you’ve been building a tool collection for a while, you may have lost track of exactly which tools you own. The first step is to take a visual inventory. Find somewhere all of your tools can be laid out and arranged into groups. Think about which tools are frequently used together and check for duplicates.
Tools that aren’t needed can be donated to charity, and those that are beyond repair probably have parts that can be recycled—don’t let them go to waste in the trash.
STEP 2: Consider separate containers for different types of tools.
Sometimes having two small tool boxes is better than a single large one. A basic set of everyday tools used for jobs around the home can be kept in one, and woodworking or other hobby tools in another.
It’s also sensible to separate measuring, marking, and layout tools from other items. Not only does this make them easy to get to, but it also helps protect them from damage caused by bumping into other items.
RELATED: Building the Essential Toolbox: 20 Tools You Can’t DIY Without
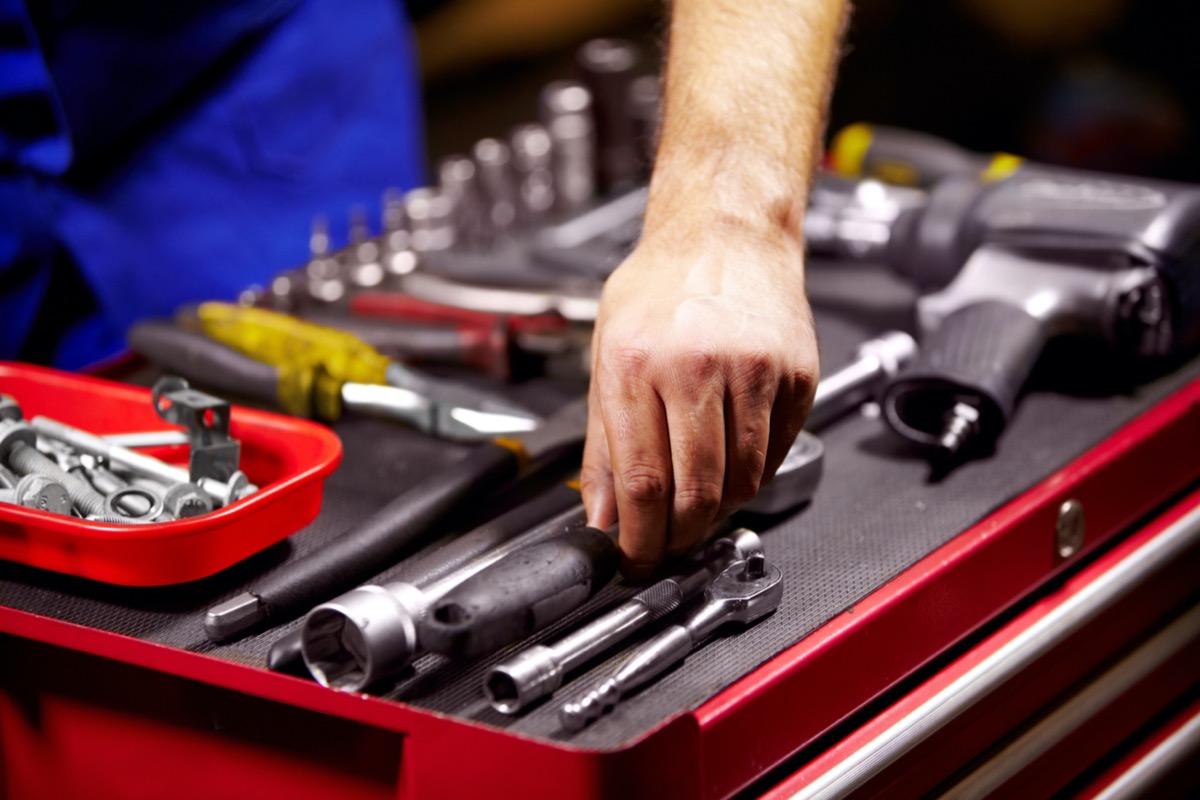
STEP 3: Store frequently used tools in the most accessible part of the tool box.
Think about which tools you use most often. For any DIYers, that list may consist of a couple screwdrivers, pairs of pliers, a hammer, and a cordless drill driver. Organizing tools like these together in a lift-out tray, or the outer pockets of a tool bag, saves space in the main compartment and makes accessing them effortless.
Large tool chests can be subdivided by using a retail tool drawer organizer, or you can use plywood or MDF dividers to make your own tool box organizer tailored to your precise needs.
STEP 4: Larger, heavier tools are best stored in lower sections of the tool box, tool bag, or tool chest.
Most tool chests have larger drawers at the bottom, while tool boxes (especially truck tool boxes) and tool bags generally have open spaces. Regardless of which type of tool container you use, keep heavy hand tools, power tools, and batteries toward the bottom to add stability. Top-heavy tool chests can topple over and spill the contents. On top of being a potential safety hazard, it’s also frustrating to have to pick everything up again.
STEP 5: Organize smaller, lighter tools in upper sections.
Storing lighter tools higher up in the tool box is largely about weight distribution, but it’s also partly about easy access and making good habits. Having to move a large tool like a circular saw or an angle grinder to reach a screwdriver is an unnecessary inconvenience.
Yet that’s often what happens when we’re accustomed to tossing tools into the tool box after finishing a job, after which point it disappears into the depths. Manufacturers of tool boxes and tool bags usually help by providing smaller lidded sections at the top, or pockets on the outside. Make the most of them!
STEP 6: Add labels.
A place for everything and everything in its place should be your tool box mantra. After you’ve gotten used to your newly organized tool box, putting things back in the correct places will become second nature.
At first it may be difficult, however, especially when you’re busy. One easy solution is to add some labels as a quick reminder. Ordinary paper labels can soon get worn off or blurred, so it’s a good idea to use embossed labels that are clear, durable, and have strong adhesive. This DYMO Embossing Label Maker available at Amazon is inexpensive and can be used around your workshop, garage, and home.
RELATED: Building the Essential Toolbox: 20 Tools You Can’t DIY Without
The prices listed here are accurate as of publication on 3/31/22.
