We may earn revenue from the products available on this page and participate in affiliate programs. Learn More ›
Painting pressure-treated wood comes with some complications caused by the very treatment that allows the material to last outdoors. The chemical preservatives used to produce pressure-treated wood minimize the wood’s natural vulnerability to insects and rot, but they also leave the wood rather wet, a state that could lead to your coat of paint eventually peeling. To paint pressure-treated wood successfully, therefore, you must be prepared to exercise a bit of patience.
What is Pressure-Treated Wood?
Pressure-treated wood is natural milled lumber that is treated to better fight rot and decay. Manufacturers force water and preservative chemicals into the wood, into the space left by removing air in a special depressurized holding tank. Softwoods, most often southern yellow pine, take to the process better. Some lumbers, such as cedar, are not great candidates for pressure treating because they already resist rot and decay.
There are two main types of pressure-treated lumber: Above-ground products only work when they’re used at least 6 inches above the ground and where the material has proper ventilation and drainage. Ground-contact pressure-treated wood is cured with more chemicals and is thus appropriate for use just above the ground, at ground level, or wherever ventilation is poor.
What is pressure-treated wood treated with? Manufacturers can imbue the wood with chemicals in either a water- or oil-based solution. Typical water-based preservatives include copper compounds, which combine the element with fungicides or decay-preventing chemicals. Common oil-based preservatives include creosote or pentachlorophenol and are not registered for home use. When you shop for pressure-treated wood, be sure to check the tag on the lumber for specifics: The tag should note whether the lumber is for above-ground or ground contact use, the type of preservative the wood contains, and its retention level (the higher it is, the better its rot resistance).
Pressure-treated wood most often is used for decks, fences, and other outdoor structures. Water-based pressure-treated woods should be safe for garden beds, with a few precautions. It should not be used indoors.
Can You Paint Pressure-Treated Wood?


Yes, you can paint pressure-treated wood, but your first order of business is to ensure that it is dry enough to accept the paint. Test the wood by sprinkling some water on it. If the drops bead on the surface, wait a few days and check again. If the material absorbs the water, it also is ready to absorb paint. Painting pressure-treated wood too soon can result in peeling paint. Note that some oil-based treated wood will not accept paint, unless it is a type of paint that is designed specifically for that purpose.
If your project is time-sensitive, it may be wise to choose pressure-treated wood that’s marked as having been kiln-dried after treatment (KDAT). The timeline for painting KDAT wood is considerably more condensed.
Can You Stain Pressure-Treated Wood?
If you want to maintain some of the wood’s natural character, consider staining pressure-treated wood rather than painting it. Semi-transparent stains such as Thompson’s WaterSeal, the top stain for pressure-treated wood in our guide to the best deck stains, look more natural than opaque paints because the wood grain shows through the stain. Some experts recommend staining over painting this type of lumber because paint might not adhere as well, while stain can soak deeper into the lumber.
One of the advantages to painting pressure-treated wood rather than staining it is that paint provides better coverage, which is ideal if you’re covering wood that has seen better days. There’s also the fact that paints come in more color options than stain colors for pressure-treated wood. On the downside, painting takes a little longer to do than staining and will likely need more frequent reapplications, typically every 2 to 3 years.
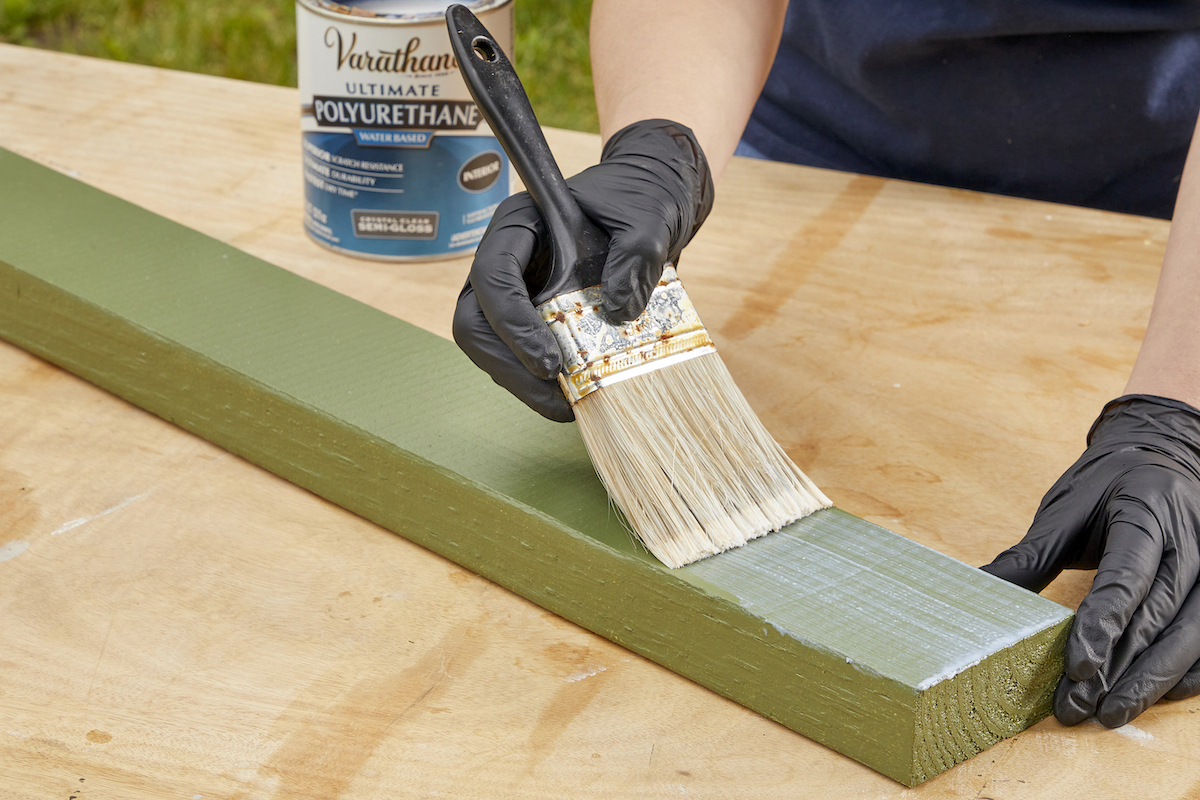
Yet another option is to coat pressure-treated wood with a protective sealant as soon as it is dry, or once it has weathered to the desired shade. Though sealant must also be reapplied every few years, it’s an easier process than repainting. When repainting pressure-treated wood, old paint needs to be scraped away first and it’s a job that can be rather labor intensive.
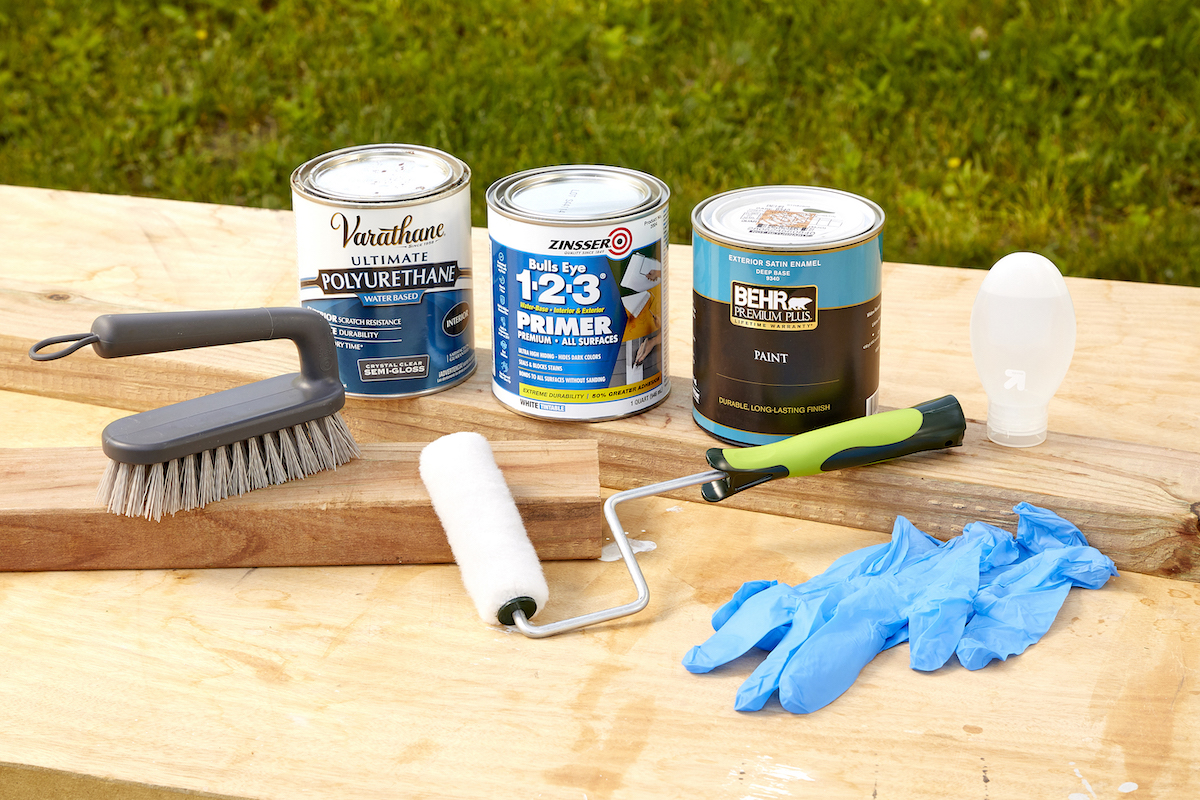
Tools & Materials
Bobvila.com may earn a commission from purchases made through these links.
Project Overview
Working Time: 2 to 3 hours, depending on size of project
Total Time: 48 hours or more, depending on drying time
Skill Level: Beginner
Estimated Cost: $50 (approximately 1 quart each of primer and paint)
Before You Begin
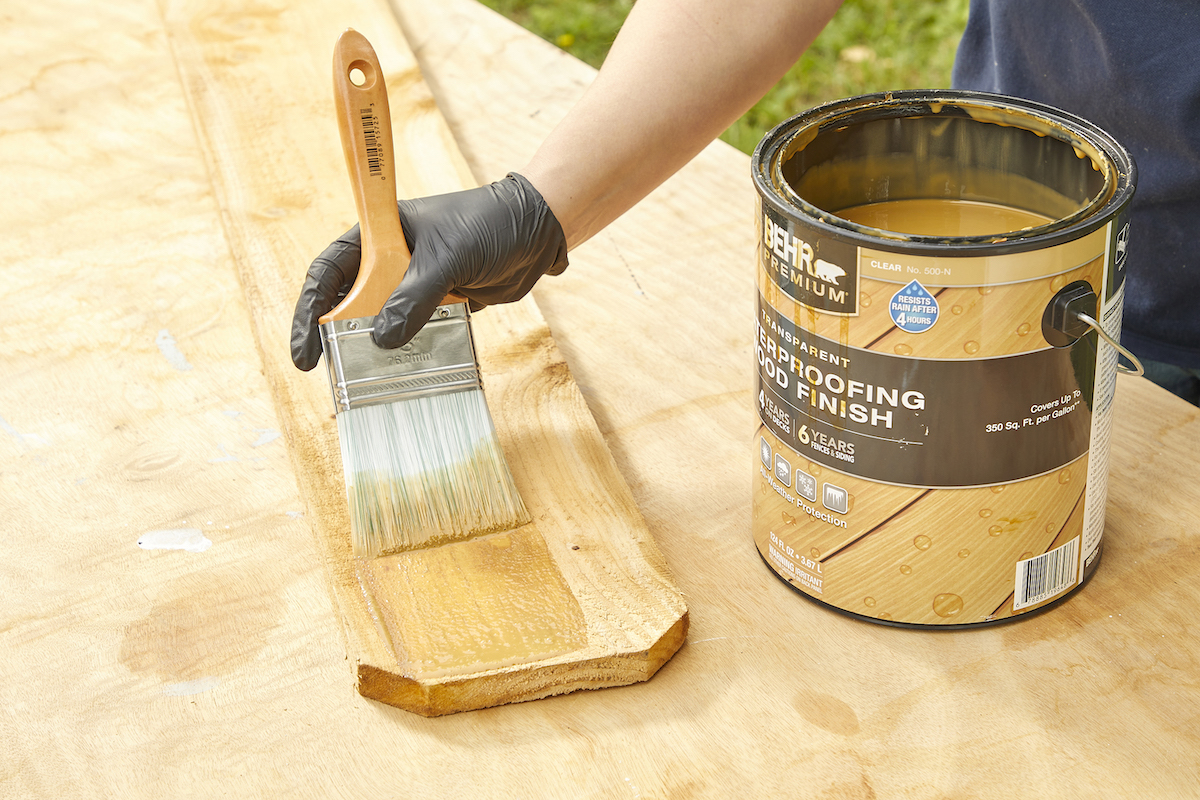
Before beginning your painting project, be sure to select a latex primer and a water-based paint, which is the best paint for pressure-treated wood. If the lumber is new, give it up to a few months to dry; use the method above to test the wood before painting it. Then prep the material as needed to remove debris or stains. Allow plenty of time for the primer and each coat of paint to dry.
Step 1: Prepare the surface so it is clean and ready to paint.

Before painting pressure-treated wood, it’s important to start with a clean surface. New material likely needs only a quick sweep and removal of any debris before starting, although spraying it with a hose does no harm, as long as it dries thoroughly. For older wood, use a stiff-bristled brush and soapy water. Once you’ve given due attention to the entire surface, rinse off the wood. Let the cleaned wood dry thoroughly before proceeding.
Again, the chemicals used to treat the lumber may not have dried at the time you purchase the material or want to prepare it for painting. It can take a few months, so be sure to test new wood before starting or the paint might not adhere.
RELATED: The Best Wood Cleaners for Furniture, Floors, and More, Tested
Step 2: Apply primer to the dry wood.
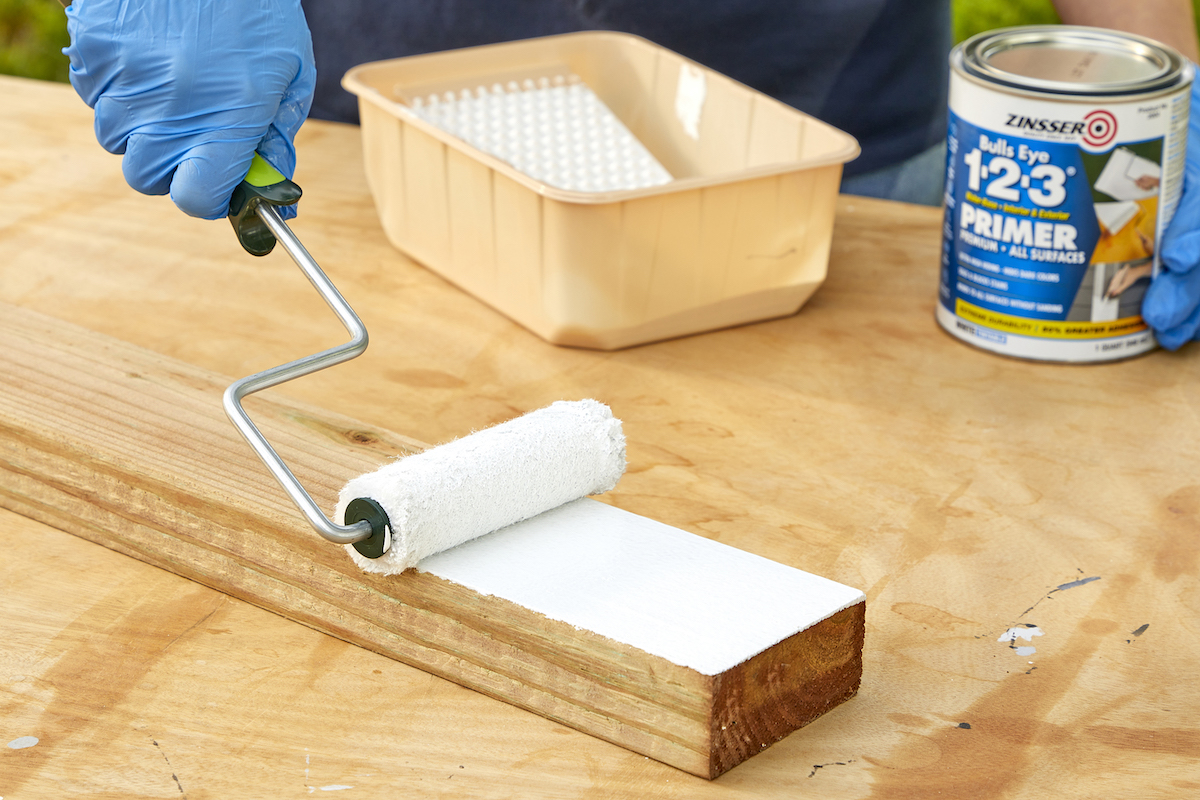
Once you’ve confirmed the new or thoroughly cleaned pressure-treated wood is dry, you can begin painting. Start with primer formulated for exteriors, and make sure that the manufacturer lists the coating as suitable for use on pressure-treated wood. While priming and painting pressure-treated wood may be easiest with a paint sprayer, opt for a roller if you prefer. You may want to use a brush (or both a brush and a roller) if the job involves detail work.
Allow the primer to cure based on the manufacturer’s recommended amount of time before applying paint.
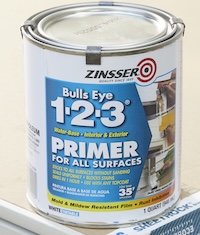
ESSENTIAL GEAR
Zinsser’s Bulls Eye 1-2-3 primer will seal and prepare fresh drywall for paint, and can protect against mold and mildew. Our top overall pick in our tested guide to the best paint primers for indoor, outdoor, and general use, the Zinsser Bulls Eye covers stains, graffiti, wood tannins, and other discolorations and dries in just 35 minutes.
Get the Zinsser Bulls Eye 1-2-3 Water-Based Primer/Sealer at The Home Depot for $33.98/gallon.
Step 3: Apply two coats of paint.

Having primed the wood, and having allowed sufficient time for the primer to dry (it should take no more than a day), move on to applying your top coats. You should expect to do two, waiting to add the second coat for a few hours or the paint manufacturer’s recommended drying time. Avoid using oil-based paint here; on pressure-treated wood, latex performs much better.
Stir the paint well before starting and apply a small amount of paint in an inconspicuous area if you want to test the color and look. It’s worth mentioning that in applications where the finish will be subjected to the elements, paint lasts longer on vertical surfaces like fences than it does on horizontal ones like decks, which can affect how often paint needs reapplying.
Final Thoughts
Although pressure-treated wood can withstand outdoor conditions better than natural lumber can, adding paint, stain, or a sealant can extend its life further. Painting this type of wood offers more opportunity for color and full coverage to hide spots or color inconsistencies. Just beware that painting before the pressure-treated wood is ready can lead to poor adhesion and peeling. It is likely that the surface will need repainting every 2 to 3 years. Preventing stains from forming makes the project prep easier each time, however.
