We may earn revenue from the products available on this page and participate in affiliate programs. Learn More ›
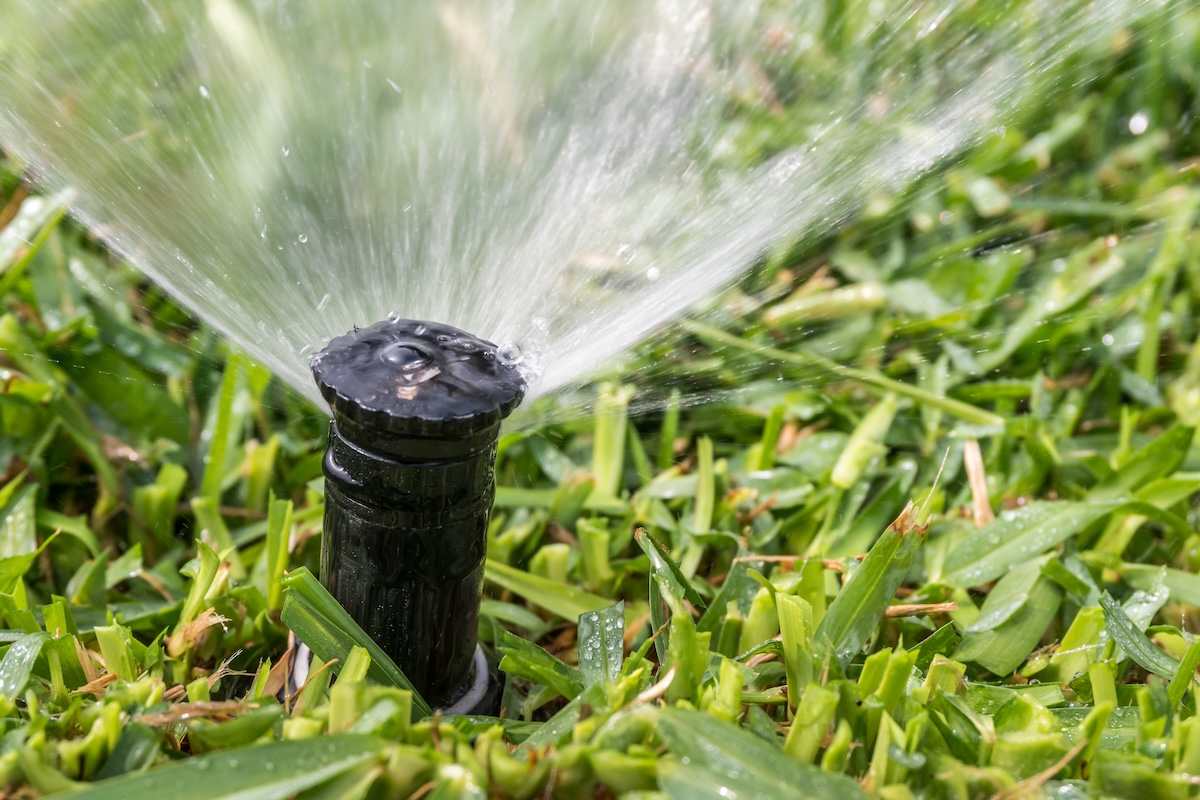
A properly functioning sprinkler head is essential for keeping your lawn healthy and well watered. But over time, sprinkler heads can crack, wear out, or get damaged by a lawn mower. Signs that it’s time for a replacement include low water pressure, leaks, and poor or nonexistent spray.
Fortunately, sprinkler head replacement is an easy DIY task that requires just a few basic tools, and completing the task yourself will save you the $75 to $250 a professional repair person would charge. With a new head costing around $20, you can keep both your lawn and your wallet in good shape by following this guide to changing a sprinkler head.
Tools & Materials
Bobvila.com may earn a commission from purchases made through these links.
Step 1: Dig up the sprinkler head.
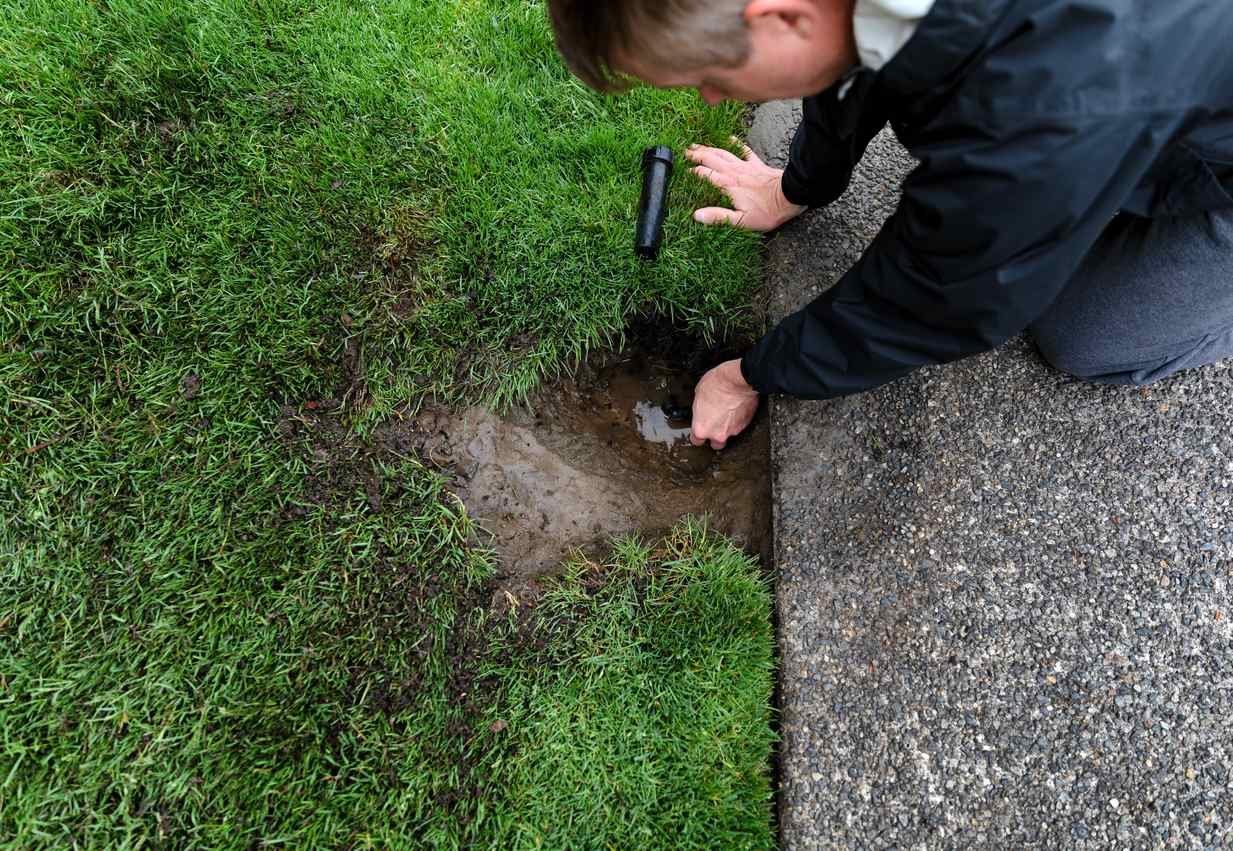
Turn off the water supply at the sprinkler shut-off valve. Use a sturdy trowel to dig around the head, which typically sits just below or flush with the ground. Follow these steps to do it safely:
- Carefully remove the sod or grass around the sprinkler head so you can replace it later.
- Dig a hole about 6 inches deep and 1 foot in diameter around the sprinkler head, being careful not to damage the water line.
- Place the soil in a container to keep it from falling into the open water line.
- Inspect the water line for damage. If you see leaks or ruptures, the issue might be with the plumbing rather than the sprinkler head. In that case, consult a plumber for sprinkler repairs.
Step 2: Remove the broken sprinkler head.
The sprinkler head is attached to a small pipe called a riser, which connects it to the water line. To remove the broken head properly, follow these steps:
- Twist the sprinkler head counterclockwise to unscrew it from the riser.
- If the riser comes off with the sprinkler head, carefully detach them.
- Remove any old plumber’s thread seal tape from the riser and inspect the threads for damage.
- If the riser is cracked, worn, or misaligned, replace it with one of the same length and diameter.
- If the riser is intact, wrap new thread seal tape around the threads and reattach it to the water pipe.
- If the riser broke off inside the pipe, use a riser removal T-tool to extract it before installing a replacement.
Taking care not to let dirt fall into the open water line will help prevent clogs or future leaks.
Step 3: Attach the new sprinkler head.
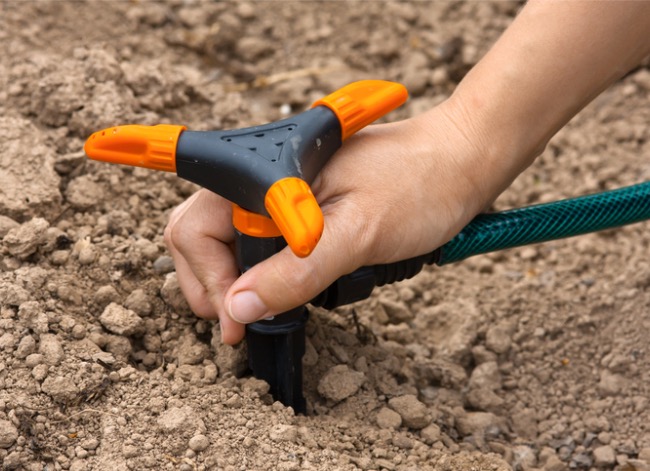
With the riser in place and wrapped with thread seal tape, it’s time to install the new sprinkler head. Follow these steps:
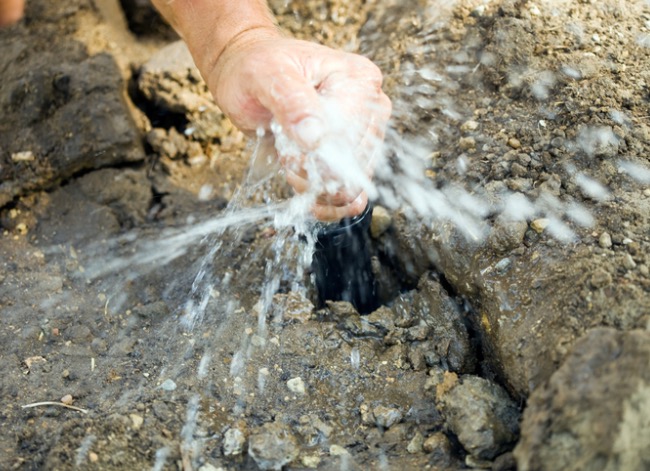
- Flush the water line by briefly turning on the system to clear out any dirt or debris. If needed, use a flexible garden hose over the riser to redirect water into a nearby drain.
- Turn off the water and screw the new sprinkler head onto the riser in a clockwise motion.
- Tighten the head by hand until it is secure and aligned in the desired direction.
Before finishing, check the spray pattern. Some sprinkler heads cover a full 360-degree range, while others are designed for 180-degree or other partial-circle patterns. Make sure your new sprinkler head matches your old pattern or better addresses your lawn’s watering needs.
Step 4: Test the new sprinkler head.
With the new sprinkler head installed, turn on the system to check for leaks and proper function. Follow these steps:
- Run the sprinkler for about a minute and observe the water flow.
- Check for leaks around the riser and sprinkler head.
- If there’s a leak, turn off the system and tighten the sprinkler head or reapply thread seal tape for a snugger fit.
- Test the system again to confirm the issue is resolved.
- If using smart sprinkler controls, ensure all functions work properly.
Troubleshooting Tips
- Check that the new sprinkler head sits at the same height as the others to ensure even water distribution and prevent mower damage.
- If the head is too high or low, tighten it further or compare the new riser’s length to the old one. If mismatched, replace the riser.
- Make sure the sprinkler sprays in the correct direction by adjusting or tightening the head as needed.
Step 5: Fill the hole around the sprinkler.
Once the new sprinkler head is working properly, refill the hole and restore the surrounding grass. Follow these steps:
- Shovel the dirt back into the hole, spreading it evenly around the base of the sprinkler head.
- Tamp down the soil with your hand, foot, or the back of the trowel to eliminate air pockets.
- Replace the sod if it was removed in one piece, pressing it firmly into place.
- Water the area immediately to help the grass reestablish its roots.
Pro tips:
- If the turf was damaged during removal, spread new grass seed and fertilize to encourage growth.
- Avoid walking around the newly replaced sprinkler head for a few weeks to allow the grass to settle.
You don't have to do it yourself
Lawn irrigation experts are available to assist—get free, no-commitment estimates from pros near you.
Selecting a Replacement Sprinkler Head
- Check the sprinkler head type: Identify whether it’s a pop-up or impact sprinkler. If it’s a pop-up, determine if it’s a stationary, rotor-driven, or gear-driven head.
- Match the specifications: The new sprinkler head doesn’t need to be the same brand, but it must have the same:
- Delivery rate (inches per hour or gallons per minute)
- Spray pattern (e.g., 360 degrees, 180 degrees)
- Throwing distance (how far the water reaches)
- Find the specs on the old head: Check the top or side of the existing head for key details. If missing, look up the part number on the manufacturer’s website.
- Compare in-store if needed: Bring the old sprinkler head to a home improvement store to compare it with new options. Ask an employee for assistance if unsure.
- Shop online or locally: New sprinkler heads are available at hardware stores and online retailers—just ensure the specs match before purchasing.
FAQs
Q. How do you know if your sprinkler head is broken?
If you are noticing low water pressure, frequent leaks, and a poor or nonexistent spray, the sprinkler head might be broken. It’s also important to check the sprinkler pump and underground pipes for other possible causes for these issues, such as leaks.
Q. Are sprinkler heads universal?
Unfortunately, sprinkler systems and sprinkler heads are not universal. The top of a sprinkler head usually has the information needed to find a replacement. A sprinkler head can be a pop-up or impact sprinkler head. Pop-up heads are also stationary, rotor-driven, or gear-driven.
Q. How much does a new sprinkler head cost?
A new sprinkler head typically costs between $5 and $20, depending on the type and brand.
Q. How long do sprinkler heads last?
Most sprinkler heads last 5 to 15 years, depending on usage, maintenance, and water quality.
Q. How much does professional sprinkler head repair cost?
Hiring a pro for costs between $75 and $250, depending on the job’s complexity and local labor rates.
