We may earn revenue from the products available on this page and participate in affiliate programs. Learn More ›
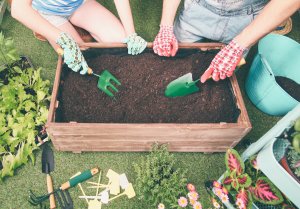
Starting a vegetable garden can be a rewarding prospect for any homeowner. In addition to having fresh veggies on the ready, digging in the dirt has big health benefits. Though yanking out weeds might feel therapeutic once in a while, using straw mulching is the ultimate gardener’s secret to keeping plants healthy and happy and those veggie beds weed-free. The great news is that mulching gardens with straw is easy and inexpensive.
Straw Mulch vs. Pine Straw Mulch vs. Hay
Many garden centers sell pine straw mulch—a type of mulch made of pine needles that doesn’t actually contain straw. Pine straw mulch may come in longleaf or short-needle varieties. If there are pine trees nearby, gardeners can also simply rake up pine needles and use them as mulch elsewhere in the garden.
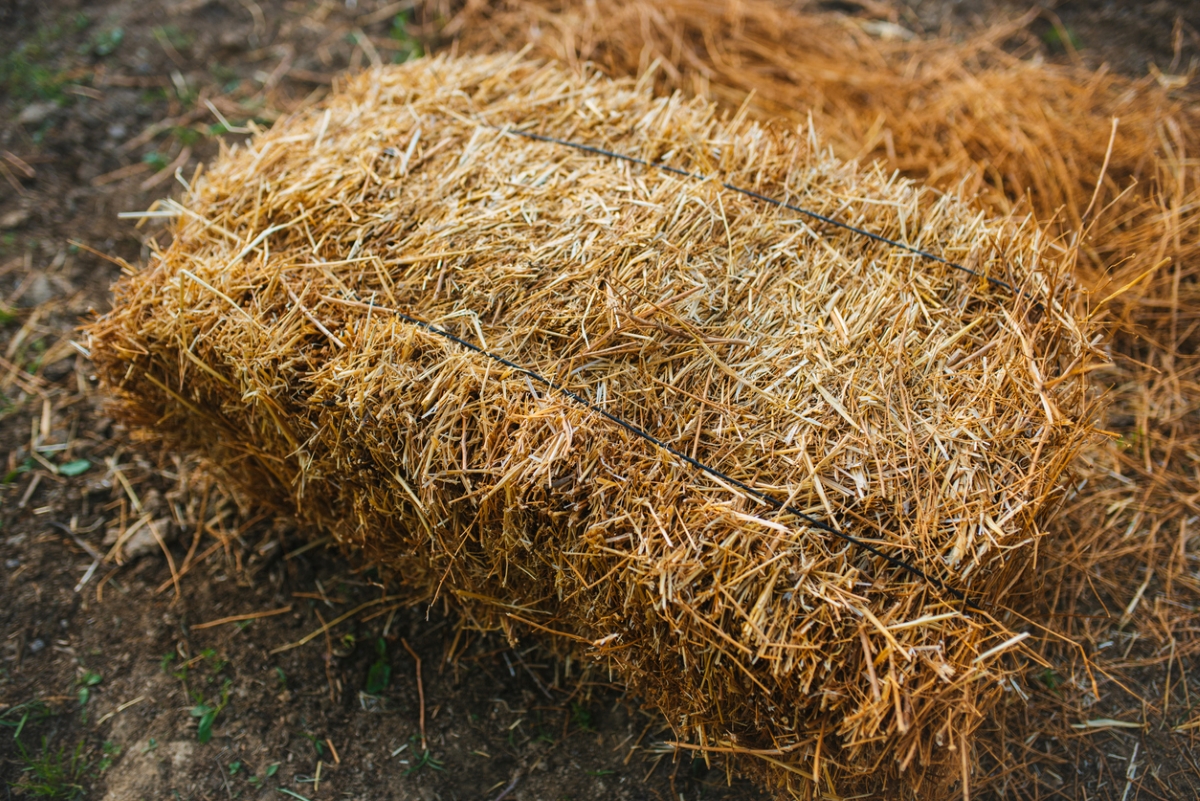
The difference between mulching straw and hay can be a source of confusion. Straw mulch is made of the hollow stalks of harvested grain crops, usually wheat, but sometimes barley or oats. Straw is a leftover product after harvesting and garden straw mulch shouldn’t contain seeds. It’s typically sold in bales, which is where straw vs. hay can get confusing. Many people refer to what are actually straw bales as hay bales.
Hay contains grasses and seeds and may also be mixed with alfalfa; it is used to feed grazing animals. Because hay is harvested while green and then baled, it can end up being denser than hollow, fluffy straw, so it’s not as easy to spread in garden beds. The seeds in hay can sprout up as weeds in the garden, completely defeating one of the purposes of mulching.
Certified Weed-Free Straw Mulch
One of the perks of using straw as mulch is the ability to keep weeds at bay. A product might be labeled as straw and look like straw, but there’s no guarantee that it is weed-free. When selecting straw for mulching a garden, look for certified weed-free mulch. Often packaged straw is more likely to be weed-free. Additionally, organic straw mulch may be pesticide-free, but that doesn’t guarantee it is weed-free.
“Straw that has seed heads will drop seeds into the soil, creating a weed problem that is easier to avoid than it is to fix once it’s an issue,” says Shelby DeVore, a horticultural expert and founder of the educational gardening and homesteading site, Garden. Farm. Thrive. “To avoid wheat plants from sprouting up in your garden, check the straw for any seed heads before purchasing, especially if you’re buying from an individual rather than buying packaged wheat straw,” she says.
Why Use Straw Mulch?
While there are many types of mulch from which to choose, straw mulch offers gardeners a variety of perks. It helps conserve moisture, reducing the amount and frequency of watering. It protects plants from temperature fluctuations such as extreme heat and cold, which can also extend the garden season. Using straw as mulch helps keep weeds under control, too.
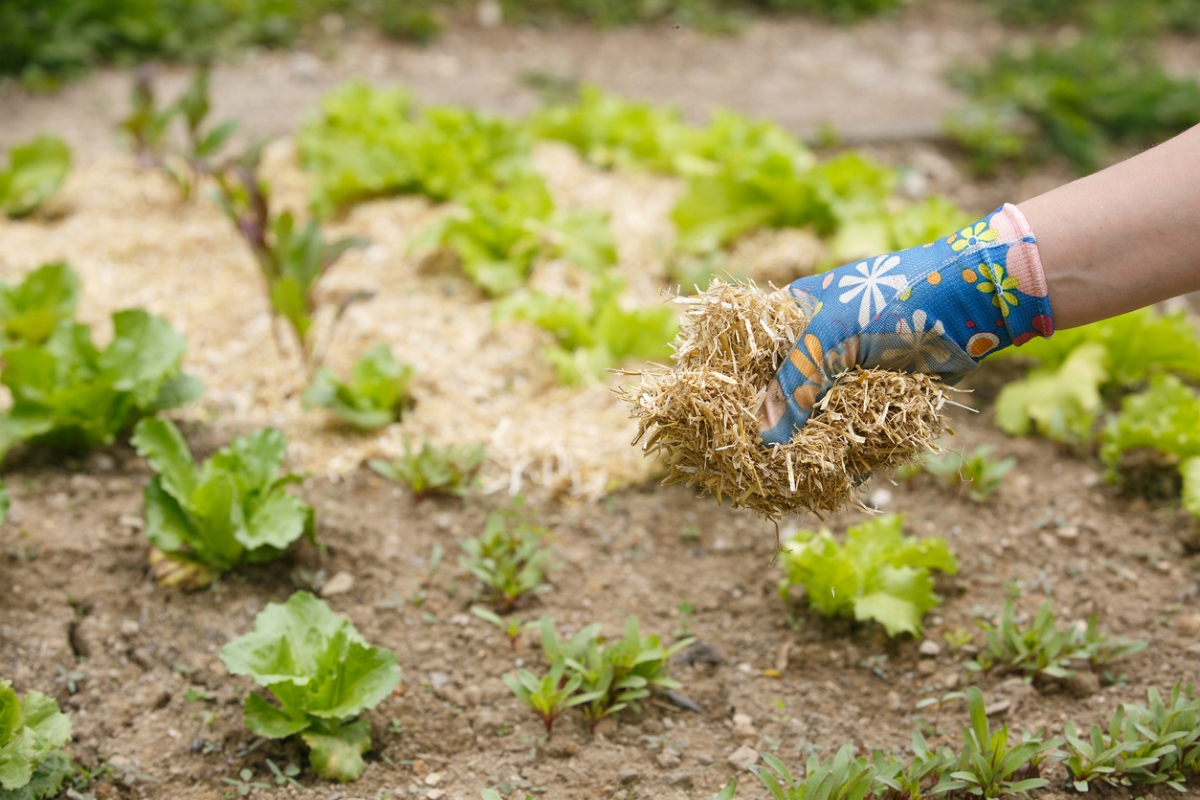
Because mulch straw is a byproduct of grain harvests, mulching gardens with straw is also very affordable. The straw is light, so it is easier to transport than large bags of wood bark, and easier to spread, ideal for anyone with limited mobility. There aren’t any special tools to purchase to spread the straw mulch; though a pitchfork can be handy, a common garden rake will do the trick. And though it doesn’t need to be removed at the end of the growing season, straw can easily be moved or worked into the soil.
How to Mulch Vegetable Gardens With Straw
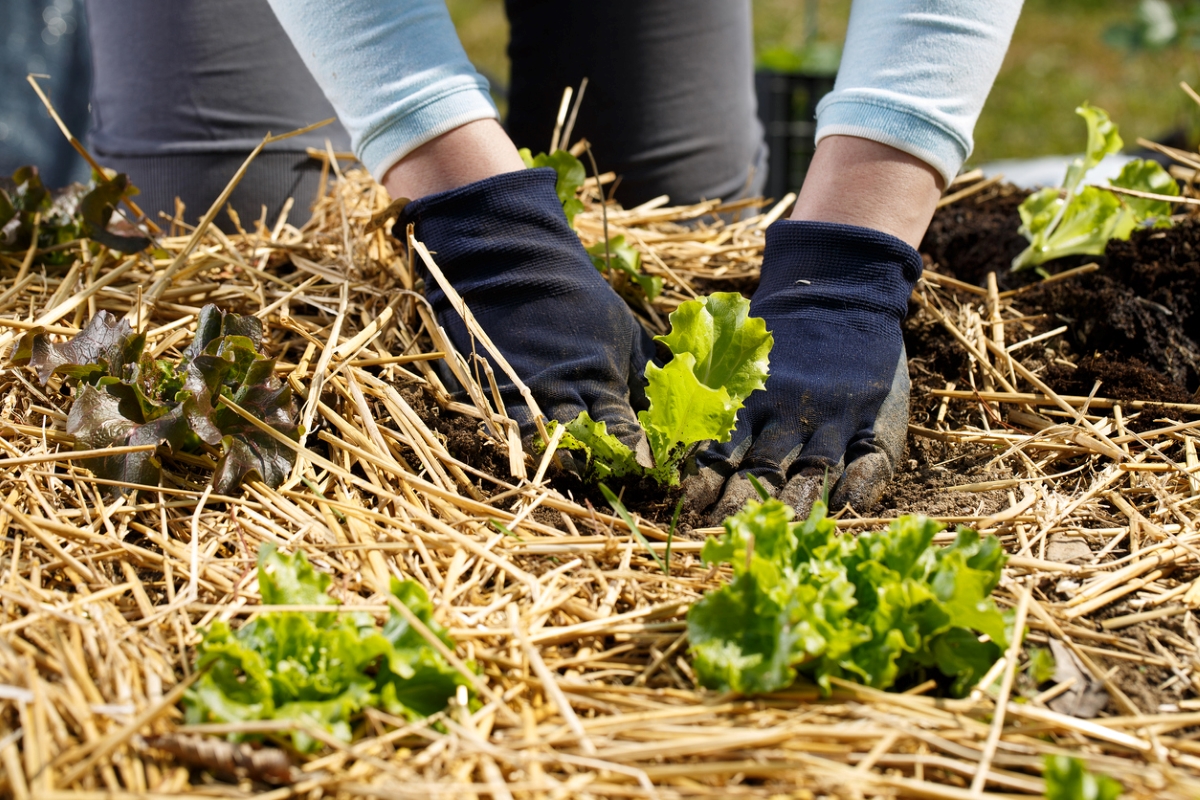
Before undertaking straw mulch gardening, be sure plants are well established. A layer of straw mulch can keep seeds from sprouting, so don’t apply it where vegetable seeds have not yet germinated. While all veggies grow at different rates, a good rule of thumb is to wait until plants are about 10 to 12 inches high before applying mulch. Some plants, such as strawberries, will be the exception to this rule. The following steps will set you on the path to successful straw mulch vegetable gardening:
- Prep the soil. Be sure the area around the vegetable plants is free of weeds, rocks, and debris.
- Fertilize. It’s always wise to fertilize veggies toward the beginning of the growing season. Logistically, it makes sense to apply fertilizer before mulching with straw, especially if using a rich compost that should be worked into the soil around the new plants.
- Water. Lightweight straw mulch will stay in place better if the soil is damp, but don’t overwater and create a muddy mess.
- Spread thick, but not too thick. It’s tricky to determine how much mulch to use, but when using straw mulch for garden beds, remember that it tends to break down so lay it on fairly thick. Aim for about 4 inches of mulch around vegetables—if plants are well established, this won’t bury them. Keep in mind that straw mulch is airy and compacts fairly quickly, so mulching as much as 8 inches is okay for many types of vegetables, just don’t go any higher.
- Leave space around the plant. Try to leave at least 2 inches of circumference around the plant’s base so that the straw mulch doesn’t prevent air circulation or inhibit the plant’s ability to take in water and nutrients. This will also decrease the chance of a fungus or rotting.
- Water again. Water lightly on top of the straw mulch to keep it in place. This is particularly necessary with shredded straw mulch, which can blow away easily.
- Reapply as needed. If the straw breaks down or blows away, it might be necessary to reapply before the end of the season.
DeVore offers home gardeners another great tip. “Straw will break down and decompose over time, which will add the nutrients back to the soil that your plants need to thrive,” she says. “Don’t think of straw as a mulch that you have to remove and replace each year. Instead, plan on leaving it in place or tilling it into the soil so it can add nutrients to the soil profile.”