
We may earn revenue from the products available on this page and participate in affiliate programs. Learn More ›
Painting furniture that’s dinged, scratched or out of style can have an incredible impact on a room’s decor—it’s like getting new furniture for a fraction of what new furniture would really cost you. This is the ideal outcome, of course. If you take shortcuts with the process, this effort at renewal can seriously backfire. The paint can look sloppy and uneven, and peel or chip shortly after you complete the project.
It takes patience and a little bit of know-how when it comes to painting furniture the right way. To avoid any snafus, follow these expert dos and don’ts about how to paint furniture.
DON’T forget to ventilate.
Paints contain chemicals that evaporate in the air, and can cause eye, throat, and lung irritation along with headaches, dizziness, and vision problems. Proper ventilation is critical. Because volatile organic compound (VOC) content varies depending on the type of paint you choose, low-VOC paint may not have these effects.
When painting indoors, the Consumer Product Safety Commission recommends keeping windows wide open, weather permitting, to avoid unwanted exposure to vapors. If it’s feasible, use window-mounted box fans to exhaust vapors from the work area and take frequent fresh air breaks while painting. An air purifier also may help to keep fumes at bay.
A paint respirator mask or N95 mask, which are generally available at hardware and big-box stores, can also help keep fumes from entering lungs. If you experience watering eyes, dizziness, headaches, or breathing difficulty, close the paint can and leave the painting area.
RELATED: The 10 Best Air Purifiers for Fresh Air, Tested
DO clean the furniture and prepare it for painting.
Prepare furniture for painting by removing any drawers, cushions, and hardware. This is an important step because it protects hardware from dribbled paint, eliminates the possibility of accidentally painting drawers shut, and reduces the likelihood of ruining fabric cushions with paint. Taking these pieces away may mean a few extra minutes of prep time, but saves potential headaches down the road.
After it’s dismantled, clean the furniture to remove dirt and grime from its surfaces, which will help the paint adhere better. Using a gentle grease remover may be helpful. After all of the grime is gone, follow up with a rinse of fresh water on a damp sponge to make sure the furniture is clear of any remaining cleaner. Make sure everything is completely dry before moving on to help achieve a smooth coat of paint.

DO sand furniture before applying paint.
Furniture can be made of metal, wood, and a variety of other materials, and most will require some degree of sanding. Sanding removes imperfections and dimples, and ensures an even, smooth finish that will make the paint less likely to chip or peel.
One way to sand furniture is to work manually using sandpaper, but be warned: Hand-sanding takes both patience and muscle. You’re better off using an orbital sander or finishing sander, both of which are easy to use and are the best sanders for furniture renewal. Start with 80- to 100-grit sandpaper, switch to 150-grit or higher sandpaper to remove any remaining finish, and then smooth out the surface. A sanding block, piece of sandpaper, or scraper can help with those hard-to-reach spots. A belt sander is a good choice for large wooden pieces. If you’re sanding rusty metal furniture, start with a wire brush.
If you are going to repaint furniture that already has a coat of paint, you may be able to get away with skipping the sanding if the finish is still even and the paint isn’t peeling or flaking.
DO remove dust with a tack cloth after sanding.

Once sanding is finished, dust will need to be removed. This will help paint and primer stick to the furniture’s surface, not the dust particles.
One of the easiest ways to remove sanding dust is with a tack cloth. A tack cloth is a large piece of loosely woven cheesecloth or cotton gauze that’s imbued with a sticky substance like resin or beeswax. It can be cut into smaller pieces; its sticky finish makes it a magnet for dust.
If a tack cloth isn’t handy, dampen a rag and wipe down the furniture, even in all the crevices. Next, run a dry cloth over the piece to remove any leftover residue. Finally, use a shop vacuum and vacuum the piece and the surrounding work area to remove any other dust that remains.
DON’T start painting if you haven’t applied a primer.
Unless you’re using a product that’s a combination paint-and-primer, you’ll want to apply water-based primer on wood furniture (or oil-based primer on metal furniture) before applying the first coat of paint. Primer isn’t just a base coat—it also seals the surface, and improves the paint’s durability and adhesion to the furniture.
When applying primer to wood surfaces, brush in the direction of the grain. We also really like spray primer, which often gives a neater, thinner coat than brush-on version. Use at least two thin coats of primer, whether you’re spraying or brushing it on. By and large you should let primer dry for at least 10 minutes (be sure to check the product label for specifics on your brand) before applying another coat.
What’s the best color primer to use when painting furniture? Gray primer is usually the best bet if the furniture will have a darker paint color. White primer works better when you’re painting furniture white or other light colors.

DON’T apply a coat of paint before testing out the color.
Before painting, make sure you’ve selected the best paint for your furniture material and then test the color. Since a renewed dresser, table or console can change the look of a room, check the hue to be sure that it’s the desired color and changing the decor for the better.
One way to test your paint’s hue is to prime and paint the color on an 8-inch by 10-inch piece of cardboard (this is where those leftover delivery boxes come in handy). If you’re deciding between more than one color, use one piece of cardboard for each color.
Once dry, place the painted cardboard samples in the room where the furniture will be located. Compare the colors in the room during various times of the day, with different lights turned on and alongside other furniture that will be placed in the room. To test the color on the piece of furniture you plan to renew, paint an inconspicuous area, such as the underside of a drawer, shelf, or seat to check the color.
RELATED: 7 Top Tools for No-Mess Painting
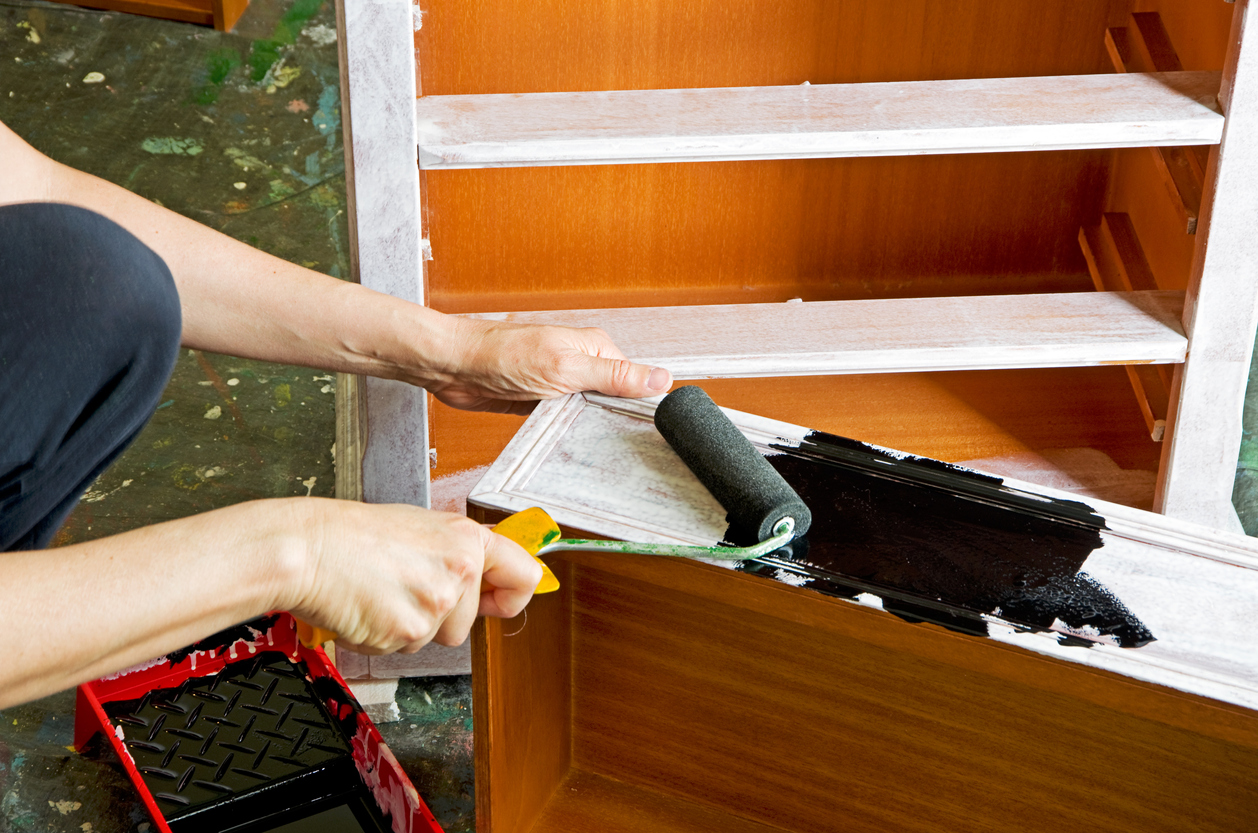
DO apply multiple coats of paint.

After settling on the color, it’s time to paint. Mix the paint well using a paint stirrer. Next, brush on a thin first coat. Multiple thin coats of paint help get a smooth, even finish. Note that several thin coats of paint is better than one thick coat of paint since a thick coat can look clumpy and uneven, and is more likely to drip. Remember, too, that longer brush strokes will help ensure a smooth finish.
Follow the paint manufacturer’s instructions for paint drying time (usually at least 4 hours) and wait until the surface is dry before adding the next coat. Apply at least two coats of paint to furniture, letting each coat fully dry and continuing until you achieve the look you want.
DON’T forget to apply a protective finish.
When it comes to painting furniture—especially outdoor furniture—a top coat protects the finish and makes it more durable.
There are a few different types of protective finishes to choose from including varnish, shellac, lacquer, polyurethane, and polycrylic sealers. The furniture’s material and function will determine which finish works best.
To apply a protective finish, use a brush and apply one to two coats. A mini-roller may work best for bigger pieces. Follow the manufacturer’s guidance on recommended drying times, which may take anywhere from a few hours to a few days.
FAQs
Painting furniture is not as easy as just slapping on a quick coat of color and waiting for it to dry. Taking your time during each step of the process helps ensure a picture-perfect piece worthy of showing off.
Q. What type of paint is best for wood furniture?
For seldom-used wood furniture, try a latex-based paint with a flat to satin sheen to help mask surface flaws. For frequently used wood furniture pieces, try an alkyd-based paint since it dries to a hard layer and makes wood surfaces less susceptible to dents or scuff marks.
Q. Can you paint furniture without sanding it first?
If you are painting over the same type of paint, sanding isn’t always necessary if the furniture’s finish is not peeling or chipping. However, be sure to wipe any dust or debris from the furniture before painting it.
Q. What type of paint is best for painting furniture without sanding?
Both chalk paint and milk paint contain bonding agents that allow paint to adhere to furniture surfaces with minimal to no sanding.
Q. How do you avoid brush marks when painting furniture?Apply thin coats of primer and paint. Use light pressure in your brush strokes. Thin paint slightly using paint thinner. Lightly sand the piece after each coat of paint.
These simple tips will help prevent visible brush strokes when painting furniture:
- Apply thin coats of primer and paint.
- Use light pressure in your brush strokes.
- Thin paint slightly using paint thinner.
- Lightly sand the piece after each coat of paint.
