We may earn revenue from the products available on this page and participate in affiliate programs. Learn More ›
Though unwelcome on gardening tools and patio furnishings, rust isn’t always something to remove. In fact, with rustic and industrial decorating schemes trending, more and more people are embracing the look of aged metal to the point of encouraging corrosion on newer metal housewares. Metals made of iron or iron alloys like iron and steel will, of course, rust naturally with enough exposure to moisture and oxygen, but savvy do-it-yourselfers can speed up the process and nab aged metal accents sooner by whipping up a secret rusting solution.
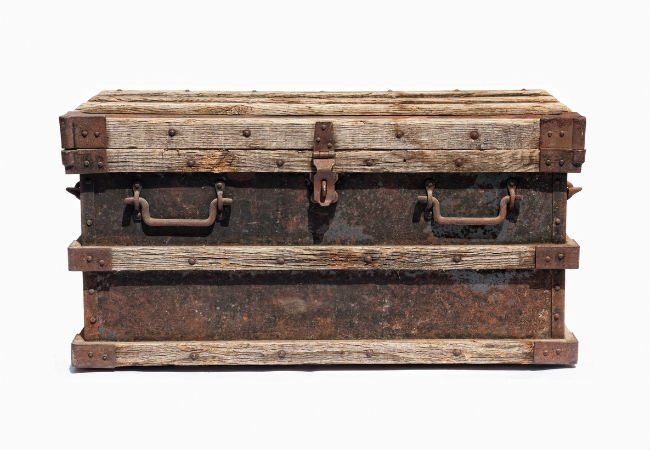
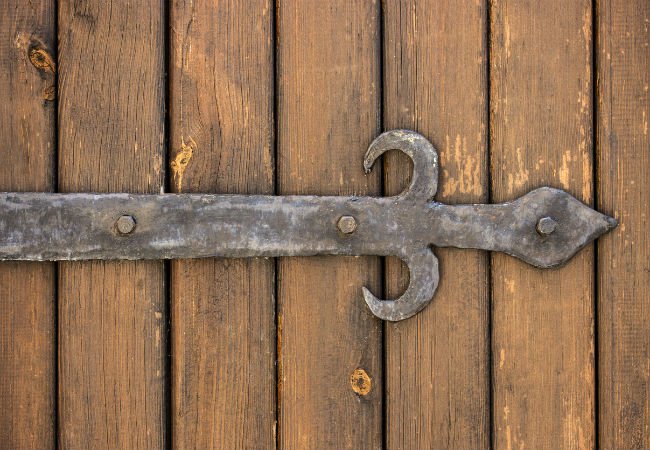
Whether you wish to rust hinges and hardware to further disguise the age of distressed wooden chest or you prefer the look of older metal candlesticks atop your farmhouse table, follow these easy steps for how to rust metal and you can transform any object around your home. It only takes an hour to add years to your metal accents!
Tools & Materials
Bobvila.com may earn a commission from purchases made through these links.
STEP 1: Prepare your work area.
Move the metal object you want to rust out to a yard or open garage on a hot day. Direct sunlight helps speed up the rusting process. Plus, hydrogen peroxide and vinegar can give off a moderate level of fumes, so you’ll want to work in a well-ventilated space anyway.
STEP 2: Remove paint, if necessary.
If your metal is painted, apply a paint stripper to the entire surface of the object according to the manufacturer’s instructions to remove this layer of color. Gently scuff off any remaining flecks of paint using a paint scraper.
STEP 3: Sand the metal with fine-grit sandpaper.
Lightly sand the entire surface of the metal with a fine-grit sandpaper to shed any protective coating present that might prevent the object from rusting. Place the sanded object in the center of a plastic bin that’s rested on either hard ground or a flat work surface in the garage.
STEP 4: Spray white vinegar onto the metal and wait several minutes.
Donning gloves and goggles to protect yourself from splashes, pour white vinegar into a plastic spray bottle, then generously spray the metal.
Let the object air-dry in the sun (five minutes or longer depending on the size of the object). As it dries, the acid of the vinegar will begin to corrode the surface of the metal and you will start to see rust appear.
STEP 5: Apply a solution of hydrogen peroxide, vinegar, and salt.
Pour two cups of hydrogen peroxide, four tablespoons of white vinegar, and one-and-a-half teaspoons of table salt into a plastic spray bottle. Vigorously swirl the bottle to mix the contents. Once the salt has dissolved, spray the solution over the object to coat it partially or completely, depending on the desired effect. The peroxide should begin to bubble on contact with the metal, and rust will start forming immediately. Let the object air-dry in the sun for another five minutes or longer, depending on the size of the object.
A single application of the solution should produce a subtle rusted patina on your metal object. For a deeper and more distinct patina, though, repeat the application of this rusting solution up to four more times.
STEP 6: Seal the metal with clear acrylic sealer.
Finally, spray a thin coating of clear acrylic sealer to the dry rusted object. Though the aerosol can might specify that your chosen sealer prevents rust, it won’t undo your work. It will set the rust and preserve the aged appearance for years to come while providing an acrylic barrier that keeps it from inadvertently staining any other metal or wood with which it comes into contact in the future.