We may earn revenue from the products available on this page and participate in affiliate programs. Learn More ›
Over time, as iron, steel, and other ferrous metals are exposed to oxygen and moisture they can undergo oxidation, a chemical reaction that eats away at the metal and rust your tools. Left long enough, rusted tools can become brittle and dangerous to use. The good news is that it’s easy to remove rust, and without too much trouble you can get your tools clean again.
How often should you clean your tools?
To prevent rust from forming and keep your tools ready for action, wipe off dirt and dry your tools after every use. If you keep them clean and store them properly, you may never have to deal with rust.
Project Overview
Working Time: 15 minutes to an hour per tool
Total Time: 15 minutes to 1 day, depending on method
Skill Level: Beginner
Estimated Cost: $10, depending on products on hand
Before You Begin
The first order of business is to assess how rusty your tools are—this will help you determine which rust-removal method to pursue. Lightly rusted tools might just need a little sanding or a baking soda scrub, while heavier corrosion may require using chemicals, or a hand drill with a wire brush drill attachment. For efficiency and to keep costs at a minimum, start with methods that make use of materials you have on hand.
Also, before you jump in with coarse sandpaper or a drill, consider the type of tool you’re cleaning. “Don’t use overagressive methods on tools that have a lot of accuracy,” advises Keith Mazzarello, a Flushing, New York, craftsman who specializes in fine carpentry and furniture. Hand tools like planes as well as bigger machinery like table saws and jointer beds are extremely precise, and Mazzarello warns that a rough approach can ruin them. If, however, you’re removing rust from cookware, wrenches, or an old pair of loppers, you can soak, scrub, and grind as needed.
If you’ll be cleaning sharp tools that could cut you, such as handsaws, put on heavy gloves. Wear safety glasses if you’re working with power tools or wire brushes that could send debris toward your eyes. Glasses and protective gloves are also a must if you’re using strong chemicals, such as oxalic acid.
6 Ways to Remove Rust From Tools
There’s more than one effective way to remove rust and the good news is that you probably won’t have to go to the store to try most of these methods. Sanding is very effective but is a hands-on, labor-intensive endeavor. If you don’t have time to devote to rust removal, one of the soaking methods might be a good place to start.
Method 1: Sanding
When you’re trying to decide how to clean rusty tools in your workshop, try sanding first. Sanding is easy, you probably already have the materials you need, and you probably already have some sandpaper lying around. It may be all you’ll need to fix lightly rusted tools.
SUPPLIES
Dish detergent
Sandpaper, scouring pad, steel wool, or hand sanding pad
Fine-grain sandpaper (120 to 220 grit)
WD-40
Electric drill or random orbital sander (for large surfaces)
Wire wheel brushes for drill or very fine sanding disc
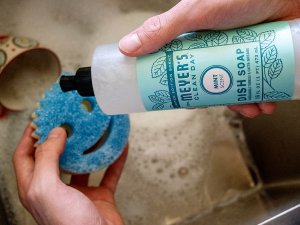
1. Remove dirt and grease from tools with dish soap. Wash tools in soapy water, and then rinse and dry thoroughly.
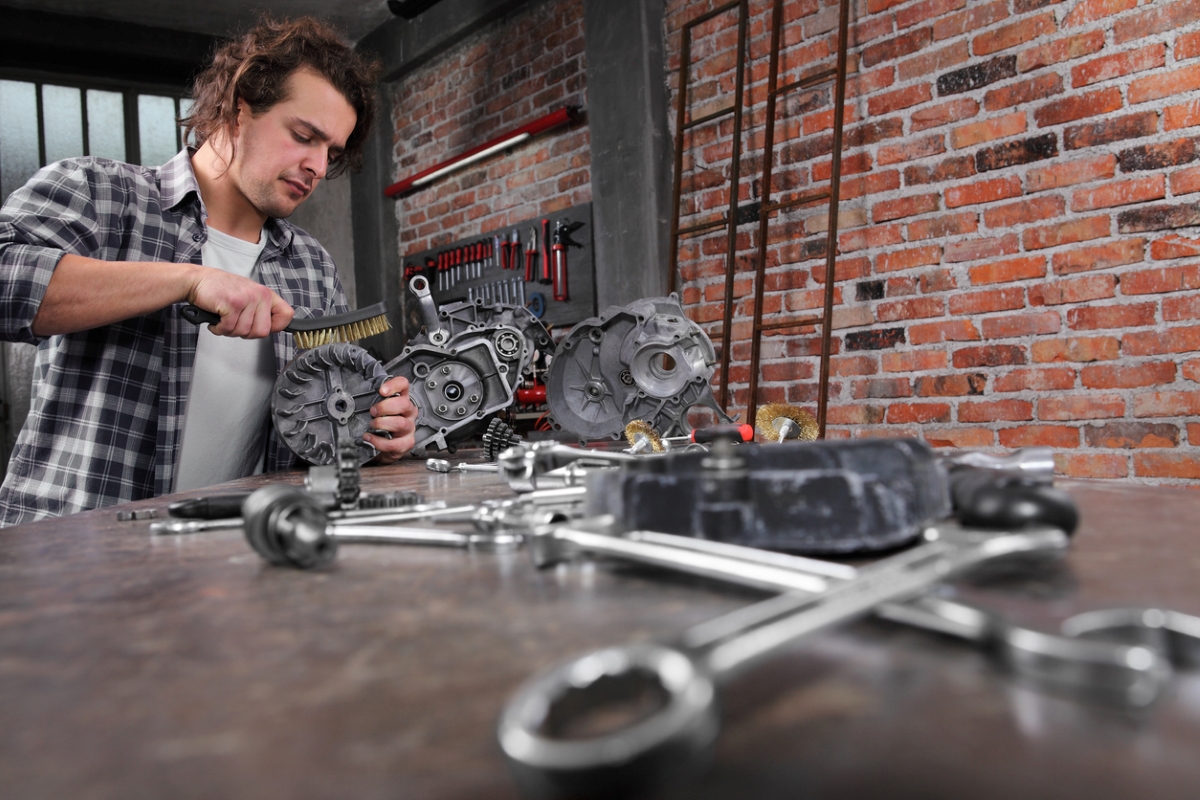
2. Scrub the rusty tools with the abrasive. For light rust, scrub the surface with a scouring pad, sandpaper, or steel wool. Start with a coarse grit (about 100 grit), and work your way up to 220 grit or higher to smooth out the grooves created by the coarse grit.
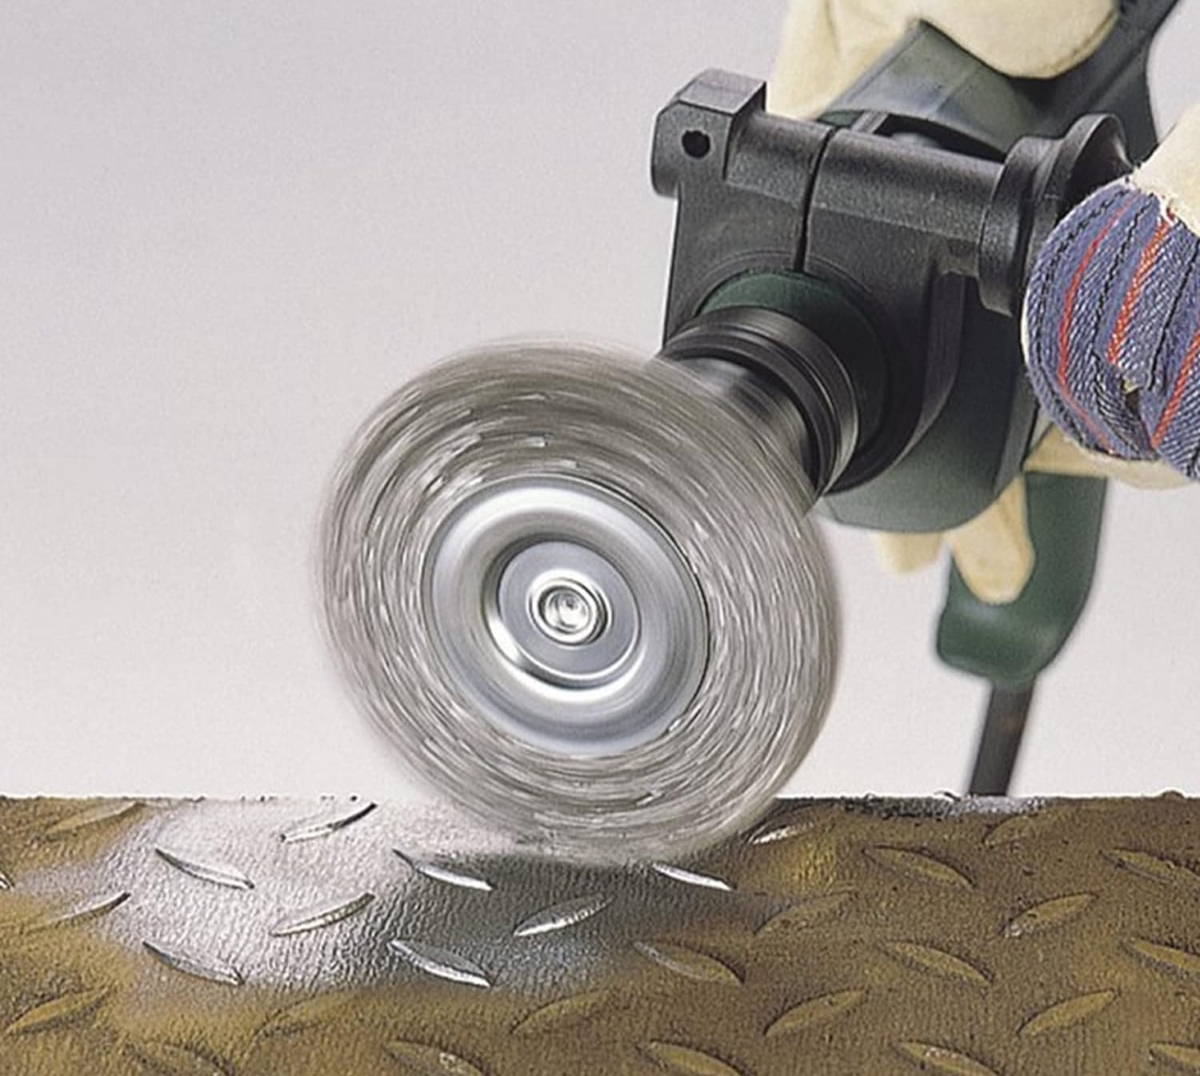
3. To remove stubborn rust, use a power drill fitted with a wire wheel.
- In a well-ventilated location, coat the metal surface of the tool with WD-40 to function as a cutting lubricant.
- Wait several minutes, and then use an electric drill equipped with a wire wheel to clear the rust.
Note: Don’t use a drill on surfaces where accuracy counts, such as table saw beds or the sole of a plane. For these, stick with mildly abrasive pads or, for stubborn rust, light passes with a random orbital sander.
4. Remove any residual rust or debris with fine-grain sandpaper.
Method 2: Vinegar
Vinegar can do so much around the house, it’s reasonable to wonder: Does vinegar remove rust? Yes! In fact, this common household helper is among the best rust removers. As with any of the methods that involve vinegar or other liquids, keep wooden handles dry whenever possible.
SUPPLIES
Dish detergent
Large plastic bucket or Flat plastic container (depending on tool shape and size)
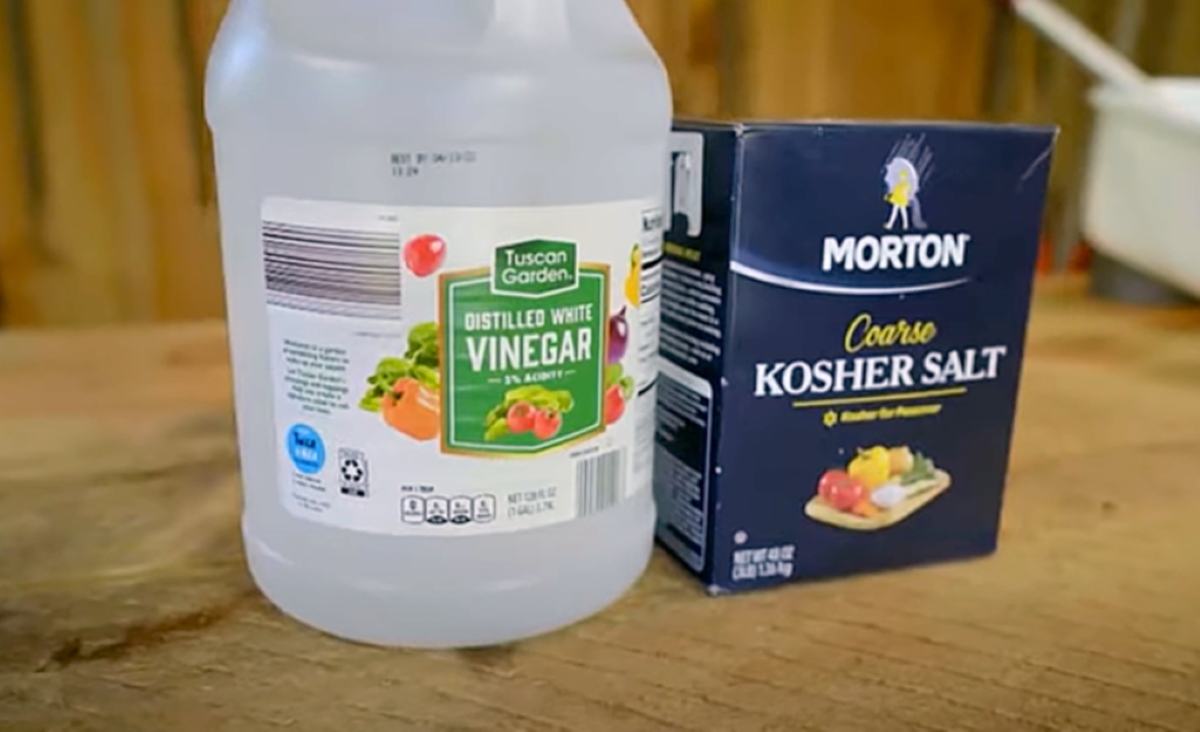
Vinegar
Kosher salt
Sandpaper, scouring pad, steel wool, or wire brush
1. Clean the tool with dish soap and water, and dry thoroughly.
2. Soak in a solution of vinegar and kosher salt. Use about ½ cup salt for each ½ gallon of vinegar. Soak tool until the rust softens, which could take between 12 hours and several days, depending on the amount of rust.
3. Scrub rust off tool, and then rinse and dry thoroughly.
Method 3: Salt and Lemon Juice
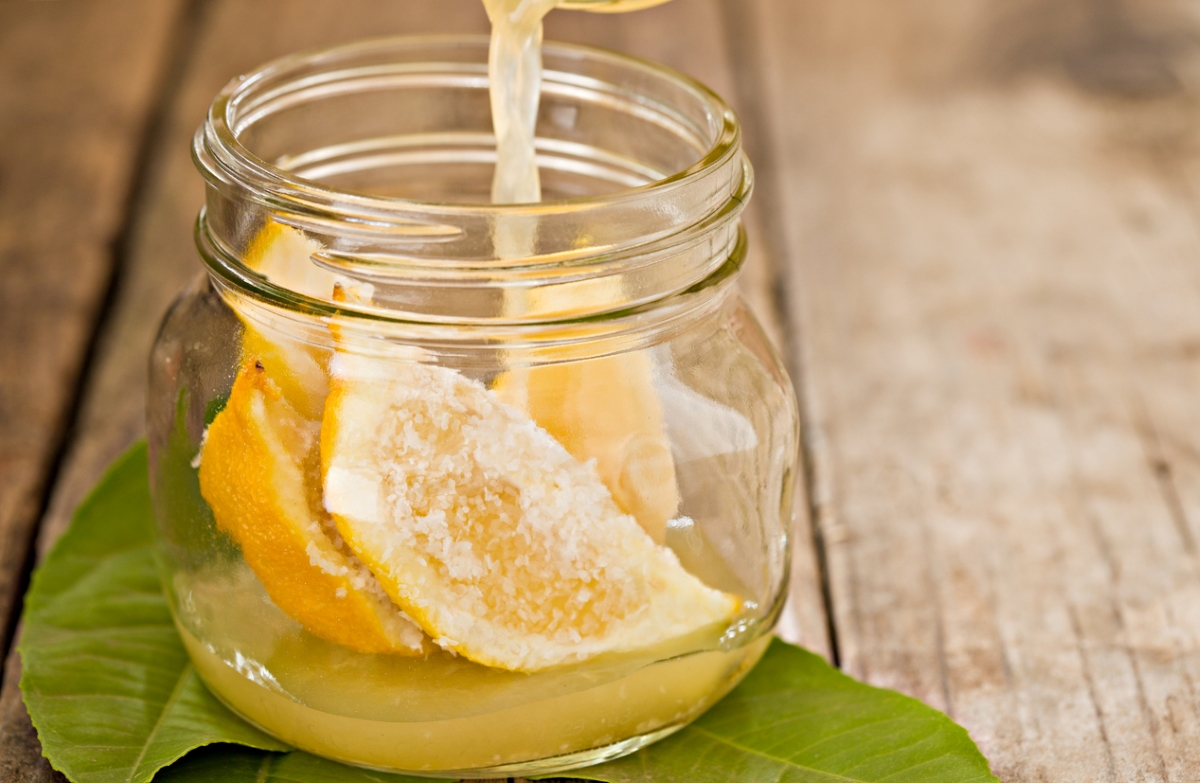
This is another rust-cleaning method that relies on household staples. As with the vinegar soak, rustier tools will benefit from longer contact with the acidic solution.
SUPPLIES
Lemon juice
Salt
Scouring pad, steel wool, or hand-sanding pad
1. Clean the tool with dish soap and water, and dry thoroughly.
2. Mix equal parts lemon juice and salt.
3. Scrub tool with the lemon-salt solution.
4. Let the tool sit for up to 2 hours.
5. Rinse and dry completely.
6. If rust persists, repeat the process a few times.
Method 4: Baking Soda
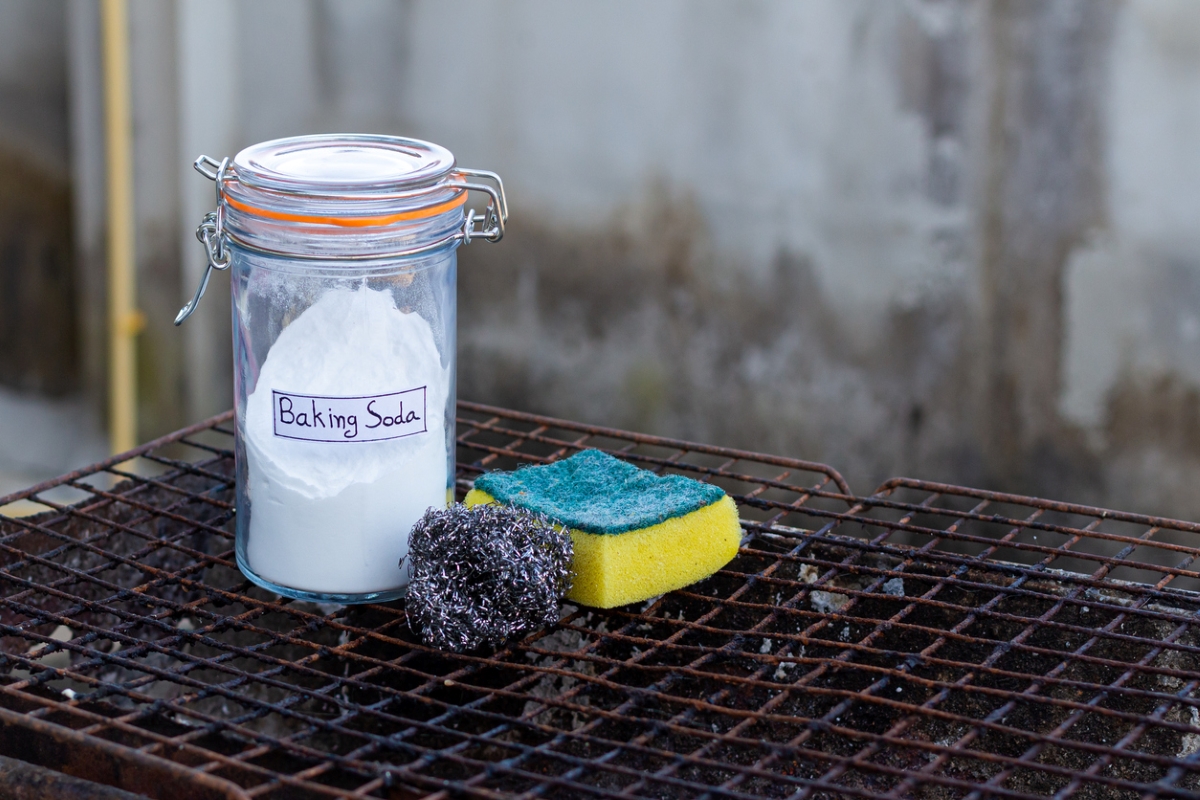
Let this trusty kitchen stalwart bring a shine to your rusty tools.
SUPPLIES
Dish detergent
Baking soda
Rubber spatula or putty knife
Scouring pad, steel wool, or wire brush
1. Clean tool with dish soap and water, and dry thoroughly.
2. Make a thick, spreadable paste of baking soda and water.
3. Use a spatula or putty knife to spread paste on the rusted metal.
4. Let the tool sit for up to 2 hours.
5. Scrub the paste off with a scouring pad or brush.
6. Rinse off the tool, and dry thoroughly.
Method 5: Bar Keepers Friend
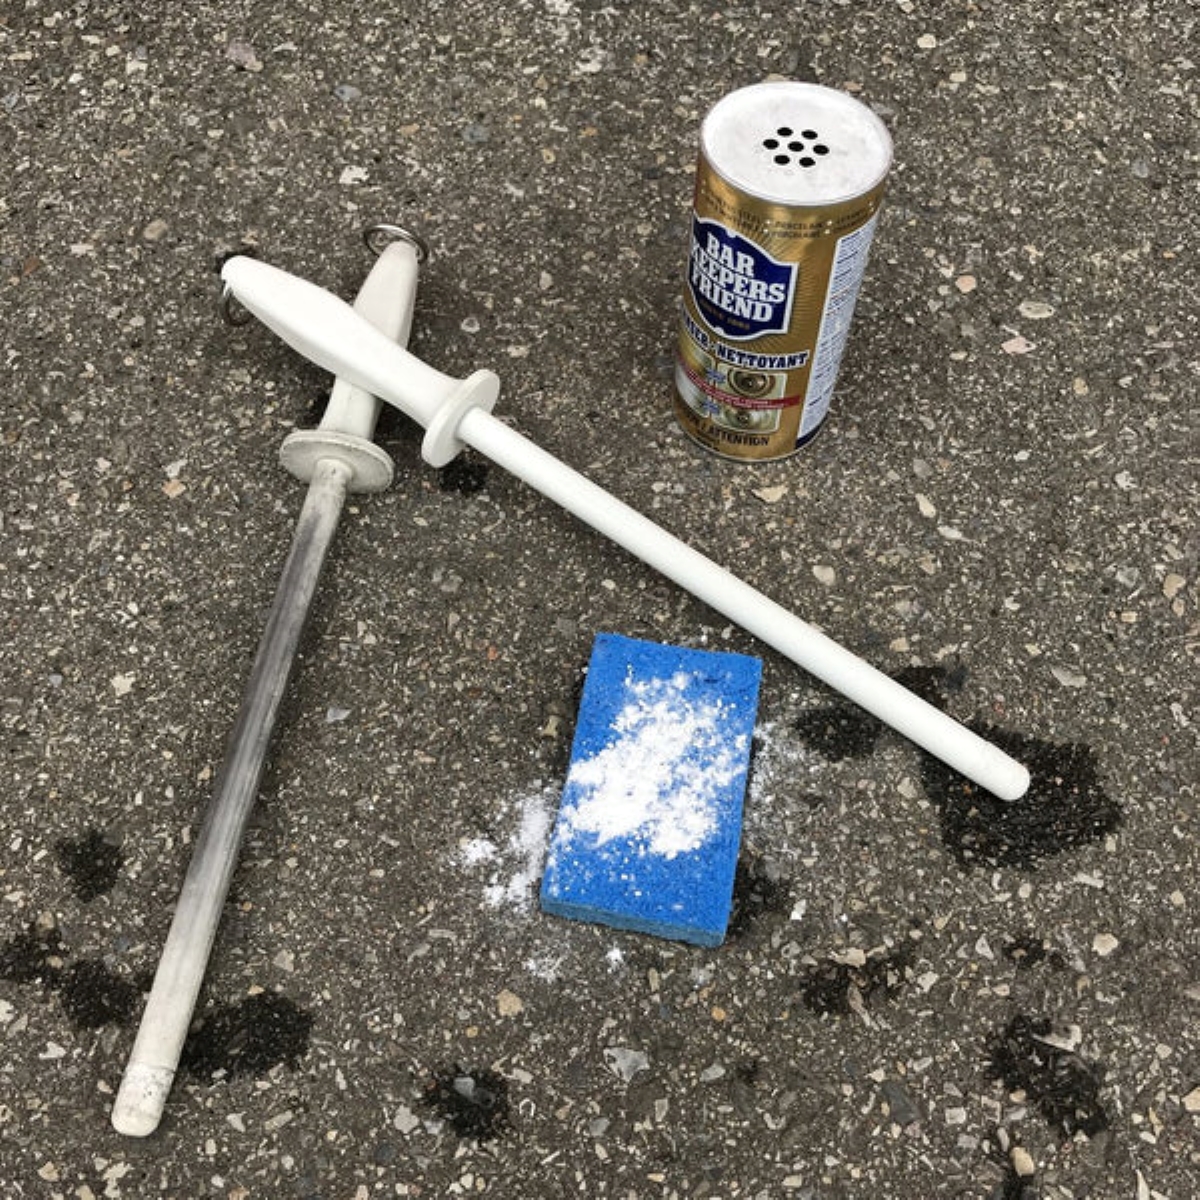
The primary active ingredient in the kitchen cleanser Bar Keepers Friend is oxalic acid, a powerful rust remover.
SUPPLIES
Dish detergent
Bar Keepers Friend
Sponge
Scouring pad or wire brush
Towel
1. Clean the tool with dish soap and water, and dry thoroughly.
2. Apply Bar Keepers Friend to a wet sponge to make a paste.
3. Rub the paste over the rusted metal in a circular motion. You may need to use a scouring pad or wire brush if there is a lot of corrosion.
4. Rinse off and, if necessary, repeat the process to remove more rust.
5. Rinse one last time and dry thoroughly.
Method 6: Oxalic Acid
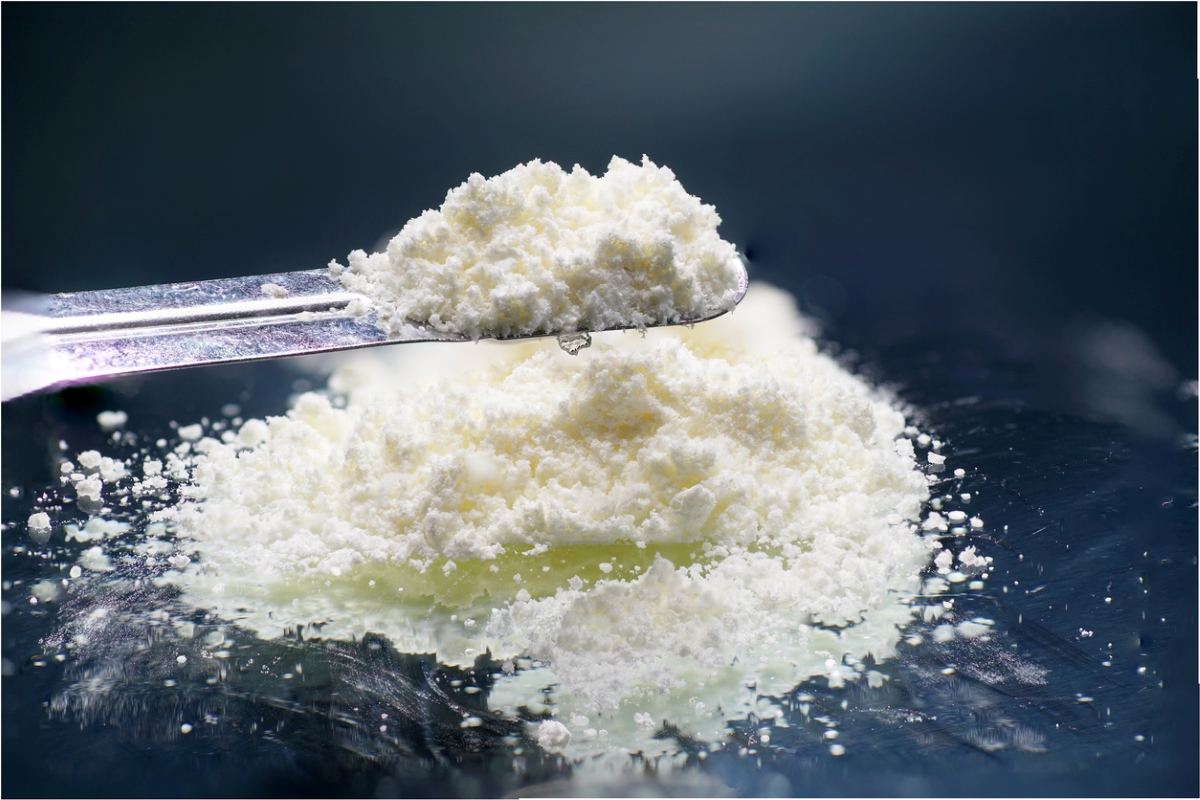
Oxalic acid is also available as a stand-alone product. It is a potent and more toxic chemical approach to rust removal, but if you’re struggling with how to remove rust from tools fast, it’s a good option. Sold in powdered form online and at hardware stores, oxalic acid is mixed with water to create a rust-dissolving solution that is also good at removing rust stains from concrete, wood, and other surfaces. When using oxalic acid, work outside or in a well-ventilated space, and wear protective gloves and glasses. It’s a good idea to wear a mask while you’re handling the powder.
SUPPLIES
Safety glasses
Rubber gloves
Dish detergent
Large plastic bucket
Oxalic acid
Sponge
Scouring pad
1. Clean the tool with dish soap and water, and dry thoroughly.
2. Pull on protective gear, and then combine 1 part oxalic acid to 10 parts water in a large plastic bucket.
3. Soak tools in the oxalic acid solution for about 20 minutes. Depending on the amount of rust, you may need to soak the tools longer.
4: Rinse off the oxalic acid.
5. Use a scouring pad to scrub off any remaining rust.
6. Rinse one last time and dry completely.
Regardless of Method, One Final Step
Finally, no matter which method you choose, finish up by applying a thin coat of rust inhibitor, such as WD-40 Corrosion Inhibitor, Boeshield T-9, or even 3-in-One Oil or Mazzarello’s go-to, baby oil. Rust can take hold again on unprotected metals surprisingly quickly. (Note that WD-40 Multi-Use, while it’s useful for cleaning off rust, isn’t the best choice for long-term protection. It wears off after 3 or 4 months.)
How to Prevent Tools From Rusting
You’ll save plenty of time and elbow grease if you keep rust off your tools in the first place. Follow these tips to stop rust before it starts.
- Clean dirt off your tools after use, and don’t let dust accumulate on unused tools. Both dirt and dust attract moisture, and moisture leads to rust.
- Always dry your tools immediately after use—this is especially important for garden tools and other implements that frequently get wet.
- Periodically, and always after cleaning, apply a rust inhibitor.
- Store your tools in a clean, dry place.
- Keep your tool box moisture-free with silica gel packs (or even a few pieces of chalk) to absorb excess moisture, or use vapor-corrosion inhibitors (capsules, plastic tabs, or disks), which release compounds that form a protective layer over metal surfaces.
- Opt for an old-fashioned wooden tool box, which can improve insulation, absorb moisture, and limit condensation.
- Invest in a dehumidifier to help control the climate and reduce the amount of moisture in the air.
- Try to maintain a consistent temperature wherever tools are stored because wide fluctuations in temperature lead to condensation, and condensation leads to rust.