We may earn revenue from the products available on this page and participate in affiliate programs. Learn More ›
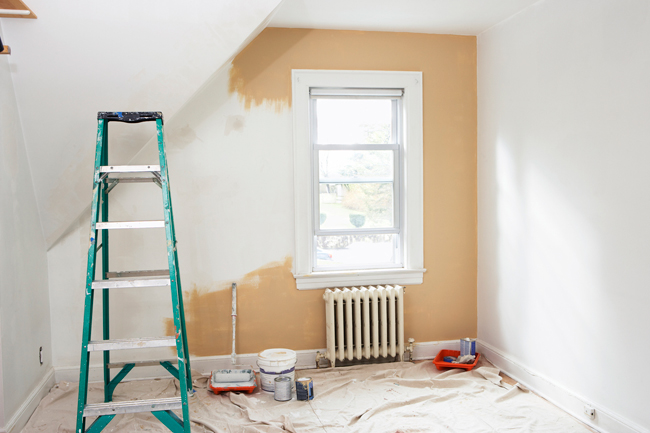
Paint transforms a space. Whether you opt for a few tiny touch-ups or a bold accent wall, a little bit of paint can make a room look brand-new. So why does painting often seem like such a dreadful task? Well, from prepping to painting to cleanup, a quality paint job takes a lot of time! Thankfully, there’s a helpful hack that will make your next painting project as painless as possible.
What’s With All the Fuss?
Prepping to paint is so time-consuming. You have to protect the trim, flooring, furniture, and more from dripping paint and misplaced brushes. This often means moving furniture around, and it always requires plenty of drop cloths and painter’s tape. And then, when the project is finished, you have to put everything back in order, being careful not to get the wet paint that may have dripped onto the drop cloths and other protective materials anywhere else. Until now, this seemed like the only route to a proper paint job. But the secret’s out!
RELATED: The 13 Painting Mistakes Almost Everyone Makes
The One Tool You Need to Save Time
You don’t have to spend countless hours prepping and cleaning up to protect surfaces from unwanted drips. All you really need is a drywall knife (or a putty knife, or even a wallpaper smoothing tool—basically anything with a long, straight edge and a decent handle).

You Can Skip Taping Altogether
Yep, you read that right. You can finally just enter a room and get right to painting without having to deal with all that painter’s tape that you sometimes spend more time putting up than you do actually painting! Instead, all you need is one of the inexpensive tools listed above. As you cut in around trim, flooring, the ceiling, and other sensitive spots, use your free hand to hold the edge of the tool so that it protects the surface you don’t want painted. Move it along the wall as you go, and it works just like painter’s tape—but better! Then, when you’re done, toss your new go-to painting tool into your tool box so you can use it again.
RELATED: 7 Things You Need to Know Before Painting Your Walls White
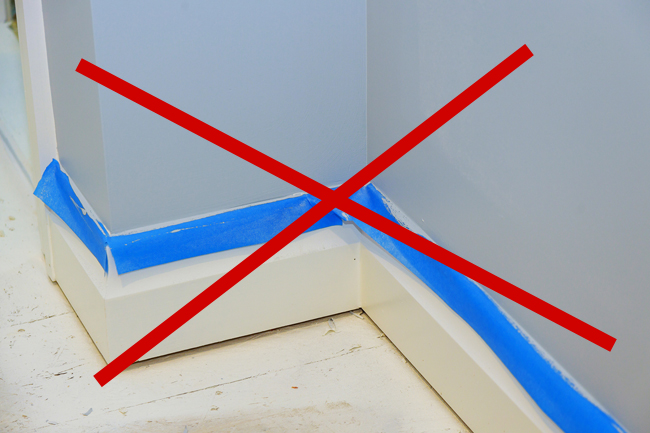
You’ll Avoid Paint Bleed, Too!
Have you ever finished painting a room and excitedly peeled off all the painter’s tape you painstakingly applied only to find paint bleed-through all over your wood trim? First, welcome to the club. Most DIYers have been there! Second, despite our best efforts, painter’s tape doesn’t always work the way it should. Often, paint bleeds a little under the tape, requiring essential (and time-consuming!) touch-ups after the fact. But if you use this pro painting tip, you’ll avoid that frustrating bleed-through.
