We may earn revenue from the products available on this page and participate in affiliate programs. Learn More ›
Whether you need to create a watertight seal between a bathtub and tile, seal a leak around a window, or give a finished look to built-in shelving, there are a broad range of uses for caulk.
Laying a bead of caulk is a relatively simple task that many DIYers can successfully do. However, many caulk jobs have been ruined by the following missteps.
RELATED: Solved! The Great Debate on Caulking Around the Toilet
1. Mistaking Sealant for Caulk

Caulk and sealant look very similar: They both come in tubes and require caulk guns for application. They also both do the same kind of thing—create an airtight seal between two surfaces. However, sealants like DAP Dynaflex elastomeric sealant have greater elasticity and should therefore be used when sealing gaps between objects that move and flex, such as windows.
Caulk, such as DAP acrylic latex caulk, is best suited for filling gaps between two stationary objects, such as a sink and backsplash. It’s also important to note that caulk is often paintable but sealant is not.
2. Forgetting the Caulk Gun
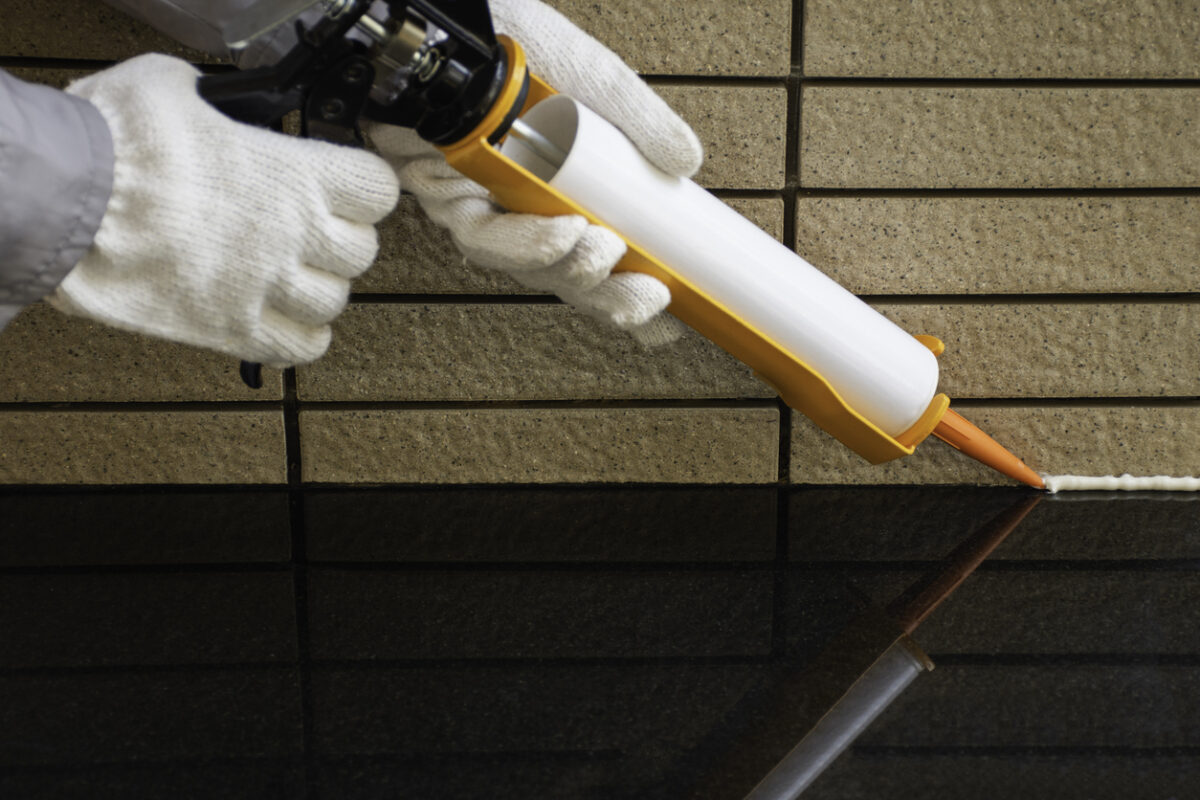
While there are squeeze tube caulks that don’t require a caulking gun, some tubes of caulk and sealant must be applied with a caulk gun. Make sure to choose a caulk gun along with the desired tube of caulk. Don’t worry, a caulking gun is one of the least expensive tools you can buy.
3. Failing to Prep the Surface
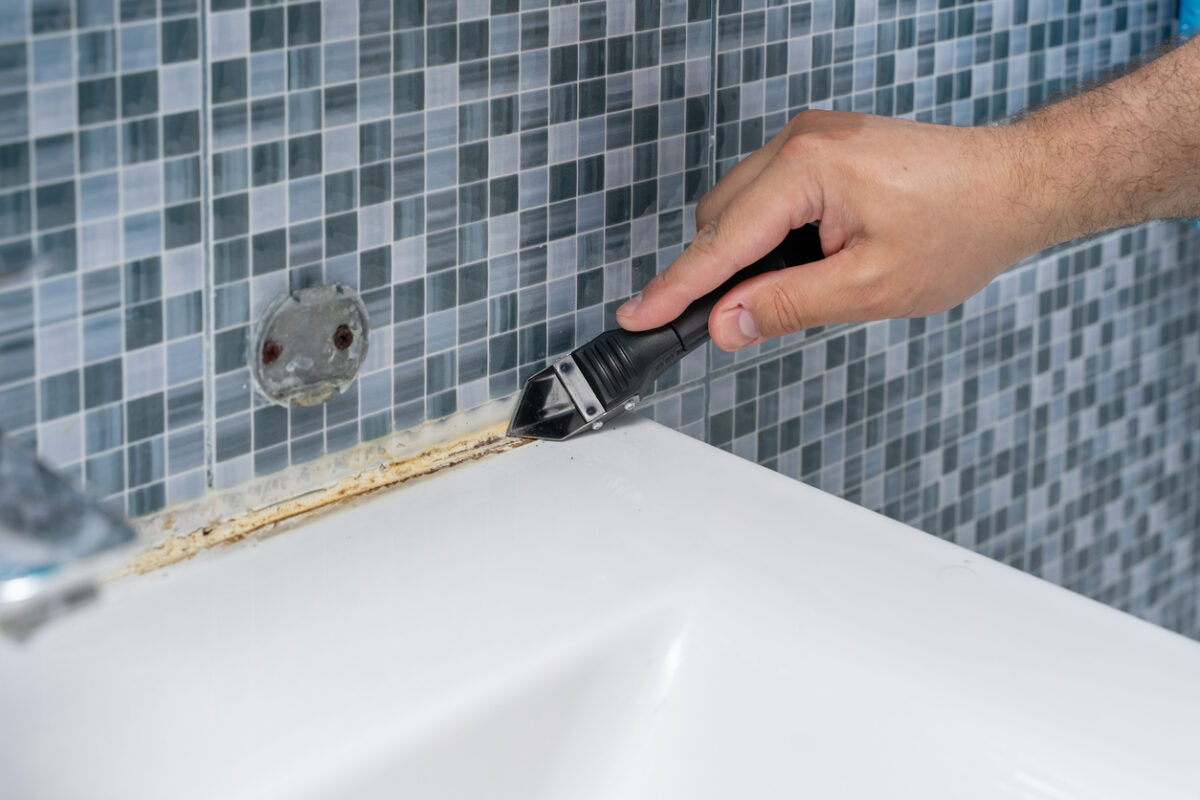
As tempting as laying a new bead of caulk over the old one might be, don’t try it. In order for new caulk to properly adhere to the joint you’re filling, that gap needs to be free of old caulk, grout, mildew, and any other debris that has collected on or around it.
Instead of using a multitool or knife, the easiest way to strip away the old caulk is to use a caulk removal tool. A good one to try is the Saker caulk removal tool, the top pick in our researched guide to the best caulk removal tools.
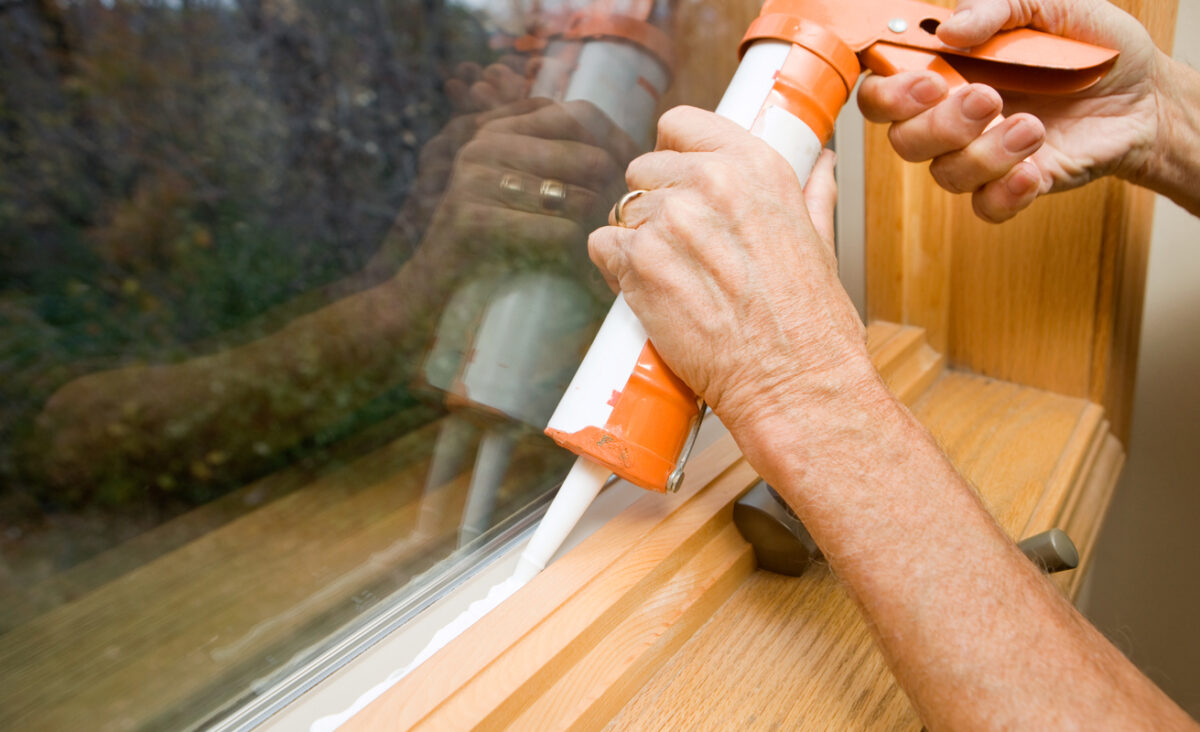
4. Cutting Too Much Off the Tip
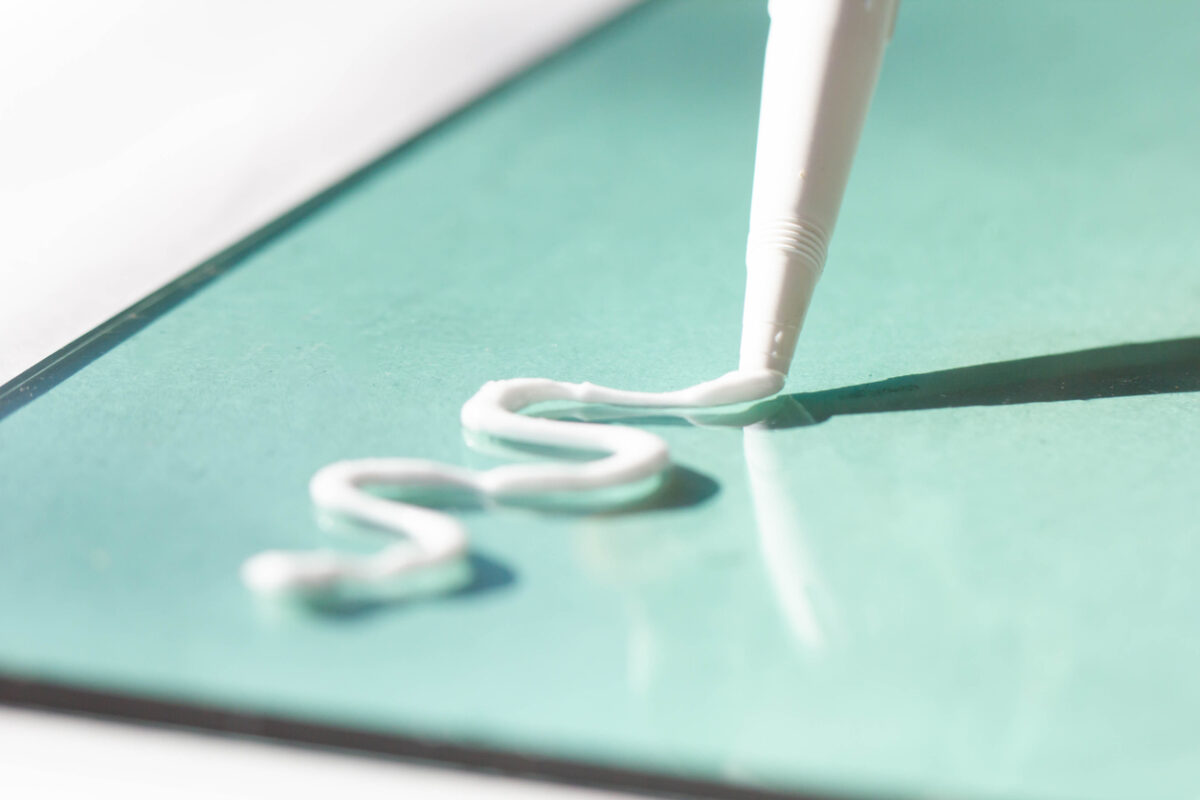
A good caulking job requires the right-sized bead of caulk, and that starts with cutting just the right amount of plastic off of the caulk tube tip. Cut too little and the bead won’t fill the gap. Cut too much off the tip and you’ll have too thick of a bead, and a potential mess on your hands.
Using a utility knife or pocket knife, cut the tip so that it’s a little smaller than the gap you’re filling. Next, begin running a bead, applying pressure to regulate how much comes out. If the bead is still too narrow, cut the tip a little more. Remember that you can always make the tube opening larger, but there’s no way to make it smaller.
5. Failing to Wear Gloves
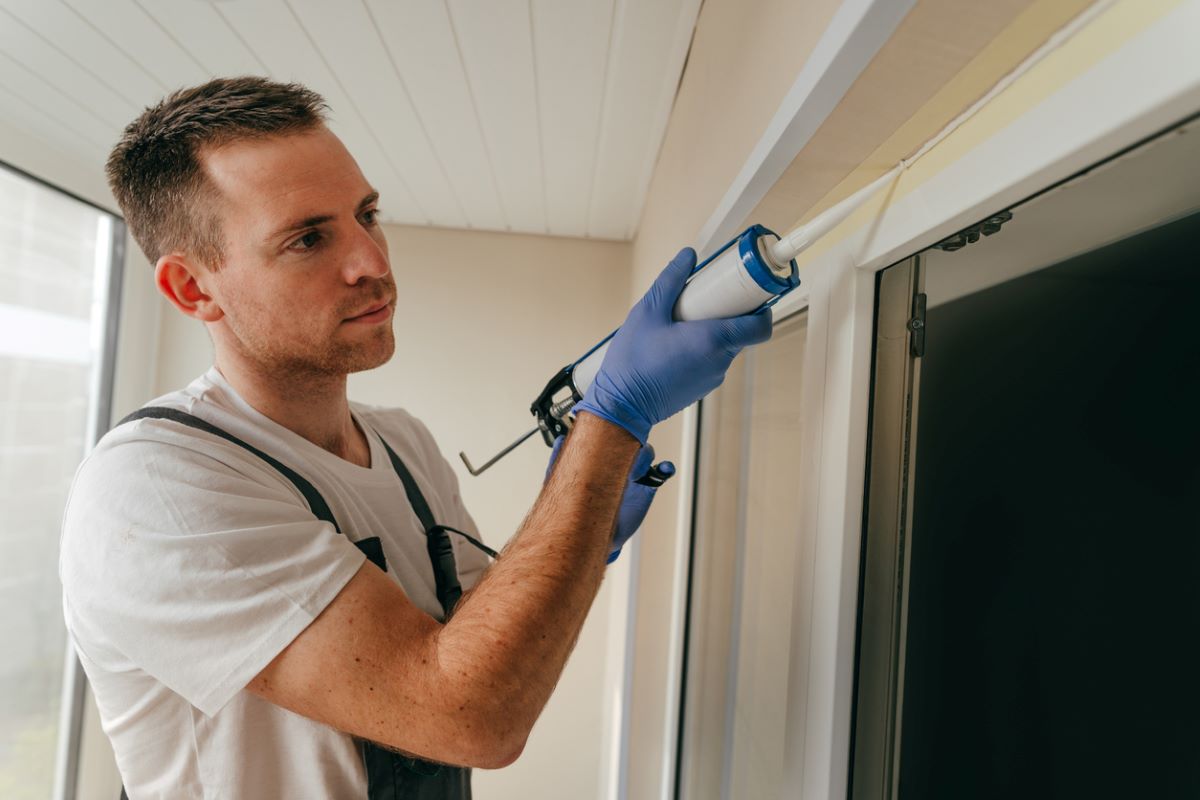
Caulking requires you to get your hands dirty. After running a bead, you need to use your finger to push the caulk into the crack and smooth it out, giving it a uniform appearance. Caulk is sticky and notoriously difficult to wash off skin. To avoid having to scrub off a layer of skin after you finish the job, wear a pair of disposable nitrile gloves.
6. Rushing Through the Job
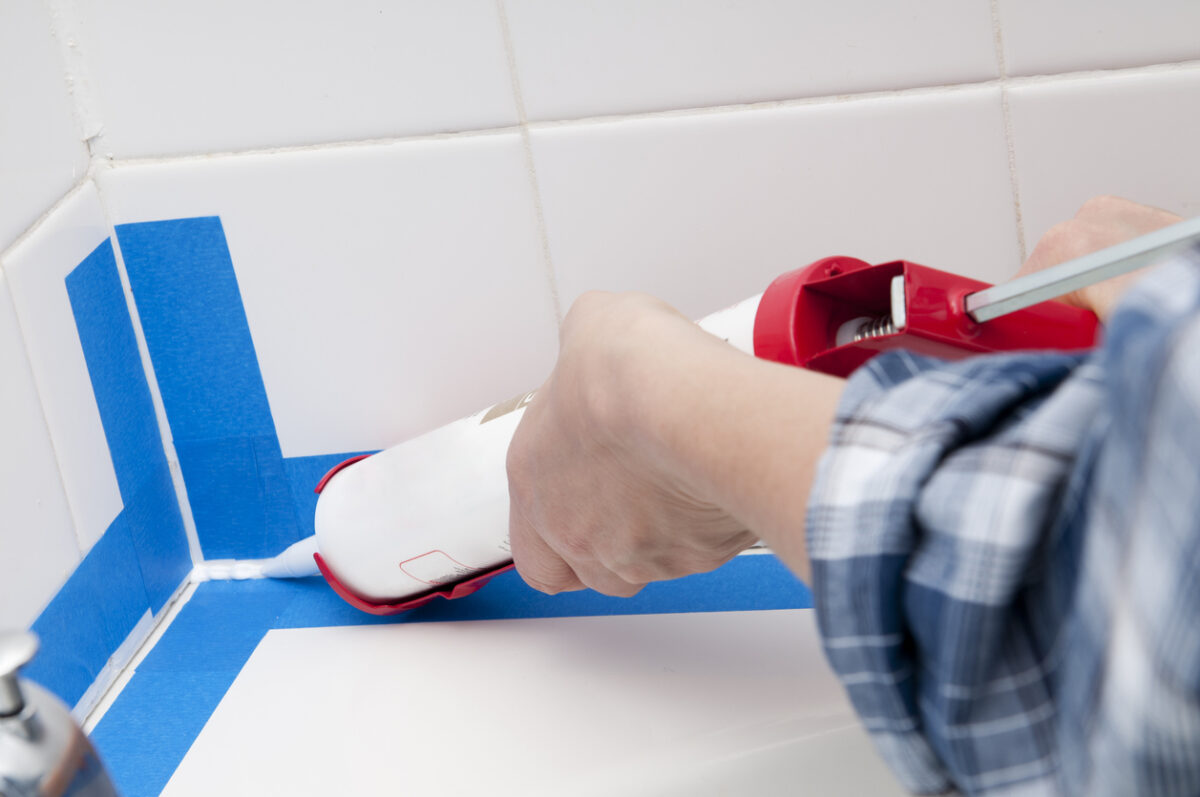
There’s an art to caulking. If you dive in with your caulk gun blazing, you’ll likely end up with an uneven bead and a frustrating mess on your hands. To get a uniform bead, start slowly and work your way down the gap using even pressure at a consistent pace. Sudden stops can result in blobs of caulk in the bead.
If you’re new to caulking baseboards or other surfaces, take a practice run on some scrap wood to get the hang of laying a bead of caulk before attempting it on the real thing.
RELATED: How to Caulk Baseboards
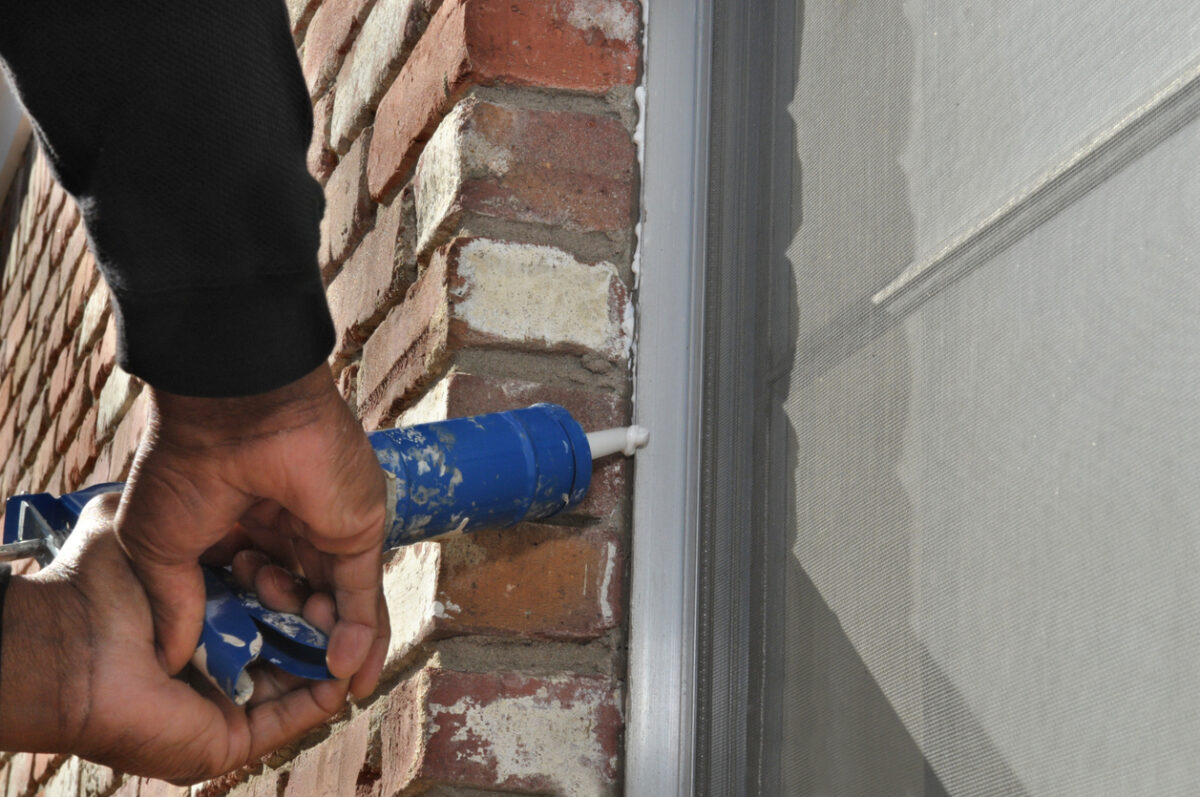
7. Caulking Too Large of a Gap
Caulk is designed to seal gaps up to ¼ inch wide or ½ inch deep. Attempting to fill a gap bigger than those dimensions will typically cause the caulk to fall inside the gap or fail more quickly later on.
If you need to caulk a larger crack, such as when caulking exterior cracks, consider filling the gap with foam rope or another backing material first.
8. Failing to Tool
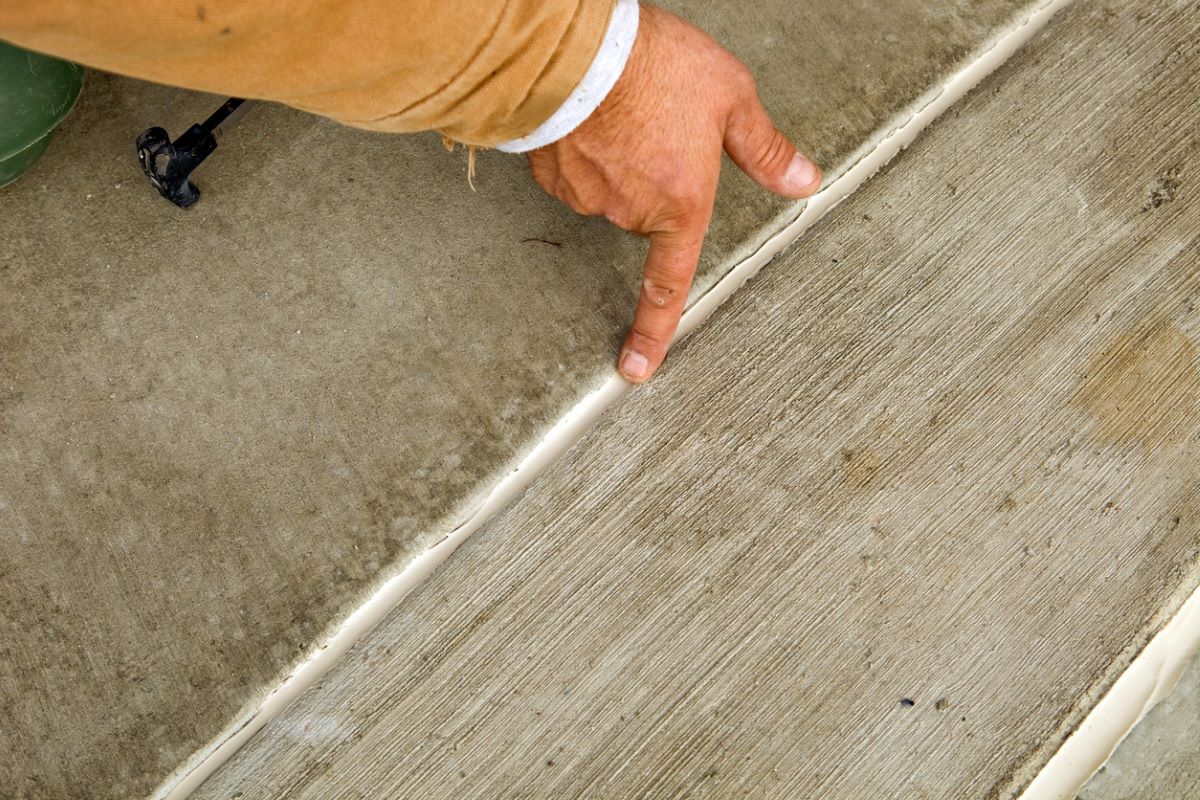
Some beginners forget to smooth out laid caulk in a process called “tooling.” Contrary to the name, tooling doesn’t actually involve any tools; all you need is a finger. To tool a caulk joint, run a wetted finger over the bead with light pressure, smoothing the caulk while pushing it into the gap to ensure a tight seal between the two surfaces and the caulk.
9. Not Allowing It to Dry

So many great bathtub caulking jobs have been ruined by overeager DIYers who immediately test out their work by showering in the freshly caulked tub. The problem is that caulk can take up to 24 hours to cure.
Exposing caulk to water too soon will wash the uncured caulk away, ruining the seal and requiring you to start all over again. As there are differences among caulk drying times, always check the product label to find out how long you need to wait before getting it wet.
10. Allowing Leftover Caulk to Dry Out
Many people leave a partially used tube of caulk in the gun, causing it to dry out. Whether you’ve completed a caulk job and have a partial tube left over or need to stop mid-job, store caulk properly so it doesn’t dry out. Clean the tip then wrap plastic wrap around it tightly and hold it all in place with some duct tape.
RELATED: How to Get Caulk Out of Clothes: 3 Effective Methods