We may earn revenue from the products available on this page and participate in affiliate programs. Learn More ›
Any homeowner undertaking a DIY tiling project will work with grout, a putty-like mixture that fills the space between tiles and keeps them securely in place. But while cement grout products are common in their home improvement projects, many DIYers don’t realize that grout comes in two types: sanded and unsanded. Choosing the best tile grout for your project depends on several factors.Whether you’re installing a kitchen backsplash or laying an entryway floor, read on to compare these options, sanded vs. unsanded grout, head-to-head so that you can make the right decision regarding the best grout for floor tile, shower, or backsplash installation
What is grout?
Grout is a mixture used to fill cracks between tiles or other materials, preventing movement between tiles. Cementitious grout is the conventional type used in homes for years. “In a basic sense, it’s just sand and cement,” says Robb Roderick, technical trainer for the National Tile Contractors Association. However, within cement grouts, which contain graded sand or other aggregates, the amount of sand in the mix determines whether it is considered a sanded or unsanded grout.
Sanded Grout
As its name suggests, sanded grout is held together with fine particles of sand. The sand gets suspended in place as the grout cures, leading to increased stability, better resistance to cracking, and less grout shrinkage. Sanded grout is “one part cement and two parts sand” at its most basic level, Roderick explains. A tile contractor for 27 years, he says he can “remember just mixing grout by mixing sand and cement together.” Today, the products are much more complex, and can contain additives to help the product be water-resistant, dense, and uniformly colored. It tends to be stronger than unsanded grout, and works best for larger joints (spaces between tiles).
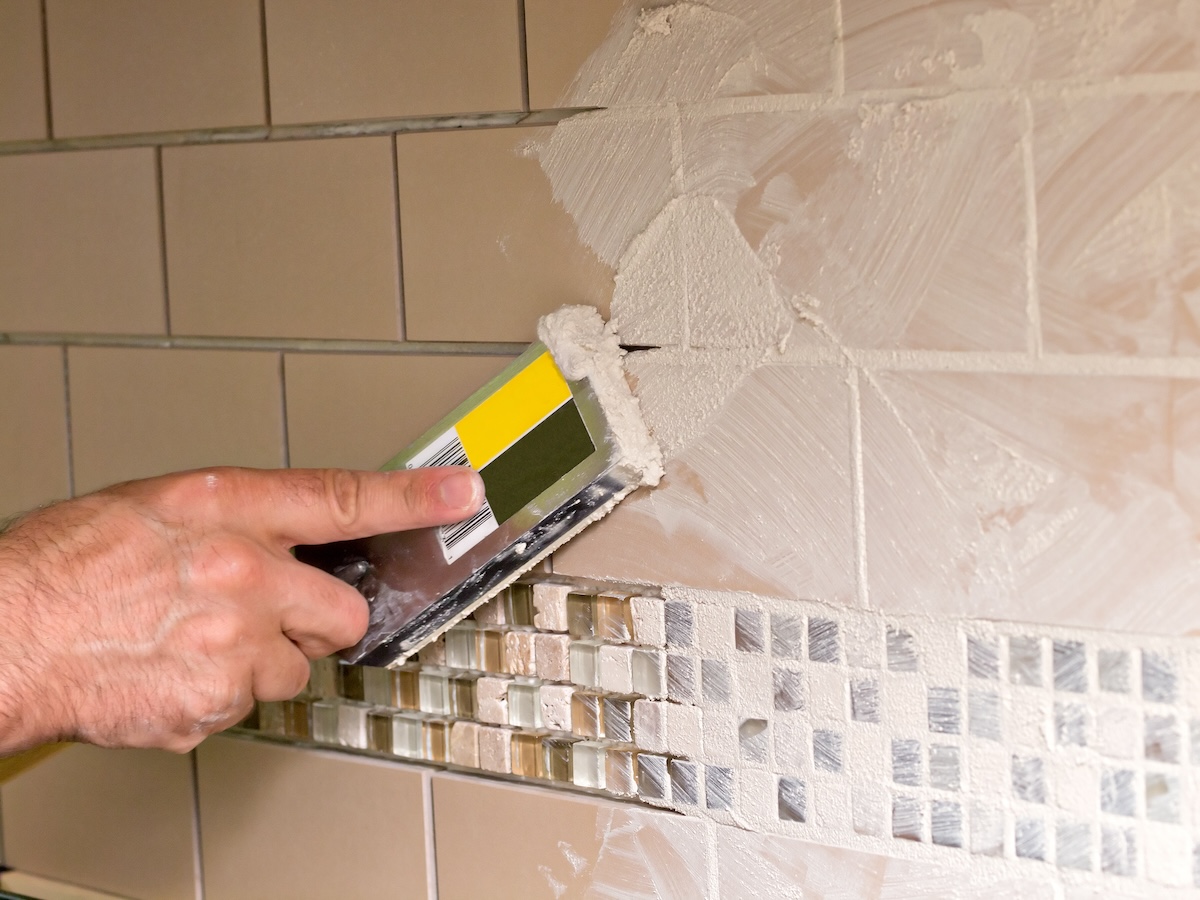
High-performance sanded tile grout is a factory mix that also contains latex and polymers. Typically, you can see some of the sand particles in the mixed product.
Unsanded Grout
Standard unsanded cement grout has more cement than sand or other aggregates. Non-sand particles might include recycled glass balls, for example, says Roderick. High-performance unsanded grout is a factory mix of cement and other ingredients, including latex or polymer. Unsanded grouts are better for small grout joints and for use around any tile material, such as glass, that could scratch easily.
When to Use Sanded Grout
When understanding when to use sanded vs. unsanded grout, the options really come down to how the grout will be used. For example, sanded grout is generally cheaper than unsanded, but before selecting a product based on budget alone, consider the intended use to prevent the cost and time of having to regrout tile sooner than you should. Generally, use sanded grout:
For More Strength and Durability
As its moniker suggests, sanded grout is held together with fine particles of sand. The sand gets suspended in place as the grout cures, leading to increased stability, better resistance to cracking, and less grout shrinkage, assuming the grout is mixed properly. Sanded grout “is definitely more durable,” says Roderick. He points to grout removal as an example, saying you can scrape out unsanded grout with a pocket knife, but that “sanded grout will grind your pocket knife down.”
Sanded grout, like Custom Building Products’ Simple Grout, is easy to find both online and at home improvement stores. Sanded grout comes in a wide variety of colors and is budget-friendly because sand is an inexpensive filler.
When Laying Tile Floors
Sanded grout is stronger and more durable than unsanded grout, which makes it the best grout for floor tiles and the large joints between them. The sand filler in the grout creates a tougher bond and shrinks less than unsanded grout when it dries. The strong connection is important to handle the foot traffic of tile floors, whereas if tile grout shrinks, it will not maintain contact with all tile edges. Those cracks can let water or soil in and lead to poorer bonds between floor tiles.
For Tile Projects with Wide Joints
Since sanded grout bonds better and shrinks less than the unsanded kind, it’s the best tile grout for joints ⅛- to ½-inch thick. Trying to squish bulky, sanded grout into thinner joints often results in a messy, imprecise finish that’s prone to cracking. Roderick (and tile standards) recommend sanded grout for any joint wider than ⅛ inch. “Once you get to ½ inch or bigger, it’s even more sand” in the mix, he says.
While water can be added to sanded grout to achieve a thinner consistency for smaller joints, it is not the way to go. Thinning sanded grout can result in pinholing, which occurs when the excess water evaporates and compromises the structure of the grout. Roderick cites excess water as the number-one problem people get into when installing tile and grout. “They use too much water in their washing or in their mixing,” he says.
When to Use Unsanded Grout

When deciding when to use unsanded grout, it’s important to keep in mind its price and limitations; unsanded grout has added ingredients that increase its cost. However, unsanded grout like this white grout from Custom Building Products also has plenty of features that make it a better choice for some applications like narrow joints, vertical surfaces, and when working with scratch-prone tiles.
For Joints Narrower Than ⅛-Inch Wide
Unsanded grout is thinner than sanded grout because it doesn’t have the silica sand that makes sanded grout thicker. As a result, it is easier to work unsanded grout into narrow joints. Unsanded grouts “are made for grout joints that are ⅛ of an inch or less,” says Roderick. Sanded grout, in comparison, won’t compact down to properly fill narrow grout lines, making it more likely to slump, crack, or leave gaps.
If the joints between the tiles are ⅛ inch or wider, look for an epoxy-based unsanded grout, which is extremely durable and better suited than conventional cement unsanded grout for larger joints. Keep in mind, however, that epoxy-based options are less pliable than the cementitious varieties and will generally be pricier. Roderick says that many modern cement grouts (like high-performance unsanded tile grout) also have latex and polymer ingredients to help add some flexibility and even stain resistance.
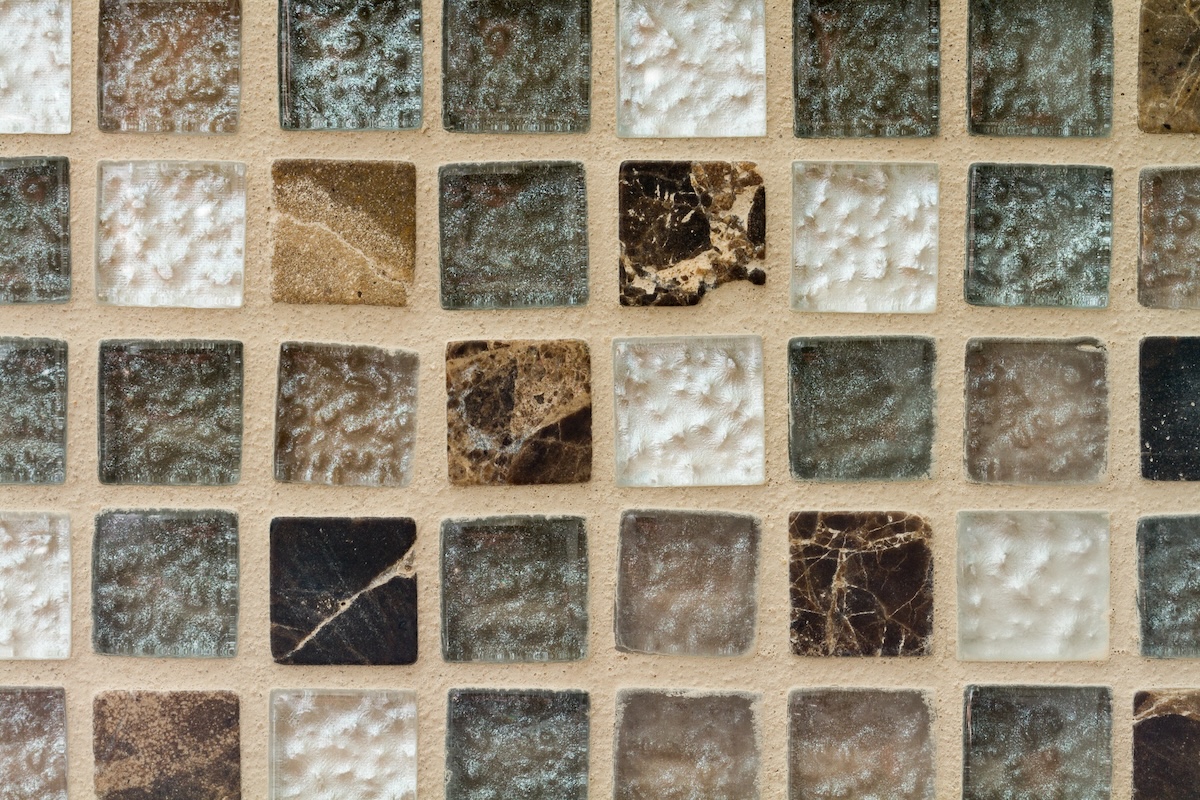
With Glass or Soft, Polished Tile
When considering sanded vs. unsanded grout, consider the material it will support and surround. According to Roderick, unsanded grouts “are used for different situations where sand can actually scratch the surface of the tile.” Examples are polished or glossy natural stone tiles like ceramic and marble, as well as metal surfaces. “Also, some glass tiles, which are very popular, can be scratched with sanded grout, so you would want to use unsanded grout for those as well,” says Roderick.
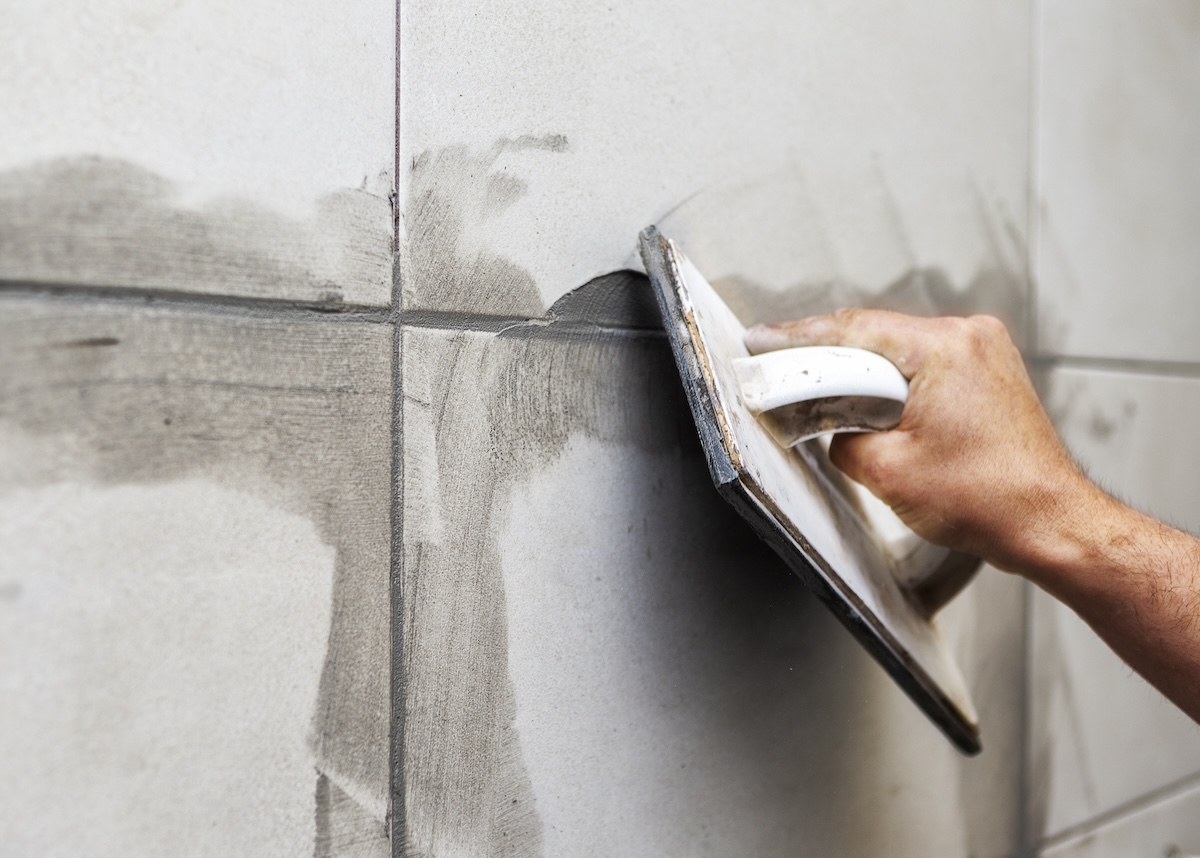
When Tiling Vertical Surfaces

The absence of sand, very low porosity, and a high polymer content makes unsanded grout especially sticky, so it will stay put when tiling a wall or other vertical surface where gravity can impact the grout’s ability to stay in place. In most cases, an unsanded product is the best grout for a shower wall, though a more expensive epoxy grout also is an option. Since most kitchen backsplashes have narrow joints, are vertical, and often use glass or polished tiles, unsanded grout is best for a backsplash.
Sanded grout, in comparison, is also more likely to slump when used on a vertical surface. And, since vertical installations don’t need to stand up to the pressure of foot traffic, they don’t need to have the strength qualities found in sanded grout.
Grout Maintenance and Cleaning Tips
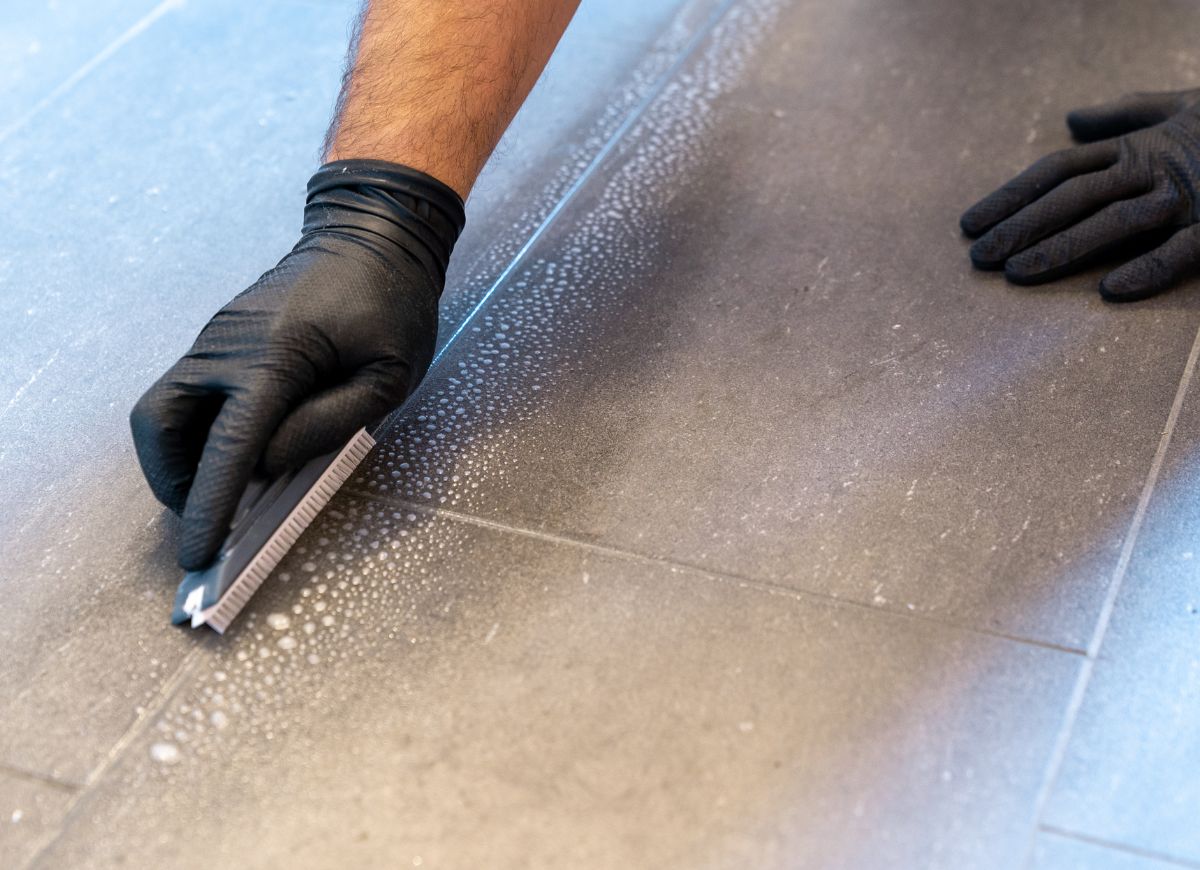
No matter which type of tile grout you choose, know that the job is not done once you fill joints. Stay on top of regular cleaning and maintenance to make your grout last.
- Clean grout regularly. Frequency depends on location and use, but a monthly wiping of sanded or unsanded grout with a commercial product like this Black Diamond grout cleaner, runner-up in our guide to the best grout cleaners, can keep tile looking fresh. Clean more often in high-water areas like showers.
- Or use a DIY formula. Create your own grout cleaning paste by mixing ¾ cup baking soda with a ¼ cup of hydrogen peroxide and 1 tablespoon of mild dish soap. Apply the paste to the grout using a stiff grout brush and scrub, then rinse with water.
- Use bleach or a color-safe cleaner to remove stubborn grout stains. Bleach can get stains out, but is really only safe on white surfaces. A color-safe cleaner like OxiClean also can clean stained grout. Follow all package directions, and let the stain remover sit on the stain for the recommended time.
- Check regularly for cracks or chips in grout. Even with good maintenance, grout can loosen over time. Check for issues and repair grout as necessary.
Grouting Tips
Successful grouting with sanded or unsanded grout begins with selecting a quality product. Roderick says to be sure any brand meets the American National Standards Institute (ANSI) standard for its category. “This means it’s been sent to a third-party, independent agency and it’s been tested in a variety of ways to see how it’s going to perform,” he says.
- Seal all cementitious grout after it dries. “Sealing grout can help slow water and keep it clean,” says Roderick. Opt for a quality grout sealer.
- Don’t rely on sealing alone for waterproofing. “There are so many pathways for water getting in,” says Roderick. A shower “needs to be watertight before you even put a piece of tile on it,” he says. That includes use of waterproof membranes under tile.
- Clean joints and cracks before adding grout. Be sure to clean all joints to remove dust or excess mortar that might interfere with grout effectiveness or appearance.
- Avoid using too much water in mixing or washing. “If you read the directions, it directs you on how to measure the water,” says Roderick. Less water is generally better when mixing for consistency.
Most important, read and follow all grout product labels. When Roderick visits manufacturers and the scientists who design grouts around the country, he asks them the same question so he can pass on their knowledge to tile installers and DIYers he trains: “What do you want me to tell them?” Roderick says they always say, “‘Tell them to read my directions.’” According to Roderick, following those directions will help ensure a successful tile installation and help ensure you’re covered under a product’s warranty should anything go wrong.
If you choose to hire a pro for your grouting and tiling project, Roderick recommends you check their qualifications through the Ceramic Tile Education Foundation or search NCTA for a member in your area.
