Lawn & Garden

8 Ways to Clean Your Garden Tools for Spring Growing Season

Clean, refresh, and sharpen your garden tools for a healthy and productive gardening this year.
Savannah Sher Avatar
spring-clean-garden-tools-woman-and-man-trim-flowering-shrubs

Photo: istockphoto.com

We may earn revenue from the products available on this page and participate in affiliate programs. Learn More ›

Spring is nearly here, and it’s time to get your tools ready for this year’s gardening season. Before you start planting your favorite fruits, vegetables, and flowers, there are some important maintenance tasks that you should attend to first. Cleaning garden tools is an essential part of springtime gardening prep that will ensure your equipment stays in optimal condition throughout the coming months. Cleaning and prepping your gardening tools now can save you time later on when you need them. Here are eight simple tips to help you clean and care for your garden tools this spring.

RELATED: Organize Your Garden Gear with 11 Crucial Buys

1. Do Away With Debris

iStock-1094092464 spring cleaning gardening tools Man cleaning lawn mower
Photo: istockphoto.com

While it’s always best to clean gardening tools thoroughly at the end of the season, nobody’s perfect, so some of your tools may still be covered in dirt and debris from last year. Start by using a soft brush or cloth to remove loose dirt and mud from the tool head or blade. For stubborn areas, try using a stiffer brush or metal scraper with water to scrub away more deeply embedded particles. Be sure to finish off by wiping down the handle.

2. Say Goodbye to Sap

pring-clean-garden-tools-collection-of-tools-on-straw
Photo: istockphoto.com

Sap can be tricky to remove from gardening tools when using traditional cleaning techniques, but one product may just save the day—turpentine. Use a soft cloth soaked in turpentine (also called mineral spirits) to gently scrub off any patches of sap on the tool’s surface. If some sap remains after this step, use an old toothbrush to loosen it. Finally, rinse your tools thoroughly with clean water and pat them dry with a clean cloth before storing them in a dry place.

RELATED: How to Remove Tree Sap From Anything and Everything

3. Sanitize Surfaces

iStock-1390714235 spring cleaning gardening tools Gardener sanitizes pruner before rose pruning in spring garden
Photo: istockphoto.com

Now that the dirt has been dealt with, it’s time to disinfect each tool. Sanitize all surfaces of your tools with a DIY sanitizer by mixing one part liquid bleach with nine parts water. This solution will help kill bacteria and other microbes that may have built up over time, preventing them from transferring onto plants during use. Allow the solution to sit for about 30 minutes before rinsing it off with clean water. Sanitizing gardening tools in spring and throughout the season (especially after cutting diseased plant material) can help prevent the spread of pathogens that cause diseases in plants.

RELATED: 7 Surprising Alternative Uses for Clorox Bleach

4. Reduce Rust

iStock-628963556 spring cleaning garden tools rusty garden tools
Photo: istockphoto.com

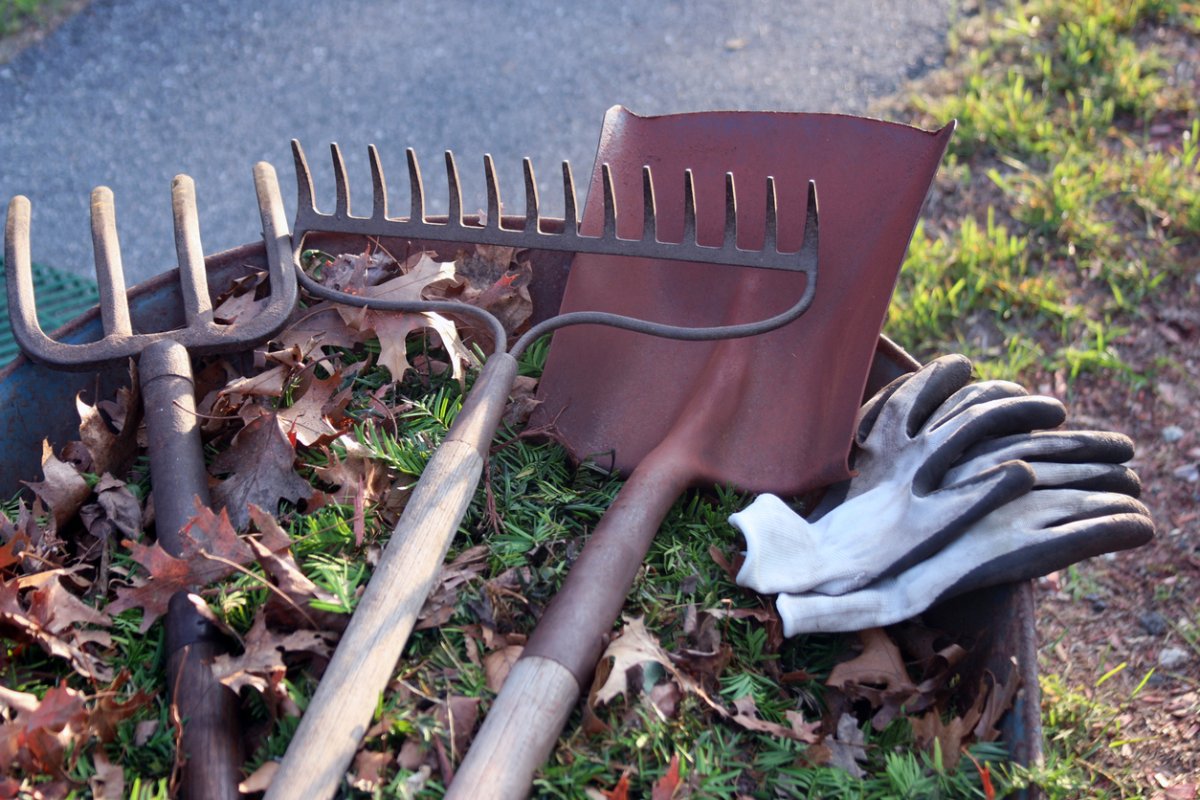
Once each tool has been cleaned and sanitized, apply a lubricant such as WD-40 to metal parts like blades and handles. This will reduce rust buildup over time when tools are stored in damp areas like sheds and garages. Keep rust at bay by cleaning and drying tools thoroughly after each use before storing them away. Additionally, if you have wooden-handled tools, use linseed oil or beeswax polish to bring out their natural shine while also protecting against splintering as they age.

RELATED: How To: Remove Rust from Hand Tools

5. Sharpen Shears

iStock-1327255817 spring cleaning gardening tools
Photo: istockphoto.com

Sharpen blades regularly with either an electric sharpener (for larger blades) or a hand file/stone (for smaller ones). This will help maintain a tool’s cutting edge so that it performs well when it’s time to use it. Shovels, hoes, and mowing blades—as well as axes and pruning shears—can all be sharpened to get them into top shape. Sharpening techniques will vary depending on the tool, but as a general rule, it’s best to stick to the angle (or bevel) that the blade had when it was brand new.

RELATED: How to Sharpen Loppers—and Why You Should

6. Hone Hoses

iStock-172674242 spring cleaning gardening tools leaky garden hose
Photo: istockphoto.com

Check hoses and their couplings in the spring for signs of wear and tear, such as cracks along their length, which could cause leaking when watering plants. If you spot any holes or cracks, you might be able to repair the hose rather than replace it. Clean hoses by running diluted vinegar through them or allowing them to soak in a bath of diluted bleach. Always leave hoses coiled up while they’re not in use; this helps keep them from getting tangled and prevents unwanted kinks along their length.

RELATED: The Best Garden Hoses Tested

7. Manage the Mower

spring-clean-garden-tools-man-inspects-lawn-mower-in-front-yard
Photo: istockphoto.com

There are a few steps to take to prep a lawn mower for spring. First, you’ll want to give your lawn mower a thorough cleaning, including removing any dirt, grass clippings, or debris from its exterior. Be sure to clear away anything that could impede airflow or otherwise cause problems with your machine’s operation. It’s best to have emptied out the gas tank in the fall, but if that wasn’t done, empty it now before refilling it. Make sure the blades are sharp and the rest of the mower is in good working order in case it needs professional servicing before the grass gets tall.

RELATED: 7 Tips to Keep Your Mower in Working Order

8. Inspect and Inventory

iStock-1434697376 spring cleaning gardening tools Man's arm taking lawn and leaf rake off wooden wall with various hanging DIY garden tools in shed
Photo: istockphoto.com

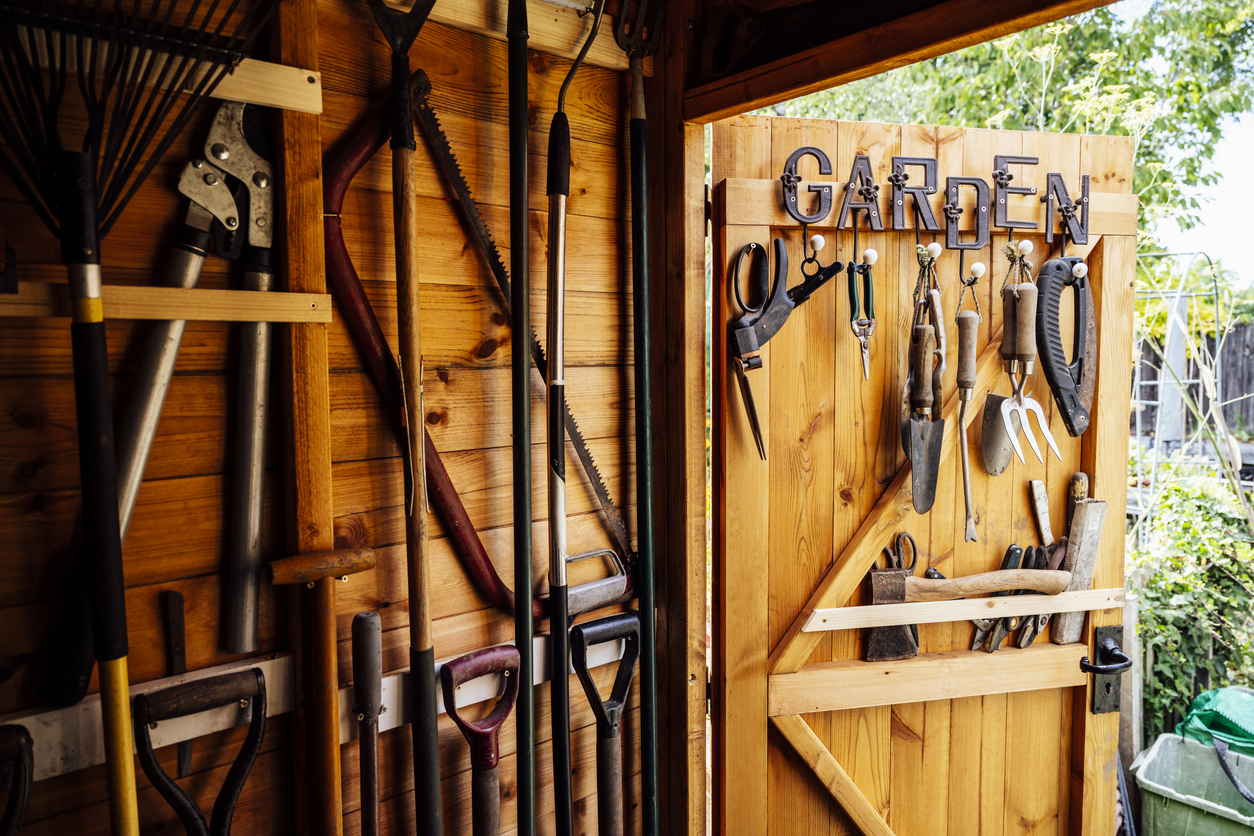
Once everything has been cleaned, organize garden tools by type so that they’re easy to find when you need them. If possible, set up an area where tools can be hung so that they dry out as quickly as possible after use. Then, evaluate the tools you have to see if anything needs to be repaired or replaced. Establish whether there are any gaps in your gardening toolkit and make a list of what you need to purchase for the coming season.