We may earn revenue from the products available on this page and participate in affiliate programs. Learn More ›
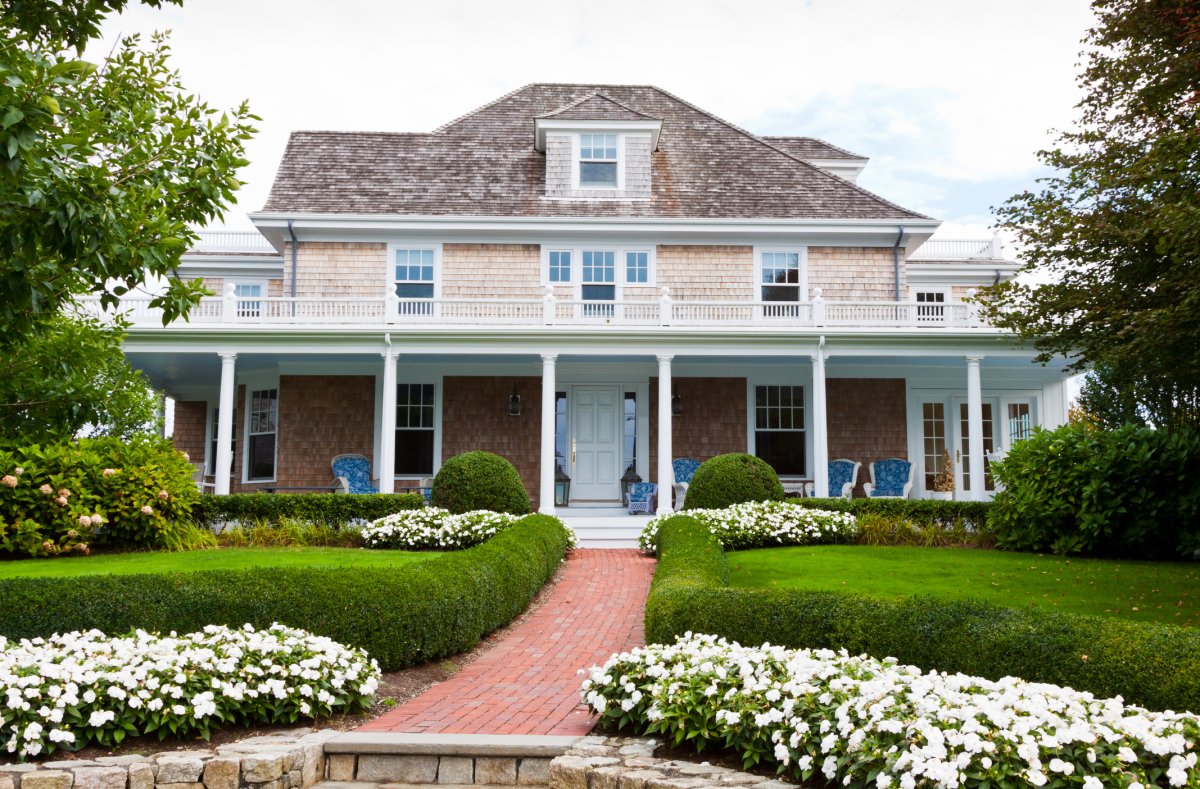
Curb appeal creates a strong first impression, influencing how visitors and potential buyers perceive your property before even stepping inside. A well-maintained exterior—featuring attractive landscaping, clean walkways, fresh paint, and a welcoming entry—can enhance the home’s overall value and make it stand out in the neighborhood. For homeowners looking to sell, strong curb appeal can increase marketability and potentially lead to faster sales at higher prices. Even for those staying put, it fosters pride of ownership and contributes to a pleasant, inviting atmosphere for family and company.
Still, it’s really easy to make decisions that unfortunately end up minimizing curb appeal. “While many homeowners embrace DIY landscaping for curb appeal, some common mistakes can actually detract from their efforts,” says Alex Smith, manager and co-owner of Render 3D Quick, a provider of 3D rendering services and architectural visualizations in Toronto, Canada. We asked some landscaping pros what the most common curb appeal mistakes DIYers make and how to avoid them.
1. Failing to Understand Scale and Proportion
Lacking a sense of scale and proportion can significantly diminish a home’s curb appeal by creating visual imbalance and disrupting harmony in the overall design. When architectural elements, landscaping, or decorative features are too large or too small for the size of the house or compared to each other, they can make the property appear awkward or poorly planned.
DIYers tend to pick their plants, for example, based on their size at purchase without considering their future association with the home or yard, says Smith. “The consequence of this is oversized plants that grow to cover windows or simply cause the situation to look unbalanced,” says Smith. For example, he warns that planting a huge conifer only about a yard away from the house leads to imbalance and trouble in 5 to 10 years. Other examples include oversized columns on a modest home or tiny windows or sparse plantings on a large house.
Achieving the right proportions ensures that all elements complement one another, creating a cohesive and aesthetically pleasing appearance that enhances the home’s attractiveness from the street. Karen Watts, founder and CEO of DomiSource and a real estate expert who manages several properties in Virginia Beach, Virginia, recommends people take a step back, squint their eyes, and ask, “Does this feel in proportion?”
2. Choosing the Wrong Plants
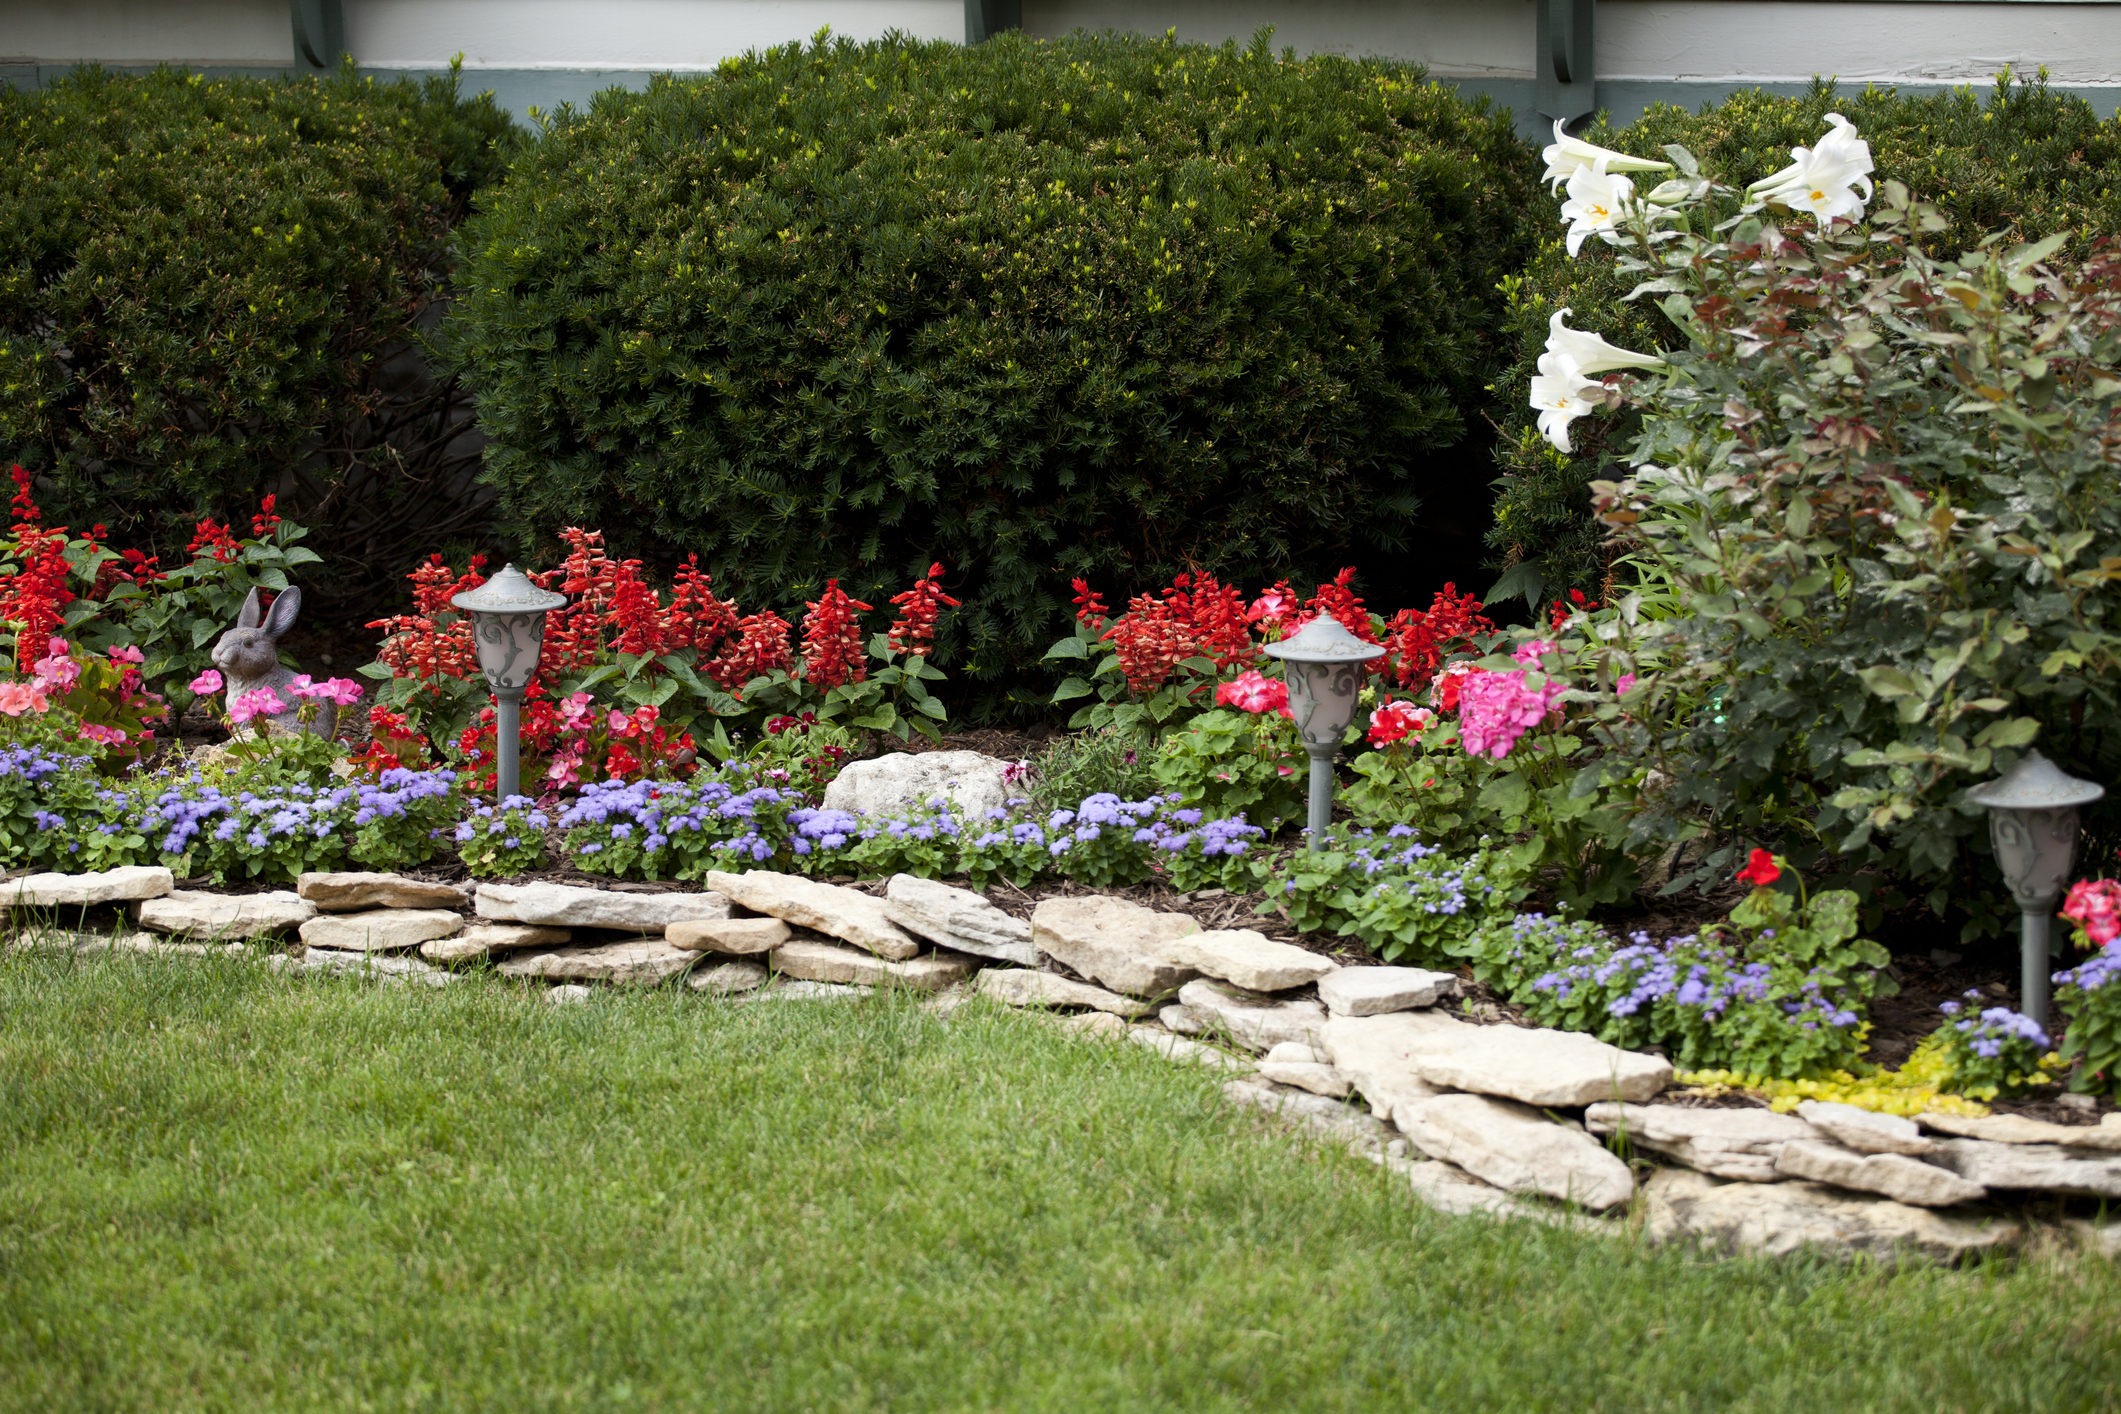
Another major mistake is when people choose the wrong plants for their landscape. While it’s a great idea to grow plants in your front yard for curb appeal, struggling or dying plants have a negative impact when people pass by the house, warns Steve Corcoran, CEO of Lawn Love. “Make sure to research your plants first and choose ones that are well suited to your USDA Zone,” says Corcoran. These plants should grow well if you place them in the right conditions, “such as the right amount of sunlight and soil type,” he adds. Otherwise, you could have more mess than you are willing to maintain.
Another mistake is creating a landscaping theme that doesn’t match the exterior of the house, says Corcoran. “If your house is super modern, a whimsical, natural garden might look out of place,” he says. Feel free to be creative but understand that it’s important for your landscaping to not clash visually with your home.
3. Not Properly Maintaining the Landscape
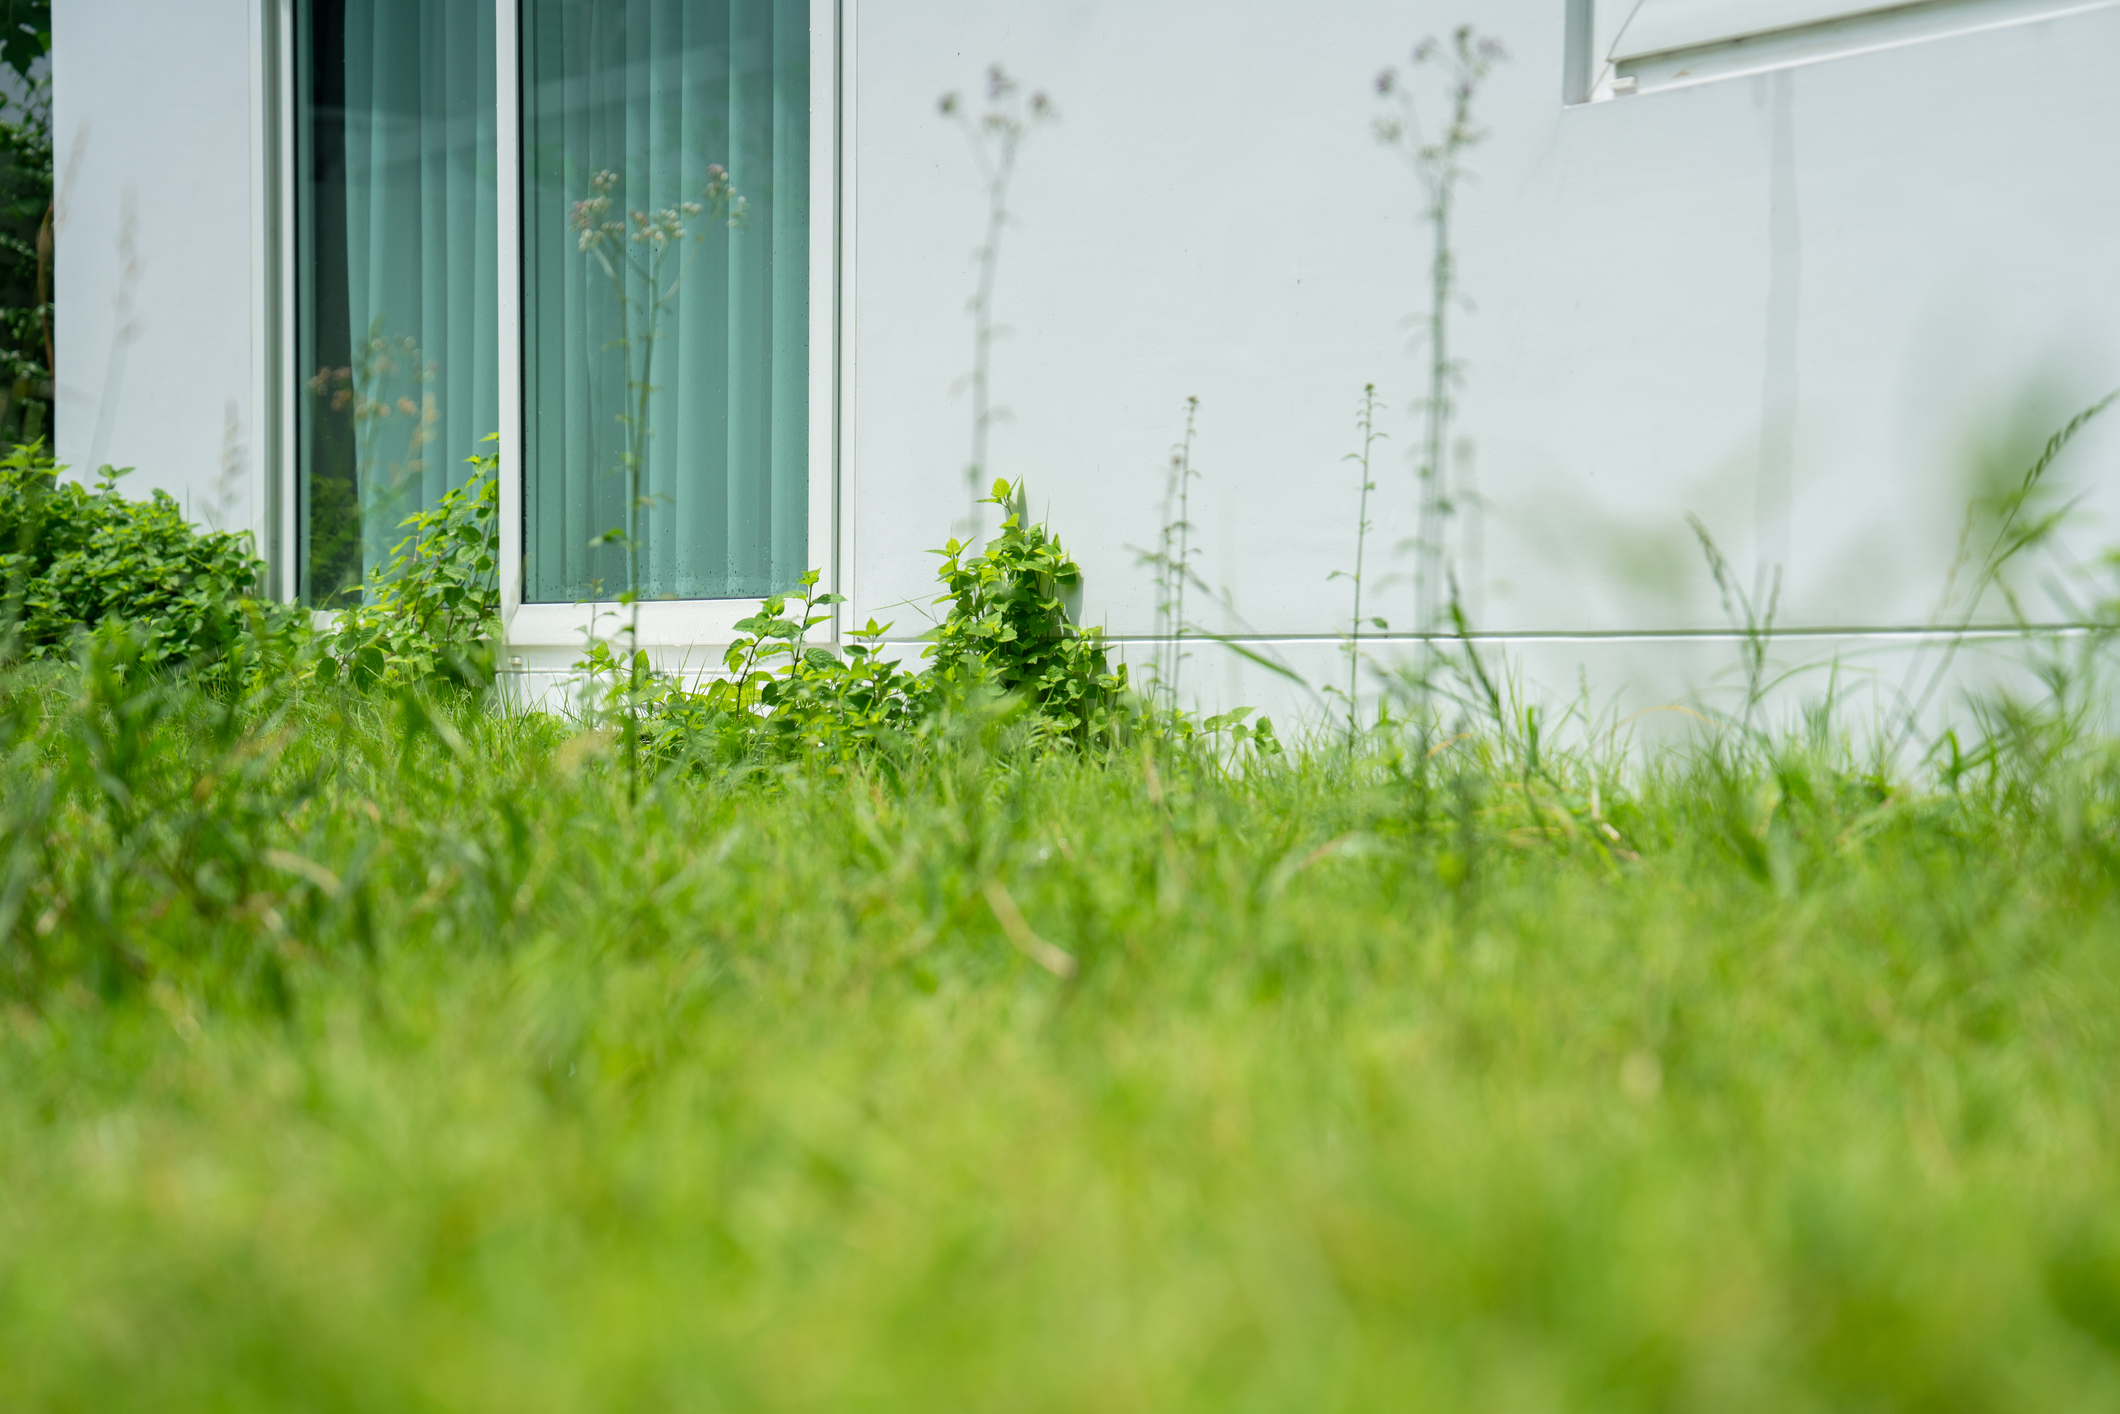
Not maintaining the yard is also a curb appeal faux pas. “You can’t just plant a bunch of plants and then not water them properly or deadhead them when needed,” warns Corcoran. Landscaping requires regular care and attention to continue looking good.
One of the reasons this happens is people don’t understand how long it takes to conduct maintenance for certain plants or designs, says Smith. Homeowners may choose exotic or high-maintenance plants without realizing they will need to care for them regularly. “This results in ugly, compromised, and poorly maintained landscapes,” says Smith. “Without proper trimming every 6 months as well as pest control every fortnight during growing seasons, a rose garden will be an eyesore, for example.”
Most DIYers underestimate the maintenance of hedges, wooden edging, or planters, adds Watts. “People jam in too many plant types, too many textures, too many ideas,” notes Watts. “I always say: If you aren’t going to maintain it, don’t build it in.”
Landscaping Projects Most Suitable for DIYers
To avoid these issues, it is best to stick with landscaping projects that you can handle most easily with basic tools and that will boost the curb appeal of your yard. “For DIYers, the best landscaping projects for curb appeal are simple, low-risk, high-impact tasks not requiring extensive design or heavy machinery,” explains Smith. These projects allow for creativity and personalization while offering the satisfaction of hands-on improvement without assistance from a pro:
- Refreshing mulch
- Planting flower beds
- Adding seasonal flowers in pots or along pathways
- Installing raised garden beds
- Building simple pathways out of gravel or stepping stones
- Edging garden beds with simple barriers to create neat lines
- Completing small lighting projects like solar-powered path lights
When to Call a Pro
On the other hand, some landscaping projects to boost curb appeal can require a professional to get the job done right. “It’s time to call a professional when the project involves structural changes; significant excavation; complex drainage solutions; or large-scale design overhauls requiring expertise in horticulture, engineering, and long-term landscape evolution,” advises Smith.
Some examples include precise grading to prevent water runoff, installing intricate hardscaping like large patios or retaining walls, or designing a cohesive landscape for an entire property. “These tasks carry substantial risk of costly errors and potential home damage,” says Smith. Anything dealing with soil mechanics, slope, or water pressure should involve a licensed professional and liability insurance, adds Watts.