We may earn revenue from the products available on this page and participate in affiliate programs. Learn More ›
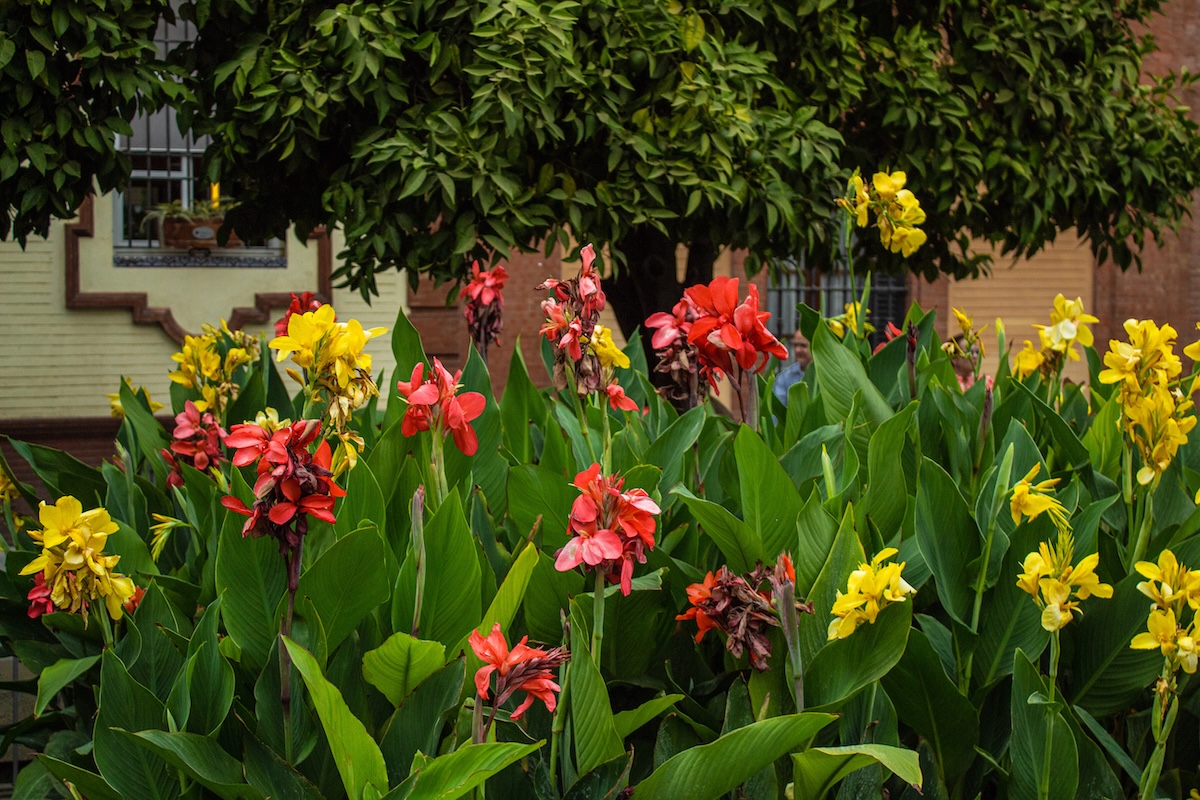
Gardeners north of USDA Hardiness Zone 8 need to know how to overwinter canna lilies if they grow these giant beauties in their gardens. In these colder climates, cannas are treated like annuals that must be brought in and stored during the winter.
It involves simple steps, but if they aren’t followed, disaster can result. I found that out the hard way when I tried to shortcut the process one year. (In my defense, I had a broken foot at the time that altered my usual routine.) What I found in the spring was that almost all my cannas had turned into black, rotten mush.
Remove After a Frost, but Before a Freeze
Freezing temperatures trigger dormancy in tender plants like cannas, dahlias, gladiolas, and elephant ears, meaning the rhizomes have stored all the energy they’re going to, so it’s a good time to bring them in.
If you wait until after the first hard frost, the stalks of these stunning, tropical-looking plants will turn yellow and brown as they die back, making harvest a little easier. But if you wait too long and the ground freezes, it’s harder to get them out and knock off the dirt. It’s best to dig while the ground is workable, using a shovel, spade, or garden fork.
Dig, Divide, and Inspect
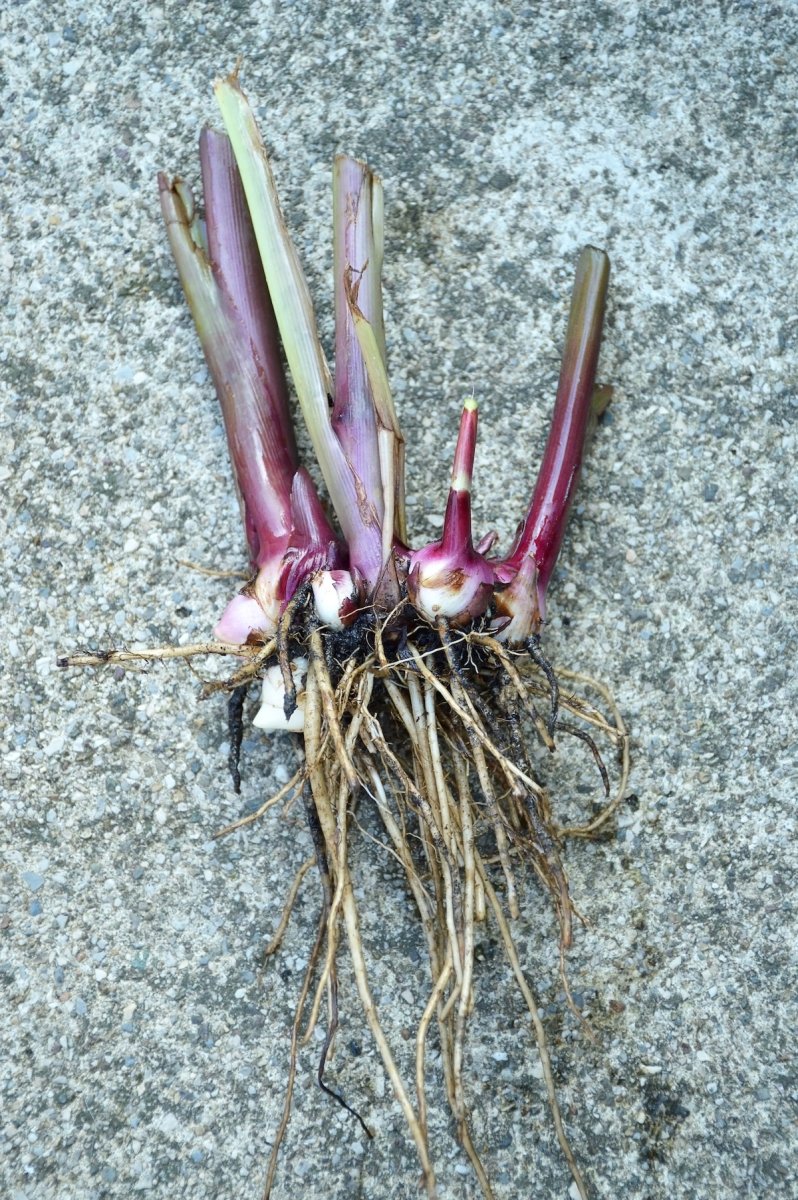
You can cut the stalks while the rhizomes are still in the ground, leaving a “handle” of 2 inches to 3 inches, but I prefer digging the roots out before trimming stalks with pruning shears. Rhizomes grow horizontally, rapidly producing new shoots and roots, so be sure to dig at least 1 foot around the stems.
Fall is an ideal time to divide them into more manageable clumps. Each section should have three “eyes” for best growth next spring. It’s also a good time to check for rot, infestation, or disease. Dark brown or black flesh, or a mushy texture indicate disease.
Take Time to Cure
To prevent rot during storage, cure the rhizomes for about a week. One simple method is to spread them out on newspaper, ensuring they aren’t touching. Place them in a warm (ideally, 70 to 80 degrees), dry, well-ventilated area such as a basement or garage while they dry.
Some experts recommend dipping them in a solution of one part bleach to 10 parts water for 30 minutes to kill any remaining bacteria, but I have never bothered with this step. I just make sure the dirt is brushed off of them.
Pack Them Properly Before Storing
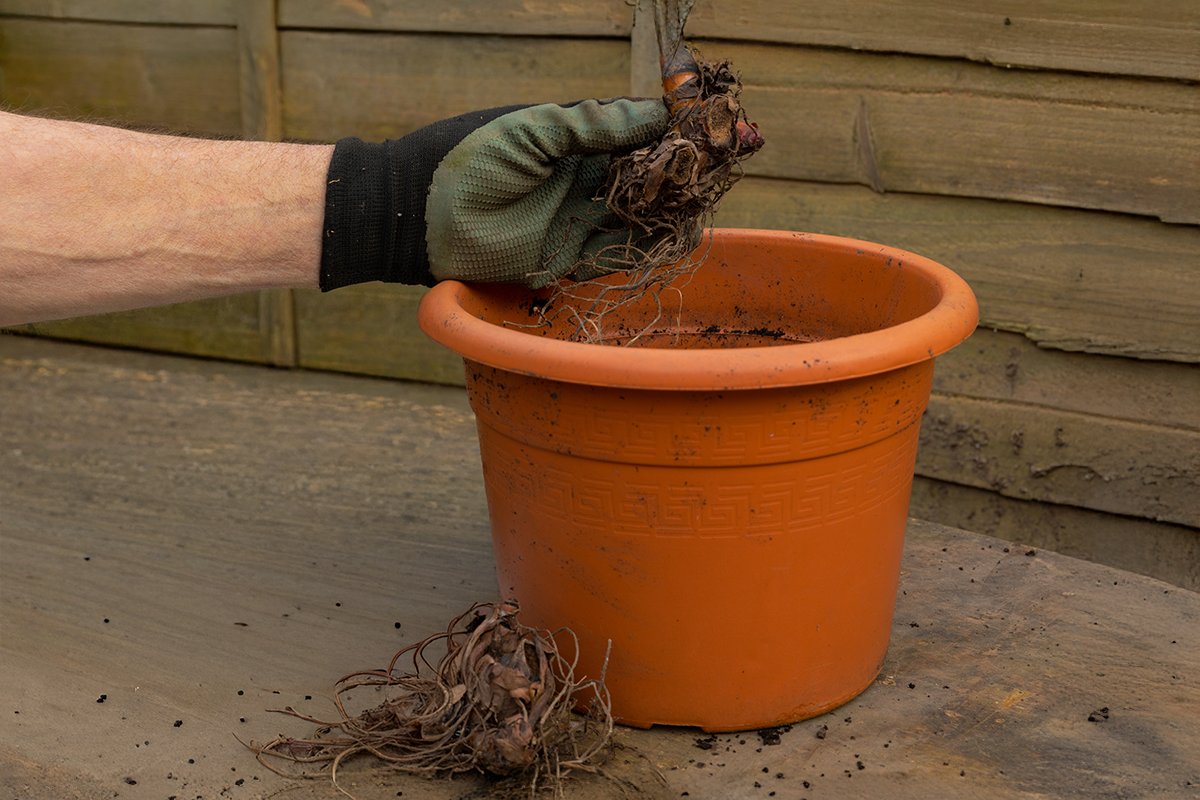
After the canna rhizomes have cured, they should be packed in a cardboard box, preferably in a single layer, not touching, with a bed of peat moss, coconut coir, a mix of perlite and vermiculite, or wood shavings serving as packing material. This keeps them dry without dehydrating them.
Never use plastic containers, as that could contribute to mold or rot. This was my downfall that year. Having broken my foot, it was difficult for me to get around, so I simply stuffed my rhizomes into black trash bags…all touching one another…and dropped them into my crawl space.
Store and Restore
Cannas should be stored in a cool, dark, humid location, with temperatures between 40 and 60 degrees Fahrenheit. Attics and garages are typically unsuitable due to freezing temperatures. Instead, a basement, cellar, crawlspace, or heated garage is generally recommended.
Once all chance of frost has passed in the spring and soil temperature is above 60 degrees Fahrenheit, it’s time to plant. First, inspect for signs of infestation or rot. If you’re in a hurry, you can soak them in warm water for 12-24 hours to break dormancy, but I simply plant them directly in the garden, with the “eyes” facing up.
