We may earn revenue from the products available on this page and participate in affiliate programs. Learn More ›
My family bakes something at least five days a week, so when our well-worn 16-year-old oven started taking longer and longer to pre-heat, I wanted to take care of it right away. At first I started shopping around for a new gas stove, but I didn’t love the thought of spending at least $800 for the appliance, and then having to deal with the hassle of a delivery.
So I started looking into what could be causing the trouble. After spending less than 30 minutes researching the symptoms and working through the troubleshooting process, I discovered that the gas oven igniter was likely bad. The replacement part cost less than $20 and I did the oven repair myself. Now my oven works.
Here’s how I replaced the igniter on my gas oven.
Troubleshoot the problem.
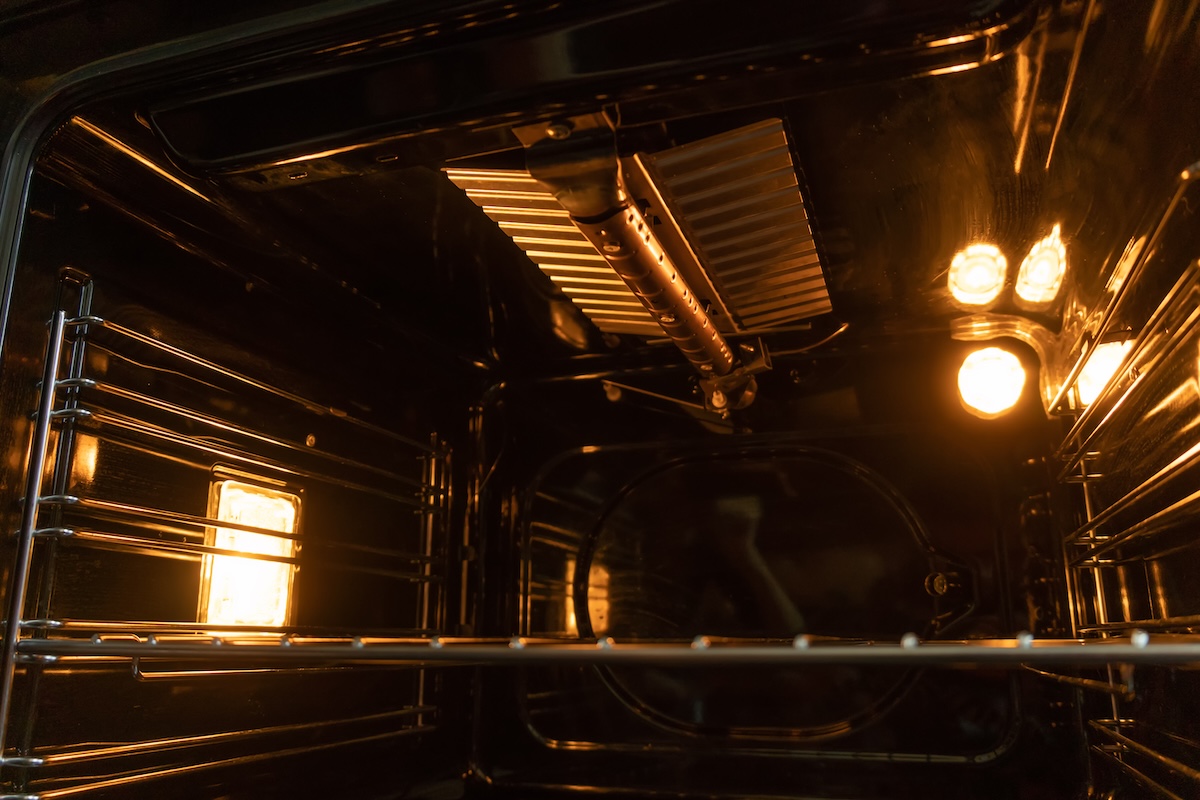
I wanted to find out why our oven would not heat up properly, so I first had to rule out electrical and gas supply problems. The stove burners were working but the oven did not, so the gas supply was fine. The clock was operational, so I knew the power was working. That left the igniter as the main suspect. When I turned on the oven, the igniter glowed but it was taking the burner a very long time to light.
How does a gas oven igniter work?
A gas oven works on a safety principle—gas cannot flow until the gas valve is triggered to open by a properly functioning igniter. Most gas stoves are equipped with “glow bar” igniters that use electricity to heat a silicon carbide element, turning it white hot to ignite the gas. The igniter also acts as a gas safety switch. It must draw a strong enough electrical current to open the gas valve.

How do you test a suspected faulty gas oven igniter?
I went ahead and ordered the new gas oven igniter part after troubleshooting, but it is possible to test an igniter to make sure it’s the problem. First, remove the part and visually inspect it for cracks, breaks, or white, powdery, or burnt residue on the normally gray element. You’ll need a digital multimeter to test it for continuity and amp draw. A good igniter should produce a resistance reading between 0 and 1,100 ohms and pull between 3.0 and 3.4 amps. Anything else indicates a failed part.
Should you replace it yourself or hire a professional?
This is a DIY-friendly repair. I had to move the stove away from the wall to unplug it, turn off the gas, and connect the wires. If you are intimidated by gas appliances because of a perceived risk of leaks or explosions, don’t worry. Repairing a faulty igniter is mainly an electrical task. You will not be disconnecting gas lines or messing with the main supply.
How did I replace my gas oven igniter?
It only took about 30 minutes, a basic set of tools, and a helper. Here are the steps:
- First, I unplugged the stove and turned off the gas before removing the oven racks, oven bottom plate, and heat deflector.
- Next, I located the igniter on the burner tube, unscrewed the bolts holding it in place, and unplugged its wiring harness.
- Then I screwed in the new igniter and connected its wiring harness in place of the old one.
- To test it, I plugged in the stove, turned on the gas, and turned on the oven. The burner lit in about 30 seconds. Everything worked properly, so I put the oven back together.

How do you find the right gas oven igniter part?
If your oven won’t heat but the burners work and the electrical-powered clock works, don’t panic and don’t waste your money. Find your stove’s model number and find the igniter replacement part online. For the price of a fast food lunch for two, and a half hour of your time, you can fix it yourself.