We may earn revenue from the products available on this page and participate in affiliate programs. Learn More ›
Monthly Maintenance Musts
I have always envied people with clean homes. They never let household tasks get away from them. For them, dusting, vacuuming, picking up, washing dishes, and other chores just fall into a regular cleaning routine that leaves the house perpetually ready for company…or a magazine photo shoot. Sadly, I have yet to master such a seemingly effortless routine, but even someone as housework challenged as me can set up a regular schedule of monthly tasks. Try it for yourself! Get your house under control by adding these chores to your monthly housekeeping and maintenance list.
Look Up, Then Dust

Ceiling fans and light fixtures attract a surprising amount of dust, and when you run your fans, they can spread that dust all around the room. Get out your stepladder and wipe down the fan blades, making sure you clean the top, bottom, and edges of each blade. For light fixtures, remove the bulbs and clean the globes thoroughly, inside and out.
Look Down, Then Dust

If you haven’t taken a look at the intake and outflow vents for your heating and cooling system recently, you may be inadvertently spreading dust throughout your home. Help your HVAC system work more efficiently—and last longer—by regularly removing the vent covers and vacuuming both inside and outside the vents. Wipe down the walls around the vents as well. And while you’re showing your HVAC system some TLC, inspect the main filter and change it out, if needed.
Wipe Down Walls
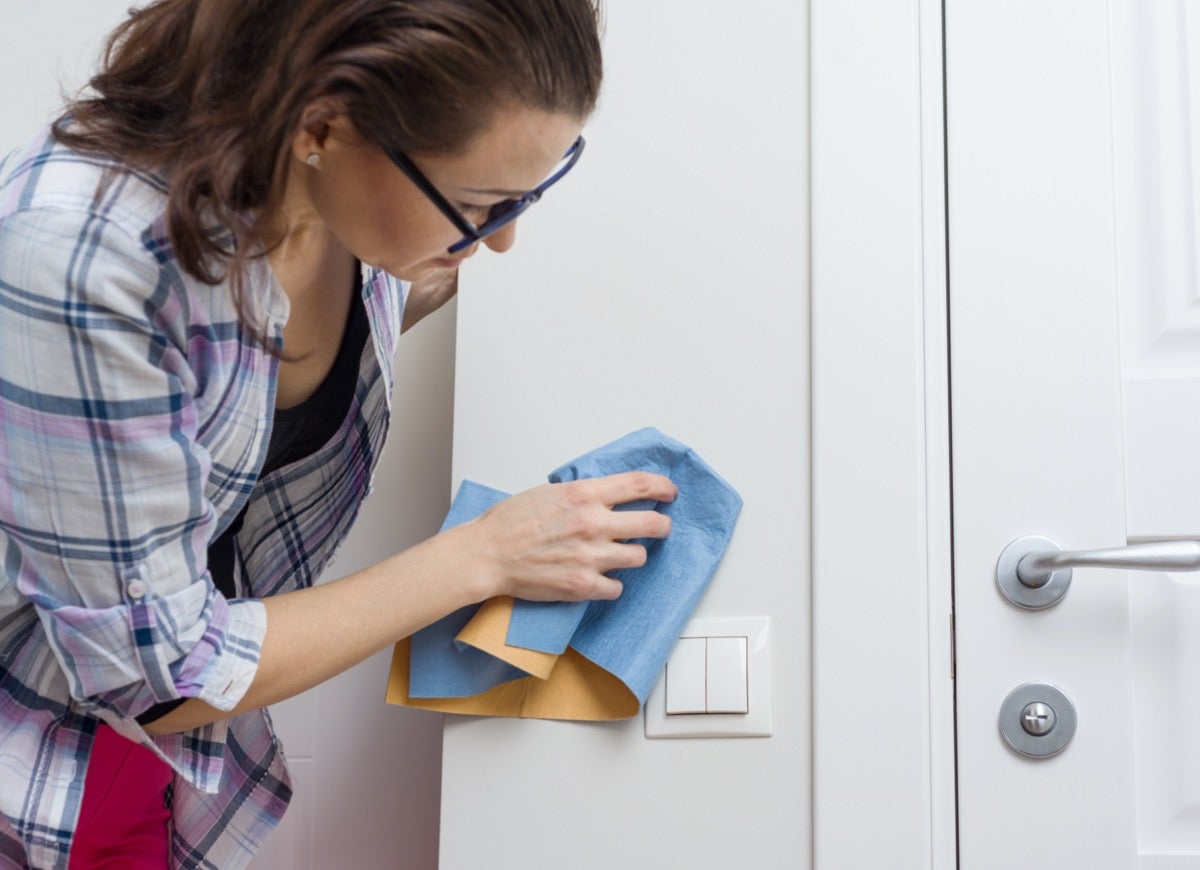
Don’t limit your cleaning to the area around your HVAC vents. Take the opportunity to wipe down walls, too, as well as baseboards. Pay particular attention to the areas around light switches, door and window frames, and stairwells, as these spots are likely to be dirty or scuffed.
Freshen Up Furniture
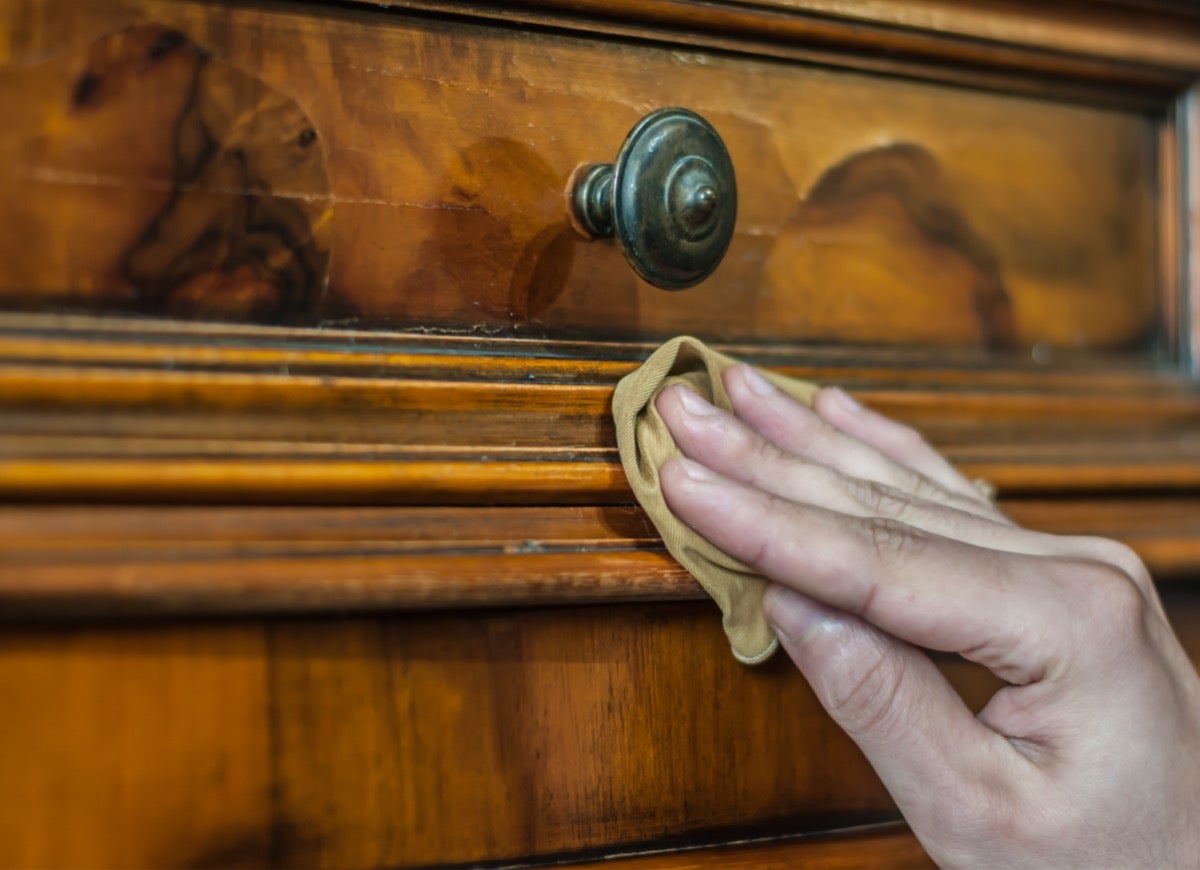
Furniture can get pretty dusty and grimy over the course of a month. To keep odors from settling into upholstery, sprinkle cushions with baking soda, let stand for 20 to 30 minutes, and then vacuum thoroughly. Make sure to remove cushions and use a crevice tool to reach all of the nooks and crannies. Wipe down wood furniture with a good-quality furniture polish, and treat leather pieces with a leather conditioner to clean them up and prevent cracking.
Wash Those Windows!
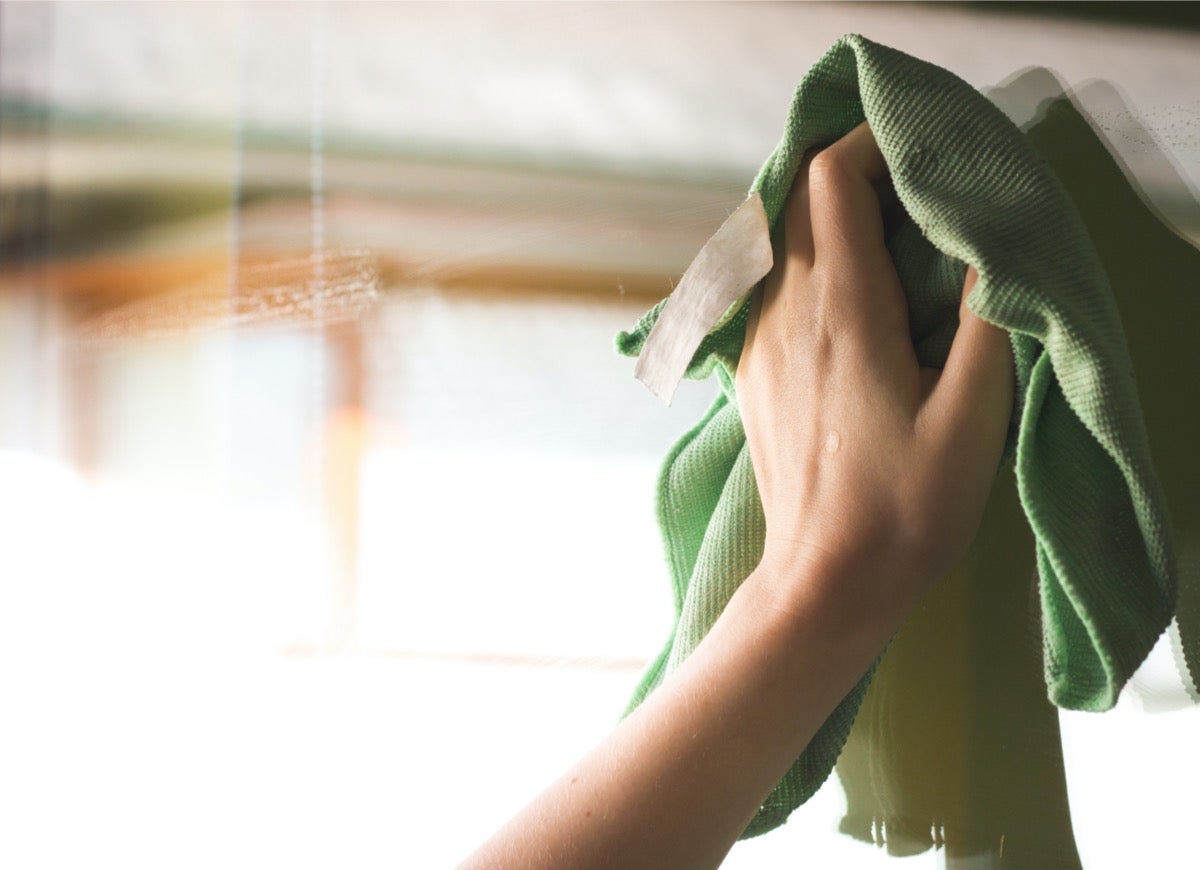
Keep the sun shining in by washing your windows regularly. You may, however, want to wait for an overcast day so the cleaning solution won’t dry up too quickly and you’ll be able to see and remove any streaks or spots more easily. Use a high-quality glass cleaner and polish dry with a microfiber cloth; wipe down the sills and frames as well.
Clean Window Treatments

Curtains, draperies, blinds, and shades all attract dust, pollen, and odors, and should be cleaned on a regular basis. Curtains and draperies can be vacuumed and, when necessary, removed and washed or dry-cleaned (check the label for the manufacturers’ recommendations). Blinds should be vacuumed with a crevice tool and wiped with a soft cloth. Or, save time by investing in a handy gadget that cleans both sides of several blinds at the same time, like this microfiber blind cleaner (available on Amazon; $11.96).
Disinfect the Garbage Disposal
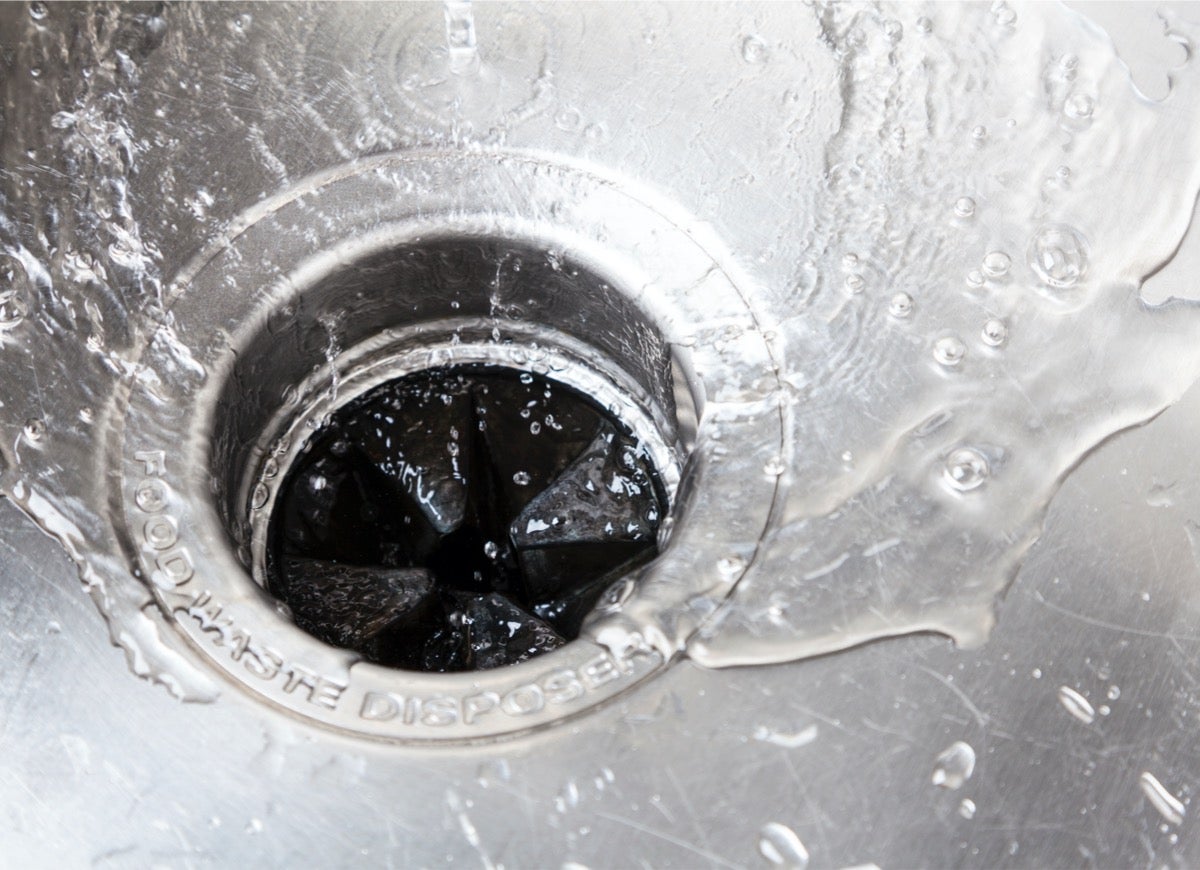
The purpose of the garbage disposal is to process waste, so it’s not surprising that it can get downright nasty. But with regular cleaning, you can keep your disposal running smoothly and cut down on offensive odors. At least once a month, pour about half a cup of baking soda down the disposal and follow it up with a cup of white vinegar. (The mixture will bubble and hiss.) Let stand a few minutes, and then pour several cups of boiling water down the disposal. Another method is to fill the disposal with ice cubes and a cup of salt, and then run the disposal for a few minutes. Finish up by pouring in boiling water. To keep your disposal smelling fresh, run lemon or orange peels through the disposal, and follow up with boiling water.
Banish Grungy Grout
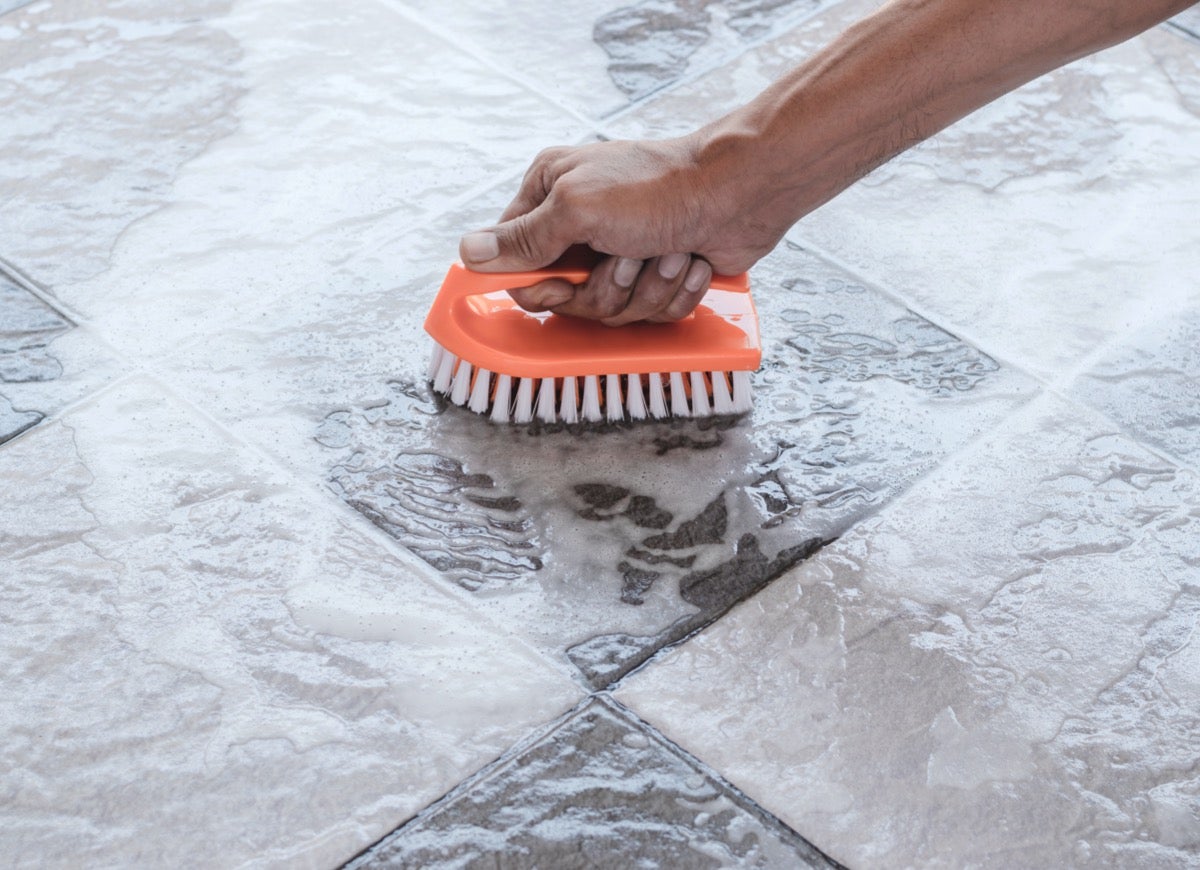
Over time, dirt, grease, and soap scum can collect on grout, making your tile look shabby. In fact, nothing brings down the look of kitchen or bathroom tile quite like dirty grout. Fortunately, cleaning grout is fairly easy, if a bit time-consuming: Take an old toothbrush and some oxygen bleach, and scrub lightly along the grout lines. As an alternative, you can make your own cleanser by mixing 3/4 cup baking soda, 1/4 cup hydrogen peroxide, and 1 tablespoon of mild dish soap. Avoid using acidic cleansers or vinegar as these can damage, pit, or even dissolve grout.
Closet Cleanse

Once a month, take some time to vacuum and dust your closets, especially the areas beneath shoe trees, shelving, and storage bins. Don’t forget about the walls, doors, doorframe, and baseboards—you will be amazed how much dust can accumulate inside! While you’re in there, make a quick pass through your clothing and shoes, and donate or discard any items that you haven’t worn in more than a year.
Wash Trash Cans
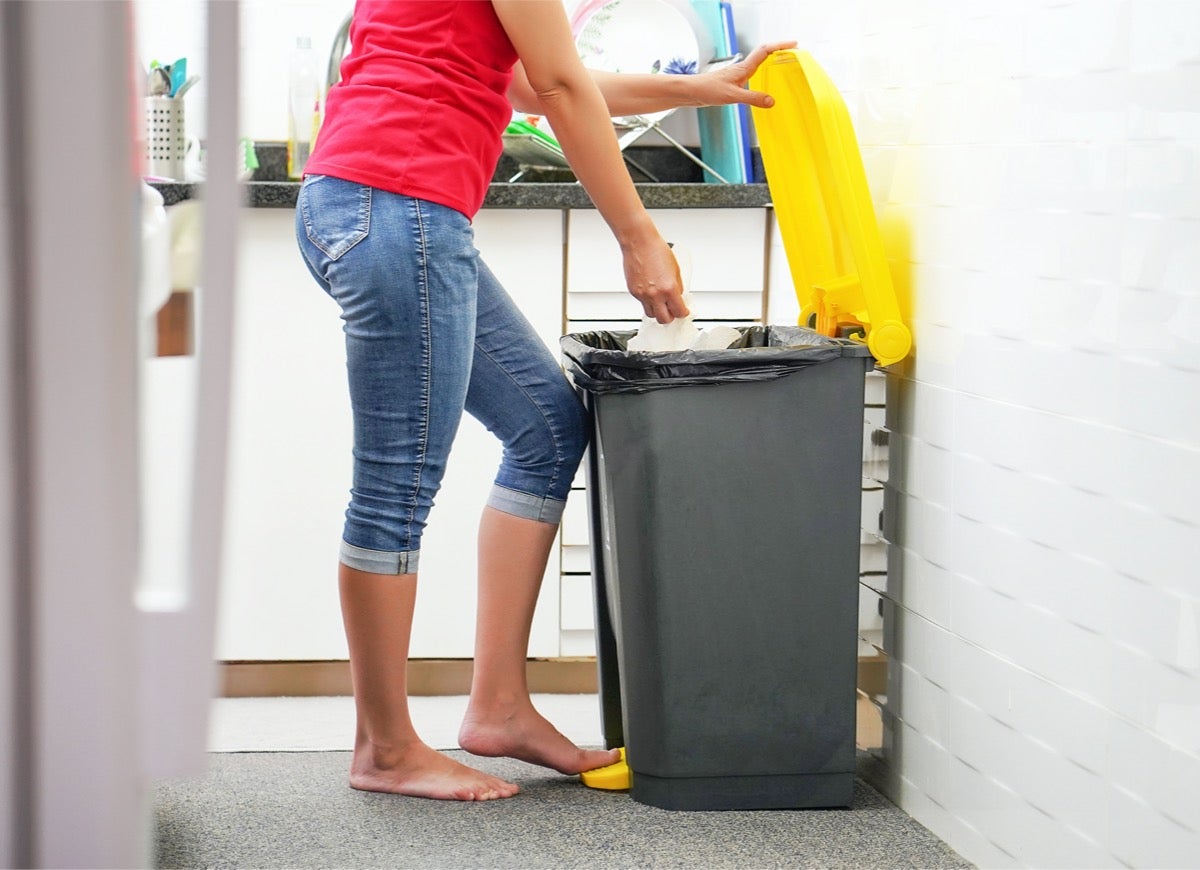
Even though you probably line them with garbage bags, you should still give your trash cans a good cleaning once a month, especially the one in your kitchen. Wipe down the interior and exterior with a disinfectant spray to get rid of bacteria, and when the trash can is clean, sprinkle a bit of baking soda in the bottom to help eliminate odors.