We may earn revenue from the products available on this page and participate in affiliate programs. Learn More ›
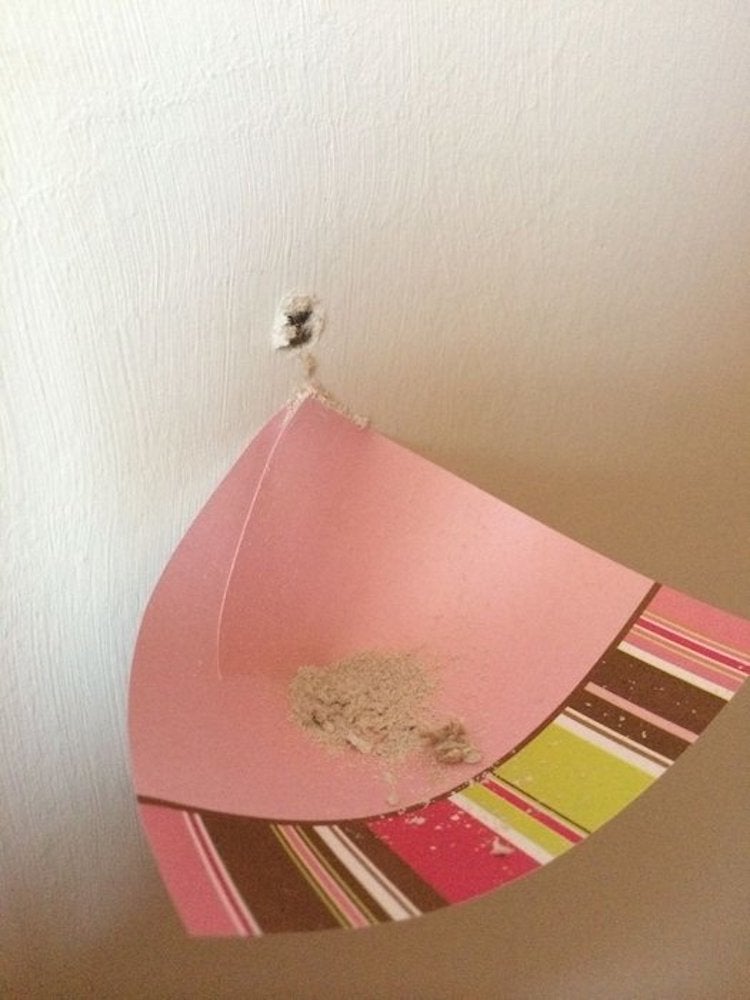
Catch Drywall Drilling Dust
instructables.com via CapnGonzo
Hanging a picture on the wall is simple, but drilling a hole for the fastener creates powdery white drywall dust that scatters to the floor—and everywhere else. Next time you drill a hole in the wall, try folding a Post-in note in half horizontally and sticking it right under the spot where you’ll be drilling, or cut a notch in the Post-it and fold it into a cupped position, as shown here. The drywall dust will fall on the creased note, which you can simply fold up and toss away when you’ve finished your project.
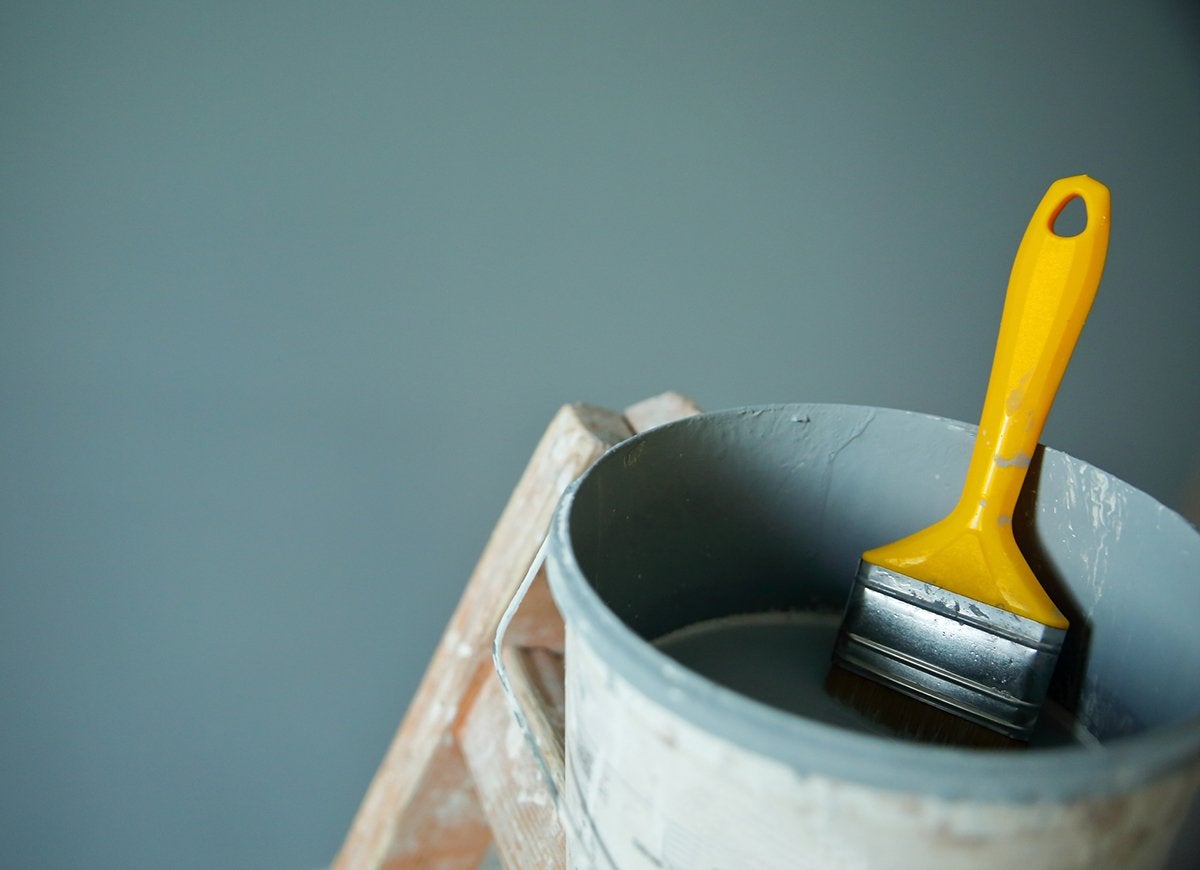
Paint Drip Fix
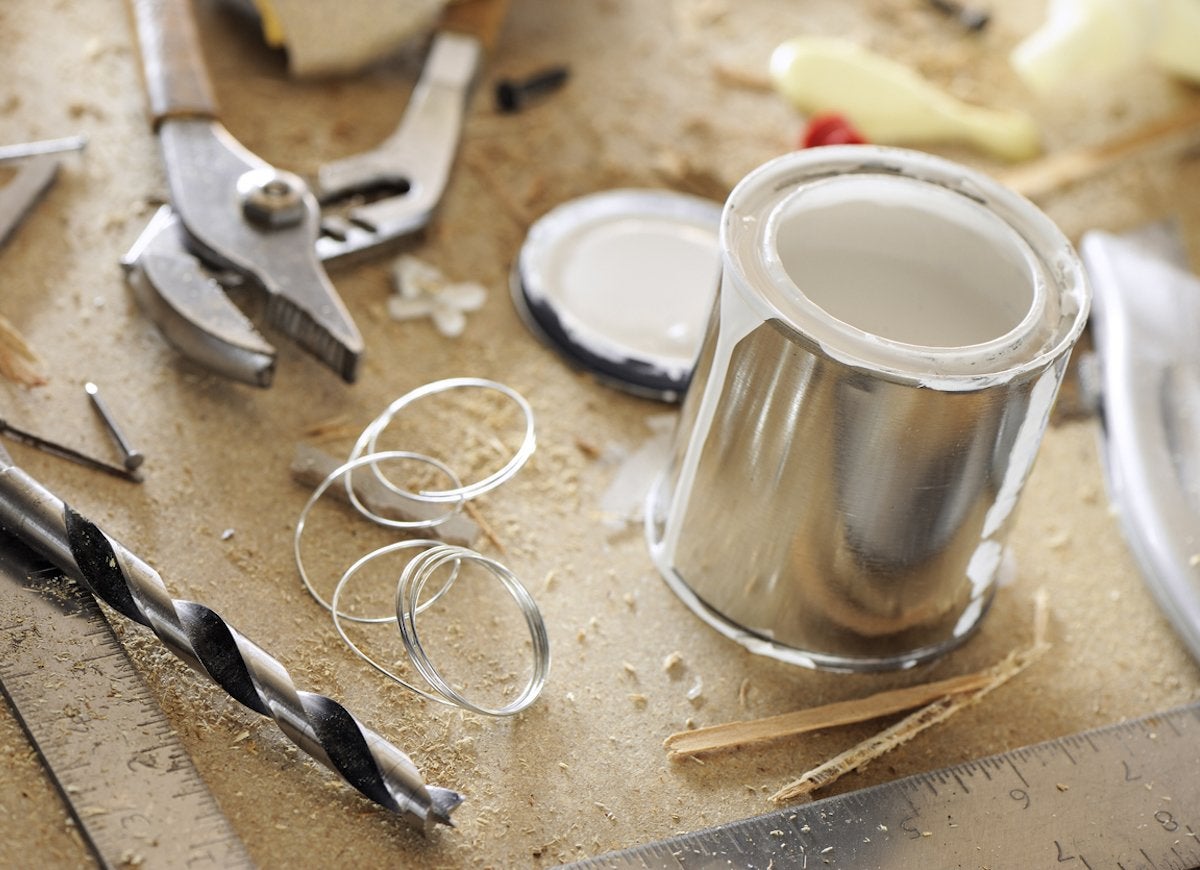
When pouring paint from a can into a roller pan, excess paint collects in the groove around the top of the can and can spillover, running down the can and making a mess. A simple way to avoid spilled paint is to lightly hammer a nail inside the rim groove with a nail. Remove the nail, leaving a hold that drains to the inside of the can so excess paint drips back into the can instead of running over the sides.
Foil the Mess
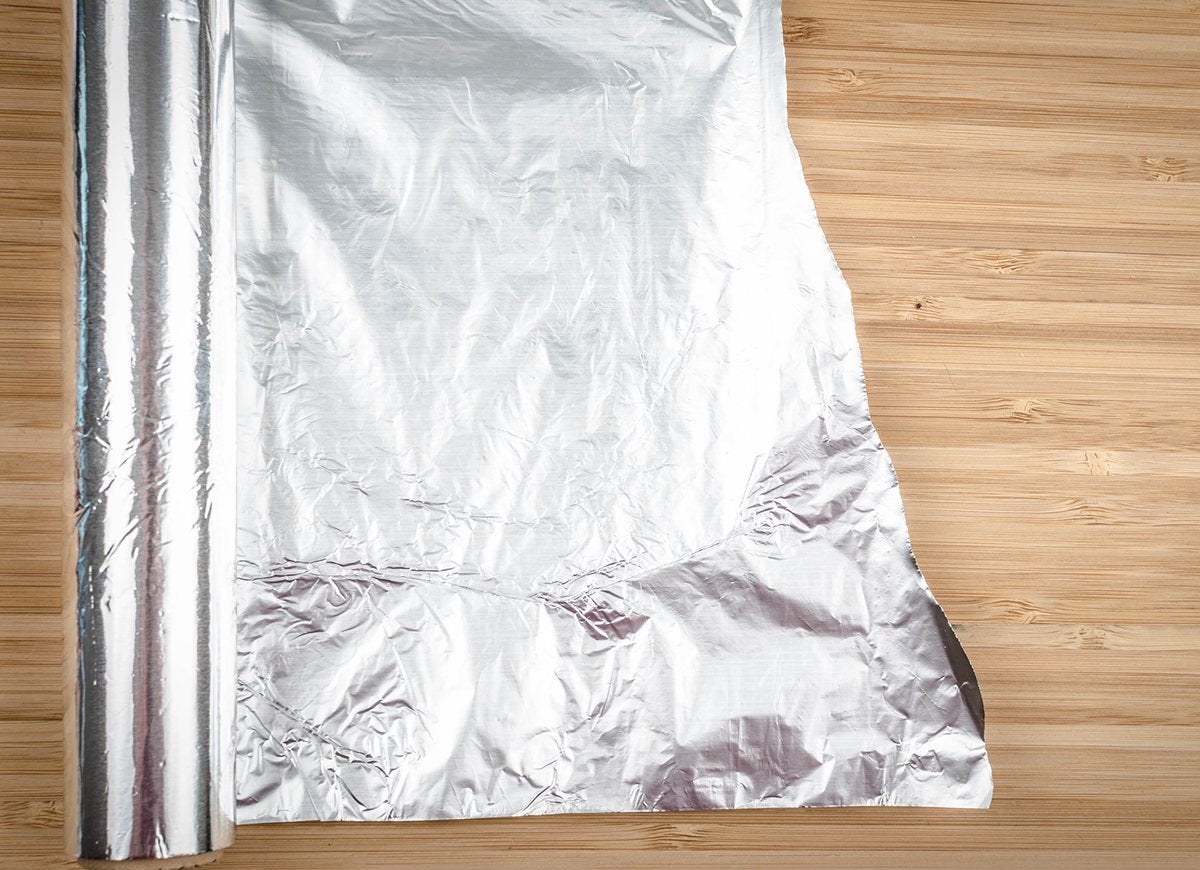
Regular household aluminum foil makes a great liner for paint trays. Just smooth the foil evenly into the bottom the tray and tuck it tightly around the top edges. When you’re done painting, just wad up the foil and toss it out—no tray to wash.
Tape for Clean Caulk Lines
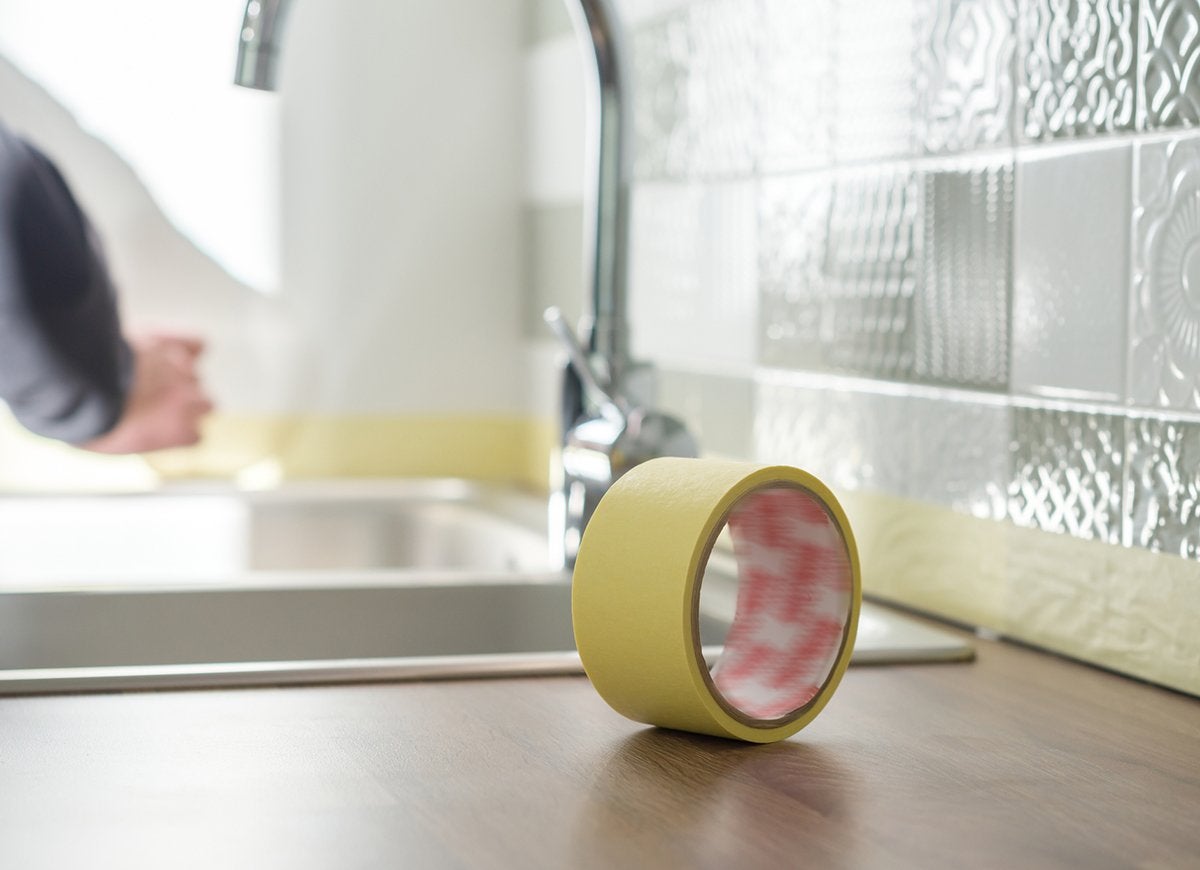
Caulking a seam, such as the gap where the bathtub and tile surround meet, can be a messy prospect, creating caulk smears that require wiping or scraping to remove. To make cleanup easy, line both sides of the gap (1/4” away from the center of the seam) with painter’s tape before caulking. Then, apply a bead of caulk, smooth it with a wet finger, and pull away the tape to reveal a perfect caulk line and no mess.
Elevate Your Painting Project
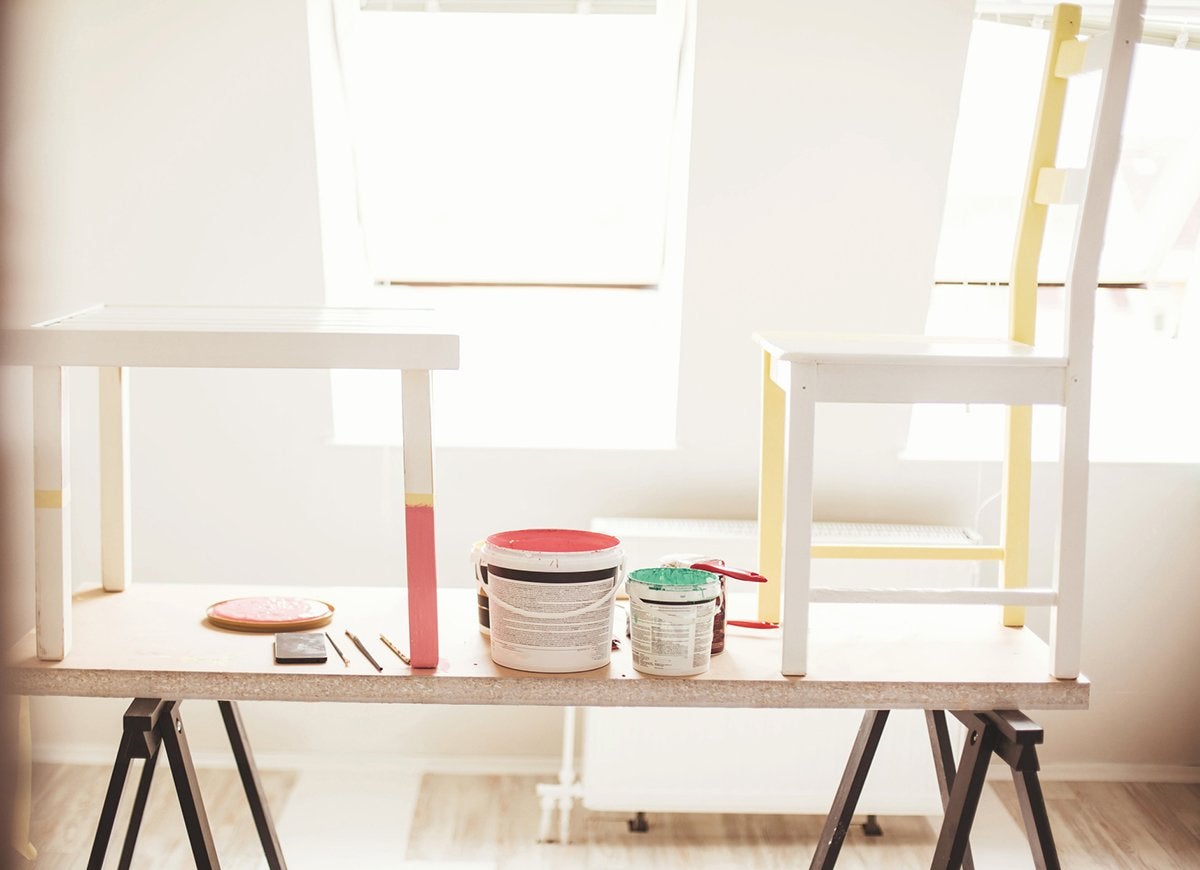
Painting a chair or stool is a straightforward project until it comes time to paint the bottom of the legs—then excess paint can pool around the legs, and it only takes a splash of paint to make them stick to the drop cloth. Next time, insert a drywall screw into the bottom of each chair leg, leaving 1inch of the screw sticking out. Turn the chair right-side up and you can paint the bottom of the legs without making a mess since they’re now elevated above the drop cloth.
Protect Ceilings with a Paint Shield
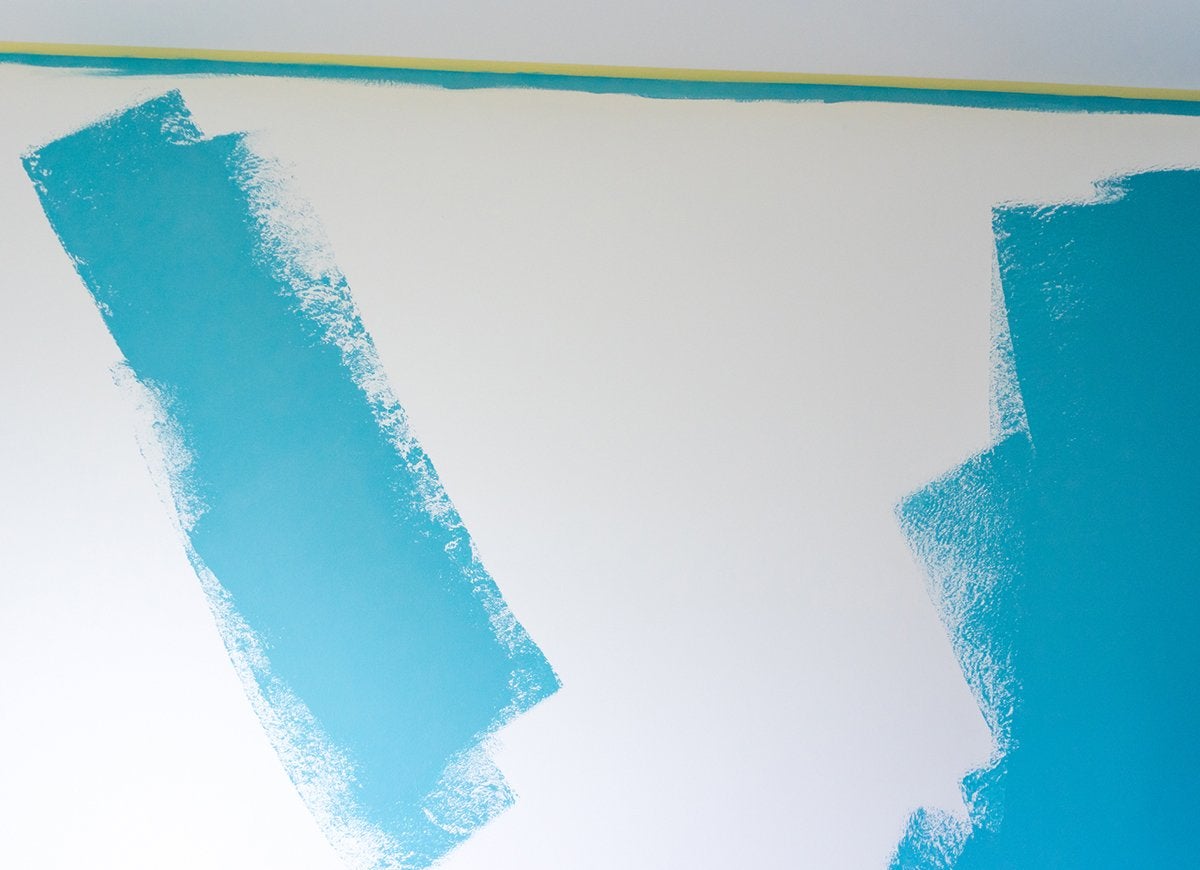
If you want to paint your walls, but your hand isn’t steady enough to cut-in a perfect paint line along the ceiling, keep errant paint off the ceiling with a paint shield, which is a straight edge with a handle. Just align the shield where the wall meets the ceiling and brush paint on the wall with your other hand. You’ll achieve a great looking straight line without getting paint dabs on the ceiling.
Use a Trap-Water Tray
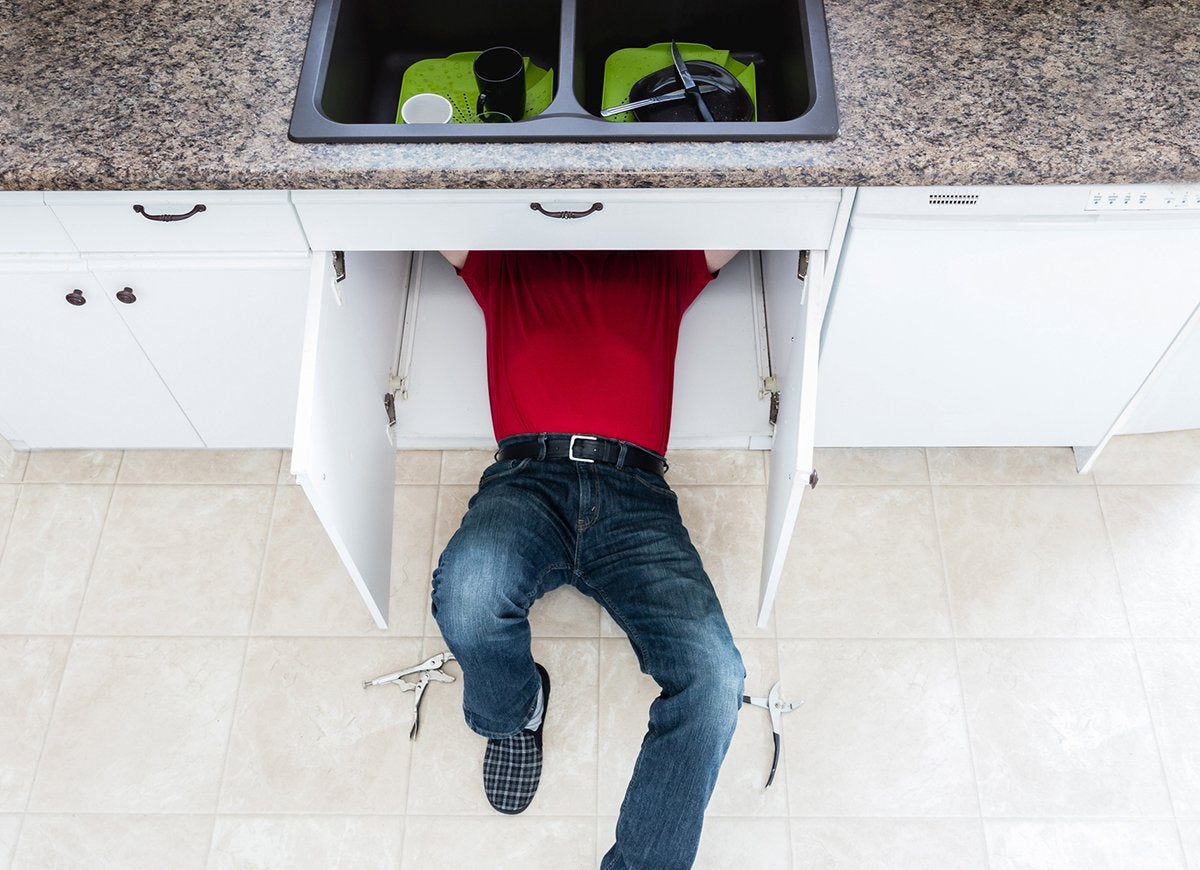
Under-sink plumbing projects often result in a watery mess because the drain trap (or P-trap) holds residual water that spills out when the trap is removed. Before loosening the drain trap, position a low-sided tray on the cabinet floor beneath. When you remove the trap, the water will drain into the tray, keeping the rest of your cabinet clean and dry.
Use a Wet/Dry Vac Before Changing a Wax Ring
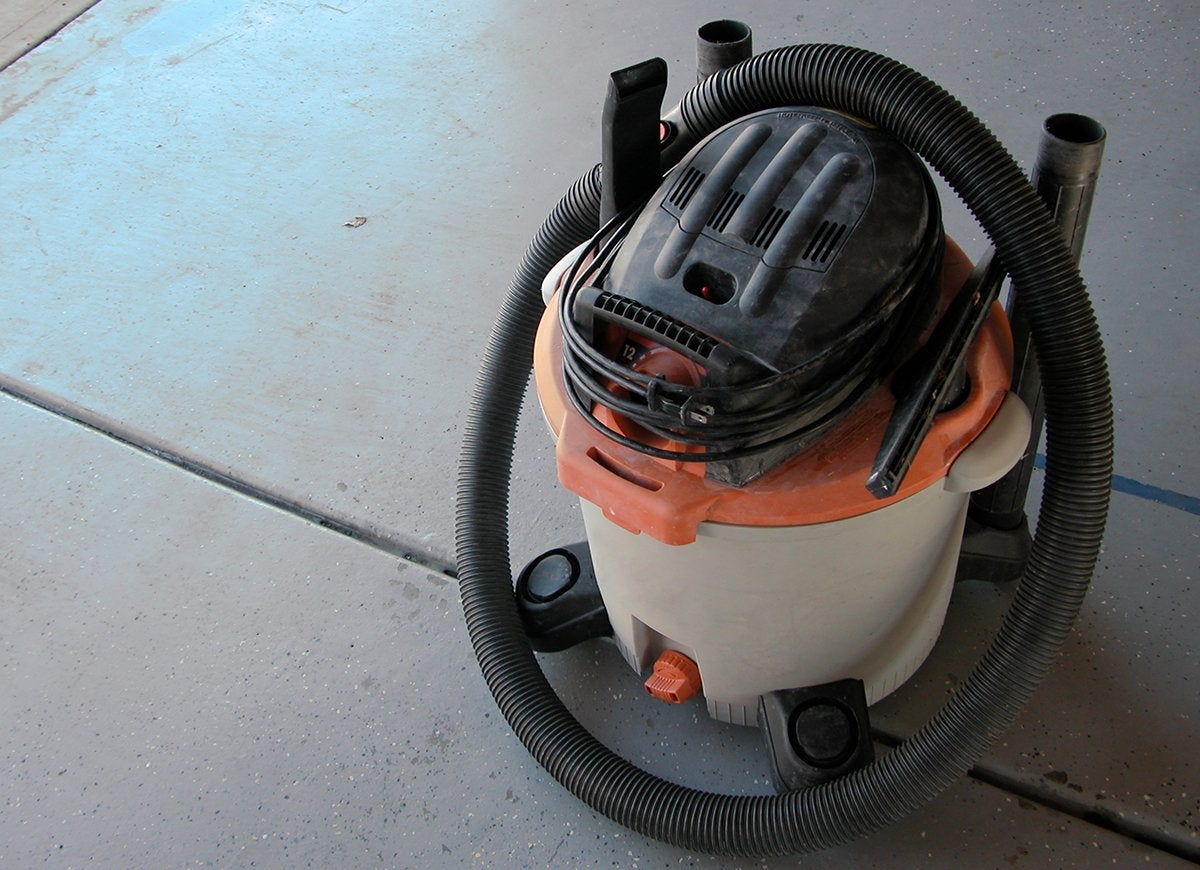
No matter how much bailing and plunging you do, you can’t remove all the residual water in the trap beneath the toilet bowl, meaning that when you lift the toilet off its bolts, the water comes rushing out—all over the floor. If you have a wet/dry vac, stick the hose down the hole at the base of the toilet bowl and gently work it a few inches into the drain. Turn it on and suck out the residual water and you won’t create a mess when you lift the toilet.
Wet a Popcorn Ceiling for Removal
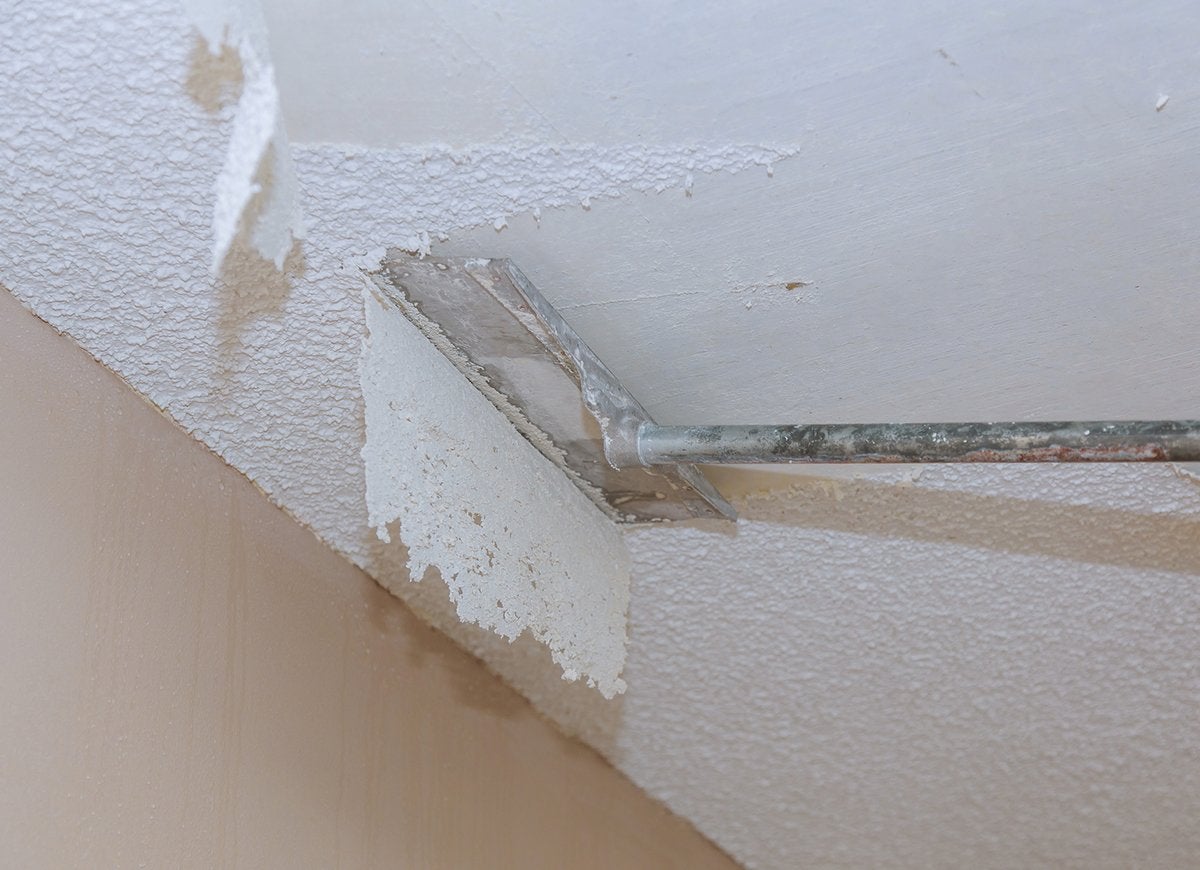
There’s no easy way around it: If you want to get rid of an old popcorn ceiling that had seen better days, you’ll have to scrape it off. Dry scraping is guaranteed to fill the entire room with dust and fibers, but if you saturate the ceiling with water from a pump sprayer before scraping, the textured surface will come off in thick damp layers, which are much easier to clean up.
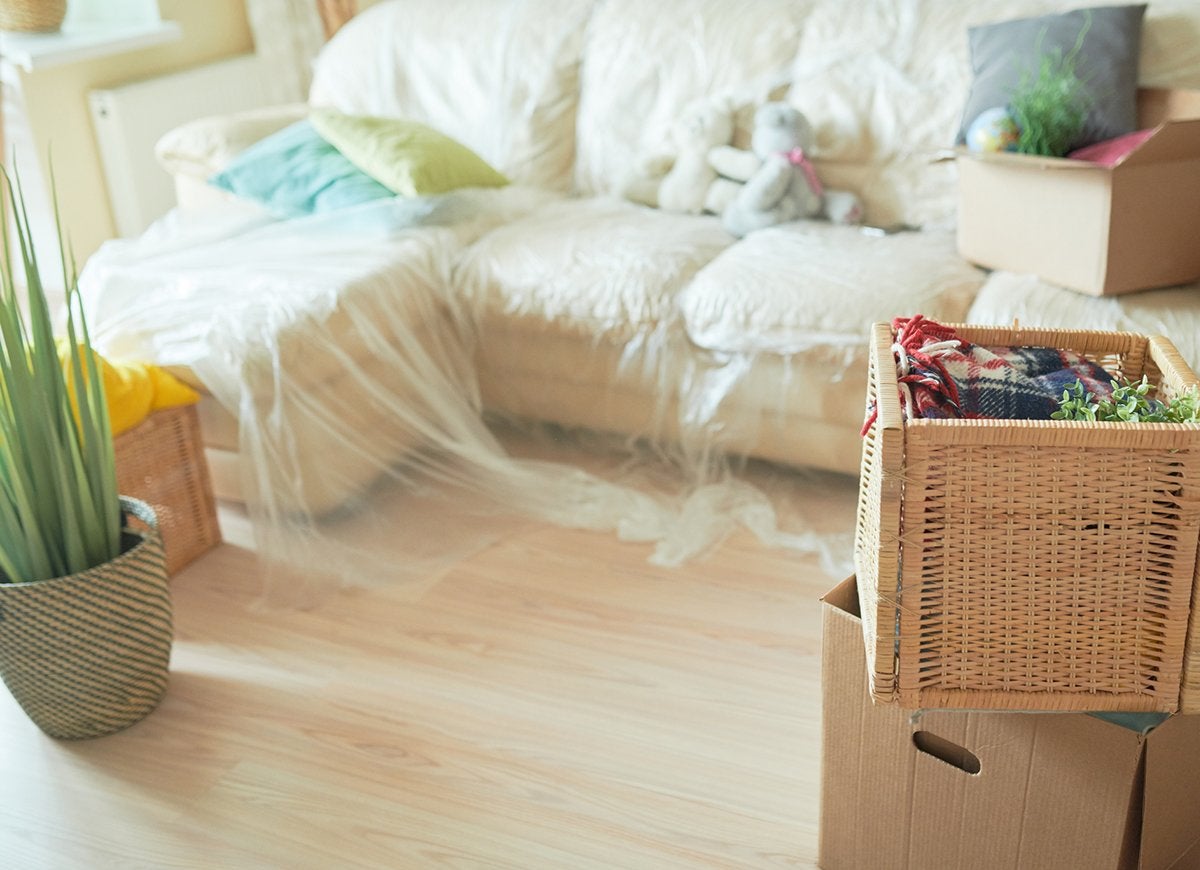
Beat Scuffs with Plywood
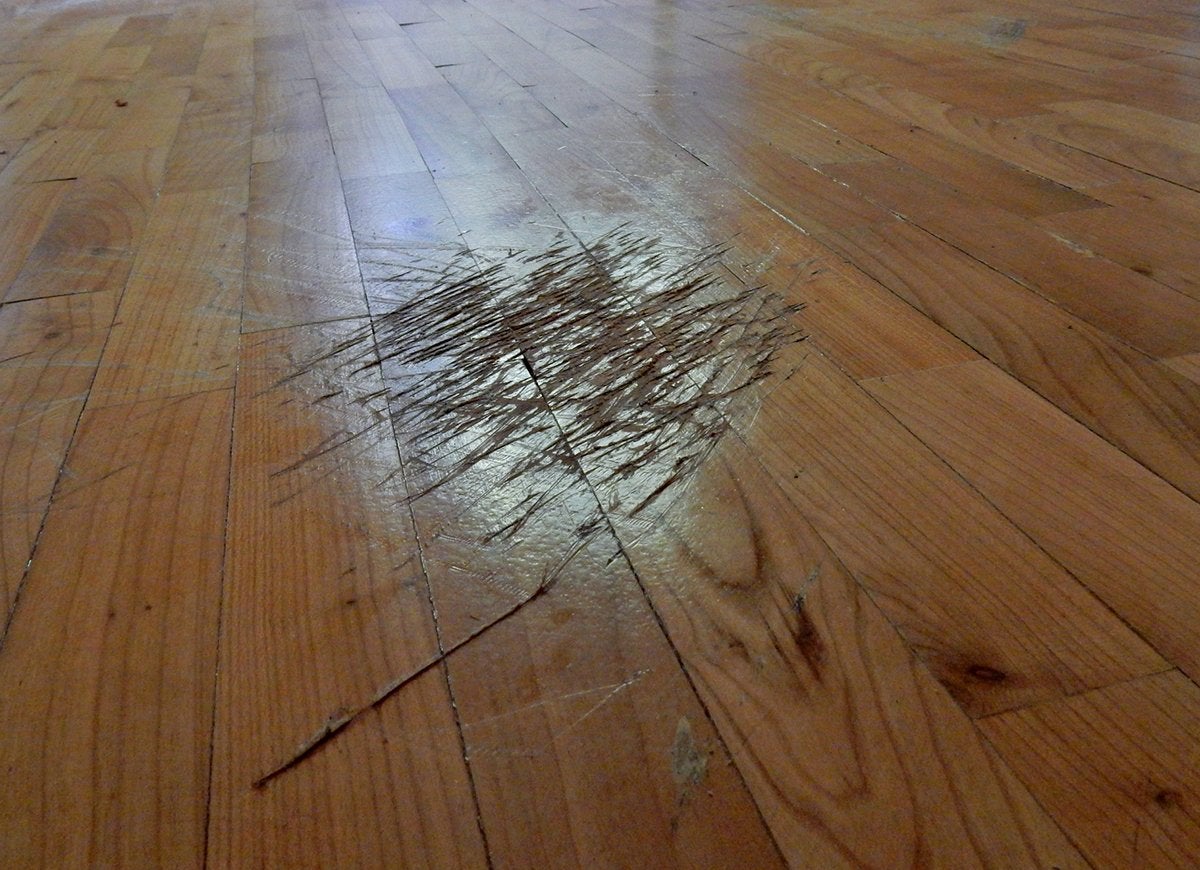
Sliding out a heavy refrigerator or stove to work behind it can leave scuff marks or gouges on your floor. Keep your floor clean and protected during the project by placing a sheet of 1/4” plywood on the floor in front of the appliance and then sliding the heavy fixture on the plywood instead of across the floor.
Degrease While You Work

Changing the sparkplugs in your car or working on its engine means you’ll be removing nuts and bolts, which must be cleaned of grease and grime before you replace them. You’ll save time by dropping the soiled hardware into a small container filled with a commercial degreasing liquid as you remove them from the car. When it’s time to reassemble, just rinse the nuts and bolts with plain water—the grease will be gone and you won’t have to scrub.
Swap a Sanding Pad for a Sponge
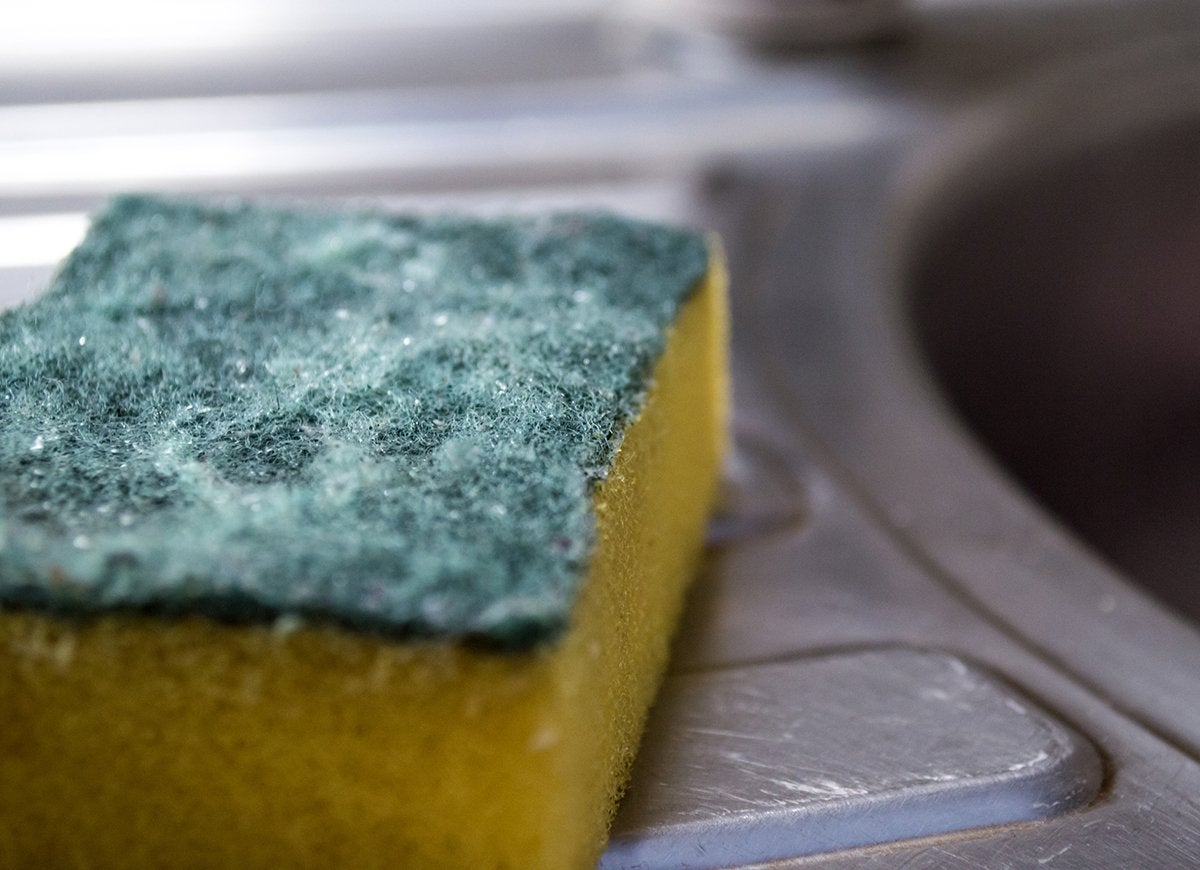
When it comes to DIY projects, virtually nothing creates as much mess as sanding drywall compound. Just a few sanding strokes and the entire room is billowing with clouds of white dust that settles everywhere, making it a chore to clean up. To avoid the mess, try wet sanding by using a large damp silicone sponge instead of a sanding pad. It takes a little longer, but the room will remain dust-free.
Saved Cardboard Stops Stains
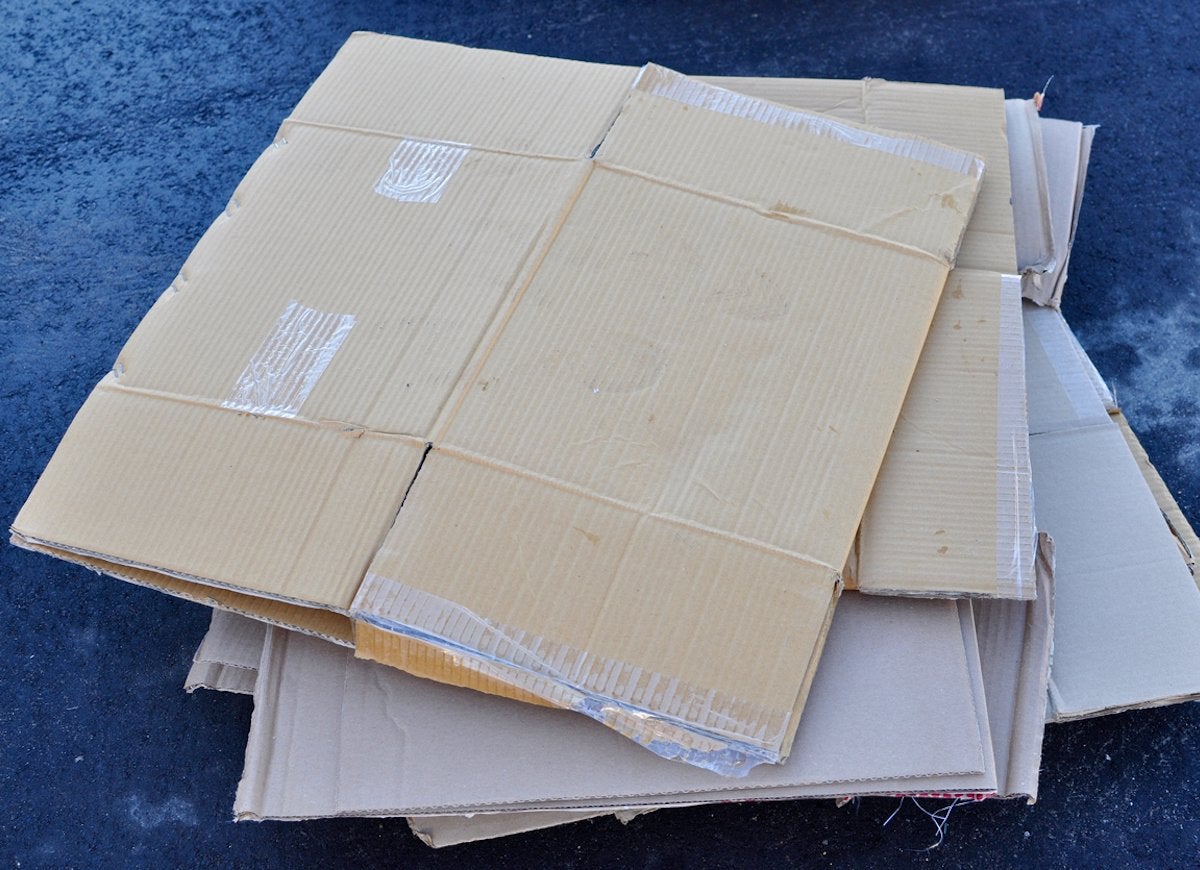
Spilled oil from a lawn mower can leave unsightly stains on a driveway or kill a patch of grass, so before you change the oil or the oil filter, park the mower on top a large piece of cardboard. If any spills occur, they’ll stay on the cardboard, which can be folded up and thrown away when you’re done.
A Paper Plate Catches Ceiling Dust
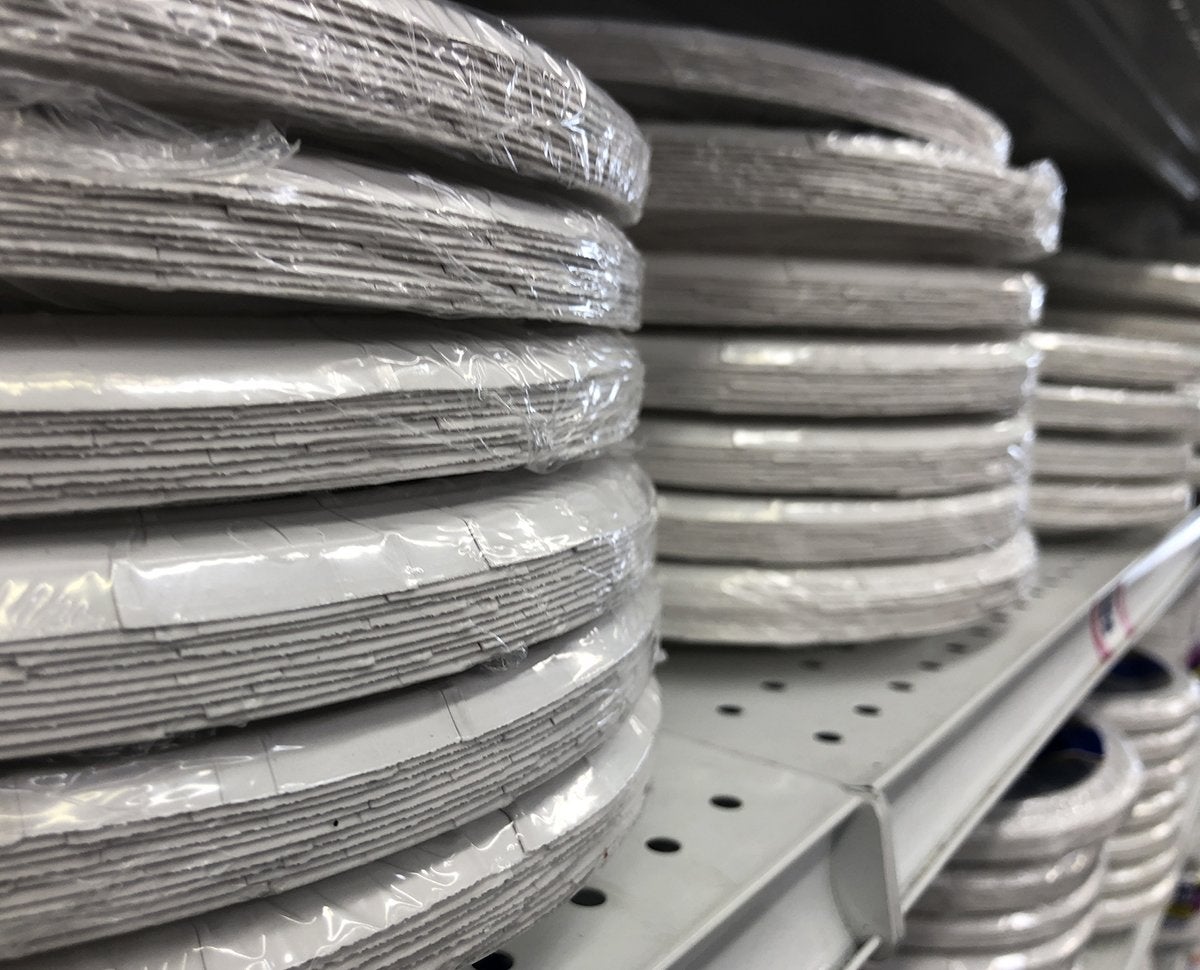
Drilling a hole overhead in the ceiling means drywall dust will fall to the floor, or on your hair and clothing, but you can catch the dust before it falls with a small paper (dessert size) plate. Insert the drill bit completely through the back of the plate before drilling the hole to avoid the mess.
Pie Tins Make Great Paint Catchers
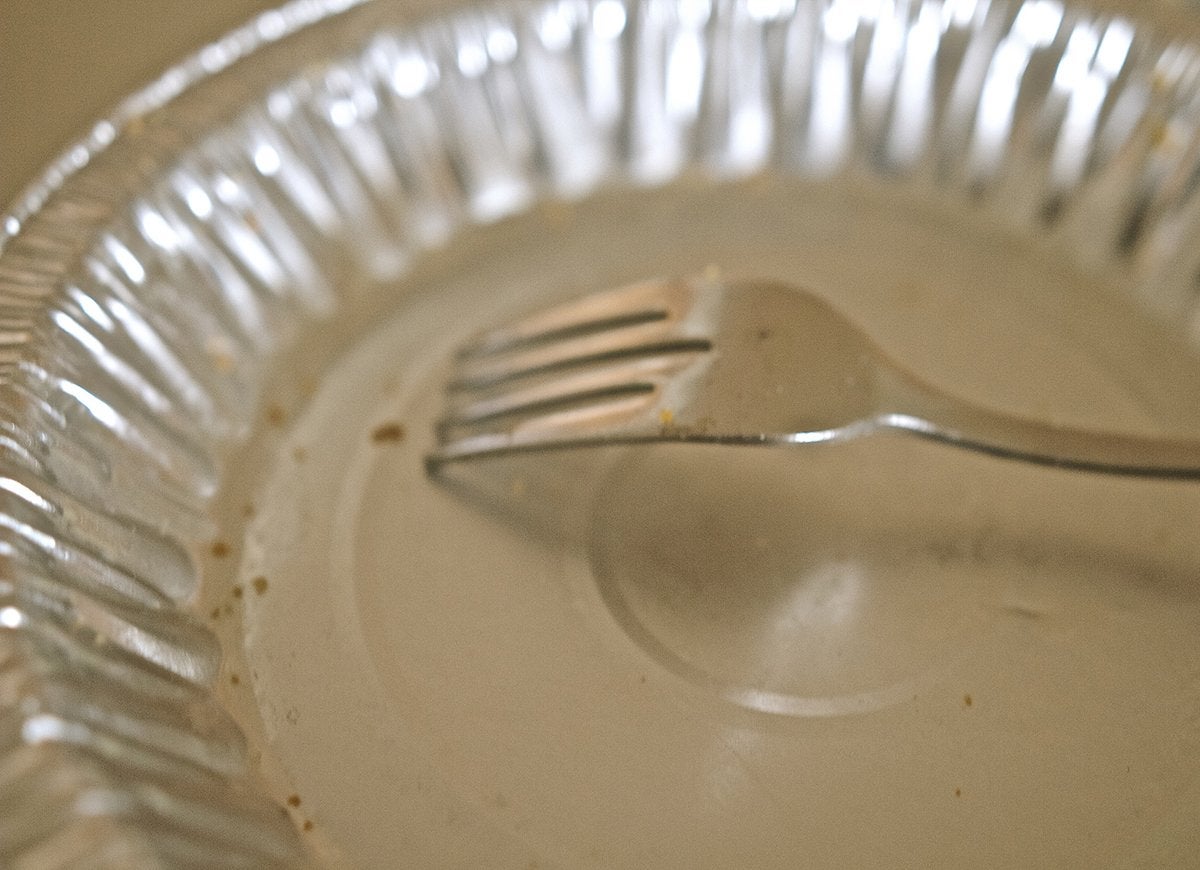
Paint can slosh out of a full paint can but it won’t make a mess if you glue a disposable pie tin to the bottom of the can before you start painting. The pie tin should be a couple of inches larger than the paint can. You’ll be able to pick up the can and move it from spot to spot without worrying about making a mess.
Seal Porous Tiles Before Grouting
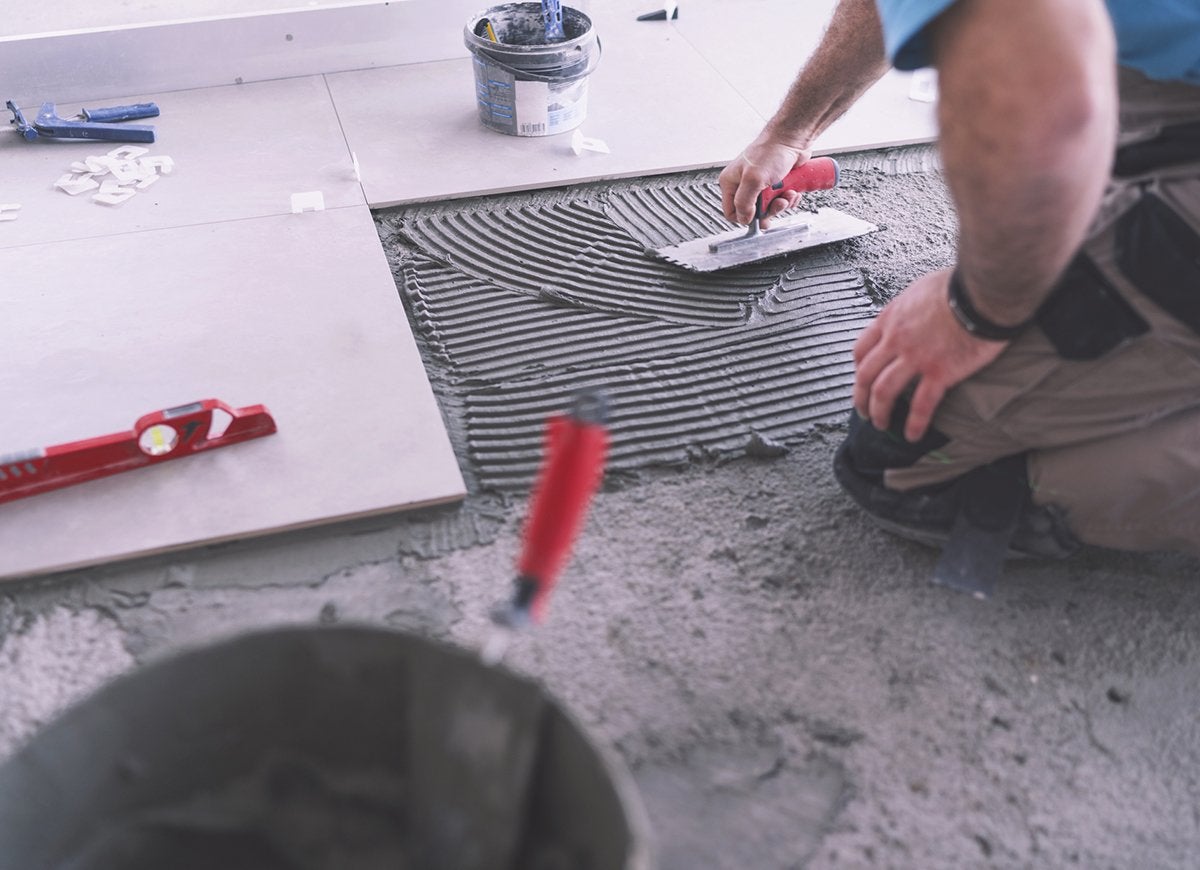
The traditional tile-laying timeline has you setting the tiles in place, grouting the joints, and then sealing the tiles, but if you’re installing porous tiles, such as travertine, you’ll have a tough time cleaning away excess grout from their surface. The trick to keeping the tiles clean is to apply a layer of clear sealant to the tile surface before grouting. Grout won’t stick to a sealed tile, so you won’t spend hours trying to scrub it off your newly laid floor or backsplash.
A Box Fan and Filter Remove Workshop Dust
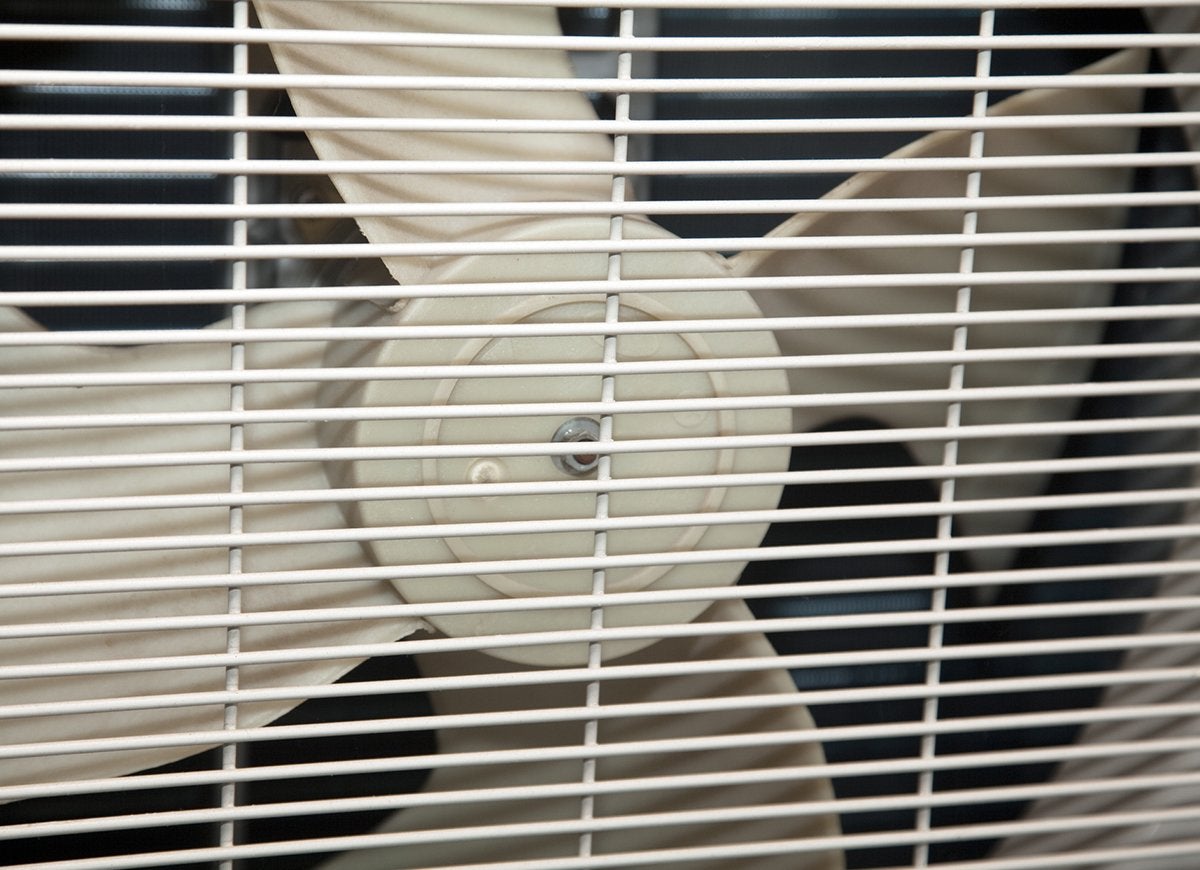
Sanding woodworking projects creates lots of wood dust that settles on everything in your workshop, leaving you with a mess to clean. The solution is to position a box fan on the counter next to where you’re working with the back of the facing you. Duct tape a standard HVAC filter to the back, and turn on the fan. The fan will suck the air—and the dust—right through its holes, trapping the dust in the filter.
Double the Plastic Sheeting
Drywall sanding dust is insidious, filtering through even the tiniest cracks. You already know you should hang lightweight plastic sheeting over doorways when sanding drywall, but you might not know you can keep a greater amount dust from filtering out of the room if you hang another layer of sheeting on the other side of the door as well.
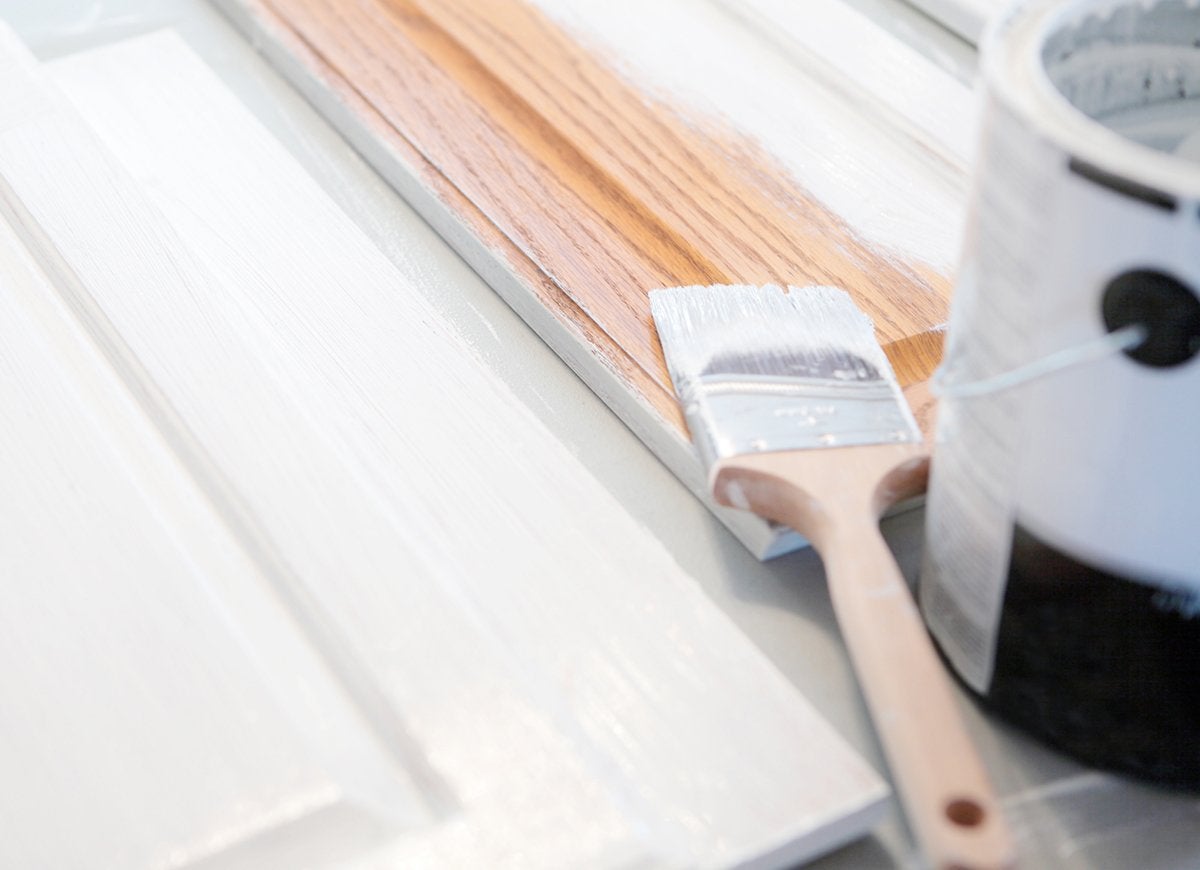
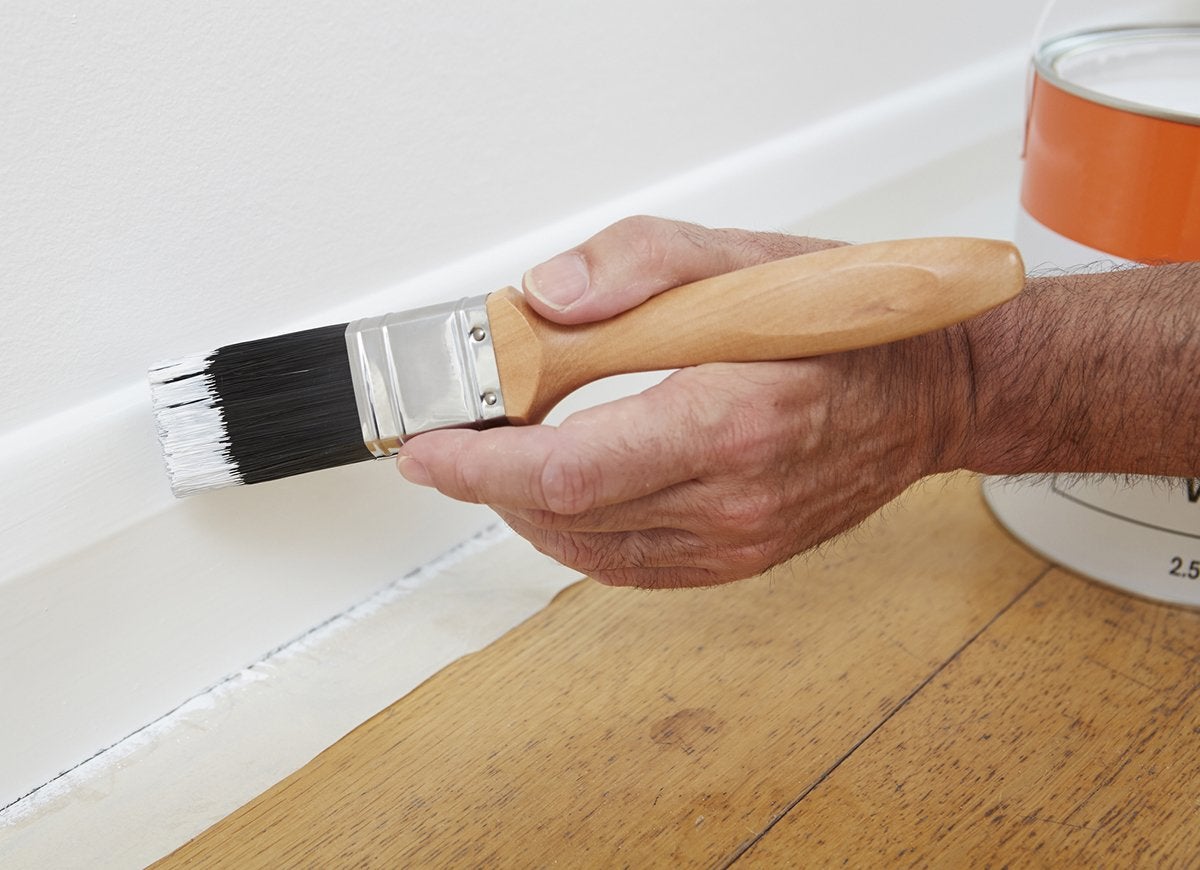
Wet Brush for Easy Cleanup
High quality paintbrushes are expensive, running $25 dollars or more, so naturally you’ll want to reuse them for your next paint project. Paint tends to build up and harden along base of the bristles, however, which reduces their flexibility and performance over time. To keep this from happening, dip the bristles in water (all the way to the base of the bristles) before painting. Damp bristles will reduce the chance of the paint sticking, and you’ll be able to clean the brush completely when you’re done.
Use a Drop Cloth to Catch Paint Chips
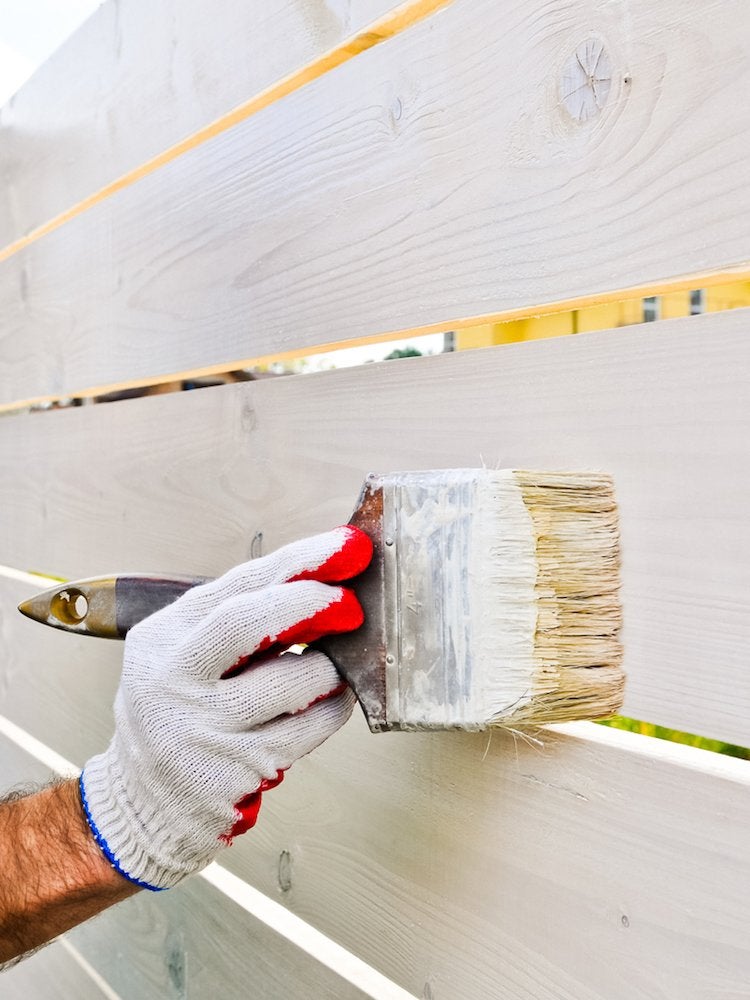
Drop cloths are handy for more than catching drips. When scraping flaking paint from siding or a fence, the small chips land on the grass and soil and they’re very difficult to pick up. Protect the area by spreading a canvas drop cloth below the area where you’ll be scraping. When you’re done, gather up the corners of the cloth and dump the chips into a trash can.
Use a Brush to Avoid Messy Glue Oozes
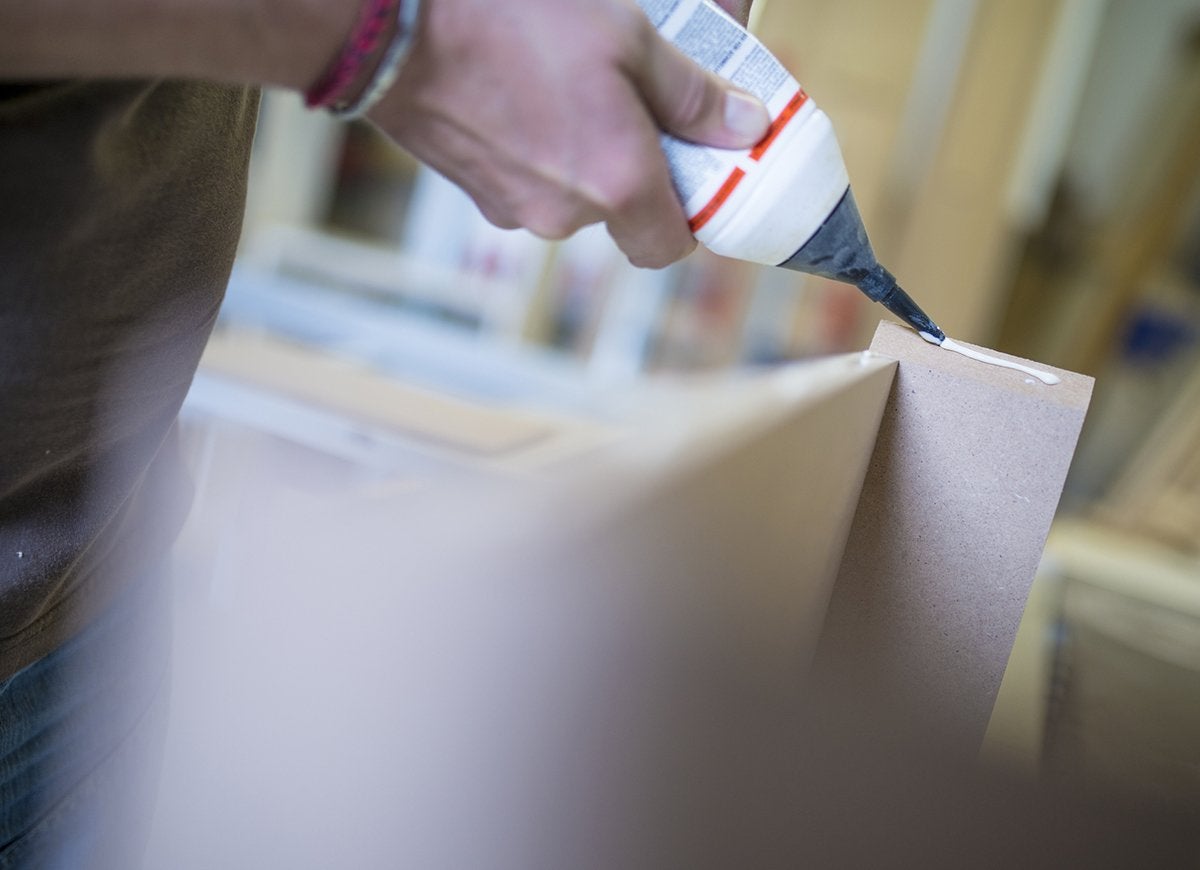
Gluing joints is a common practice in woodworking, but if you run a bead of glue down the center of the joint and then press the edges together, excess glue will likely ooze from the seams. The trick to eliminating oozes is to use a small brush to thinly and evenly spread out the bead of glue before connecting the wood pieces.
Cut Carpet in Strips to Protect Walls
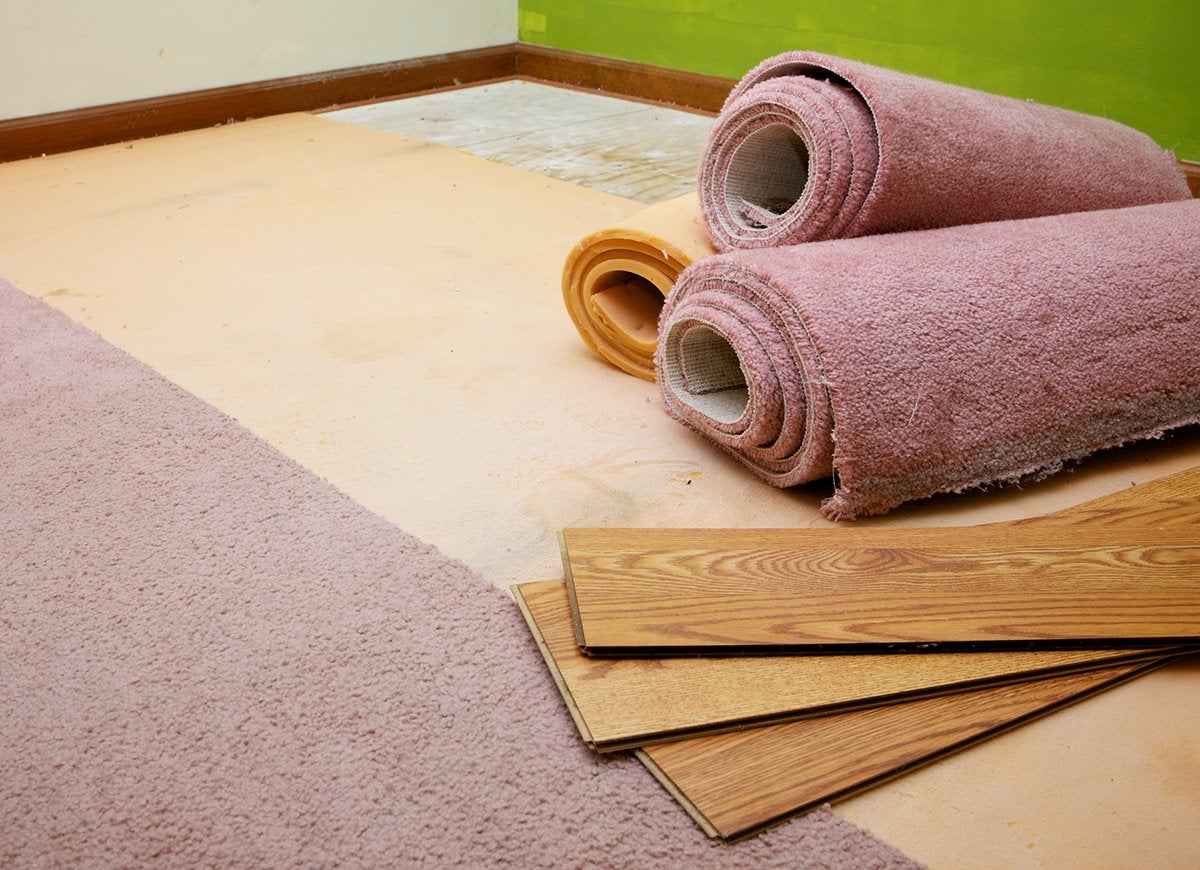
Tearing out carpet is a real chore, and if you’ve ever tried pulling it up and rolling it away from the edge of the floor, the rough backing of the carpet probably scuffed and scratched your walls. To remove carpet, use a hooked carpet knife to slice the carpet in rows, and then pull up one section at a time (away from the wall) and you’ll be able to keep the carpet from causing damage or scuffing.
Use a Plastic Lid to Prevent Paintbrush Messes
If you’re brushing paint on a surface situated overhead, such as an upper cabinet, you know how quickly paint can run down the brush and get on your hand. This messy scenario can be avoided by cutting a slit in a small plastic lid, such as a yogurt lid, and then slipping the handle of the brush through. The lid will catch any runs, and your hand (and the paintbrush handle) will stay clean.
Plywood Makes a Good Exterior Drop Cloth

Plastic drop cloths tend to flutter and blow away in the slightest breeze, so if you’re painting outdoors and having trouble keeping a plastic drop cloth in place, try using a sheet of plywood instead. The plywood will stay put, and be a dependable ally in the war against outdoor paint drips.
Cut Tape for the Cleanest Paint Edge
Painter’s tape works wonders for keeping excess paint off cabinets and trim, but pulling the tape off later can result in pulling away bits of dried paint at the same time – marring the job and requiring touch ups. To keep that from happening, hold a straight edge along the taped seam and cut along the straight edge with a razor knife. The tape will pull off cleanly without taking any dried paint with it.
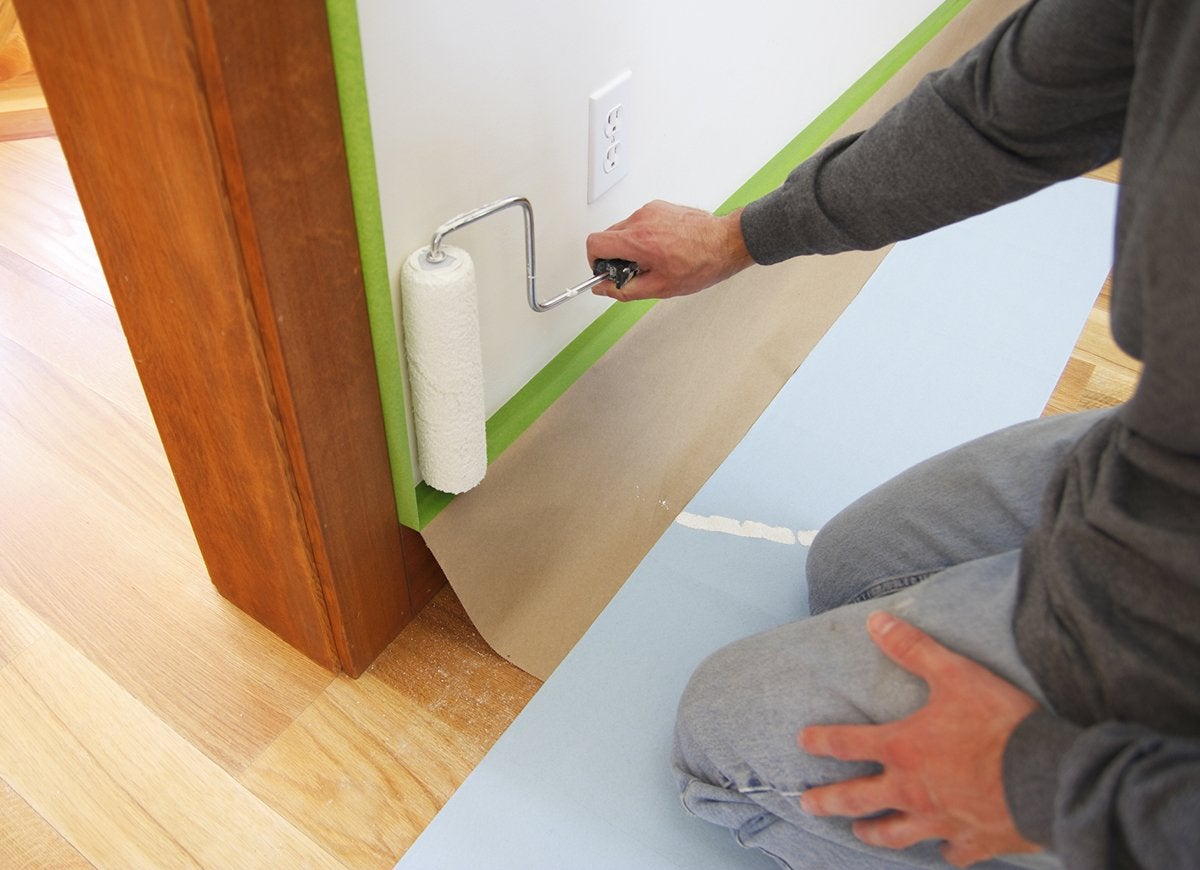
Use Poster Board Instead of Tape Along Floors
Taping off the floor along the bottom of a baseboard you plan to paint can be difficult because there’s often a tiny gap between the baseboard and floor, so paint can drip on the floor behind the tape, leaving drops which are difficult to remove. Rather than taping off the floor, cut poster board into 6” strips and slide the edge of the strips underneath the baseboard to keep excess paint from getting on the floor.
Sizing Prevents Cleanup Later On
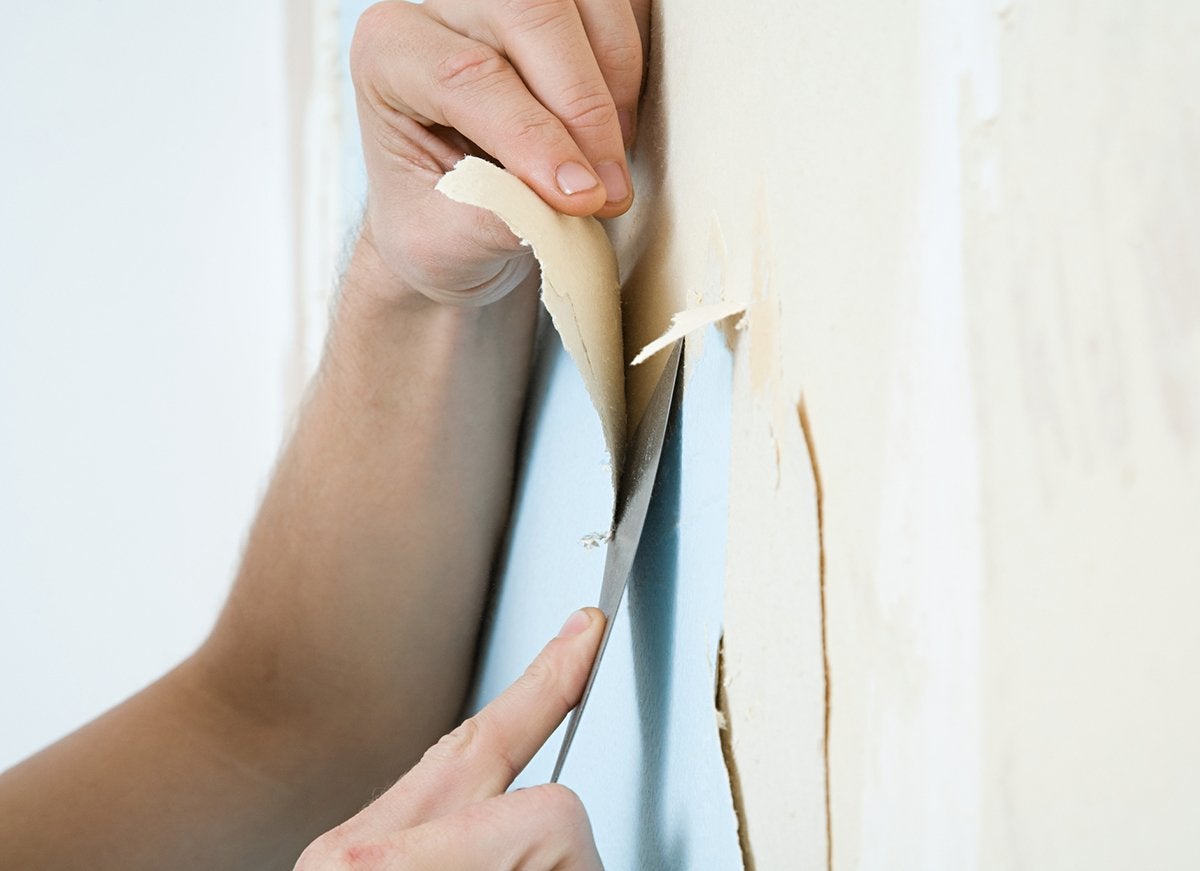
Most of today’s wallpaper comes pre-sized, meaning it contains a special glue designed soften when the wall is sprayed with water to aid in the removal process, but even pre-sized paper can be difficult to remove from a wall, often sticking and requiring scraping. To ensure truly easy removal, roll a coat of sizing on the bare wall before you hang the paper. When you want to remove the paper, spray the wall with hot water and the paper will come off like magic.
Protect Walls with Pre-Taped Sheeting
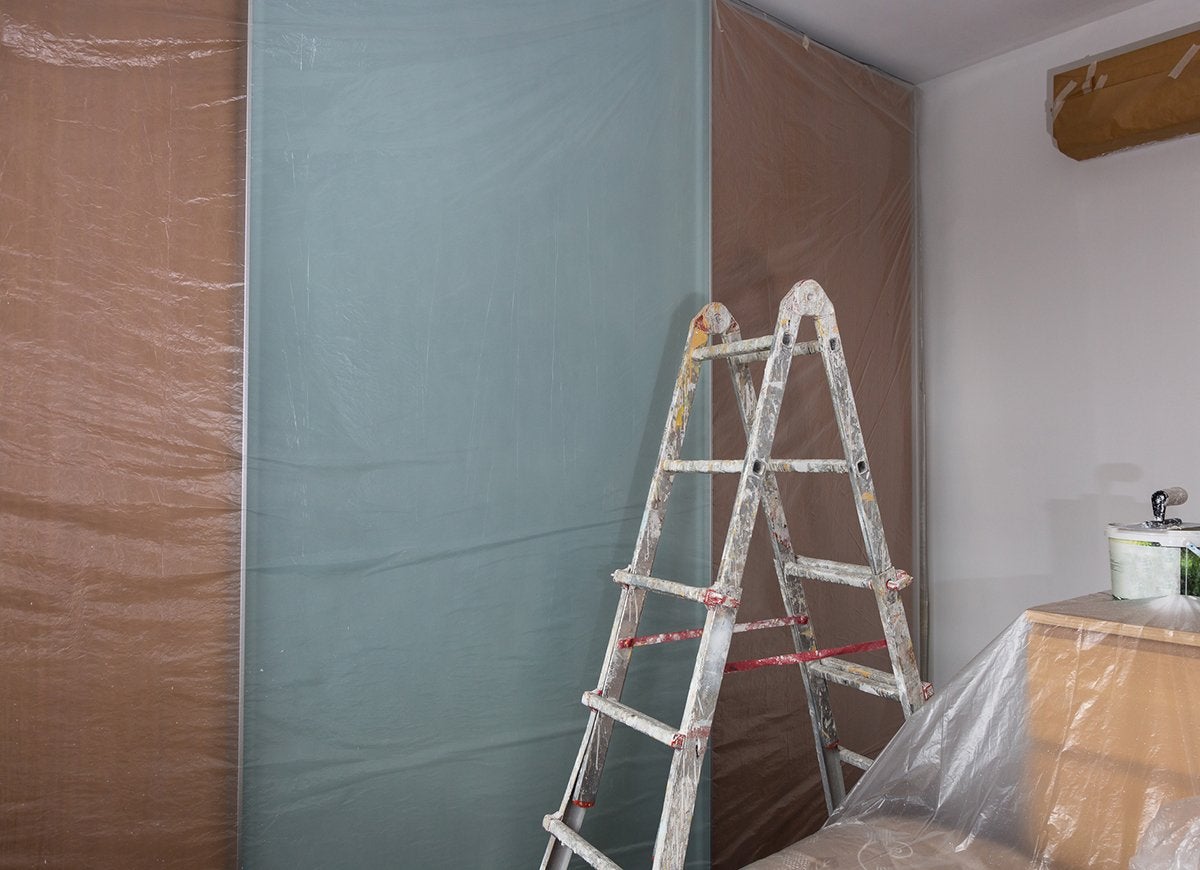
Texturing a ceiling is a messy prospect. Wet drips and globs of texturing compound tend to go everywhere, including on adjacent walls. The easiest way to keep the walls clean is to cover them with pre-taped sheeting. The product comes in a roll, and all you have to do it align the sticky tape portion to the top of the wall and then unfurl the sheeting to cover the entire wall.
Remove Switch and Outlet Covers
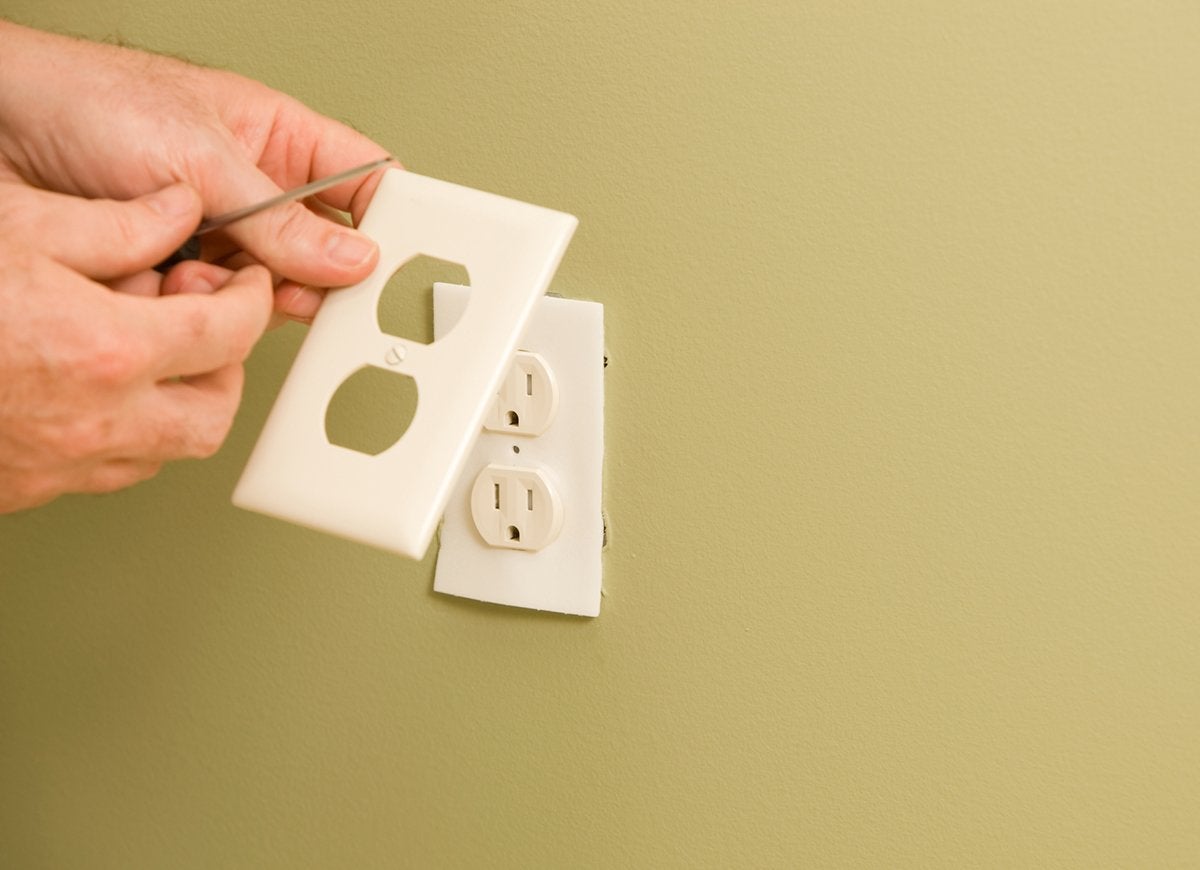
Leaving switch and outlet covers in place and attempting to brush around them while painting the walls usually only ends with one result: unsightly excess paint on the covers. For professional results, remove the covers first, and then put painter’s tape over the inside outlets and switches to keep from getting paint on the surface.
Use a Hairdryer to Remove Stuck-on Tape
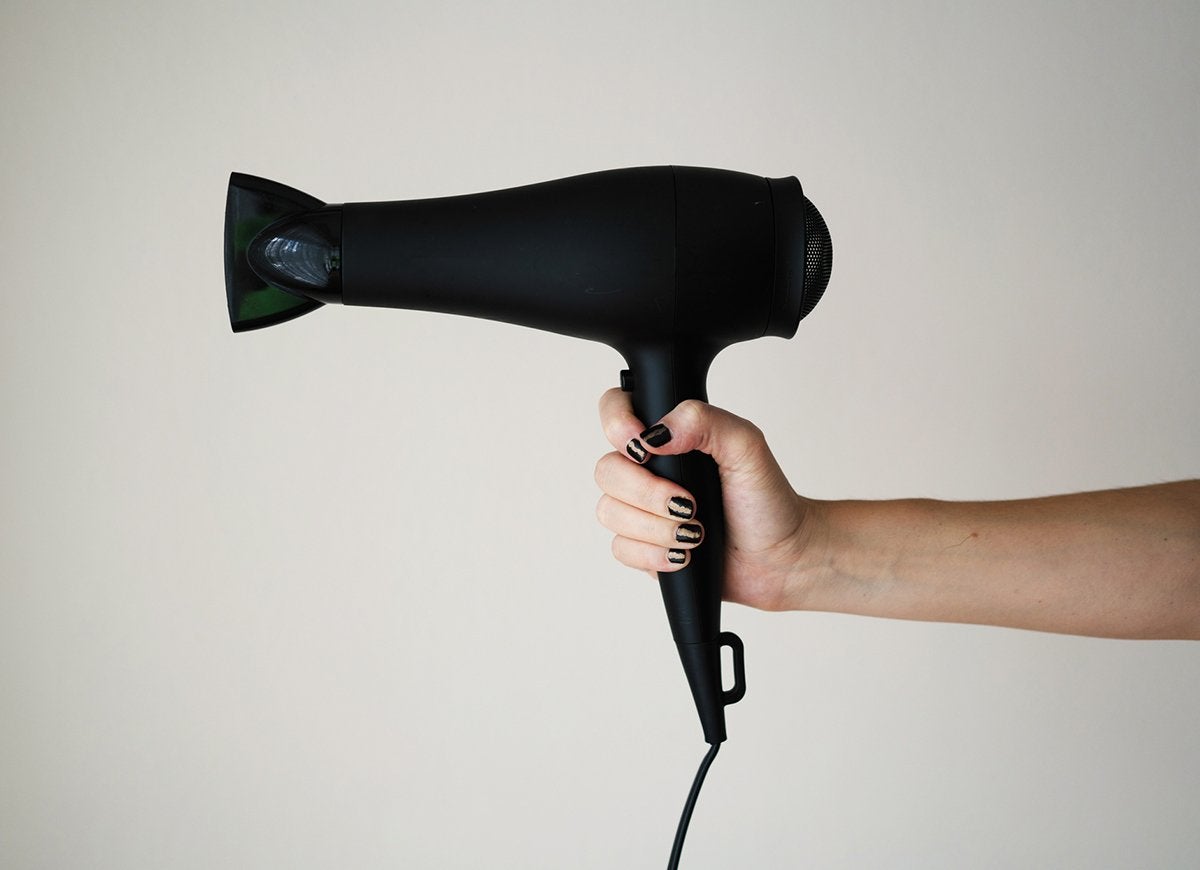
If you don’t get around to removing painter’s tape within a day or two after painting, it tends to become brittle and the adhesive hardens, making it difficult to get the tape off without scraping. If worst comes to worst and you don’t remove the tape in a timely manner, a hairdryer works wonders. Set the dryer to “Hot” and direct the air to the stuck-on tape. The heat will soften the adhesive, making it easy to remove it.
Don’t Forget to Cover Windows
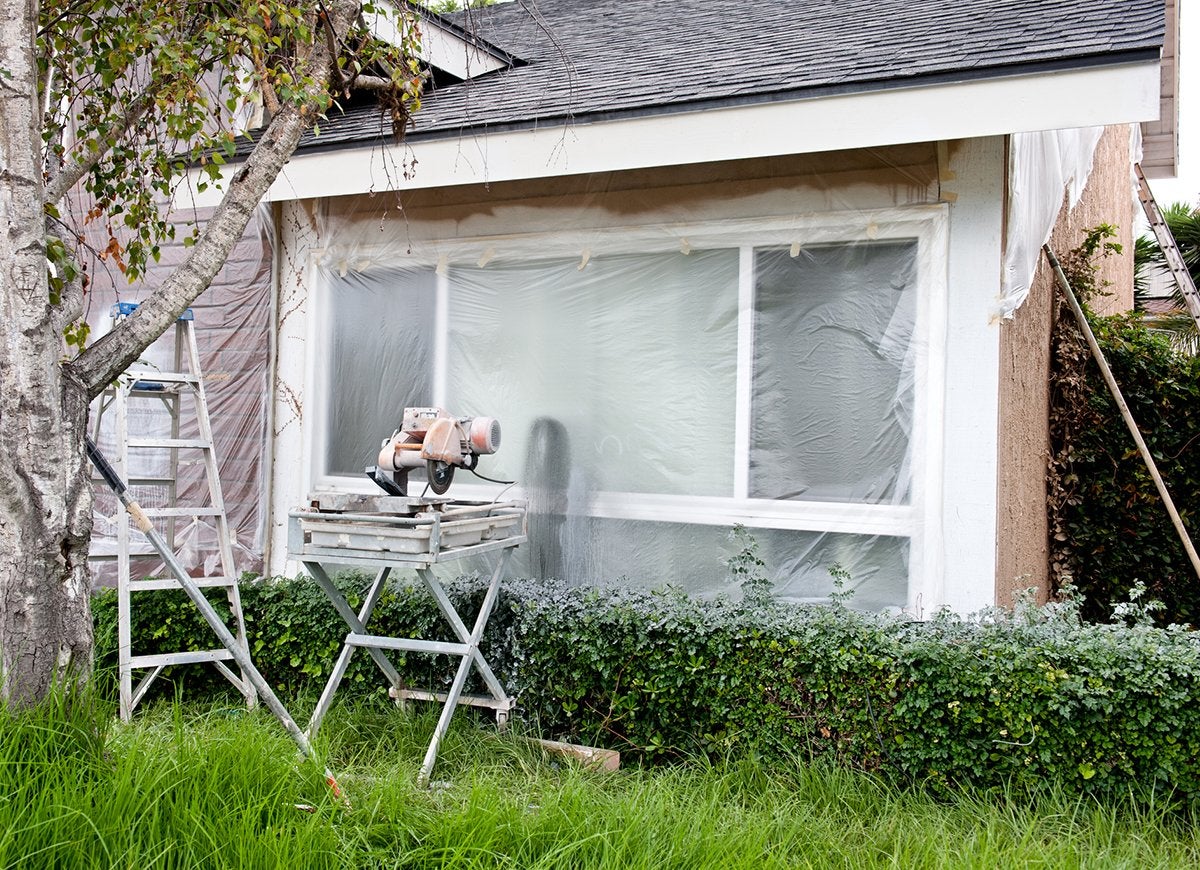
You already know to use painter’s tape along door and window trim before painting the walls, but paint splatters often find their way onto window sills or glass panes. Take a moment to cut a piece of plastic sheeting and tape it over the entire window, and you won’t have to scrape away paint drips later.
Magnets Make Metal Cleanup a Snap
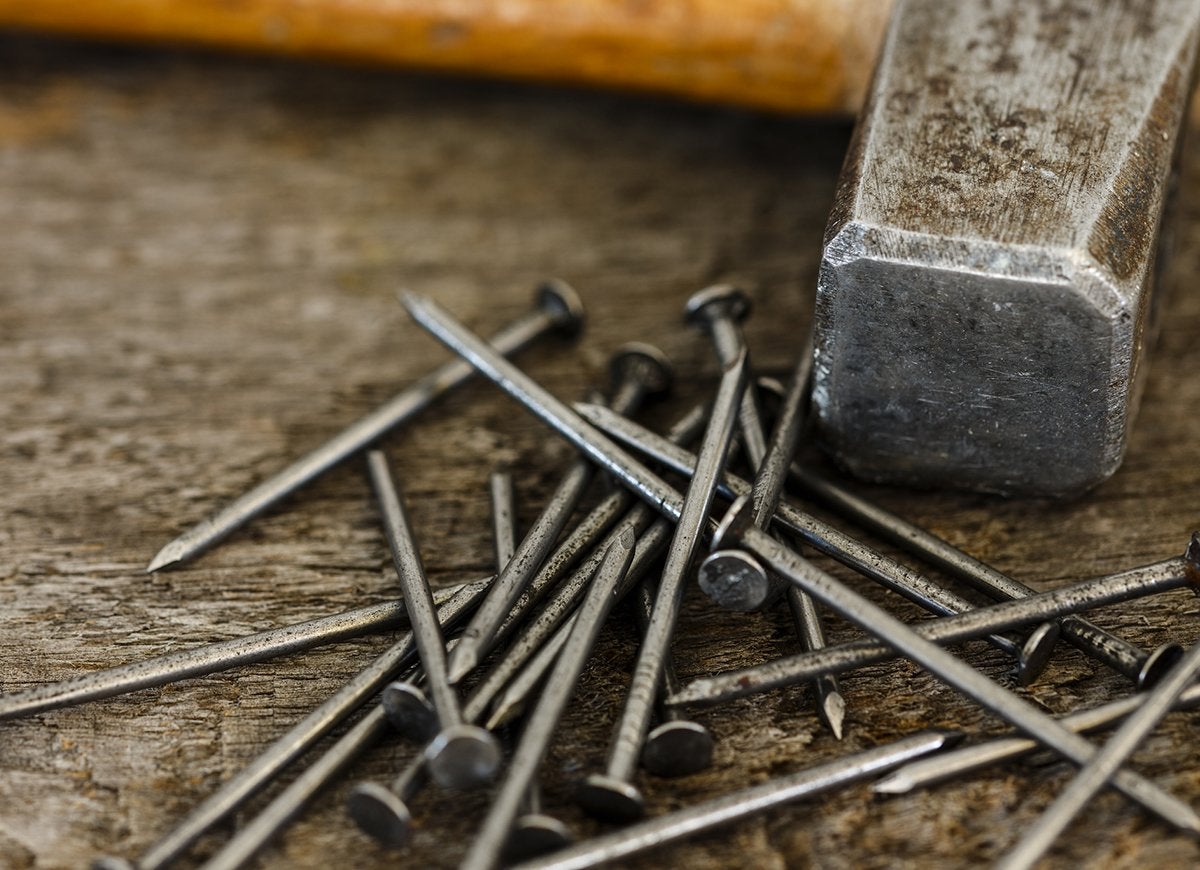
Workshops can be difficult to keep clean, and spilled screws, nuts, and nails will have you hunting all over the countertop and floor to pick them up. Speed up retrieval time by keeping a large magnet handy. When the inevitable spill happens, just run the magnet over the area to pick up every last screw, so you can get back to your project.
Eliminate Messy Hot Glue Strings

Hot glue is a must-have when creating wreaths and other crafty home projects, but most hot glue guns don’t have temperature controls, and when the glue becomes very hot, it tends to spin glue threads that must be manually removed from the project after they cool. To stop glue threads from forming, keep a small jar of petroleum jelly handy. Just dip the hot tip of the glue gun in the petroleum jelly and voila! No more messy glue strings.
Use Lotion to Make Personal Cleanup Easier
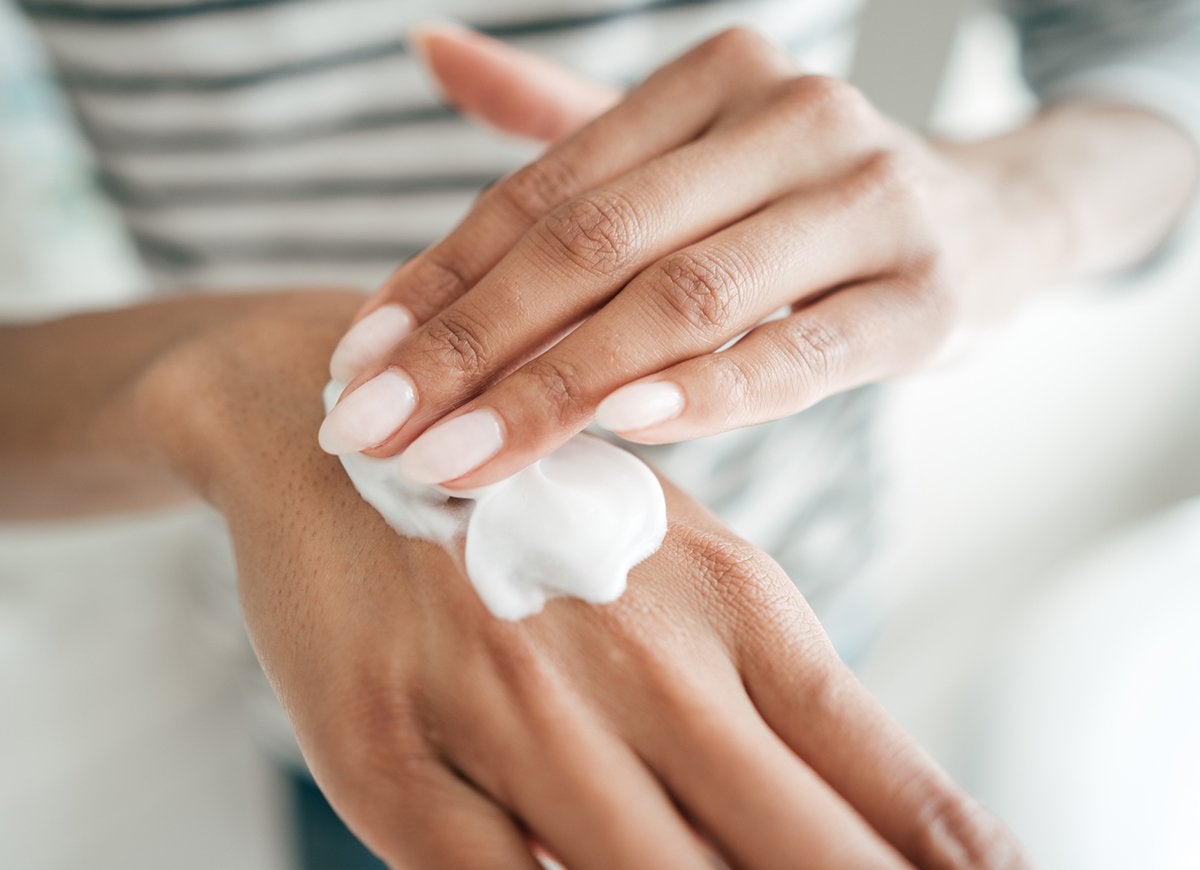
If you’re like most DIYers, house painting can result in nearly as many paint drips on your skin as the ones on the old clothing you wear to cover yourself. You won’t have to scrub smears from you skin, however, if you apply lotion to your face, hands and any other exposed skin before painting. The drips will rinse off easily when you’re done.
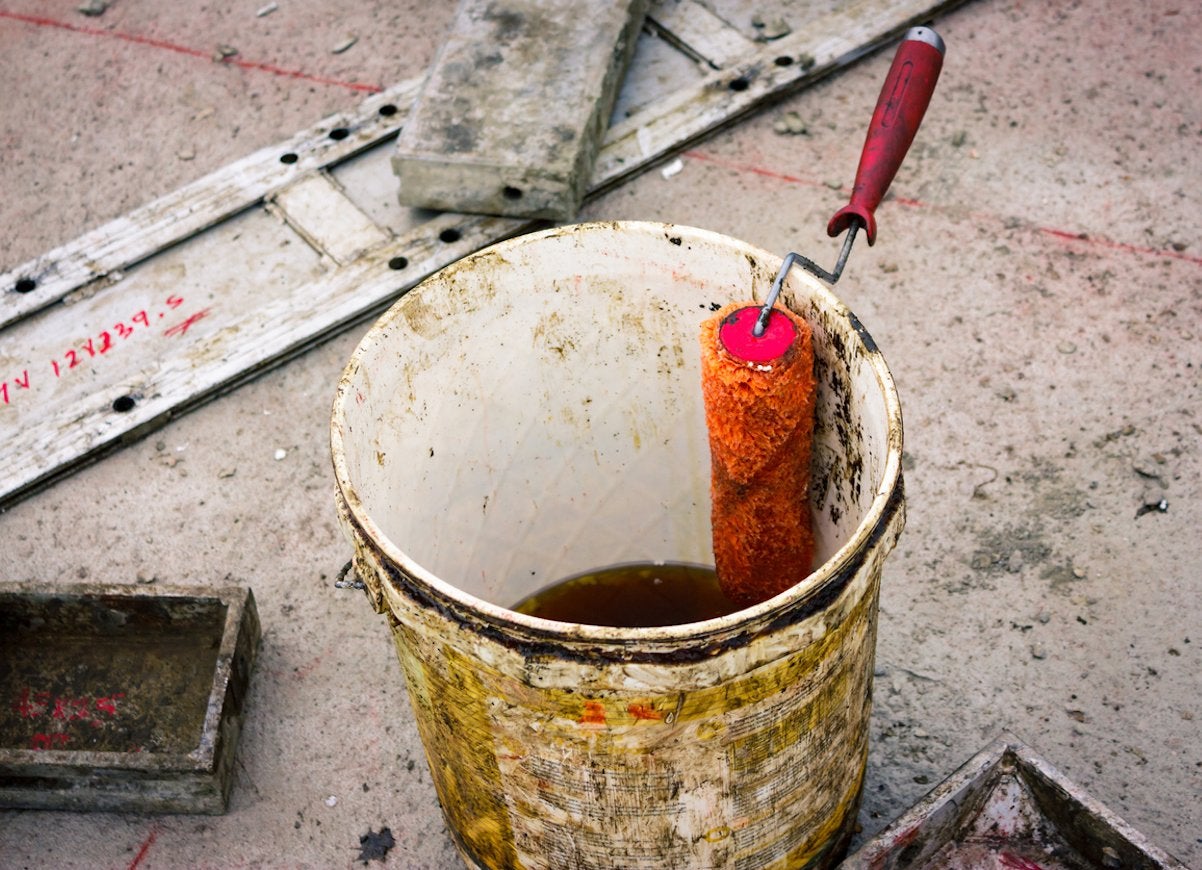
Avoid Mixing Messes with a 5-Gallon Bucket
A can of paint that hasn’t been shaken at a paint store or home improvement center within the last week requires thorough mixing to ensure the color is evenly blended. However, using a mixing paddle in a full can of paint often sends spills over the side. To keep spills off the floor or drop cloth, set the can of paint inside a larger 5-gallon bucket before mixing.