
We may earn revenue from the products available on this page and participate in affiliate programs. Learn More ›
You’ve probably hung some ‘rock over the years, either at home or helping a friend refurbish a room. So you probably know it isn’t particularly difficult to score, snap, and cut sheets of drywall and to nail or screw them in place.
What about getting a truly professional look at the end of the process? Well, that’s not quite so automatic. We’ve all seen sloppily taped joints, poorly supported sheets of drywall that are floating free (causing cracks here and there) and moldings that aren’t sitting flush to the wall surfaces.
Limitations of space don’t allow for a lengthy dissertation here on all the intricacies of installing drywall. But let me offer a few advisories to consider before you tackle your next drywall job.
Nailing surfaces are necessary.
Every edge of a piece of wallboard needs to be attached to a rigid structural member. Add scrap pieces behind all joints to insure that seams become part of a seamless surface, and not unsightly cracks.
Planning and plumbing.
Before you cut your first piece of drywall, devise a plan whereby you use the largest pieces of wallboard possible. The larger the pieces, the fewer joints there’ll be to feather and finish later.
Another important consideration is finding a corner that is square and working from there. You should also make sure that the first piece applied to each wall is precisely plumb. That’ll help you line up the rest. Seeking square and starting plumb save you having to make trapezoids out of rectangles.
Mark it a mite short.
Measure the space into which you want a piece to fit. Then mark and cut the piece an eighth of an inch narrower and shorter than the space to be filled. This will insure that it will fit, and the compound or plaster you apply later will fill up the space at the seam.
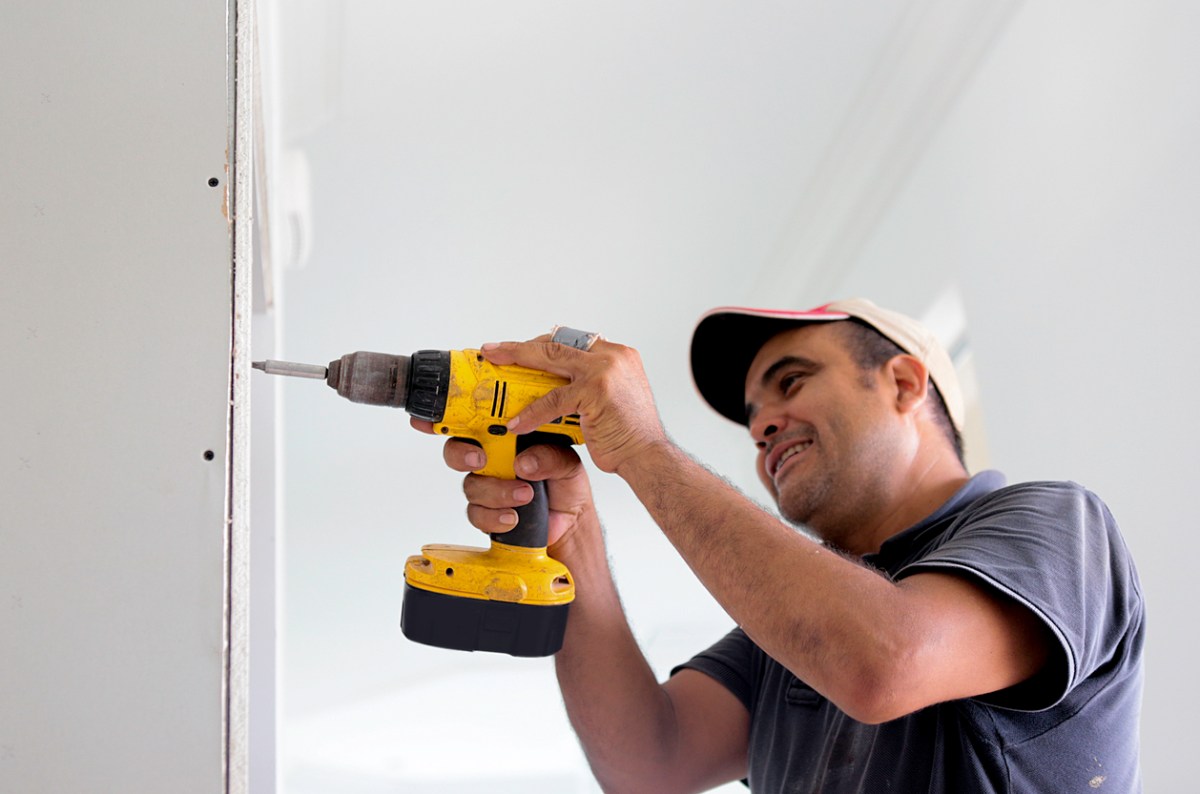
Wallboard screws are stronger.
Drywall nails, with rings along the shaft for added holding power, are a must if you want to use nails. But if you have a power driver, drywall screws are a faster and stronger alternative. (Note that they also allow for the removal of a piece without doing it a lot of damage.)
Ceilings come first.
If your project involves ceilings as well as walls, do the ceiling first. Then you will be able to butt the wall panels to the ceiling for tighter fit.
Employ the tools of the trade.
With those tools, a strong back, and a willingness to go hard at it, a remarkable transformation can be wrought in a room in a day.
- Surfoam
- Drywall T square
- Utility knife (with plenty of spare blades: change them frequently)
- Chalk box
- Drywall driver
- Drywall or keyhole saw
- Retracting tape measure