We may earn revenue from the products available on this page and participate in affiliate programs. Learn More ›
Finishing a new wall or room with plaster or joint compound takes practice. If you have no experience with plaster or its near relative, joint compound, don’t learn in your living room. Experiment first in a closet, the attic, or a workroom area where you can glean valuable dos and don’ts from the inevitable imperfections.
Another good approach is to try patching first.
Step 1: Remove loose plaster and prepare the surface.
Gather your plastering tools and materials. Remove all the old, loose plaster. When working directly on a masonry surface, use a club hammer and cold chisel; rake out the joints to a depth of a quarter inch so that the plaster can form “keys” in the joints, adding strength to the new surface. Replace damp or molding wallboard that sags. If necessary, add wooden nailing surfaces at the edge of the wallboard patch to be certain it remains flat and stable.
Step 2: Reinforce the patch.
At the joint between the existing wall and the new patch, apply self-adhesive fiberglass mesh tape. This will help bond the old and new together. For large holes, you may wish to use a sheet of aluminum or galvanized screening.
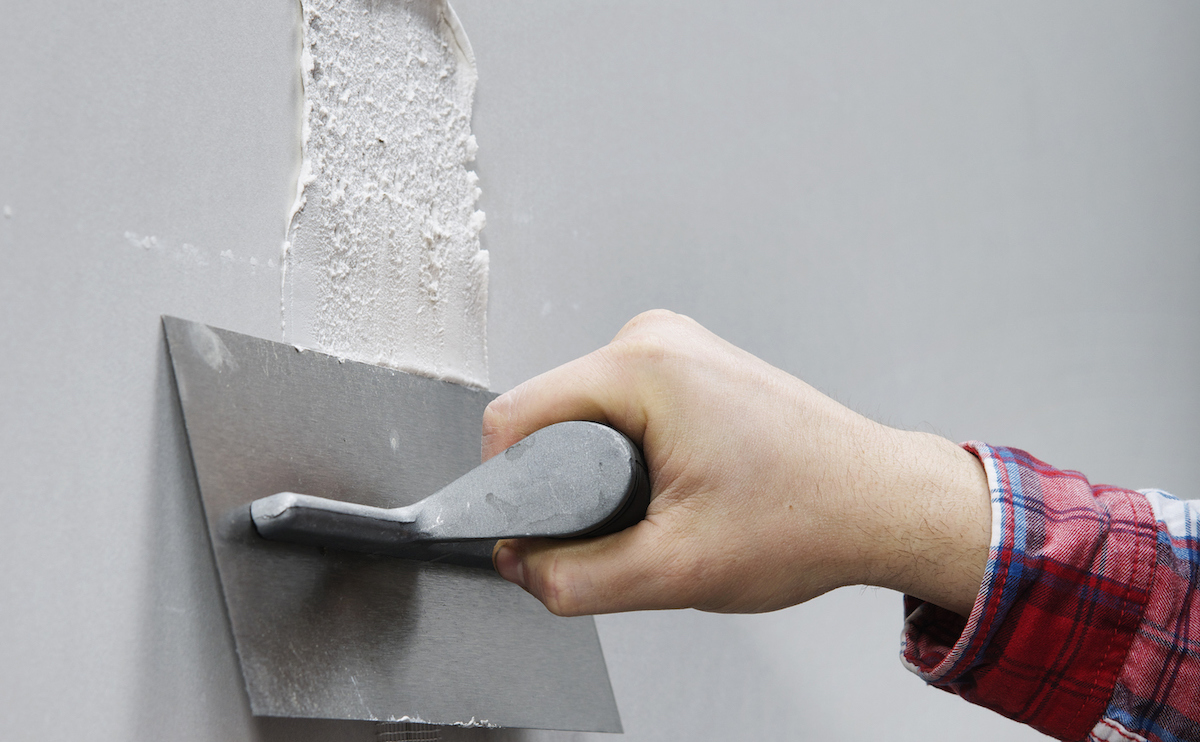
Step 3: Apply plaster.
Most commercial patching plasters require a thorough wetting of the surrounding plasterwork, though some do not. Read and follow the instructions on the patching plaster you’ll be using. If you are patching a larger void, a two-coat approach is probably best. Fill the edges of the hole with plaster, covering the tape or screening. Use a small filler knife, and bring the plaster just shy of the surrounding finish plaster. Let the newly applied patch set overnight.
Some shrinkage and cracking is likely, especially in large patches. After the plaster has set thoroughly, apply a second coat, using a wider knife or trowel, preferably one wide enough to sweep over the entire width of the patch. Some plasters set quickly, so don’t delay in feathering the plaster surface flush to the surrounding surface.
If you are using a two-stage patching plaster, you may be able to sponge on a small amount of water to gain added working time for further smoothing.
