
We may earn revenue from the products available on this page and participate in affiliate programs. Learn More ›
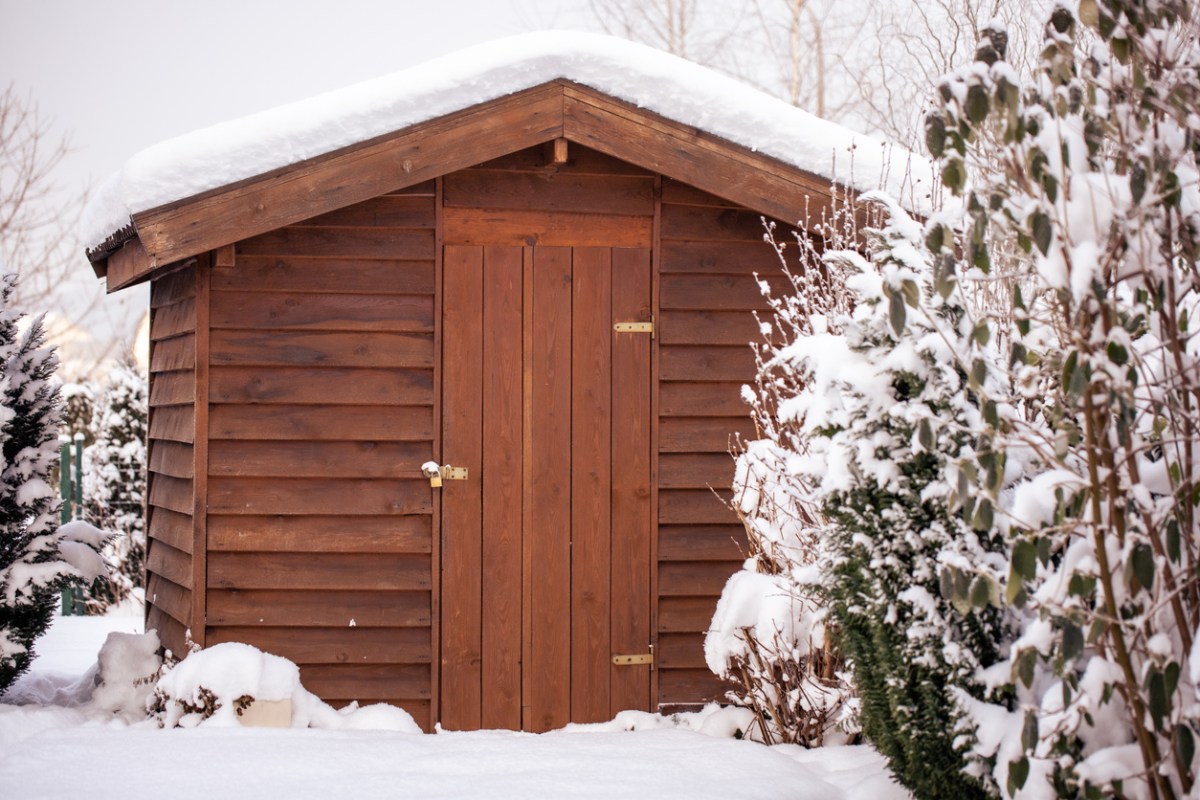
A shed can often benefit from insulation. Whether it’s a simple storage space for lawn and garden equipment, a backyard home gym, a functioning workshop, or a work-from-home haven, keeping the interior space comfortable while preventing moisture from getting in helps keep a shed usable for all four seasons.
While transforming a shed with insulation takes a bit of work, most DIYers can learn how to insulate a shed and complete the project in less than a weekend. This guide will explain the steps, as well as some of the finer points, of creating an insulated shed space. Armed with a bit of knowledge about shed insulation and some elbow grease, you’ll be able to properly insulate your shed without much trouble.
RELATED: The Best Storage Sheds You Can Buy
Types of Shed Insulation
Like most building materials, there are multiple types of insulation suitable for a variety of sheds. The most suitable types for the majority of a shed’s interior include rolled fiberglass insulation, Rockwool insulation (made from mineral wool), and rigid foam board insulation. Mineral wool and rolled fiberglass fit snugly between studs, while foam board insulation can be cut to any size and often makes for a great shed door insulator.
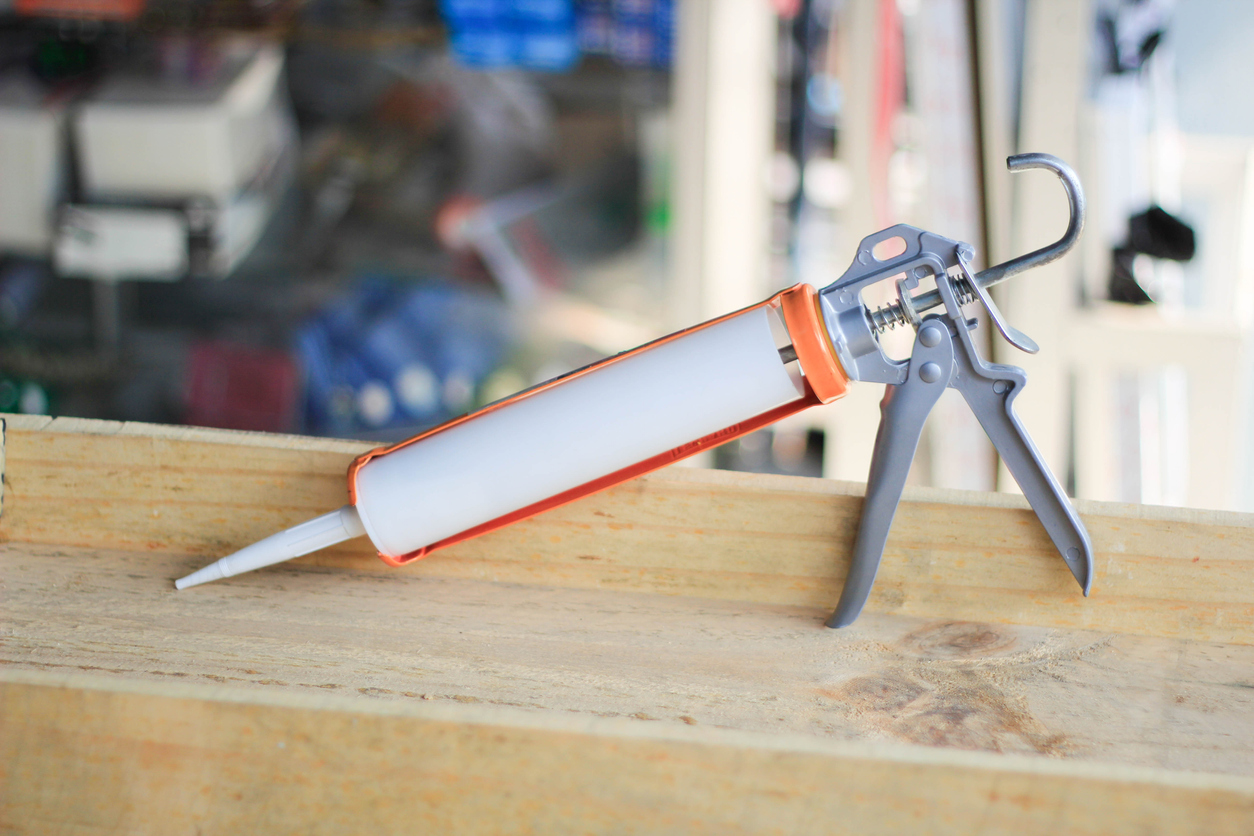
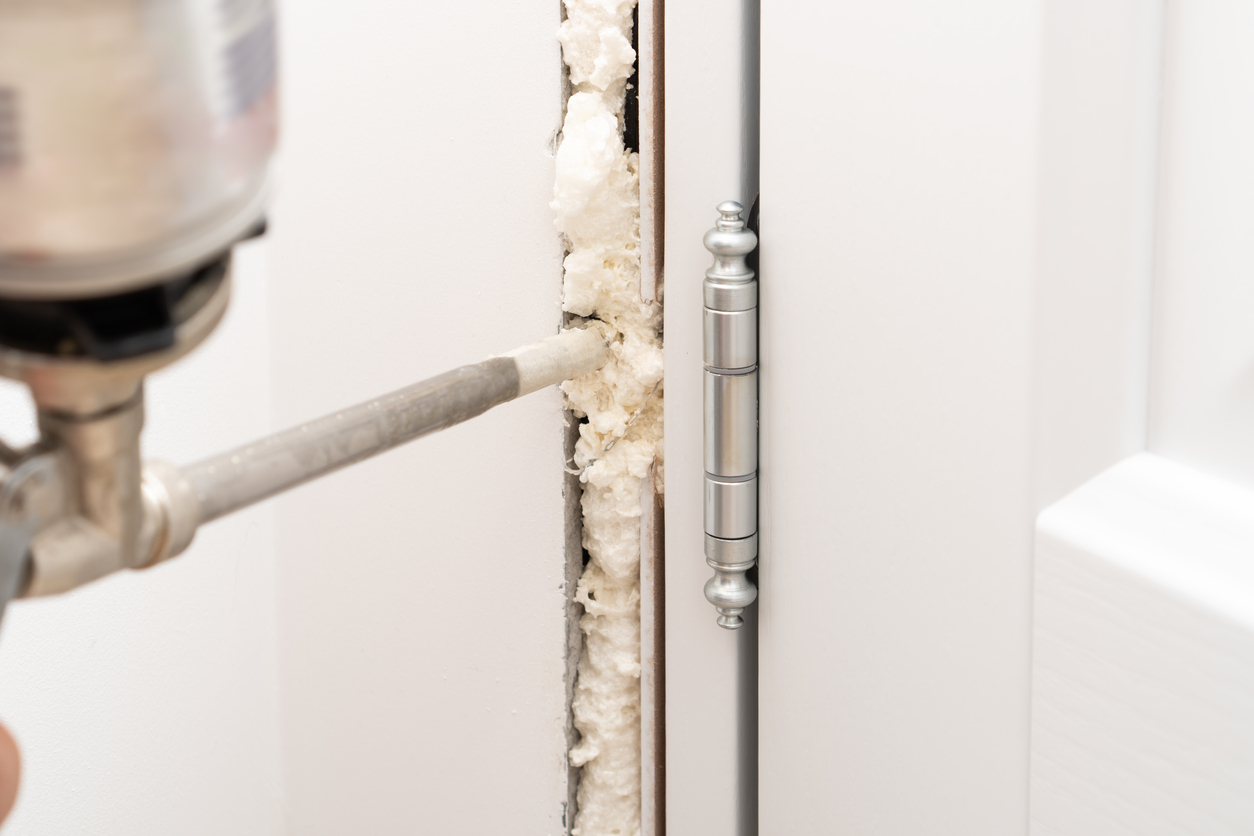
On top of these main types of shed insulation, DIYers should also consider using spray foam insulation and caulk. Any gaps between insulation panels (such as around window framing or between corner stud assemblies) can be sealed with expanding spray foam insulation. This stuff expands when it is exposed to oxygen, so filling small gaps is what it does best. For weatherproofing small gaps between building materials, like around the exterior of the shed or around vents, silicone caulk is the most effective choice.
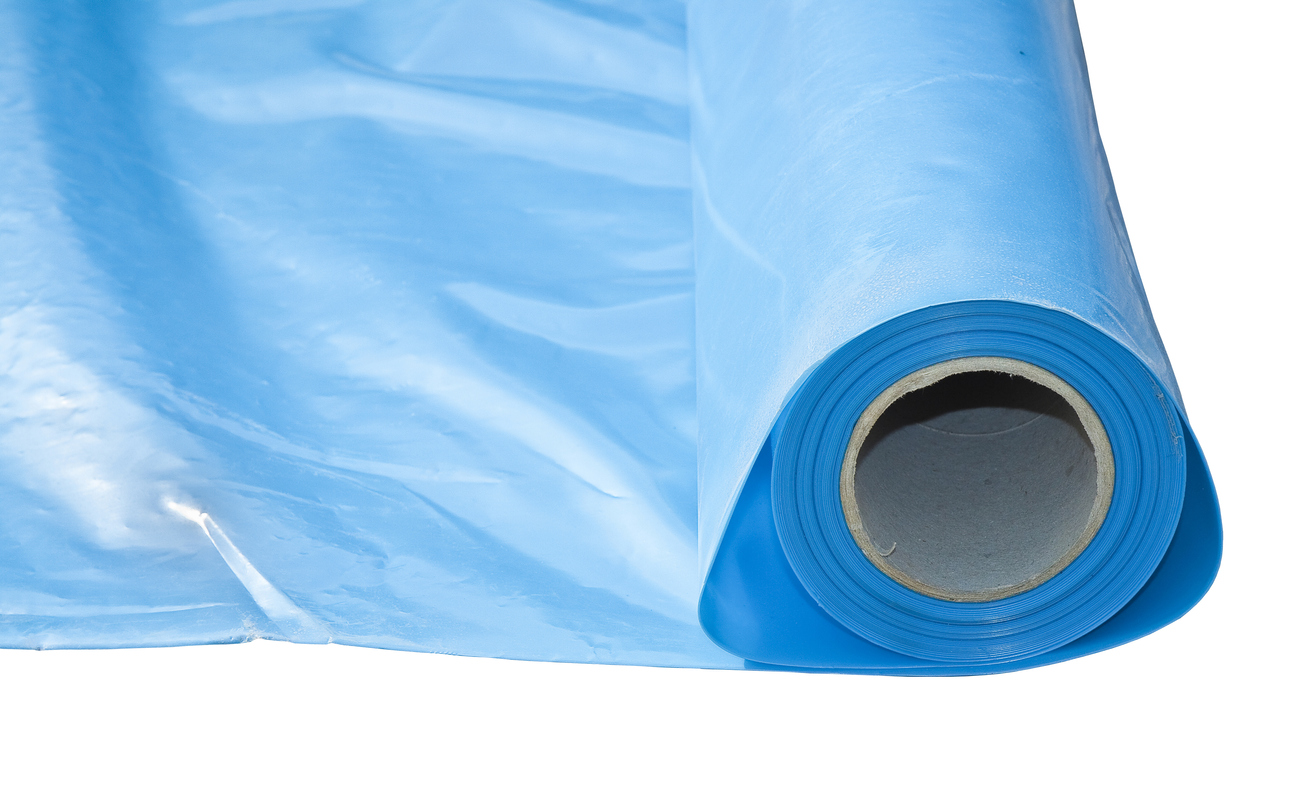
On the other hand, bubble insulation is also widely discussed when it comes to storage sheds. While bubble insulation may be better than nothing, it won’t insulate a shed very well for very long. And after spending a bit of money to build a shed, standard insulation will better protect your investment and increase its longevity and usability.
Rolled Fiberglass Insulation
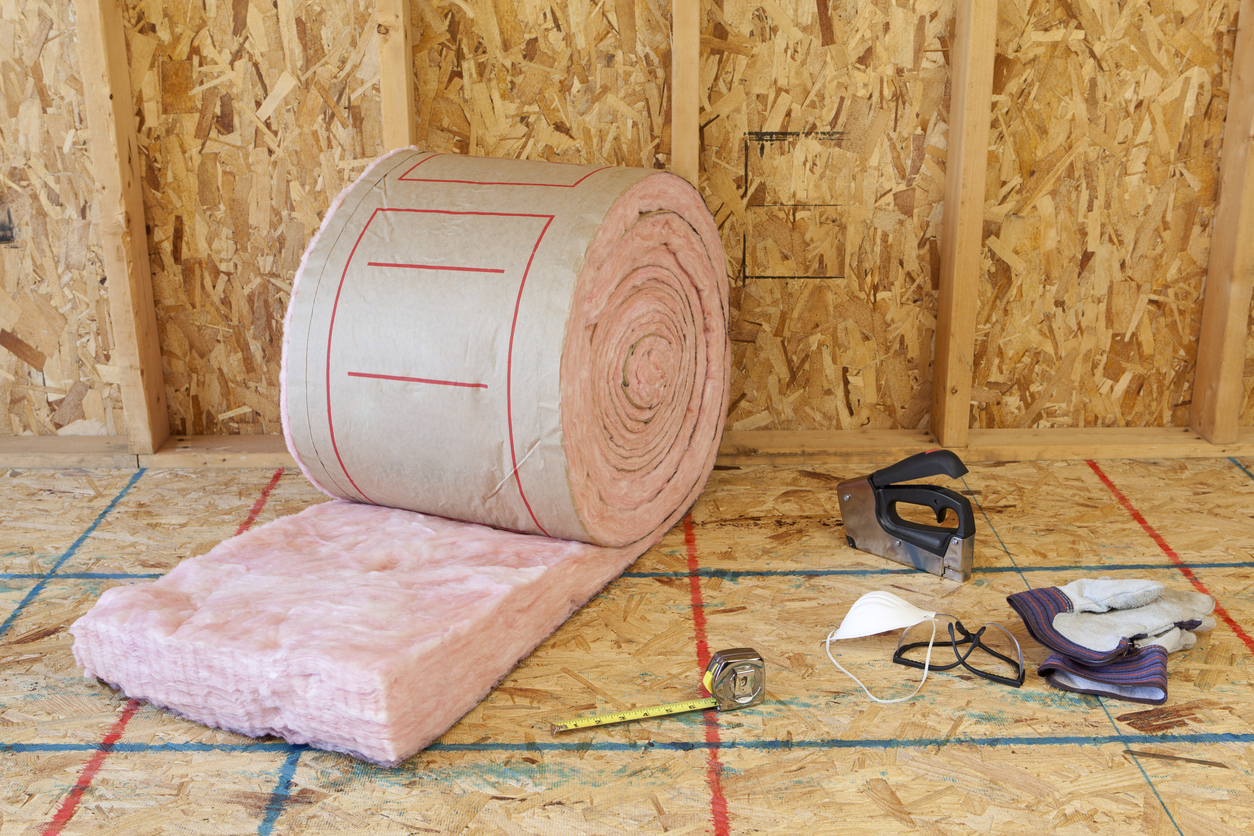
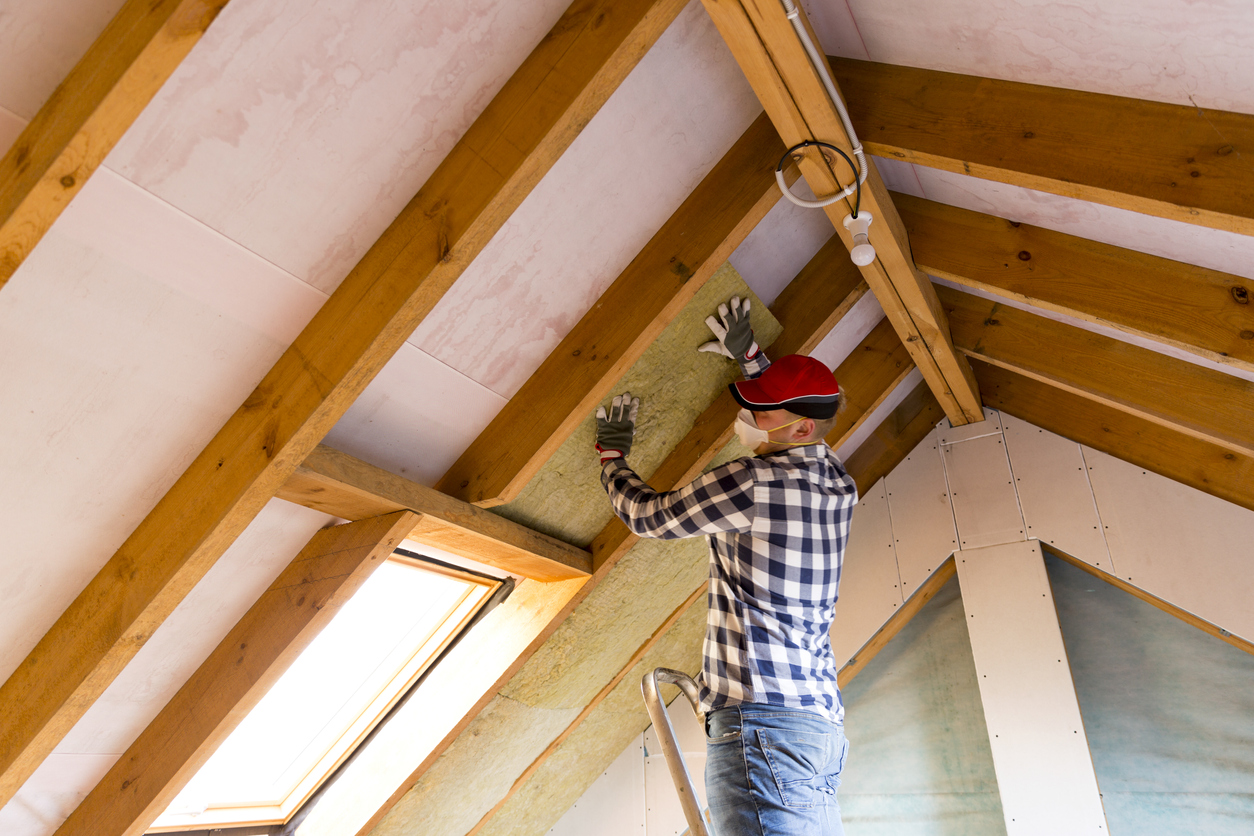
Rolled fiberglass insulation, or batt insulation, is the iconic roll of pink fibrous insulation, and it can be a good choice for insulating a storage shed. It’s made of small fiberglass fibers that interweave like cotton candy, creating air gaps and preventing the free flow of thermal energy from one side of the batt to the other.
Of course, rolled fiberglass insulation has its pros and cons. First, it’s one of the best options for cheap insulation for shed walls and roofs. Since it typically comes with a paper-faced vapor barrier that fastens to the studs, it doesn’t require an extra vapor barrier. However, it’s also one of the itchiest types of shed insulation and requires the installer to have all skin covered. Still, it’s likely one of the best insulation choices for most sheds.
Rockwool Insulation
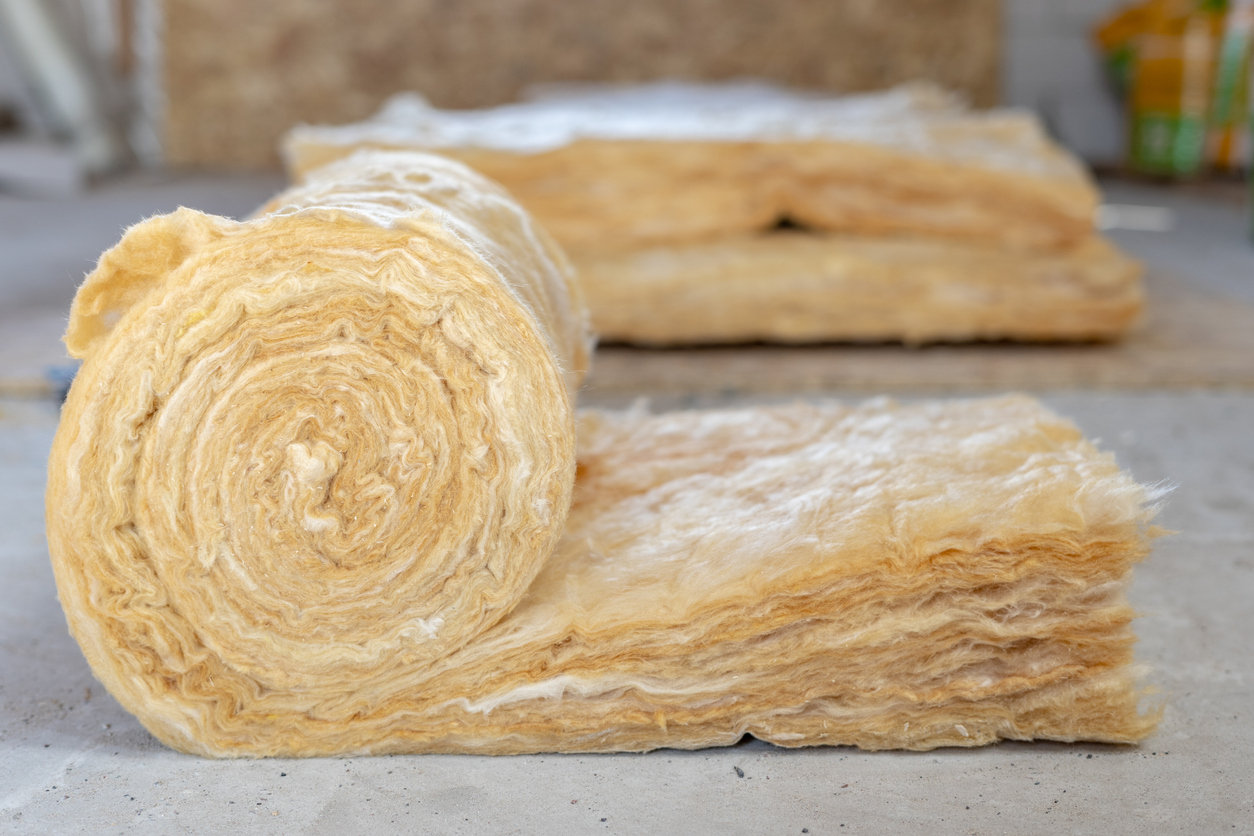
Rockwool insulation is one of the most popular mineral wool brands. This insulation is made from spinning minerals and lava rock at high speeds, causing the minerals to stretch and elongate. These fibers then interweave and create this batt-type insulation.
Beyond being easy to fit between studs, mineral wool insulation has many benefits. It’s fire-resistant, a great sound barrier, and an excellent insulator. It’s also not nearly as itchy as standard fiberglass. However, it’s not the cheapest way to insulate a shed, and it does require a vapor barrier as it does not come with a paper face. On a big project, using faced insulation may save some time, but the benefits of Rockwool may be worth the extra expense and an extra step when insulating a shed.
Foam Board Insulation
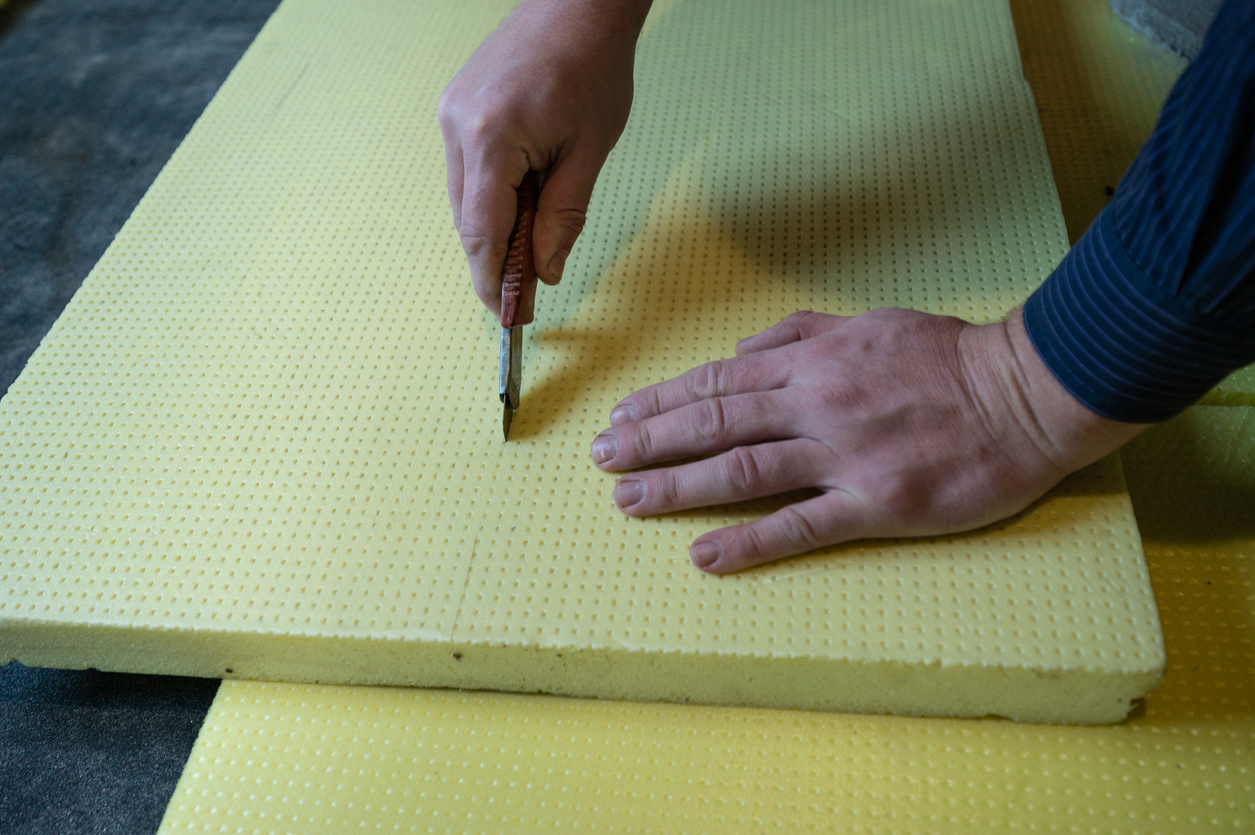
Foam board insulation is a form of rigid insulation made from polystyrene. It’s available in different thicknesses and in sheets that can be cut to fit in stud bays. It’s relatively easy to work with and doesn’t cause itching.
Foam board shines as metal shed insulation, as well as for any surfaces that have few studs to work around. That’s why some great applications for foam board insulation include shed ceilings, doors, and insulating a metal shed, which often have no studs at all. Because these boards have some structural integrity of their own, they can be glued and screwed without needing shed studs to hold them up.
RELATED: How Much Does Insulation Cost to Install?
How to Insulate a Shed
Insulating a shed involves the walls, ceiling, and floor. Without access to the floor framing during the shed’s construction, it’s almost impossible to effectively insulate the floor without disassembling it. However, most of the following steps are equally as applicable to shed floor insulation as they are to walls and ceilings.
Tools & Materials
Bobvila.com may earn a commission from purchases made through these links.
- Silicone caulk
- Spray foam
- Insulation
- Plastic sheeting (optional)
- Seam tape (optional)
- Foam board insulation
- Foam board adhesive
- Door sweep
Project Overview
Working Time: 1 or 2 days
Total Time: 1 or 2 days
Skill Level: Beginner
Estimated Cost: Around $0.55 per square foot of fiberglass insulation or $1.21 per square foot of Rockwool insulation
BEFORE YOU BEGIN
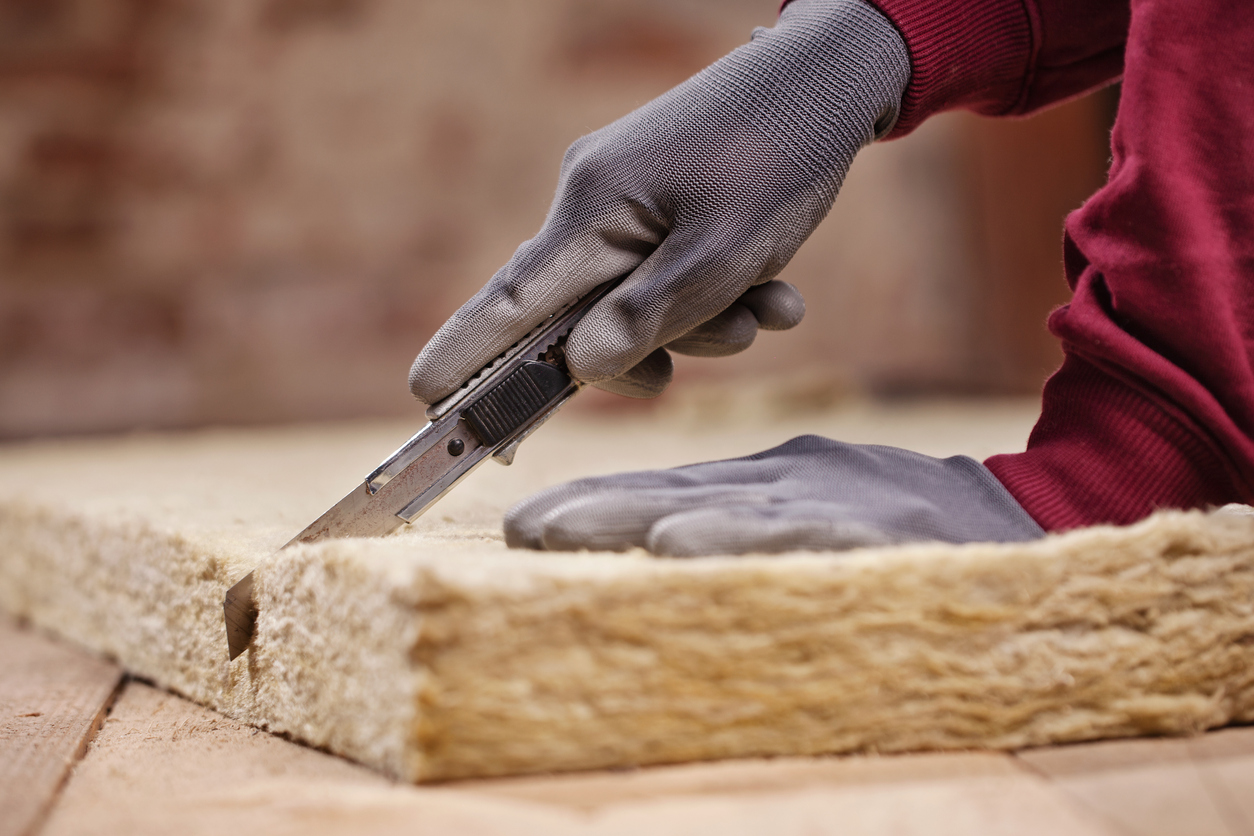
Fiberglass insulation (and Rockwool insulation to some extent) can cause itchiness. Insulation manufacturers recommend covering up from head to toe and wearing gloves. Install insulation in a well-ventilated area if possible, and it’s a smart idea to wear a respirator, safety glasses, and a hat.
Make sure to leave plenty of room on the shed floor for cutting fiberglass rolls to shape. For small sheds, it’s usually easiest to remove everything from the shed before starting this project.
Measure the walls, ceiling, and/or floor, and get enough insulation before starting the project. Most of the best shed plans utilize 2×4 framing, so use insulation that fits in these stud bays (the packaging will be clearly marked with sizes). Typically, faced fiberglass insulation that fits in a 2×4 stud bay will offer an insulation value of R13.
Finally, note that the below steps are ordered for regions where it’s cold and wet outside during the winter. For warmer climates that require air conditioning most of the year, install the shed’s vapor barrier before the installing the insulation.
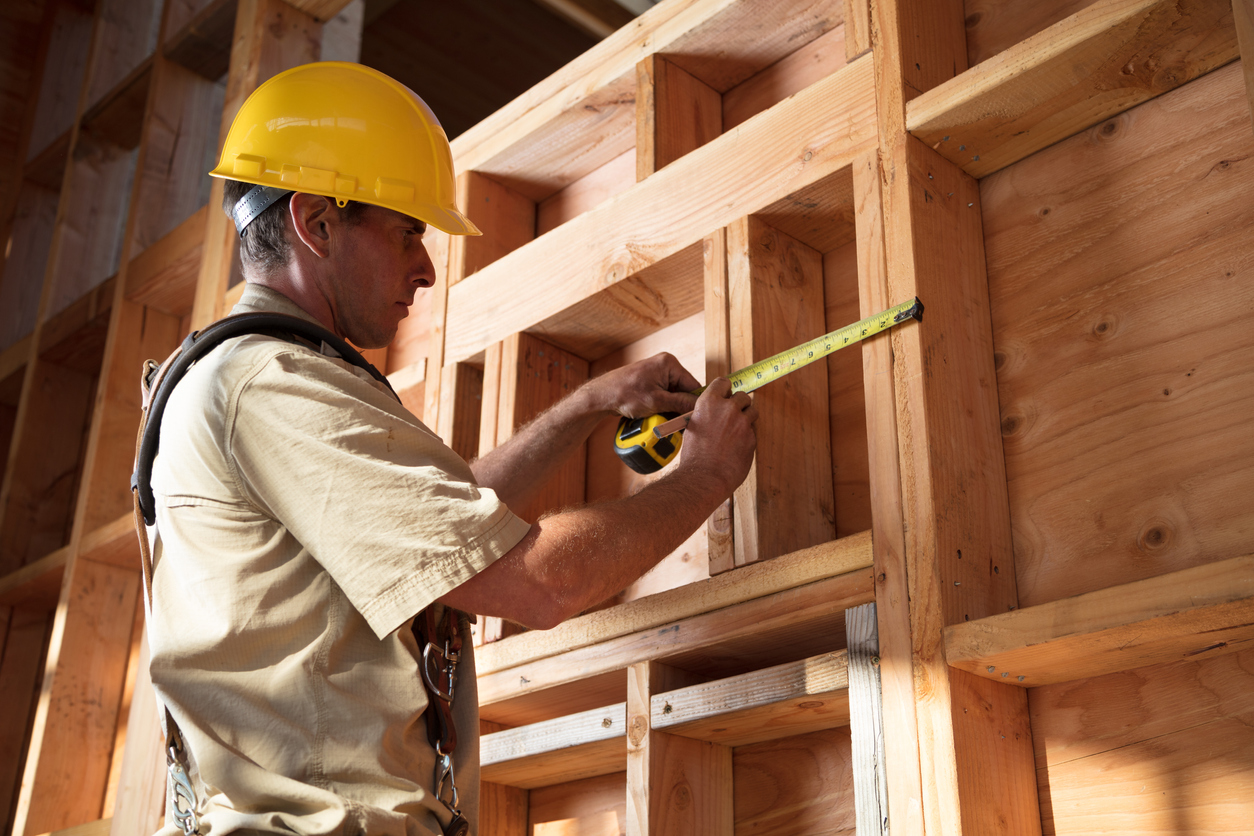
STEP 1: Calculate how much insulation you need.
Most rolled fiberglass insulation comes in 8-foot-long strips, each of which are designed to fit between a 16-inch or 24-inch stud bay. To determine how much insulation you need, count the number of stud bays and rafter bays in your shed, divide that number by the number of strips in the package, and round up.
You can also use continuous rolls of insulation, which produce less mess and waste. To determine how many continuous rolls you need:
- Measure the height of a stud bay and multiply that number by the number of stud bays.
- Measure the length of a rafter bay and multiply that number by the number of rafter bays.
- Add these numbers together to get an overall length.
- Since rolls for 2×4 insulation are typically around 32 feet long, divide your overall number by 32 and round up.
STEP 2: Prepare the shed.
Empty the shed completely and perform an initial inspection. Look for any signs of damage or leaks. Make repairs now, before the insulation is installed.
This is also a good time to spray expanding foam around any windows, as well as caulk exterior gaps and seams. Pay attention to gaps around windows, vents, and other areas where rain or snow can penetrate seams or connection points and soak the insulation.
STEP 3: Measure and cut the wall insulation.
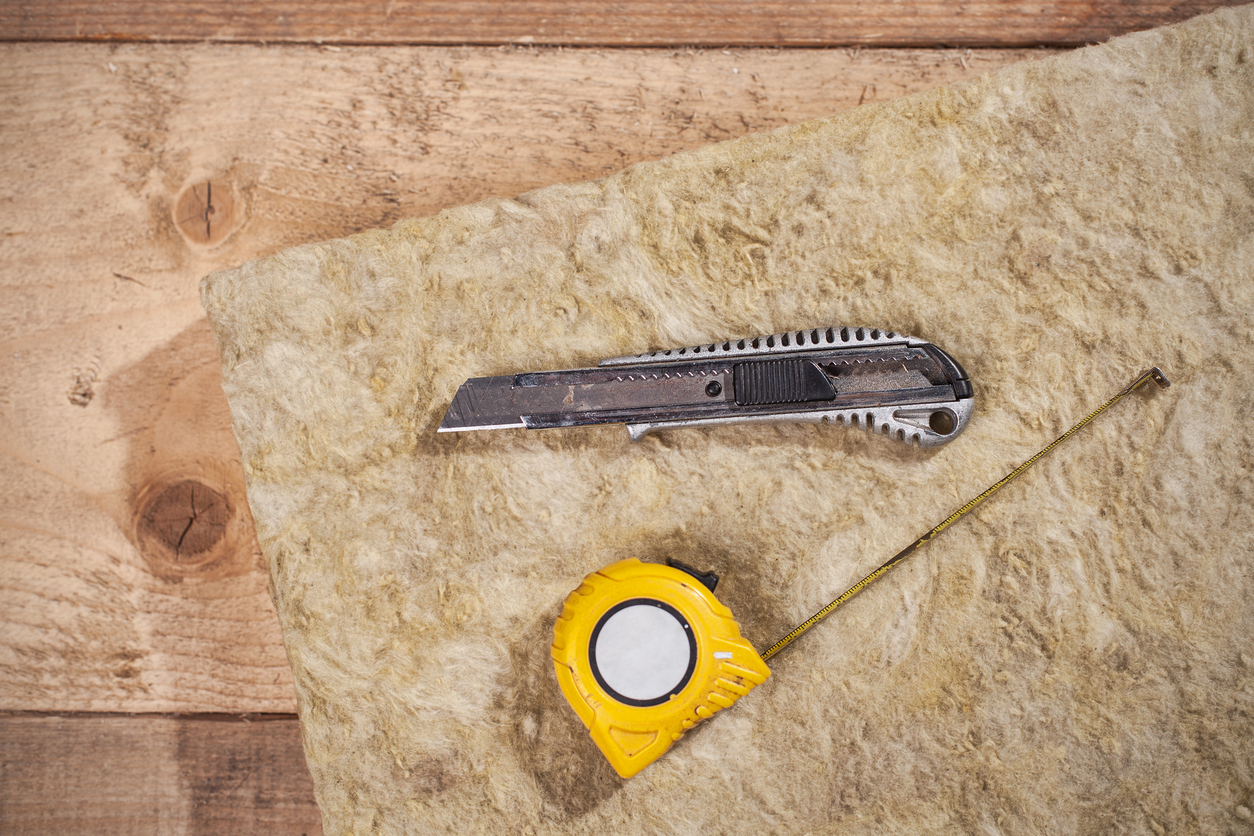
Measure the height of the shed wall stud bays and add 1 inch to allow for a snug fit. Roll out the insulation on the floor, paper side up. In the case of mineral wool insulation, simply lay the 4-foot strips out. Transfer the measurement to the strip of insulation and mark the paper with a permanent marker.
Compress the insulation at this mark by laying a level across the strip and pushing downward. Once compressed, cut along the edge of the level with a utility knife until the insulation is cut to length.
Note: If there are two or more people working together, one can continue cutting more insulation to length while the other begins installing what has already been cut. To ensure the cutter can make up for any irregularities in wall height, the person installing can double-check the height measurement every few stud bays. A two-person installation method can go quickly with mineral wool insulation, as each bay requires two strips stacked one on top of the other. The installer can place the bottom strip while the other cuts the top strip to length.
STEP 4: Cut around obstructions.
Sheds with electrical outlets and windows will have plenty of small areas to insulate around. While it’s possible to stuff insulation around these objects, doing so compresses air gaps inside the insulation and prevents the insulation from doing its job. Instead, cut the insulation to shape around obstructions.
It’s often possible to trim the insulation in place. When it’s not, though, use a tape measure to find the position of the obstruction and transfer the measurements to a piece of insulation with a permanent marker. Use an insulation knife to cut any holes for the obstructions.
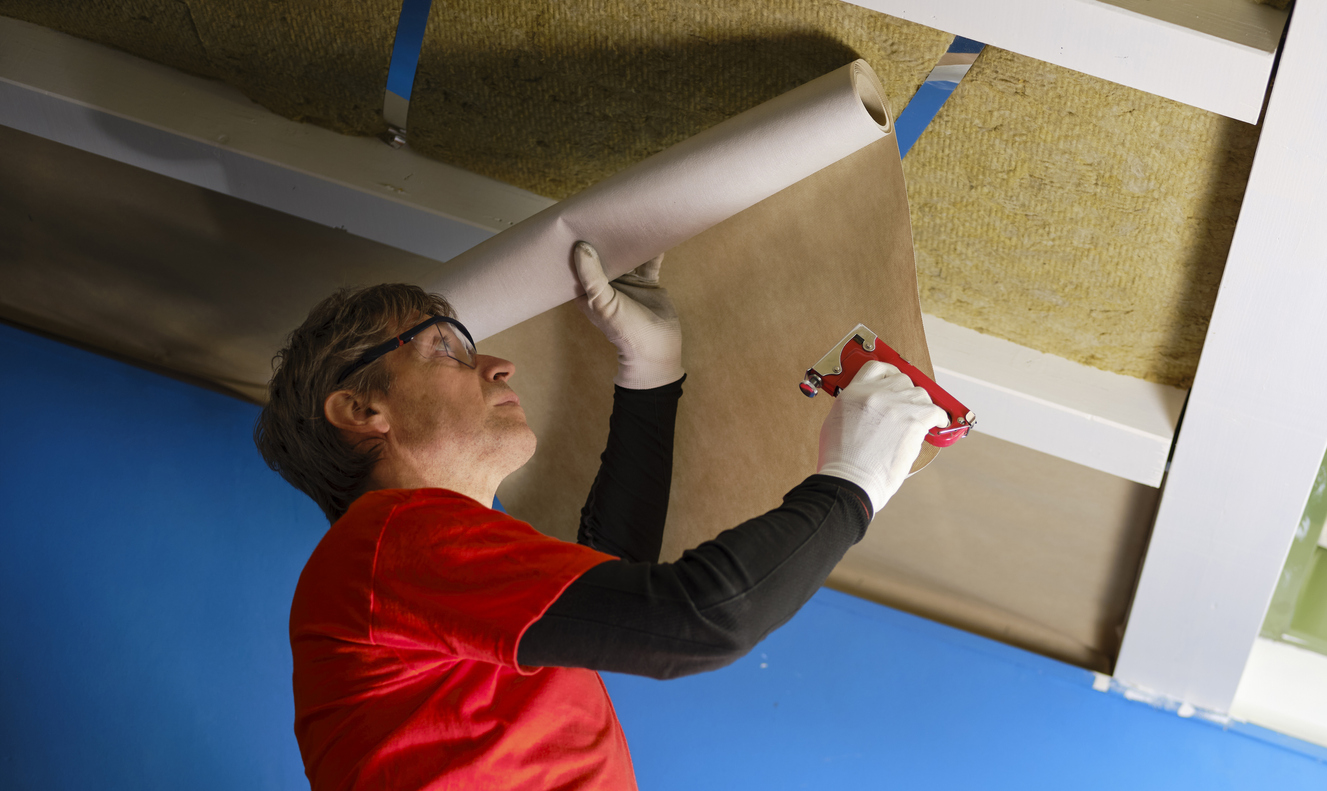
STEP 5: Install the vapor barrier.
Once the insulation is in the stud bays, it’s time to install the shed’s vapor barrier. For paper-backed fiberglass, this simply requires overlapping the studs with the paper wings on either side of the strip and stapling them to the boards. This holds the insulation in place and also forms a vapor barrier.
Unfaced mineral wool insulation requires a plastic vapor barrier installed on the inside of the studs. Starting at the bottom, roll the plastic out onto each stud bay and staple the plastic in place. Once the entire bottom of the wall is covered with plastic, start another row overlapping with the bottom edge of the first row by at least 6 inches. Once the vapor barriers are in place, use seam tape to tape any edges.
STEP 6: Measure and cut the ceiling insulation.
Repeat this process for the rafters. Measure from the shed’s peak to the edge of the wall’s top plate, and add 1 inch to that measurement. Cut the strips of insulation on the floor in the same manner as before. Once cut to length, climb a ladder (with a partner present) and install the end of the first strip in the low end of the rafter bay first, moving upward toward the peak. Staple the paper vapor barrier tabs (if applicable) onto the rafters along the way.
Mineral wool can get very crumbly and make insulating a shed roof challenging. It often makes sense to install a few scraps of plastic vapor barrier across the ends of the rafters and slide the mineral wool into place over top of it. It’s also a good idea to wear a hat and safety glasses while working overhead with any insulation product.
STEP 7: Install the vapor barrier over the rafters.
Leaving the scrap vapor barrier pieces in place for Rockwool insulation, install the vapor barrier on top of the shed roof insulation. At the bottom of the rafters, start the next row so it overlaps the previous row by at least 6 inches. Be sure to tape any seams when done.
Installing a vapor barrier in a shed can be a tedious process because the collar ties or ceiling joists might get in the way. If it’s necessary to cut the vapor barrier around these objects, tape any seams or cuts created to make it fit properly.
STEP 8: Insulate the shed doors.
Insulating shed doors is important, but it’s not easily done with standard rolled fiberglass or Rockwool insulation. Use rigid foam board insulation instead, as it’s the easiest and best insulation for a shed door.
Measure each door’s width and height, and transfer those measurements to a piece of foam board insulation. Using the level as a straight edge, cut the foam board to size with the insulation knife. Take note of any latches or door hardware that you’ll need to cut around.
Once cut, glue the foam board to the back of the shed doors with foam adhesive. Finish the project by installing a door sweep on the shed door using a drill and the hardware supplied in the door sweep kit.
RELATED: How to Insulate a Garage
Final Thoughts
Insulating typical shed walls isn’t a difficult project, but it does take at least a full day of work to complete. After the insulation and vapor barrier is installed and sealed, it’s a good idea to install drywall or plywood over the insulation to protect it, as even the smallest poke can affect the insulation’s performance. But, once covered, the shed will be comfortable and ready for your office furniture, gym equipment, or precious storage items, and the interior space will benefit greatly from better and more consistent temperature regulation.