
We may earn revenue from the products available on this page and participate in affiliate programs. Learn More ›
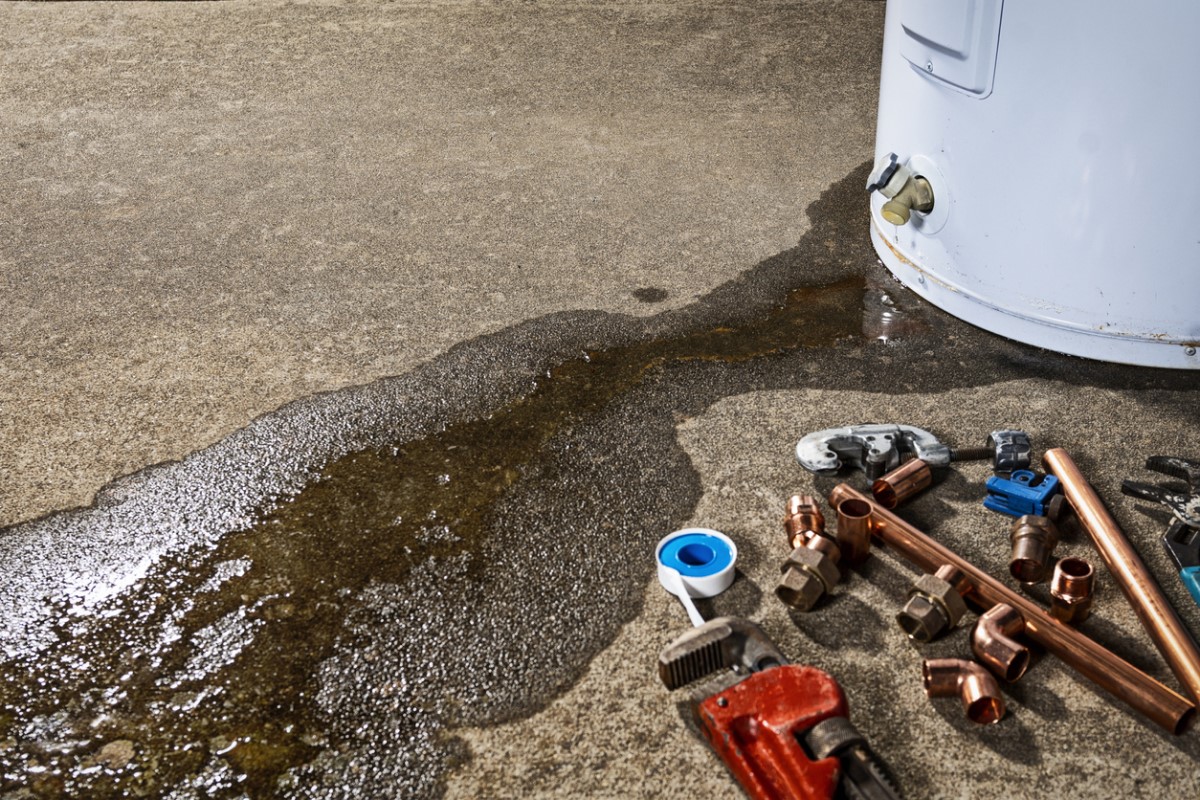
Q: Help! My hot water heater is leaking. After mopping up, I see more water starting to puddle but I can’t tell where it’s coming from. Do I need to call a plumber, or is it possible for me to fix the leaking water heater myself?
A: Water heaters can leak due to a number of problems, including loose valves, excessive pressure in the tank, or issues with the pipes that connect to the unit. And if your water heater is more than 10 years old, the leak is likely age-related—if that’s the case, it may be time to replace it. So while you might eventually need to call a plumber, depending on the location of the leak, there could be a simple DIY solution. Keep reading to find out the immediate steps to take, and then how to pinpoint the leak and remedy the problem.
Turn off the power to the leaking water heater.
If it’s a gas water heater, it will have a dial or an On/Off switch near the spot where the gas line connects. If it’s an electric water heater, locate your home’s electric service panel, and turn off the breaker labeled “Hot Water Heater” by switching it to the “Off” position.
Next, shut off the water pressure to the tank.
You’ll find two plumbing pipes attached to the top of the water heater. One is the hot water pipe that supplies hot water to your faucets and the other is the cold water supply line. Only the cold pipe will have a shutoff valve; turn that valve to the Off position to stop cold water from flowing into the tank.
RELATED: 10 Plumbing Tips Everyone Needs to Know
Do some sleuthing to find the water heater’s leak.
Water heater leaks often start out slow, just drip by drip, so it can be difficult to tell where the water is coming from. Check for wetness by running your fingers or a tissue around these three likely locations:
- the fittings on the pipes above the water heater,
- the drain valve near the bottom of the tank (the one with the standard garden hose connection), and
- around the temperature and pressure relief (TPR) valve. The TPR valve is located on the side of the tank, and it should have a copper tube that extends out a few inches and then turns downward to the floor. The bottom of the tube is open, and you should check there for wetness as well.
If you discover the location of the leak, the following steps indicate how to fix each one.

Tighten loose pipe fittings.
If water is coming from the cold water supply line and the hot water pipe, you may be able to stop the leak by tightening a loose-fitting with a wrench. This is possible if flex pipes, such as these 12-Inch Fluidmaster Braided Stainless Steel Connectors (available on Amazon), are attached between the water heater and your home’s main cold and hot water lines. Flex pipes are a common configuration, and they attach just as a garden hose would attach—a straightforward DIY fix for many homeowners. If the water pipes are solid copper, however, you will need to have a plumber repair it, because copper connections must be soldered in order to seal.
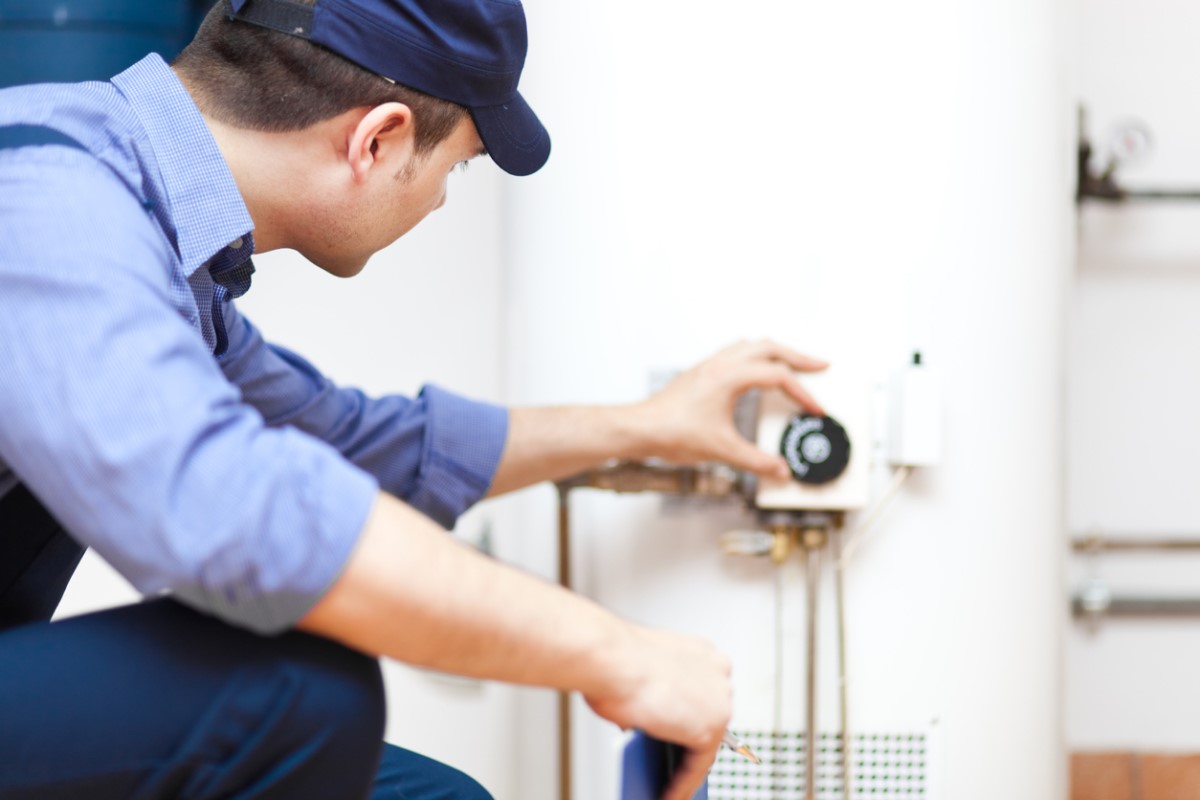
Adjust the water temperature if the leak issues from the TPR valve.
The pressure in a water heater tank depends on two things: the temperature of the water and the pressure of the water coming in from the cold water supply line. When the pressure in the tank builds to an unsafe level, the TPR valve, sometimes called a pop-off valve, opens to release the pressure. This valve—at the down-turned pipe you located earlier—is a safety mechanism designed to direct a scalding spray of water to the floor rather than the face of someone standing nearby.
If the leak is coming from around the valve itself or out of the bottom of the pipe, it could indicate that the water in the tank is too hot. Many manufacturers sell water heaters preset for 140° Fahrenheit, but the Department of Energy (DOE) suggests that 120° Fahrenheit is hot enough for most houses. The temperature control knob may or may not list actual degrees, but if not, turn it from “High” to “Medium” to reduce the temperature in the tank, and also reduce pressure, potentially stopping the leak.
Test the pressure in the cold water supply.
If the water temperature isn’t too hot, the pressure in the cold water supply line could be too high. The pressure of the water that flows into your house is controlled at the outside water meter, and if it’s 100 pounds per square inch (psi) or higher, it could be creating excessive pressure in the water heater. This can also cause water leakage from the TPR valve.
To test your water pressure, you’ll need a water pressure gauge, such as the Flow Doctor Water Pressure Test Gauge (available on Amazon), which is designed to attach to an outdoor spigot. Attach the gauge just as you would a garden hose, and make sure no other water faucets or appliances such as a dishwasher are running. Turn on the outdoor spigot and the gauge will display the pressure of the water. A psi of 80 is sufficient for most houses, but if yours is over 100, contact your municipal water authority and ask that the pressure be reduced.
Replace a leaky drain valve.
If drips are coming from around the drain valve, it should be replaced without delay. While some choose to call a plumber at this point, dedicated DIYers may be able to handle the job. First, you must drain the water heater, by attaching a garden hose to the drain valve and then running the other end of the hose to a floor drain or a shower drain. Use a flathead screwdriver to open the valve so the water drains out through the hose. Once the water has drained, use an adjustable wrench to grip the drain valve and twist it counterclockwise—it should twist right out. Take it to the hardware store when to purchase a perfect match, and then install the new valve by twisting it clockwise into the drain valve hole until it’s snug.
RELATED: The 6 Bests Things You Can Do For Your Plumbing
Replace the water heater if the leak is at the bottom of the tank.
If during your sleuthing, you determined the leak wasn’t coming from any of the above spots, the trouble is at the bottom of the tank. Over time, sediment can settle in the bottom of a hot water heater, eventually leading to rust that eats through the bottom of the tank. The rusting process can be slowed by regularly draining and flushing out the water heater, but if the bottom is already leaking, it’s time for a new water heater. Local building codes often do not allow homeowners to install new water heaters, because gas water heaters require the installation of a gas line, which must be done by a plumber, while electric models require direct wiring of the heater into the home’s service panel—a job for an electrician. A policy from one of the best home warranties for plumbing coverage could help cover the cost to replace a water heater that’s on its last legs. Some companies like American Home Shield will even cover repairs or replacements related to sediment, rust, or corrosion.
Prevent water damage from future leaks with a leak detector.
Most water heaters are tucked away in utility closets, basements, or garages where a leak can result in massive water damage before it’s noticed. To avoid this problem, consider putting a leak detector, such as Zircon’s Leak Alert (available on Amazon), on the floor near the water heater. At the first sign of a leak, the detector emits a loud signal to alert you. The Zircon detector can also be synced with your home’s Wi-Fi system to send an alert to your smartphone or tablet should a leak occur.