
We may earn revenue from the products available on this page and participate in affiliate programs. Learn More ›
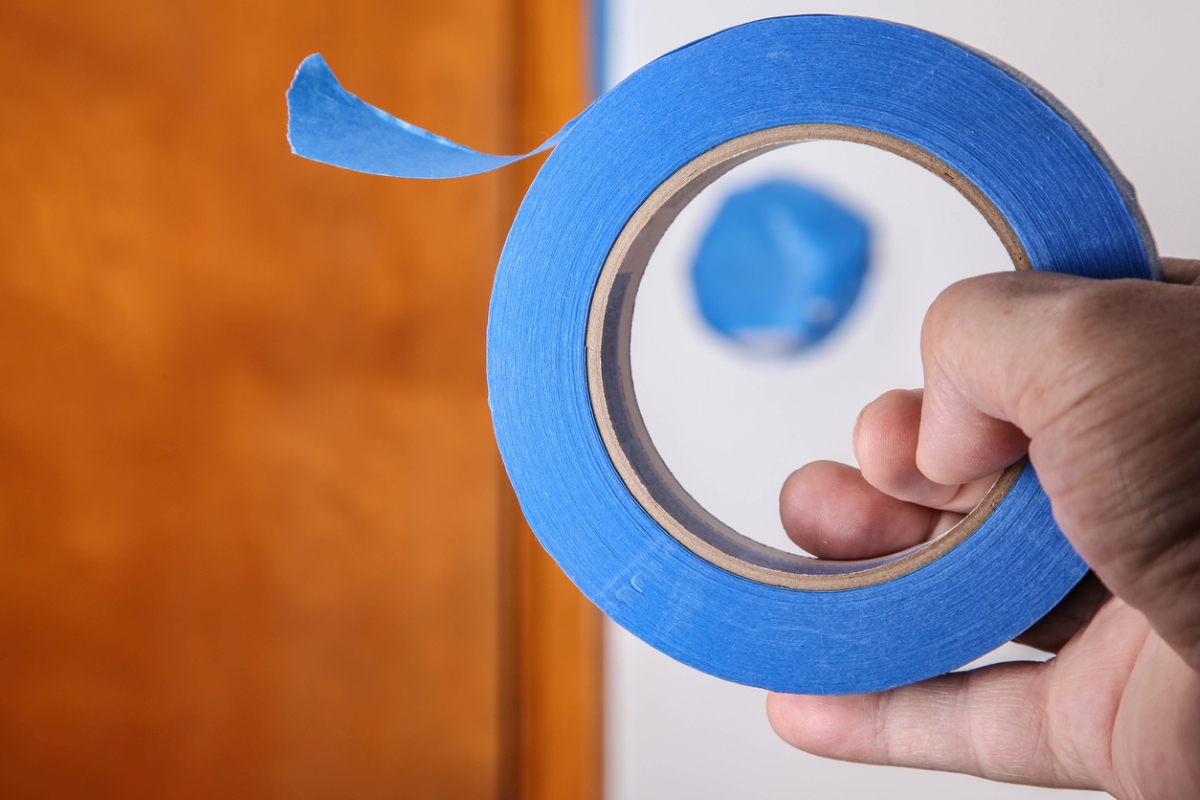
If you’ve recently completed a painting project around the house, chances are you learned how to use painter’s tape and have some extra lying around. This blue tape, which is available in various widths, is most commonly used to protect ceilings, trim, and other surfaces from getting paint on them. However, while this may be the most common use, it is far from the only way that this special tape can help you around the home.
1. Hang a picture.
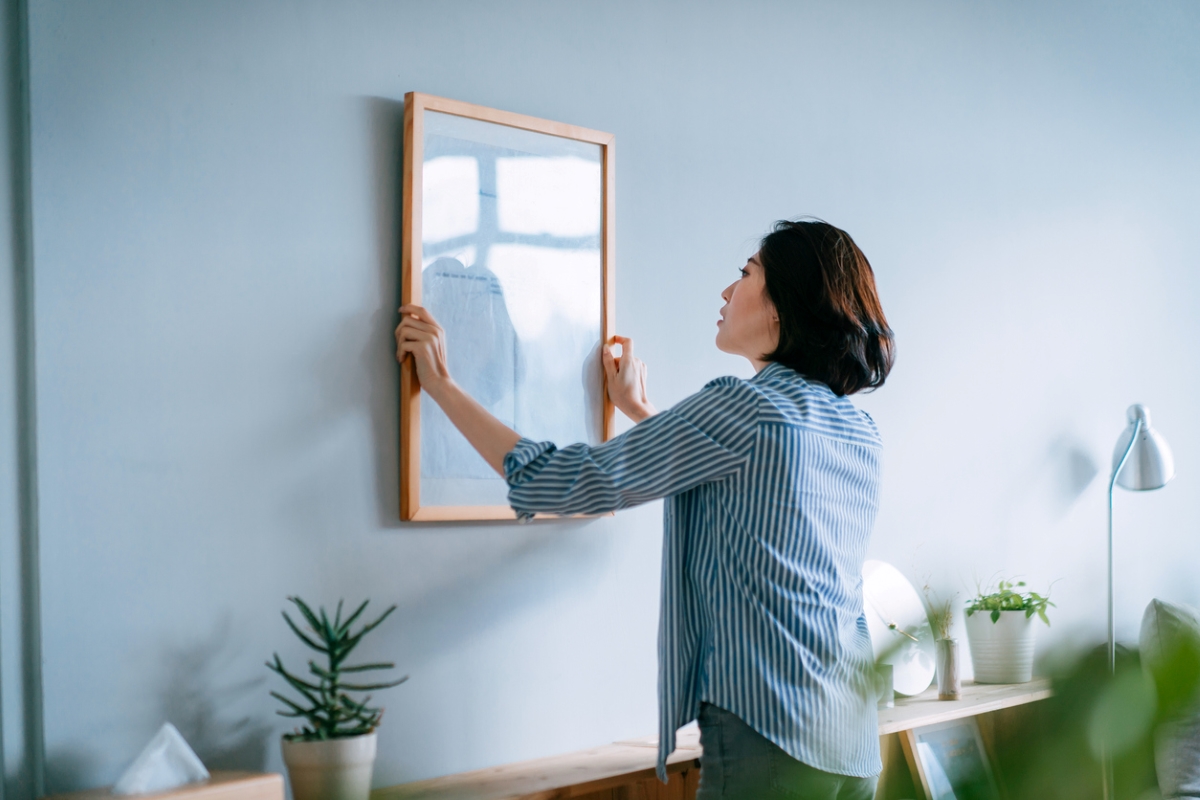
The next time you want to hang a picture, eliminate the frustration of eyeballing where the nails need to go only to have to move them because you misjudged it. Instead, use the best painter’s tape to simplify the task. Measure out and stick a strip of tape on the back of the picture frame that fits precisely between the two keyholes. Then, transfer the tape to the wall and use it to identify where you’ll need to hammer in the nails. Remove the tape, and you’ll have perfectly spaced wall holes to hang your artwork.
2. Keep paint cans clean.
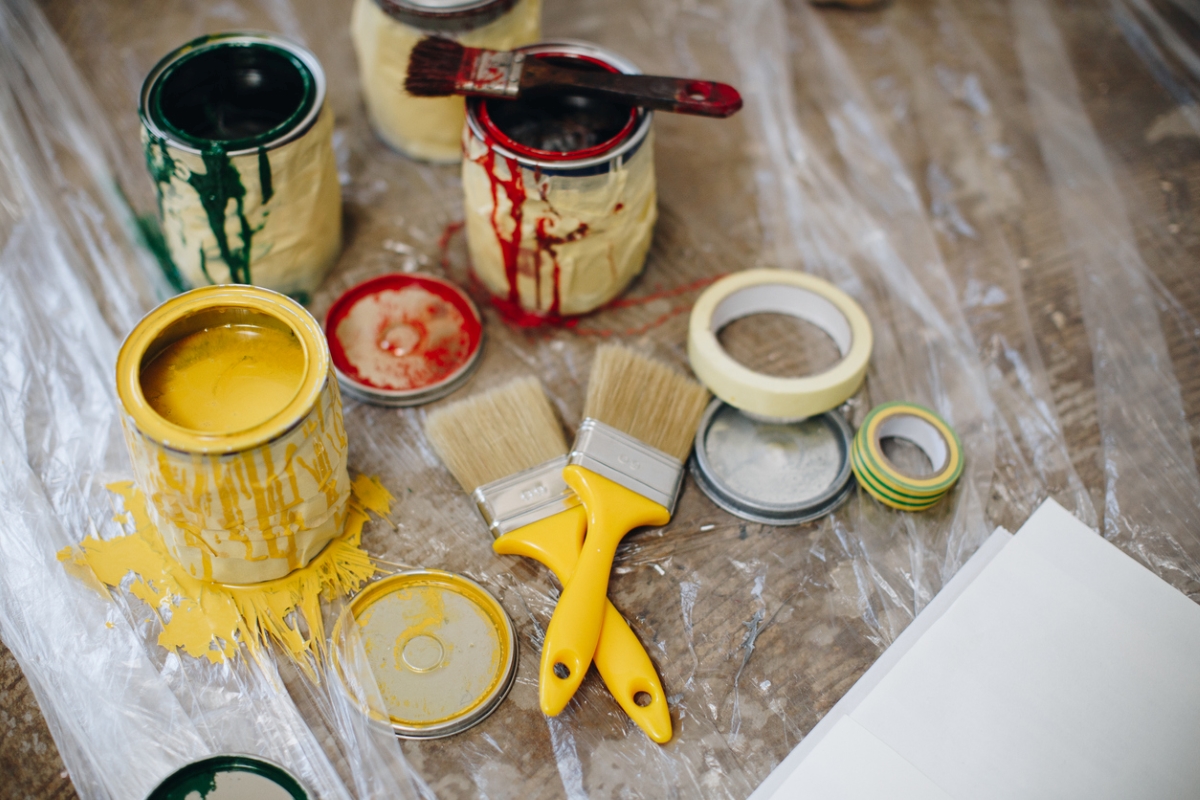
When you pour paint from a can, it often drips down the sides. Using some painter’s tape can prevent the dripping paint from leaving a mess behind on the can and potentially transferring the color to other walls or surfaces in the home. Before starting your next painting project, just line the rim and sides of the can using some painter’s tape. After you’ve finished painting, peel off the tape so the can underneath will be clean, and you can decide what to do with the leftover paint.
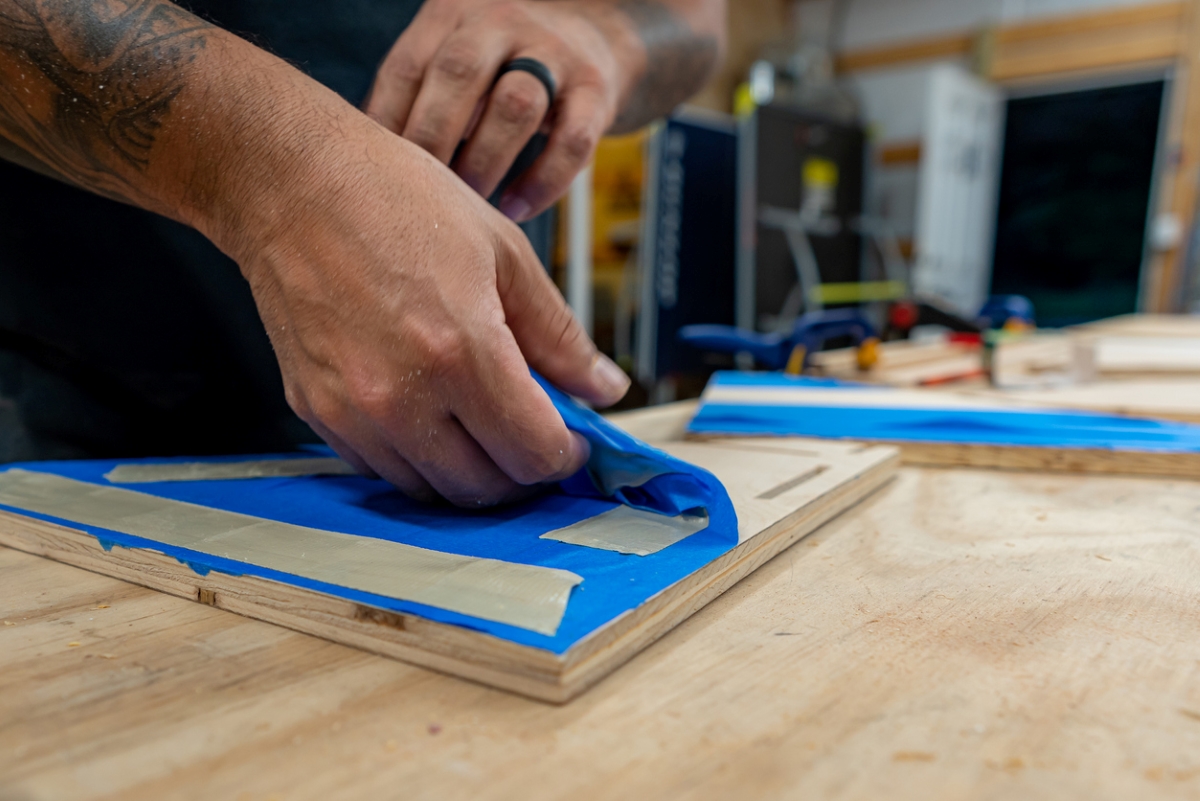
3. Create geometric paintings.
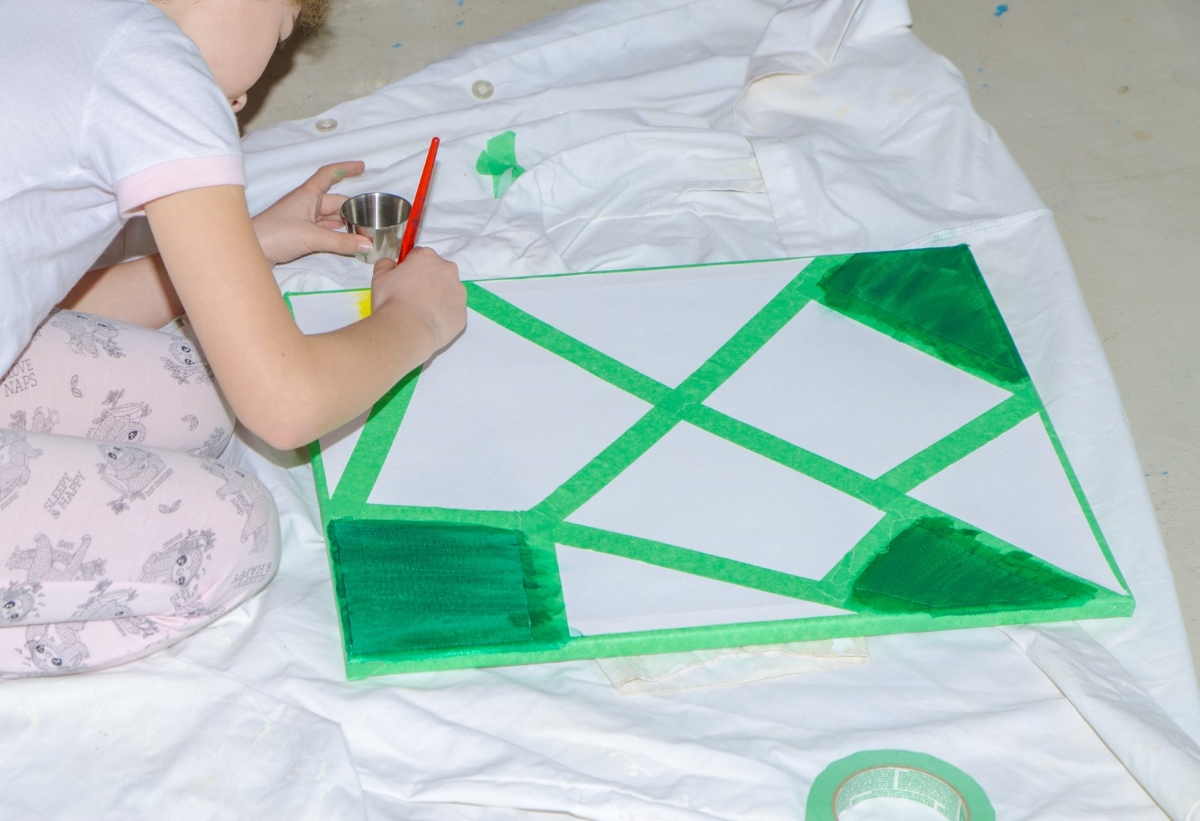
If you’re feeling crafty—or are looking for a fun project to keep the kids busy—use painter’s tape to make original geometric paintings. Lay the paint out over a blank canvas in a pattern. Then, paint over the tape with your desired color or colors. Once everything dries, peel off the tape to reveal the clean and crisp lines for your geometric shapes. Unlike masking tape, painter’s tape won’t peel off the dried paint when you remove it. If you don’t want white lines, consider painting the canvas with a solid color first and letting it dry before applying the painter’s tape.
4. Clean inside tight cracks and crevices.
Painter’s tape can also come to the rescue if you’re trying to get rid of crumbs, dust, and other debris from tight spaces, such as the corner of a drawer or between the keys on your laptop. Peel off a small piece of tape and press it into the space you need to clean. If necessary, you can roll or fold the piece for a better fit. Dab it a few times to use the sticky surface to pick up any gunk. Repeat with a clean piece of tape as necessary.
5. Use it with super glue to temporarily mount things on the wall.
You can buy removable Command Strips at the store, but if you don’t have any on hand or want to save money, some painter’s tape and a little bit of super glue can help you. Use the painter’s tape to cover the back surface of the item you’d like to mount to the wall. Tear off equally sized pieces of tape and place them on the wall. Then, apply some super glue to the tape on the back of the item and carefully line it up and press it against the tape on the wall. The super glue will help hold the object in place, but since there is only painter’s tape on the wall, you’ll be able to remove it when desired without damaging the surface.
6. Keep hardware handy for a DIY or assembly project.
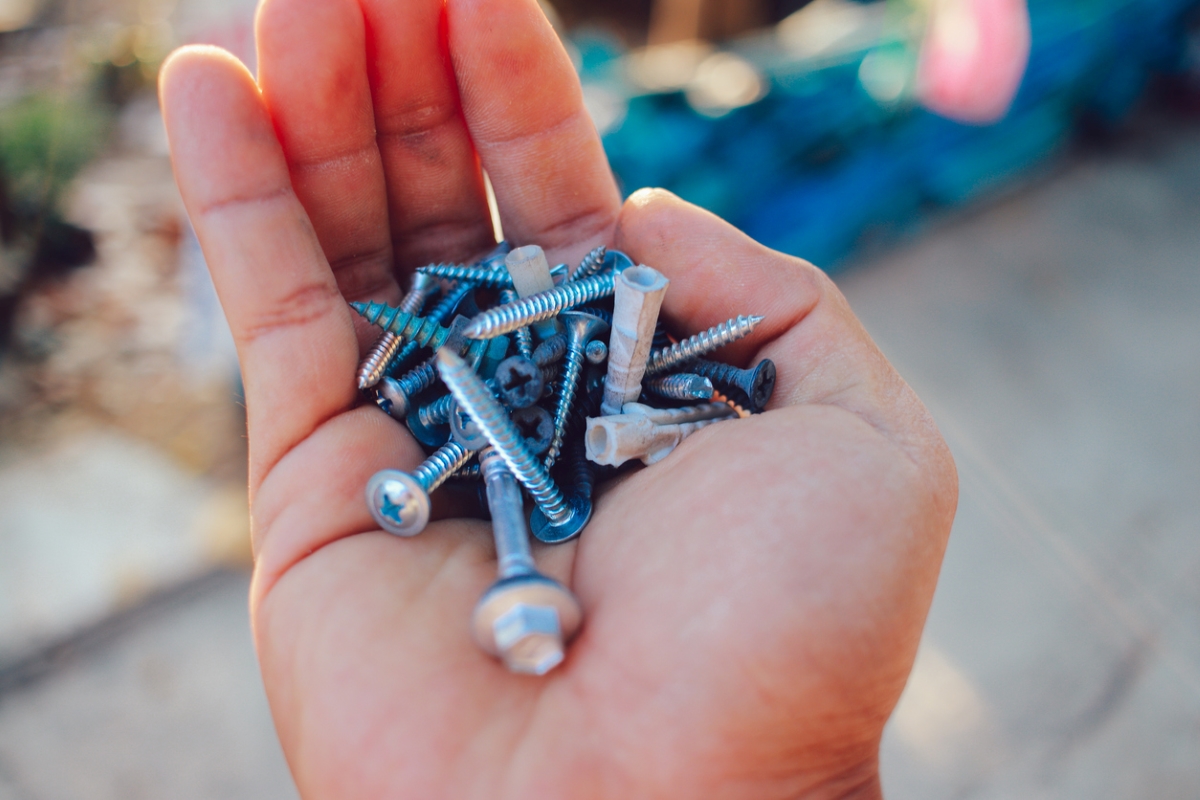
If you’re assembling a piece of furniture, installing a light fixture, or attempting a DIY project that involves lots of little screws, nails, nuts, or other pieces of hardware, let painter’s tape help you keep them from getting lost. Stick all these small pieces to a strip of painter’s tape so they don’t roll away or get lost as you work. Depending on how involved the task is, you could even use multiple pieces of tape to separate the hardware by type or when it will be needed.
7. Drill to the correct depth.
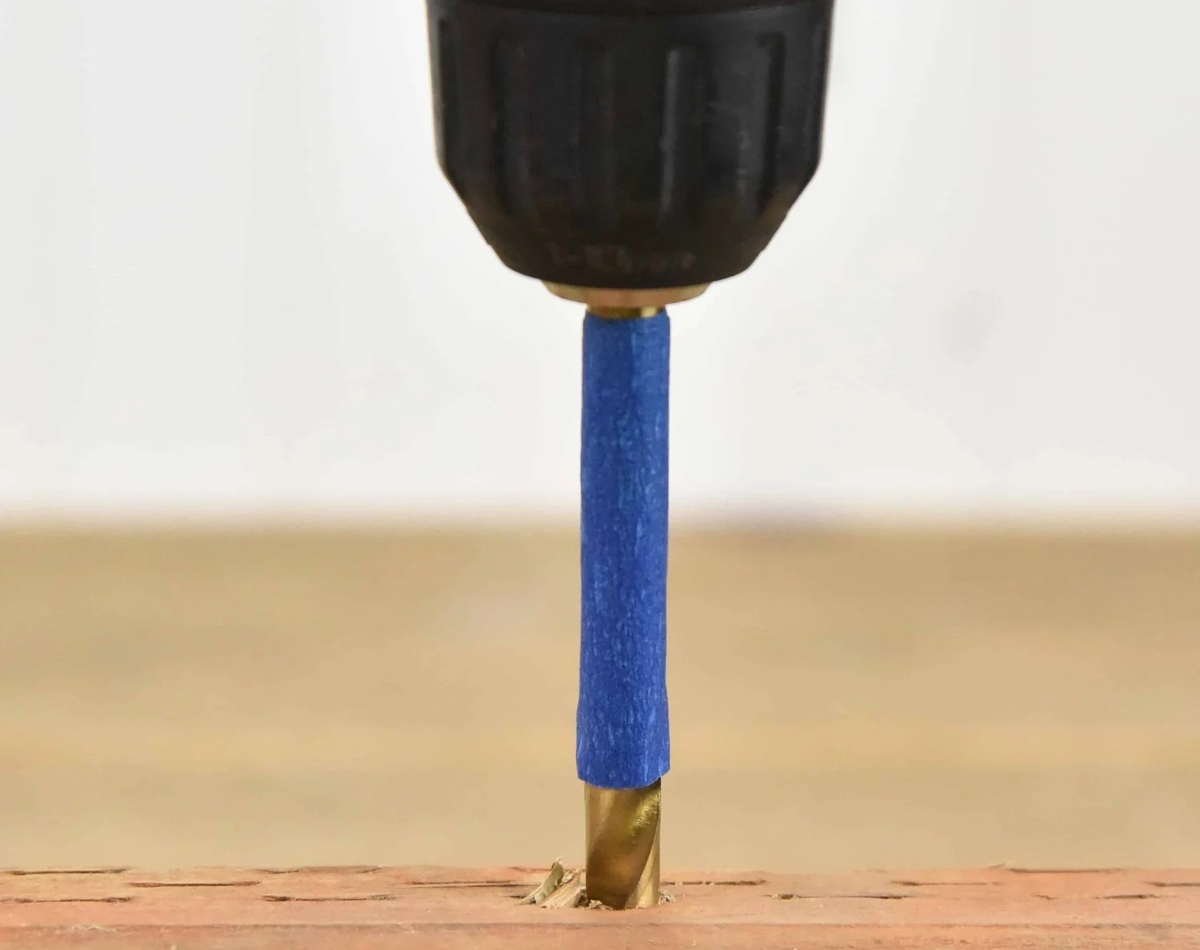
You can also use painter’s tape to make sure you don’t drill too deep when building something or hanging items on the wall. After determining the correct depth for the hole, measure that distance on your drill bit. Then, wrap a strip of tape around the bit just above the correct length so you’ll know when to stop.
8. Make original stencils.
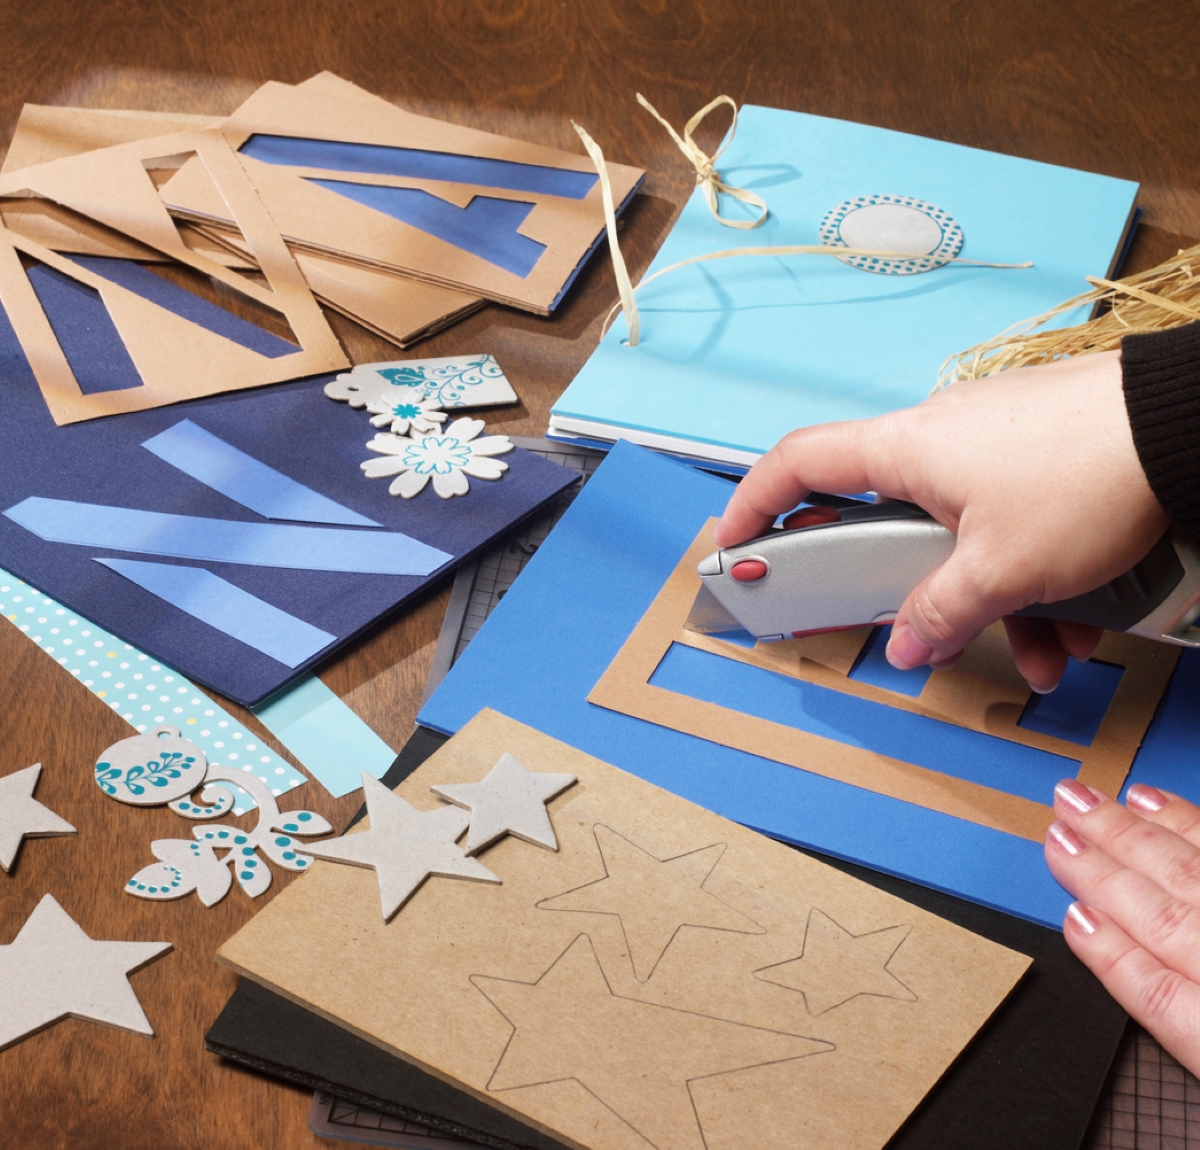
Make your own stencils for your next crafting project using painter’s tape. Not only can a stencil project be more budget friendly, but you also won’t have to limit your creativity based on what is available in a store. Begin by drawing your stencil design on wax paper. Turn the wax paper over, and apply painter’s tape to cover the entire piece of paper. Cut out your stencil design. When you’re ready to use the stencil, peel the wax paper off. You now have a removable stencil made out of painter’s tape that you can place where you want to paint.
9. Create a floor plan when remodeling.
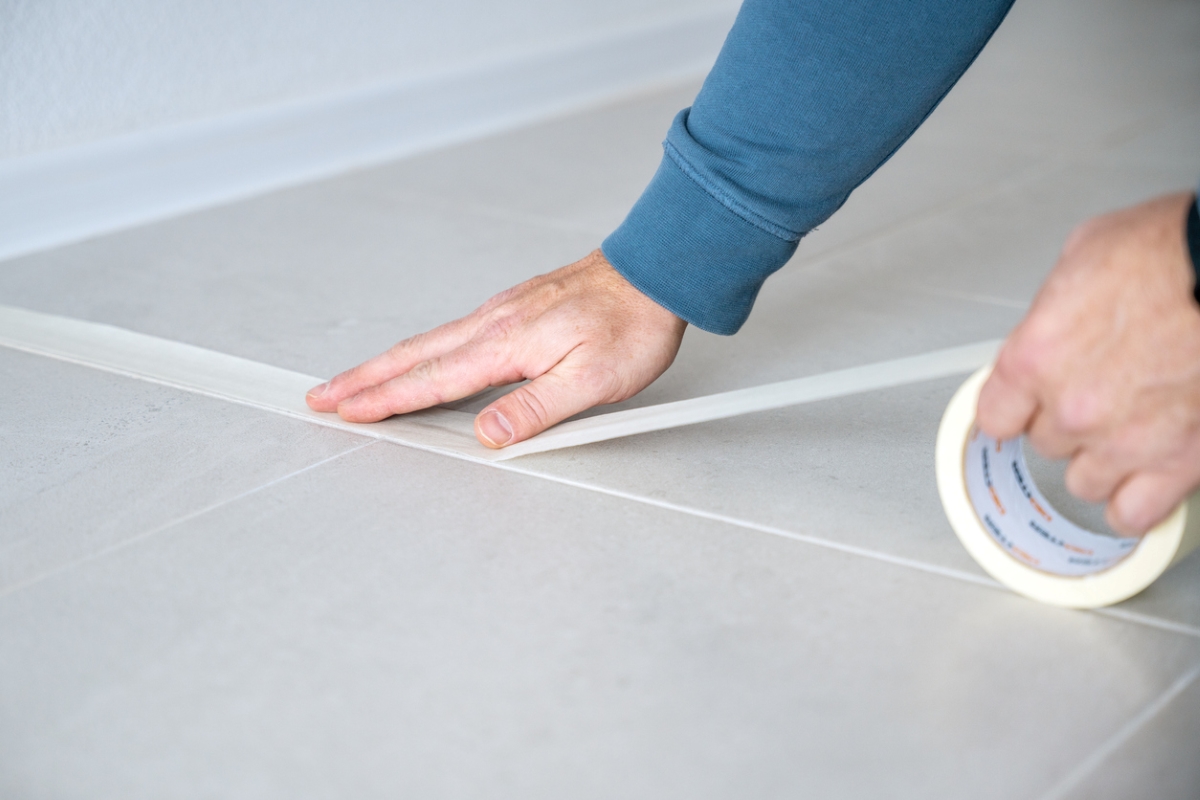
If you’re remodeling your home, or just looking for a new way to lay out the furniture in your room, use painter’s tape to choose the ideal floor plan. Measure each item and lay out painter’s tape over the floor, matching the dimensions. This way, you’ll be able to confirm that the room will flow and fit as desired. Moving the tape around to try a new layout will be a lot easier than moving heavy furniture if you realize that your initial vision won’t quite work.
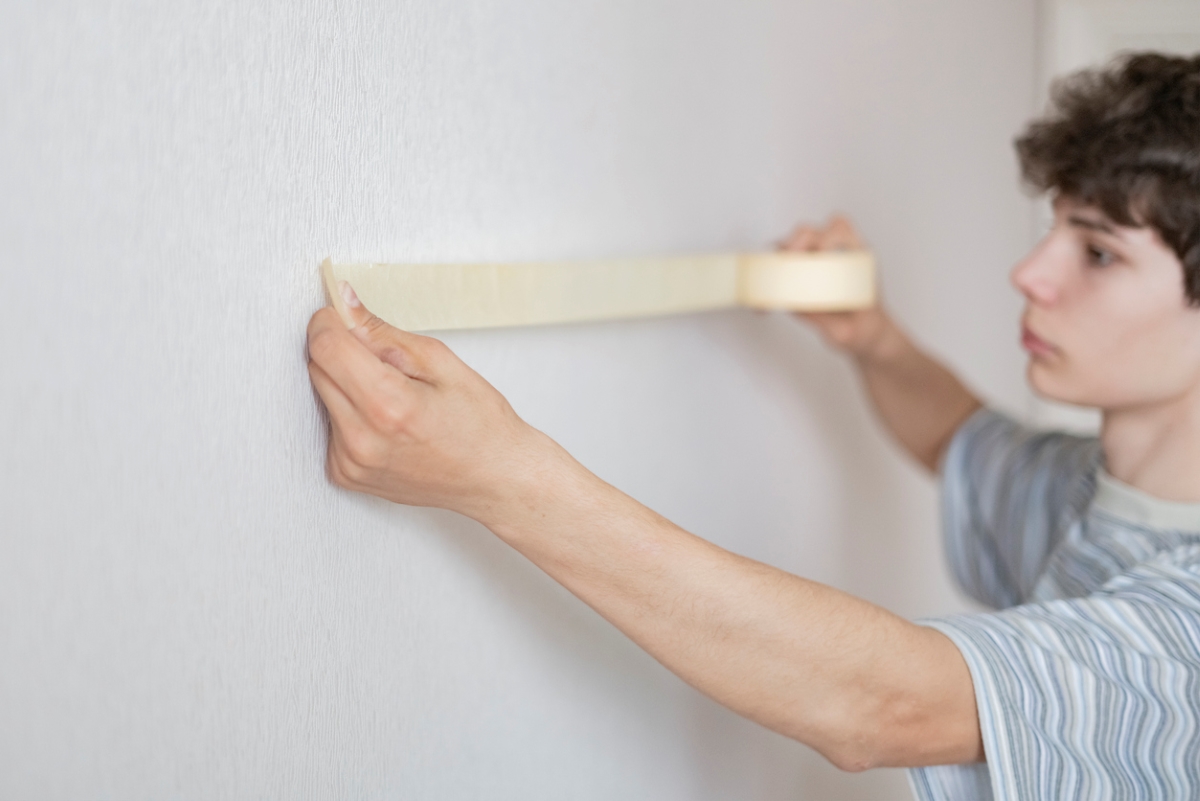
10. Layout wall displays before you make holes.
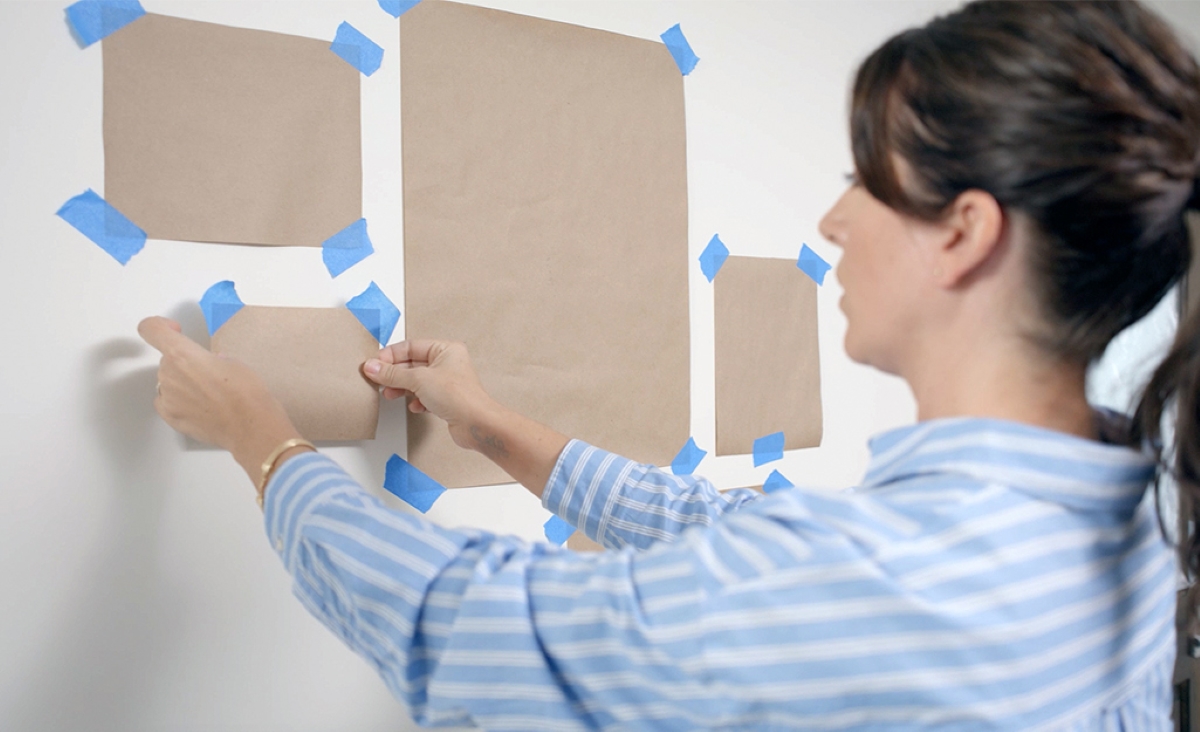
In the same way that painter’s tape can save you from moving heavy furniture back and forth when creating a room layout, it can also help save you from making unnecessary holes in your walls when hanging pictures. Whether you want to create a picture-perfect gallery wall or just want to hang a few canvases above your couch, use painter’s tape to visualize how everything will look before committing. Cut strips of tape to match the dimensions of each piece and place them where you want them. Once you’re satisfied with the layout, you’ll be ready to drill the holes and hang the real artwork.
11. Label anything and everything.
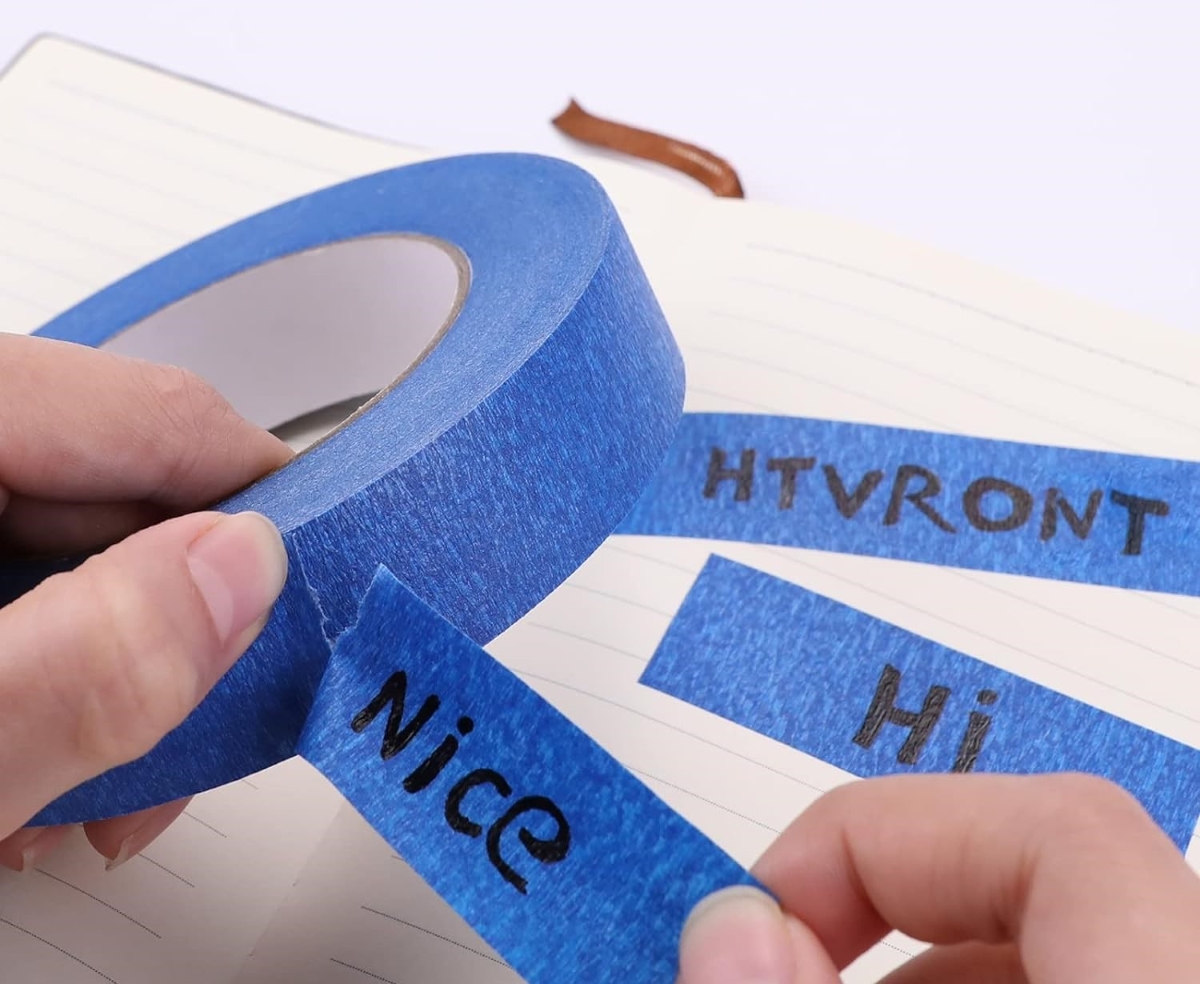
Because it doesn’t leave a residue, blue painter’s tape is ideal for labeling. Label leftover containers, shelves in the pantry or garage, cups for your next gathering, canning jars, school supplies for your children, storage bins, coat hooks, and anything else you can think of.
12. Seal (and reseal) food packages.
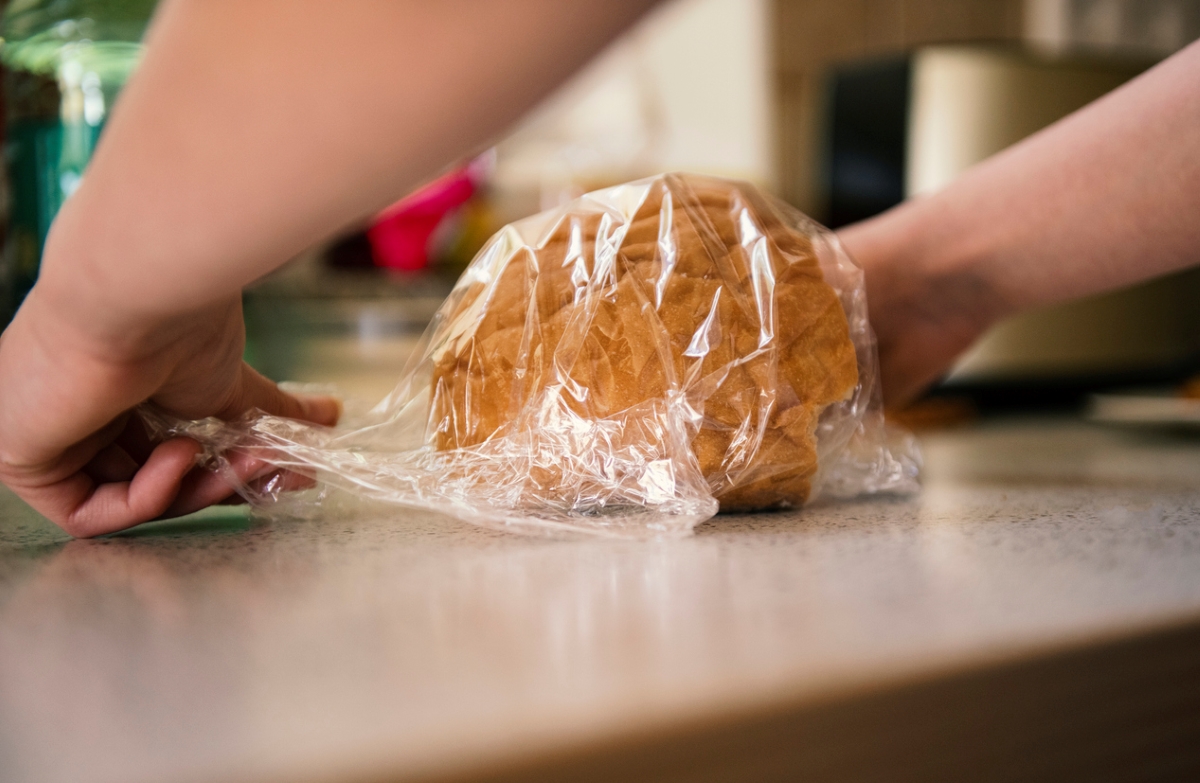
If all of your chip clips are in use or broken, don’t fret. Use a piece of painter’s tape to seal the bag and protect the contents from spilling or getting stale. Unlike some other types of tape, painter’s tape can be reusable, so you can pour out a few chips and reseal the bag with the same piece again.
13. Create roads or floor games for kids.

The next time rainy day boredom strikes, keep your little ones entertained with the help of some painter’s tape. Lay it out on the floor to create “roads” for their toy cars to drive on, hopscotch boards, balance “beams,” and more.
14. Hang temporary decorations for a party.

If you’re planning a birthday party, New Year’s Eve celebration, or any other event that you want to decorate for, painter’s tape can help save your walls from damage. Use the tape to hang up the decorations, then you’ll be able to pull them back down without peeling the paint off with them.
15. Protect artwork when moving.
When you’re packing artwork in a glass frame for a move or need to ship it somewhere, painter’s tape can also be a valuable asset. Placed over the glass, the tape can prevent it from shattering and ruining the art behind it. Use the blue tape to create diagonal lines between each corner and outline the perimeter of the glass for maximum protection.
16. Make a DIY cord organizer.
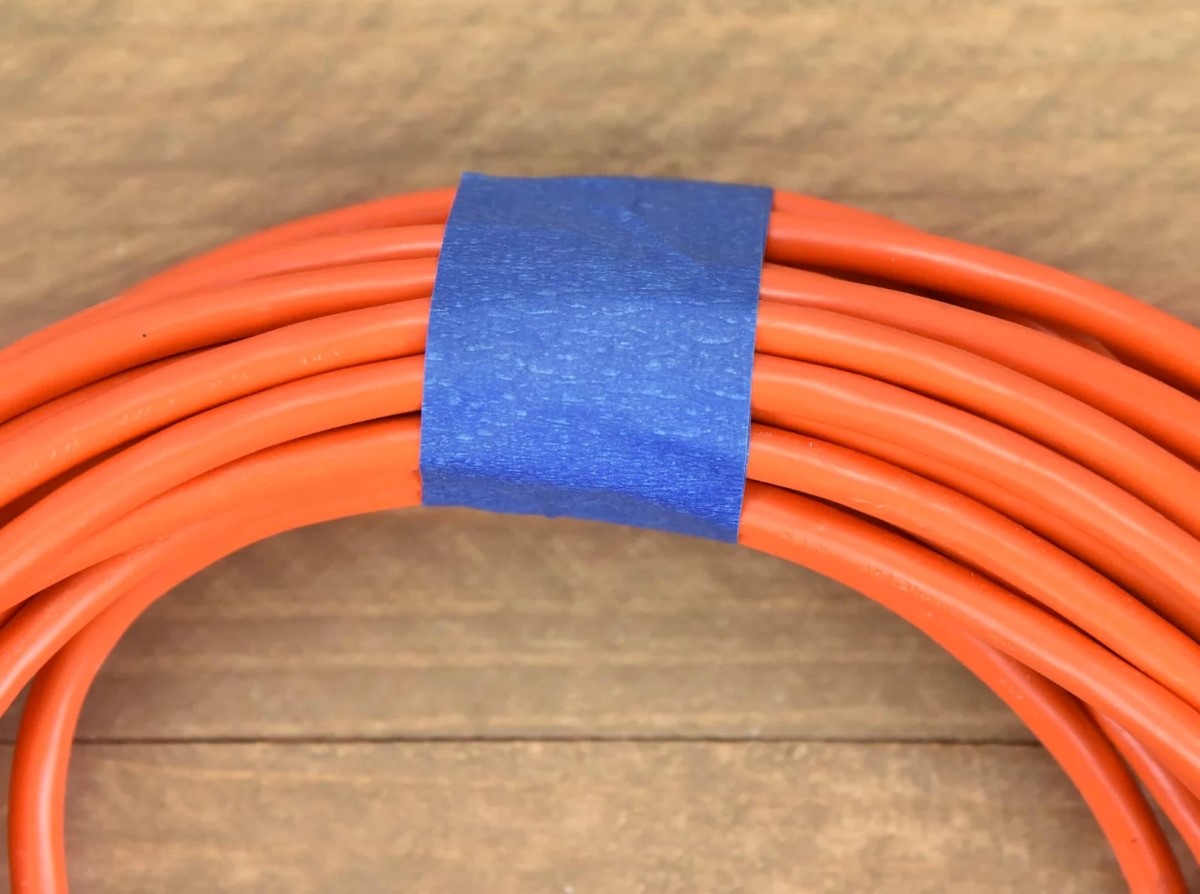
Tired of the cords on your desk or behind your TV always looking like a tangled mess? Neaten things up by wrapping painter’s tape around them for a more streamlined look. You can even use the tape to keep cords that run up and down a wall look straighter and like less of an eyesore. And, because the tape doesn’t leave a residue behind, you can always add or remove cords for new devices while maintaining the same cable management solution.
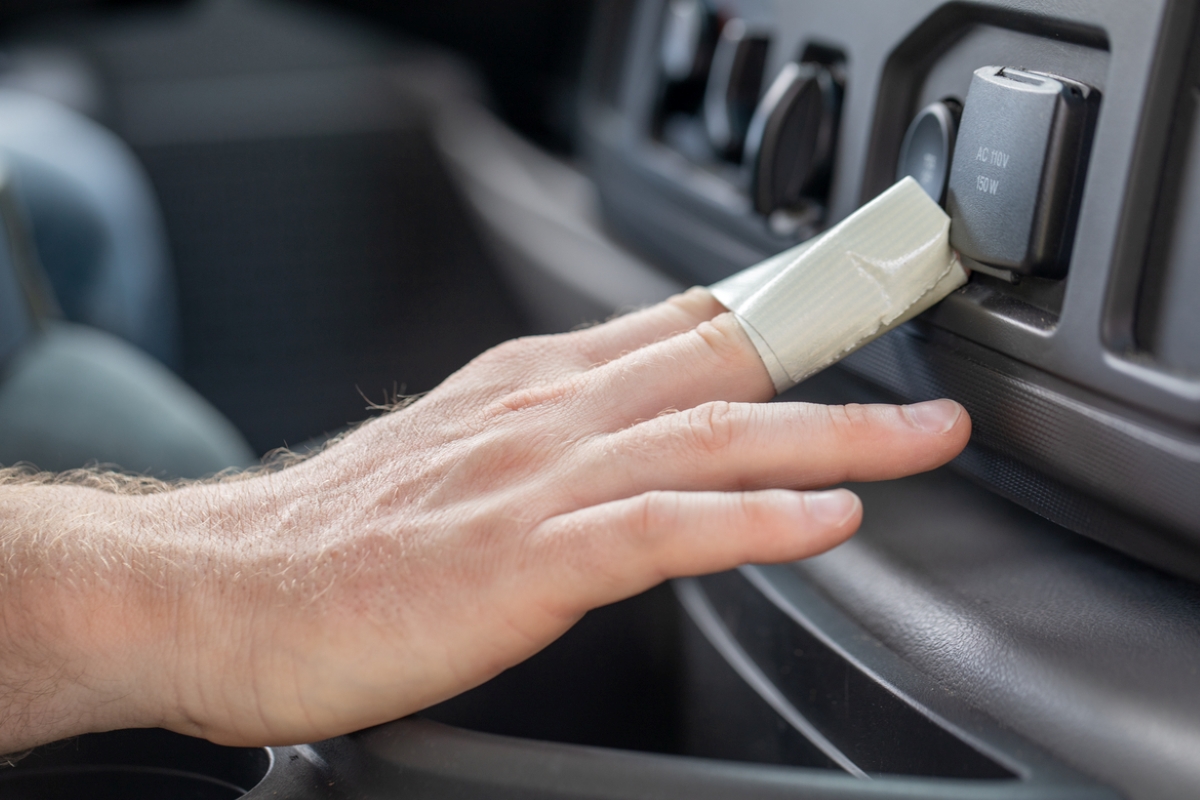
17. Remove pet hair from clothes and furniture.
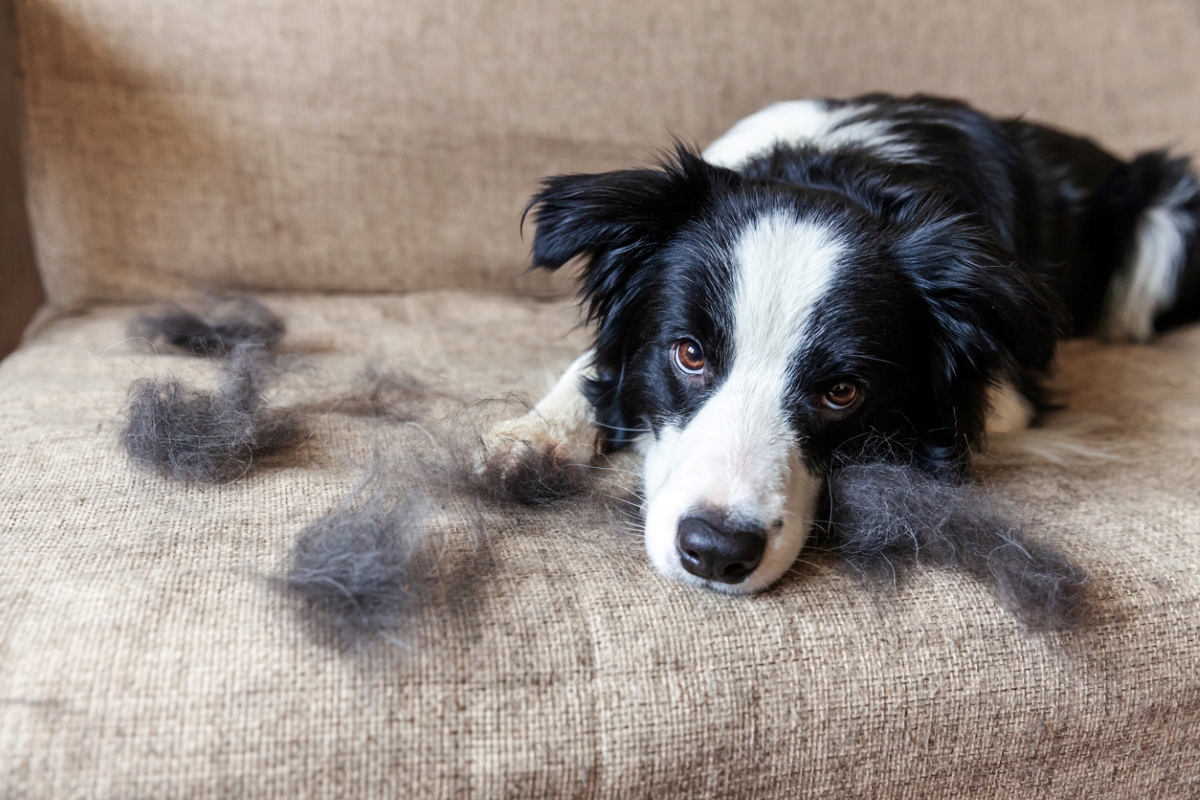
If you don’t have the best lint roller, and you need to get pet hair off your clothes or furniture, try using painter’s tape. Wrap the painter’s tape around your fingers, sticky side out, and pat it over your outfit or the fur-covered upholstery. Depending on how much pet hair there is, you may need to repeat the steps above and wrap more tape around your fingers.