We may earn revenue from the products available on this page and participate in affiliate programs. Learn More ›
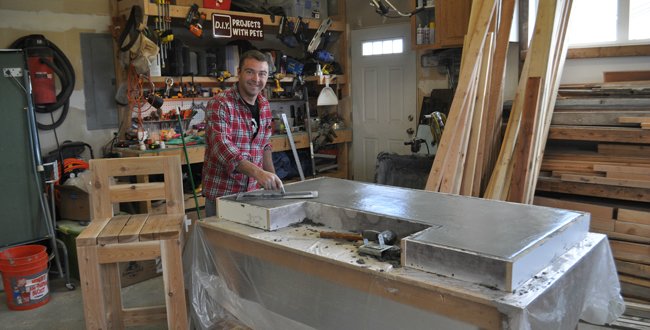
The industrial vibe of concrete is currently in vogue in the design world, from sleek, austere countertops to geometric planters and much more. Although working with the material might seem messy and even a little scary, we’ve got great news for DIYers: There’s no need to be quaking over the difficulty of a concrete project. Professional-quality projects are totally accessible to the average maker, as long as you have the means and the know-how. We cornered Pete Sveen, a professor in concrete at Bob Vila Academy and the man behind DIYPete.com, and asked him to spill the trade secrets that make working with concrete easier—and make the results far more attractive than you’d ever imagine.
1. Include an additive to make your concrete easier to mix.
Some people think you need to spring for a more expensive concrete, but most DIYs can start with a bargain five-dollar bag from the hardware store. “For simple projects, you can stick to the standard mix, no additives required!” says Sveen. “If you’re doing a larger, more complicated project, try adding a plasticizer. It helps the concrete mix flow into a mold easier, ensuring that the concrete gets into all of the nooks and crannies.”
Now, there’s no magic mix-in for a quicker project, says Sveen. “You’re never going to want to add anything that will slow down or speed up the drying time.” If, however, you are working in hotter temperatures, he recommends using a tarp to cover the mold as it cures—it keeps the concrete at a cooler temp, and the slower the concrete cures, the better. The tarp prevents cracking and makes for an all-around better cure.
2. Perfect your pour for a better consistency and curing.
The biggest key to a successful project is to reach the right texture when you make your concrete batch. “When you’re mixing concrete, shoot for a cookie dough consistency: not too runny or too dry, otherwise you can end up with cracks or voids in the concrete,” says Sveen. When you pour the concrete into a mold, employ a vibration technique—just tap a rubber mallet against the sides and bottom of the mold as you pour, instructs Sveen. “This eliminates any voids or bug holes from the concrete, which you’d otherwise have to fill once it dries.”
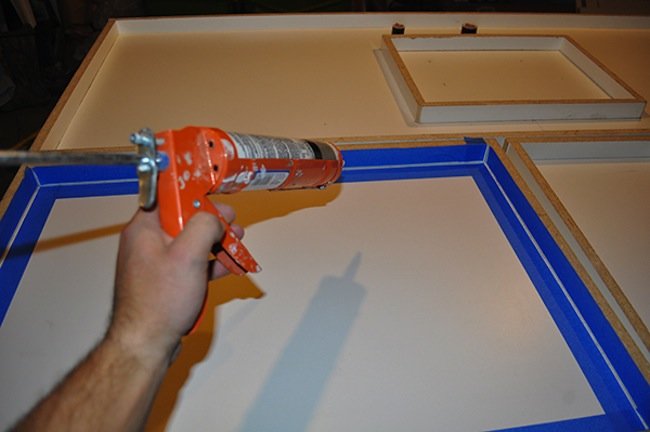
3. Choose the right mold for the right results.
While you may be tempted to use a number of different materials as molds—cardboard or recyclable plastics, for starters—the ones that produce the best results are made out of melamine. With a porous material like cardboard, the water from the concrete will seep out and create a rougher finish; in a melamine structure, the water has nowhere to go. Instead, the concrete mimics the melamine’s smooth appearance, resulting in a picture-perfect finish without the extra work. When creating a custom cast from the material, “piece together the strips using screws, then run a thin layer of silicone over any cracks so no water seeps through,” says Sveen. Just remember to make a mold that is sturdy enough to hold the heavy concrete.
4. Take advantage of the material’s impressionable quality.
While it’s still soft, you can press rocks, coins, fossils, broken tiles, pieces of glass, and any other decorative elements into poured concrete. “Your options are pretty limitless,” says Sveen. “You can do everything from integrate trivets into a concrete tabletop or imprint a shape to create customized spaces within the piece.” To facilitate mise en place, you can craft a recess in a desktop or bathroom countertop by placing the desired object—be it a pen holder or soap dispenser—onto the concrete structure with a very thin layer of 100 percent silicone in between to hold it in place. When dry, your item will pop off of the DIY.
5. Choose the right finish to make this construction staple luxe.
So many people think that they have zero options when it comes to the look of concrete. The truth? “There are simple solutions to make concrete look more custom and expensive: Acid stains, concrete dyes, and stamping all can create a uniquely finished look,” says Sveen. “For a beautifully smooth finish, though, try polishing it with an orbital sander and then sealing with three to four thin coats of a water-based acrylic sealer.” In only 20 to 30 minutes, your concrete structure will look ultra-sleek—and even be easier to clean!

For more concrete tips from Pete Sveen, check out the course he teaches at Bob Vila Academy.