We may earn revenue from the products available on this page and participate in affiliate programs. Learn More ›
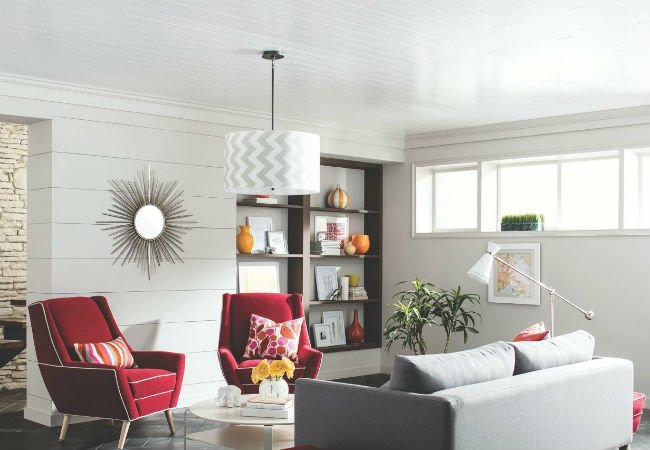
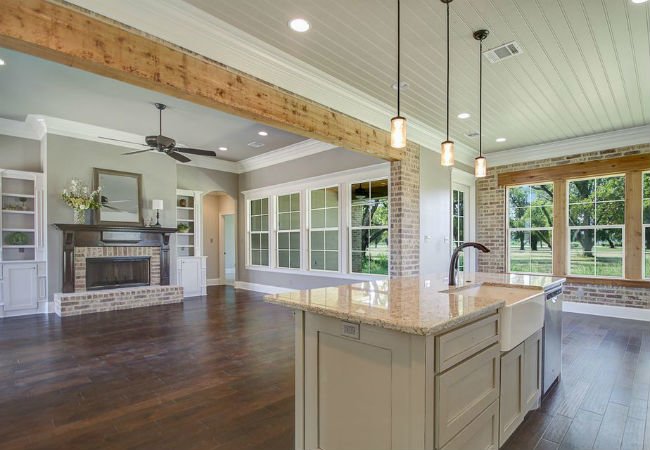
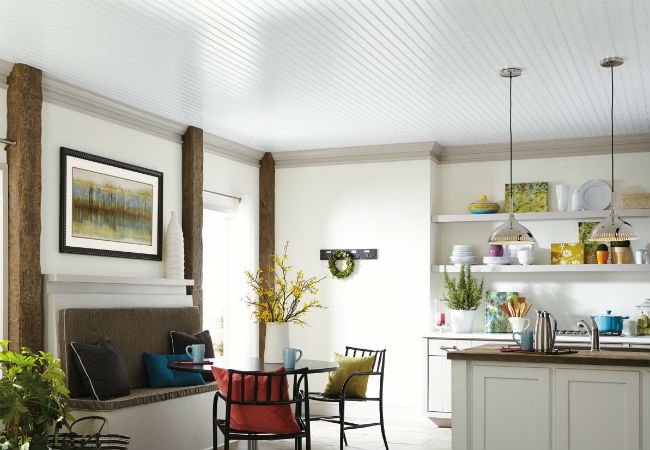
Prominent in the trim aisles of home improvement stores and popular on home remodeling shows, beadboard offers a great way to dress-up drab walls and ceilings. Beadboards are flat planks with one or two “beads”—semi-circular, raised ridges—milled vertically into the face of the boards. When installed on a surface, it gives the appearance of two or three narrower boards side by side. Beadboard was traditionally used on the lower area of walls (i.e., wainscoting), but it’s since become trendy for ceilings, where it lends a warm cottage feel to a room. If you’re intrigued by the idea of putting in a beadboard ceiling, keep reading—we’ll give you all the details and explain how you can get the look.
From Functional to Fashionable
In the late 1800s, beadboard (often milled from white pine) was introduced as paneling for interior walls. Its dual purpose was to add a degree of insulation and to protect the lower part of the wall from chair bumps and boot scuffs. Plus, it looked great! Beadboard remained popular through the Victorian era, but its appeal waned slightly during the Roaring Twenties when glamourous wallpaper came into vogue. Beadboard never completely disappeared, however, and still today it can be found in houses built in every decade of the past century.
RELATED: 15 Old House Features We Were Wrong to Abandon
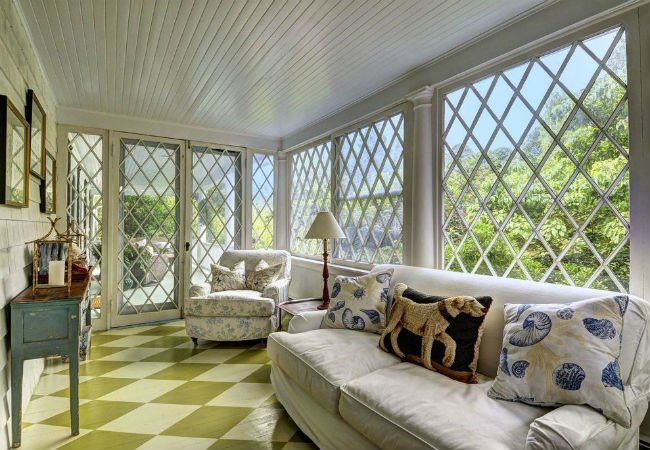
Exterior beadboard, milled from weather-resistant fir or long-leaf yellow pine, was also a staple on the ceilings of country style covered porches—a timeless design that never went out of fashion. On interior ceilings, beadboard didn’t catch on in earnest until the 1950s, when it became a way to cover up old plaster with unsightly cracks. For country homes and farmhouses, beadboard was the updating material of choice, which is why it’s still associated with rural charm.
Material Matters
Here are the beadboard basics you need to know:
- Pine is the most commonly used material in the creation of beadboard planks, which are approximately 5/16” thick, 3 ½” wide, and available in eight-foot lengths, such as these Hakwood Knotty Pine Beaded Planks (available from The Home Depot).
- Beadboard planks feature tongue and groove assembly, meaning one side of a plank has a tongue (protrusion) that runs the length of the plank, and the other side has a corresponding groove. When installed side-by-side this creates interlocking reinforcement that keeps the planks flat and even.
- Pricewise, plan to spend approximately $1.50 per square foot (planks only) to cover a ceiling. Professional installation could add another $2 to $3.50 per square foot.
- Though you may be familiar with installing tongue and groove hardwood planks on a floor, ceiling installation is more difficult, so you may wish to hire a pro. However, there’s a new (and more DIY-friendly) trend in beadboard ceiling planks—that runs $2.50 to $4.19 per square foot and is available in more than a dozen wood-tone shades—which we discuss further in the installation section.
Pros and Cons
While beadboard ceilings are popular, the material comes with several considerations to keep in mind before buying.
PROS
- Installing beadboard on your ceiling will transform the look of your entire setting. A ceiling is the largest visible surface in a room, its expanse broken only by a light fixture or fan. Beadboard draws the eye upward and creates visual texture.
- Homeowners who hate their existing popcorn ceiling texture can count on beadboard to hide it completely, removing the labor of scraping it off from the equation.
- Beadboard is relatively affordable, compared to other professionally installed ceiling treatments, such as tray ceilings, which can easily cost in excess of $10,000.
- DIY beadboard kit systems can be installed by a homeowner with basic carpentry knowledge.
- Unfinished standard wood beadboard can be painted to match or complement other trim in the room.
CONS
- Unless you’re a skilled craftsman, traditional wood beadboard isn’t a DIY project. To save money, you can have a contractor install it and you can paint it yourself afterward.
- A leaking roof or faulty overhead plumbing can result in water-damaged beadboard, which may require replacement.
- Though listed as a plus above, beadboard makes a major statement, not a subtle nuance—so make sure it’s a look you want long-term. While you can remove beadboard by prying each board (or clip) off, you’ll end up with multiple nail holes in the ceiling that will need to be filled before you can repaint.
Installation Information
Below, details on putting in standard beadboard and Armstrong’s WoodHaven Beadboard (available from Lowe’s), manufactured from medium density fiberboard (MDF) and virtually identical to solid wood beadboard for design intents. No matter which type of beadboard you choose, you’ll want to install cove (ceiling edge trim) around the top of the room’s perimeter to give a finished look and cover the small gap that will remain between the beadboard and the wall (required for expansion).
STANDARD BEADBOARD
Installing standard wood beadboard planks is challenging because each plank must be blind nailed to the ceiling joists, or to furring strips (boards installed on the ceiling perpendicular to the joists). The process involves using a pinner (a nail gun that shoots pins) into the tongue of the plank at an angle that penetrates the joist or furring strip, while snugging the plank tightly against the previous plank. This same process is used to install hardwood flooring, but performing the task overhead is difficult and time-consuming, and if the pins are not installed correctly the boards won’t fit snugly and the results will look amateurish.
BEADBOARD SYSTEMS
Armstrong’s WoodHaven Beadboard installs with special clips that attach directly to furring strips or joists without the need to blind nail each plank. The beadboard planks then slide right into the clips, which do not show from beneath. Installing each row of planks is a simple matter of attaching the clips and then sliding the planks into place. This creates a “floating ceiling” because the planks are held in place by the clips, not directly attaching them to joists or furring strips.
Two other installation methods are available with this system, as well. The beadboard planks can also be installed by attaching special tracks to the ceiling and then attaching the clips to the tracks before sliding the planks in place. The third, highly innovative way to install WoodHaven Beadboard is to attach it to the grid of an existing dropped ceiling. For basement dwellers, this opens up a whole new world of design possibilities. Distinctive Easy-Up Clips attach to the existing grid, and the beadboard planks slide easily into place.
Minor Maintenance
Beadboard ceilings are a snap to care for!
- Run a long-handled feather duster over the planks once a month or so to remove any bits of dust.
- If necessary, wipe down the planks with a soft damp cloth.
- Promptly repair any leaks in the roof above, or in plumbing fixtures and pipes, to ensure that you don’t end up having to replace water-damaged beadboard planks.