We may earn revenue from the products available on this page and participate in affiliate programs. Learn More ›
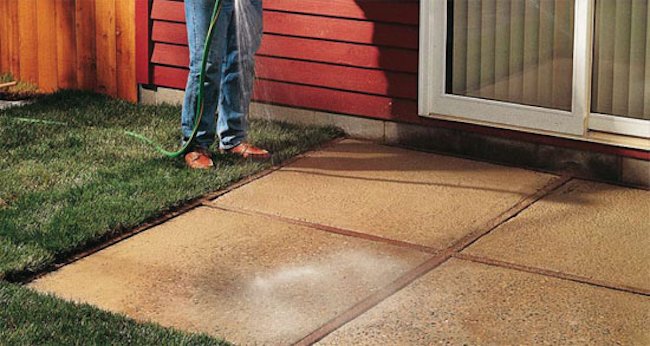
Whether rectangular or curvy in design, next to the home or freestanding in the yard, a concrete patio establishes new living space outdoors and adds a striking feature to the landscape. Of all the commonly used patio building materials, concrete ranks as one of the most durable and versatile. It’s affordable, too, not least because an ambitious, capable do-it-yourselfer can handle the project himself, saving the considerable cost of a contractor. If you’ve worked with concrete before and feel ready to tackle a larger, more complex project, you can—with proper planning, the right materials, and the necessary tools—achieve a long-lasting, eye-catching result. To help you succeed with minimal hassle, QUIKRETE® offers these detailed guidelines.
Before you begin, survey the location you’ve chosen for your DIY concrete patio. If the ground here isn’t level, you may need to regrade the site, with or without the help of an excavator. Even if there’s no plainly visible, dramatic slope and the terrain looks level, it’s best not to trust your naked eye. Rather, drive stakes around the project area, attaching mason’s strings between each one. Using a line level, make sure the string runs at a consistent height. Next, measure from the string to the ground at each stake. Compare the line-to-ground measurements of any two stakes, dividing the difference (in inches) by the distance between the two stakes (in feet). If you get a calculated slope greater than one inch per foot, then you’ve got some grading work ahead of you.
MATERIALS AND TOOLS
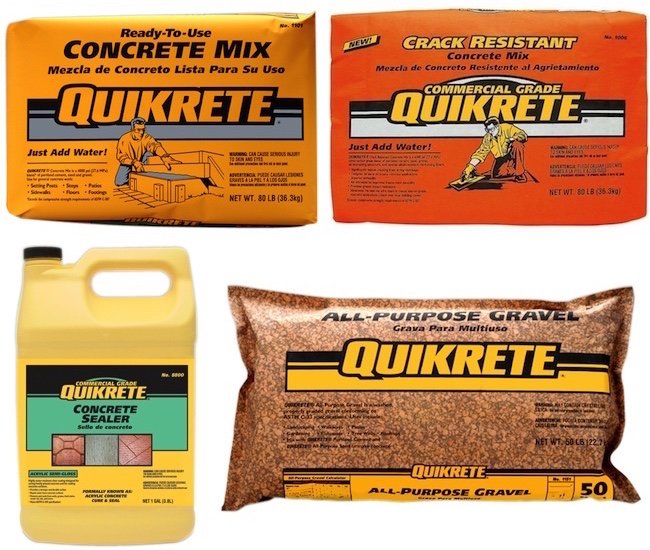
– QUIKRETE® Concrete Mix or QUIKRETE® Crack-Resistant Concrete Mix
– Grade stakes
– Mason’s string
– Line level
– Tape measure
– Square-end spade
– QUIKRETE® All-Purpose Gravel
– Tamper
– 2×4 lumber
– Circular saw
– Level
– Power drill
– 3” screws
– Vegetable oil or release agent
– Wheelbarrow
– Stiff-bristled broom
– Concrete finishing tools
– QUIKRETE® Acrylic Cure & Seal
STEP 1: Lay out the planned patio.

Using either rope or a garden hose, delineate a rough outline for the planned patio. Next, drive in stakes in alignment with, but sitting about a foot outside, each corner of the rough layout. Once you have done so, run mason’s strings between the stakes; where possible, use two stakes set back about a foot from each corner so that the perpendicularly running strings will intersect at the true corners of the project area. Now it’s time to square the staked-out area. To do so, use what’s known as the 3-4-5 triangle method. From any corner, measure and mark a point three feet out along one string, four feet out along the other. Measure between the two points. Is the distance precisely five feet? If not, adjust the position of the strings, resetting the stakes if necessary, until the points are, indeed, five feet apart. Follow the same approach in each corner of the project area. Finally, use a line level to ensure that the mason’s strings run at a consistent level.
STEP 2: Excavate the area.
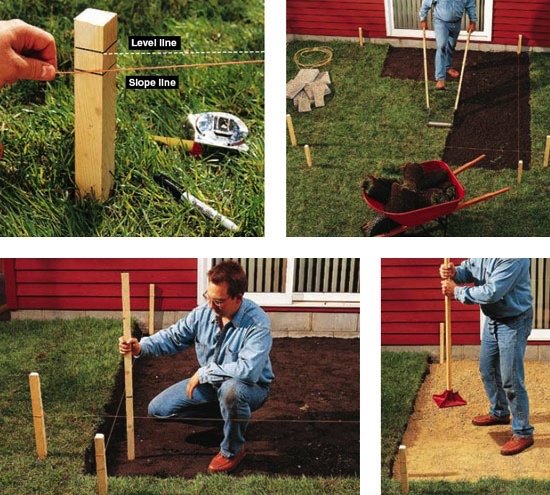
To keep water from pooling on the patio surface—or worse, flooding your basement—give your patio a slight, rain-shedding slope. At this stage, setting the slope means angling the mason’s strings. Follow the two strings running away from the house to the stakes where they’re tied. Because the standard slope is 1/8 inch per foot, multiply the planned length of the patio’s side (in feet) by 1/8. Whatever you get, that’s how far down to move the strings. Finished? OK: The most laborious part of the process begins now. Your goal is to excavate the project area—and six inches around it—to a depth of six inches below the mason’s strings. For all but the most forgiving soil, a square-end spade may be your best bet. Good luck! Upon completing the excavation, add in a layer of QUIKRETE® All-Purpose Gravel to provide a level, stable foundation. Pour the gravel to a thickness of about five inches, then use a tamper to compress it to four inches.
STEP 3: Build the formwork necessary to contain the poured concrete.
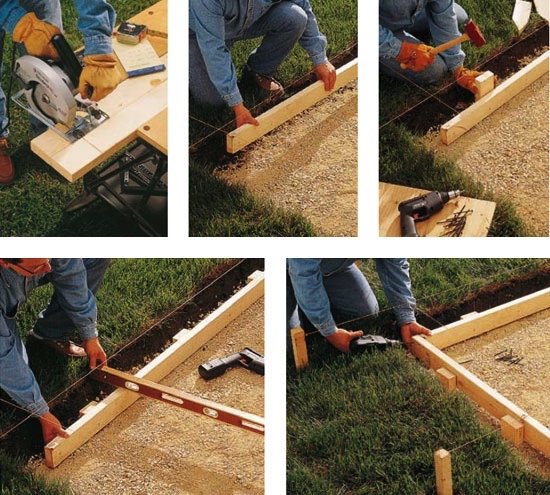
Whereas it takes brawn to complete the site excavation, it takes finesse to construct the form—that is, the wood frame that needs to be built to contain the poured concrete, establish its height, and determine its shape. Begin by positioning 2×4 boards onto the gravel along the perimeter of the project area, using the mason’s strings as a reference. Because the inside dimensions of the form must equal the total size of the project area, set the boards so that their inside edges hit directly below the strings. Then, every three feet along the outside edges of the form boards, drive in a foot-long stake cut from your stock of 2×4’s. To fasten the stakes to the boards, drill three-inch deck screws through the one and into the other. Finally, after leveling the form boards, screw them all together to finish. To prevent the concrete from bonding with the wood, coat the form with either vegetable oil or a commercial release agent.
STEP 4: Pour and finis the concrete.
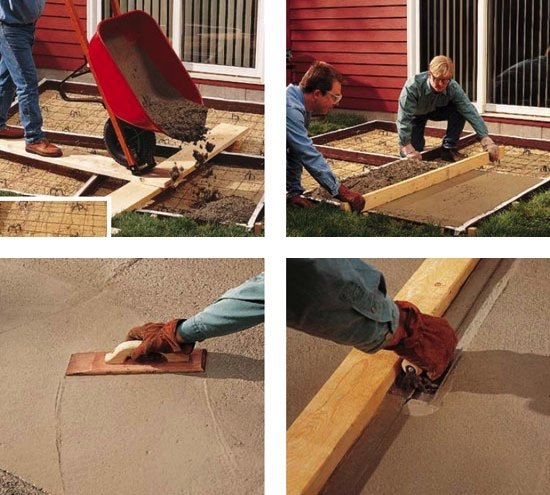
Proceed to mix and pour the concrete in evenly placed mounds. From there, distribute the concrete over the project area by means of a hoe, then level out the concrete with a screed board—here, simply a 2×4. Advance the screed in a sawing motion, removing the excess concrete in front of the board and using it to fill any dips behind it. Once the concrete has lost its sheen, go over it with a wood float, using arcing motions to smooth the surface. After that, finish the conrete with a stiff-bristled broom to make the surface nonslip. Now, as a next-to-last step, allow for seasonal expansion and contraction by using a groover and straightedge to put in control joints. Control joints should be cut to a quarter of the slab depth and added at least every 10 feet in each direction. Finally, apply QUIKRETE® Acrylic Concrete Cure & Seal, not only to eliminate the need for water-curing, but also to repel water and prevent stains.
Watch a video demonstration of concrete pouring, courtesy of QUIKRETE®!

How to Pour and Finish Concrete
For more even more details on pouring a patio, visit QUIKRETE® now!
This post has been brought to you by QUIKRETE®. Its facts and opinions are those of BobVila.com.