We may earn revenue from the products available on this page and participate in affiliate programs. Learn More ›
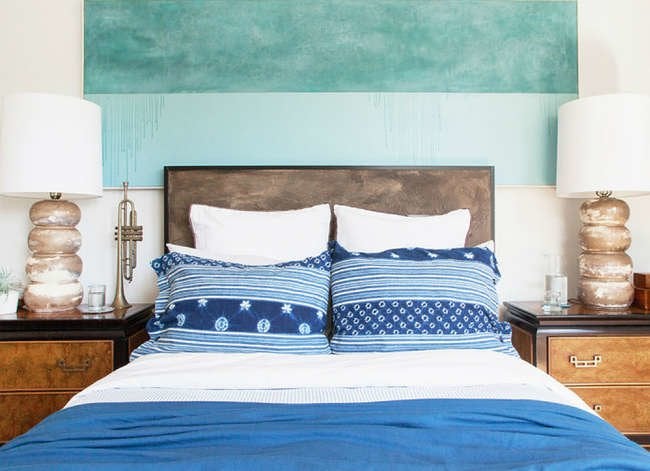
Double Duty

If you’re ready to take your DIY skills up a notch, then try your hand at crafting this custom-built headboard. A little creativity, some determination, and a few
power tools are required ingredients in this wood project, but the inexpensive cost and rustic finish make the time spent well worth it. When hanging your finished product, try layering a larger-scale work of art behind the headboard for a multidimensional display.
Related: How to Decorate a Bedroom
Diamond Design
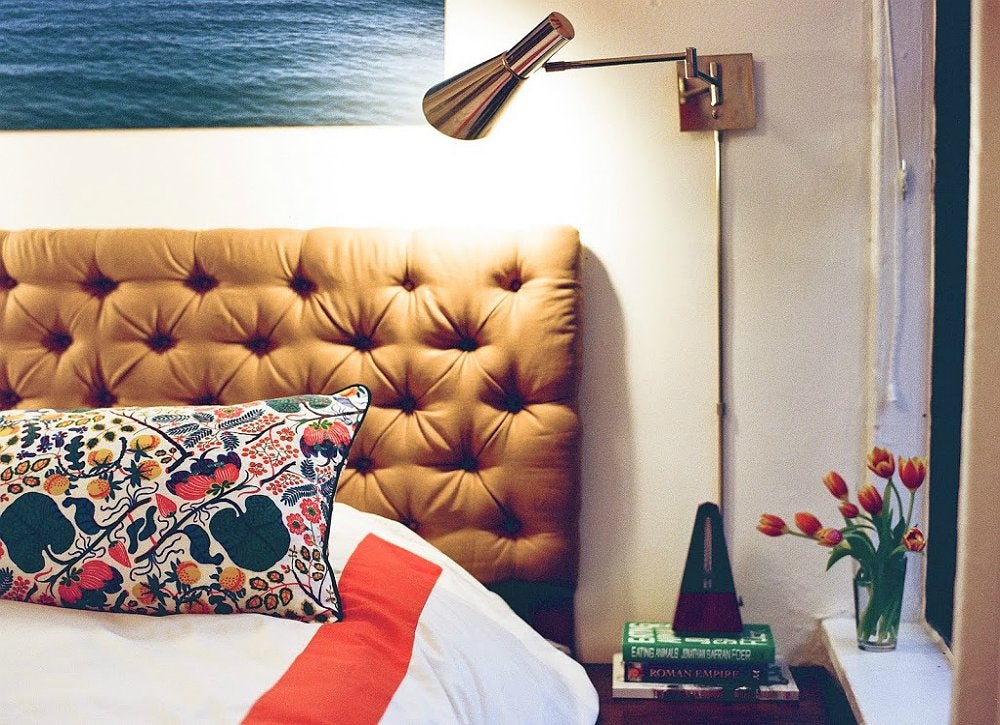
A DIY diamond-tufted headboard can be quite the undertaking, but you can simplify the process with this genius trick: Use pegboard instead of
plywood. The premade holes will make assembly so much easier, saving you energy (and a little sanity!) that would have been spent drilling holes in the wood. Although it’s a time-consuming project, the final finish will add a luxe look to any bedroom.
Related: 10 Ways to Renew Old Wood Furniture
Hanging Out
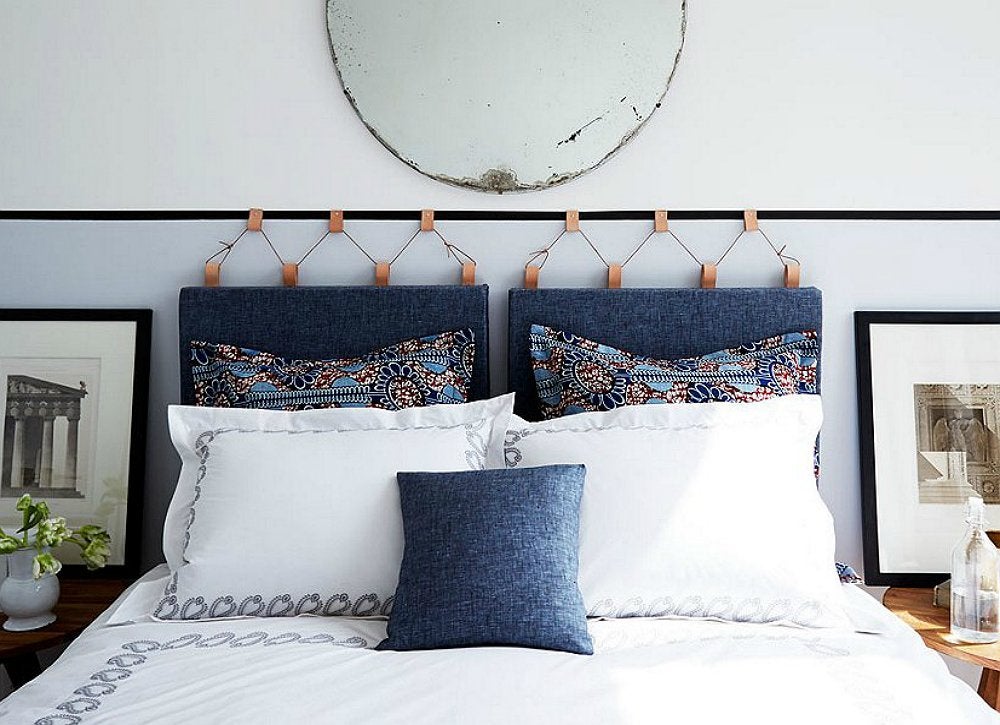
Don’t restrict yourself to the standard definition of a headboard! This unique take uses upholstery foam, two sets of stretcher bars, fabric, and leather loops to create a
hanging headboard that showcases multiple colors and textures. This crafter took her display to the next level, incorporating a painting technique on the wall behind the project to create added interest.
Related: How to Decorate a Bedroom
Window Display
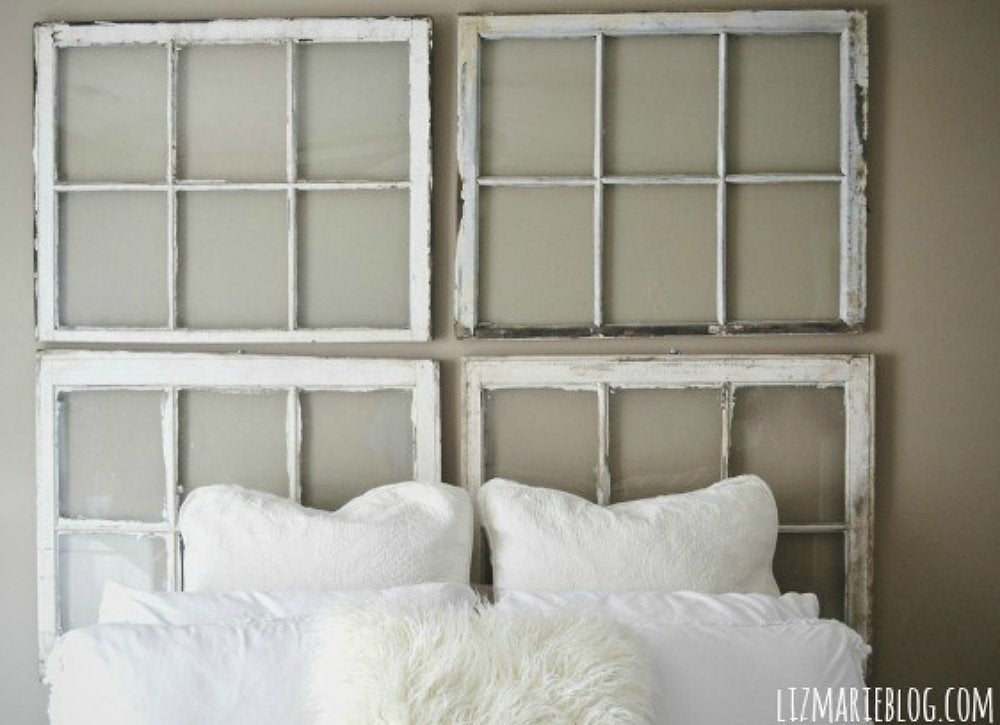
Cottage-style decor doesn’t have to come at a high cost. Take a page out of this blogger’s book and craft a charming headboard alternative from thrift store found windows. Whether you keep the windows distressed, or paint them to match your current color scheme, hanging a collection of these inexpensive finds above the bed is sure to result in a coastal calm aesthetic.
Related: Trash to Treasure: 14 Creative Ways to Make Good Use of Old Stuff
Photo Op
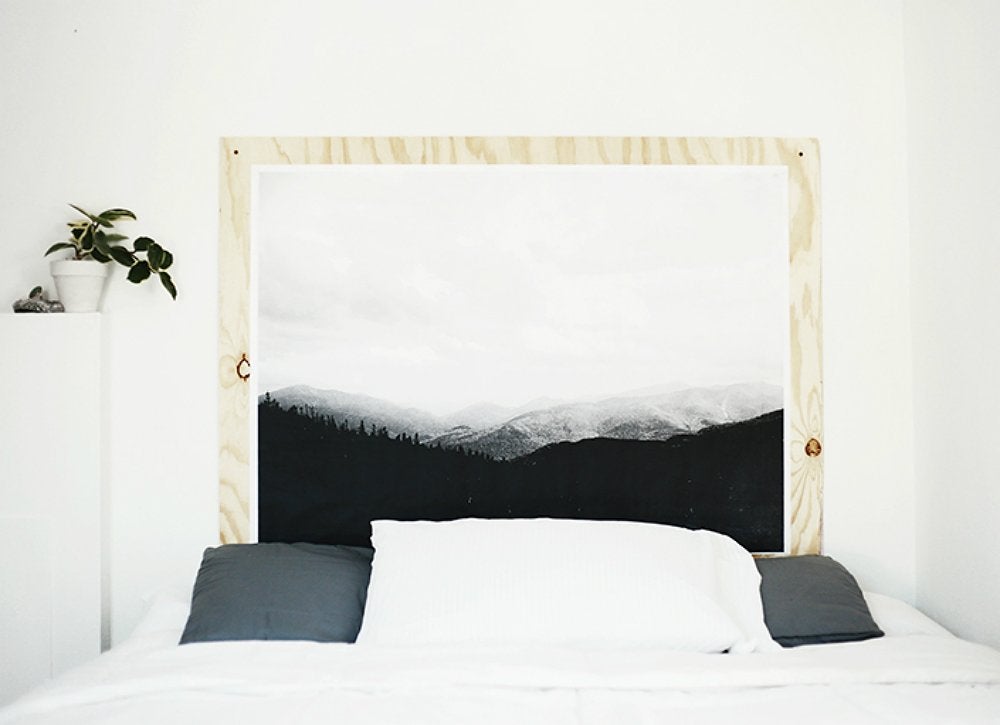
Hanging a framed piece above the bed is a creative alternative to the standard headboard. Instead of purchasing a photograph, however, consider using one of your own for a personalized touch. After getting an engineering print made, simply cut a piece of plywood that’s a few inches larger than your picture on each side. Use a hot-glue gun to attach the print to the plywood, seal the edges with Mod Podge, screw to the wall, and voilà—instant artwork.
Woven Beauty
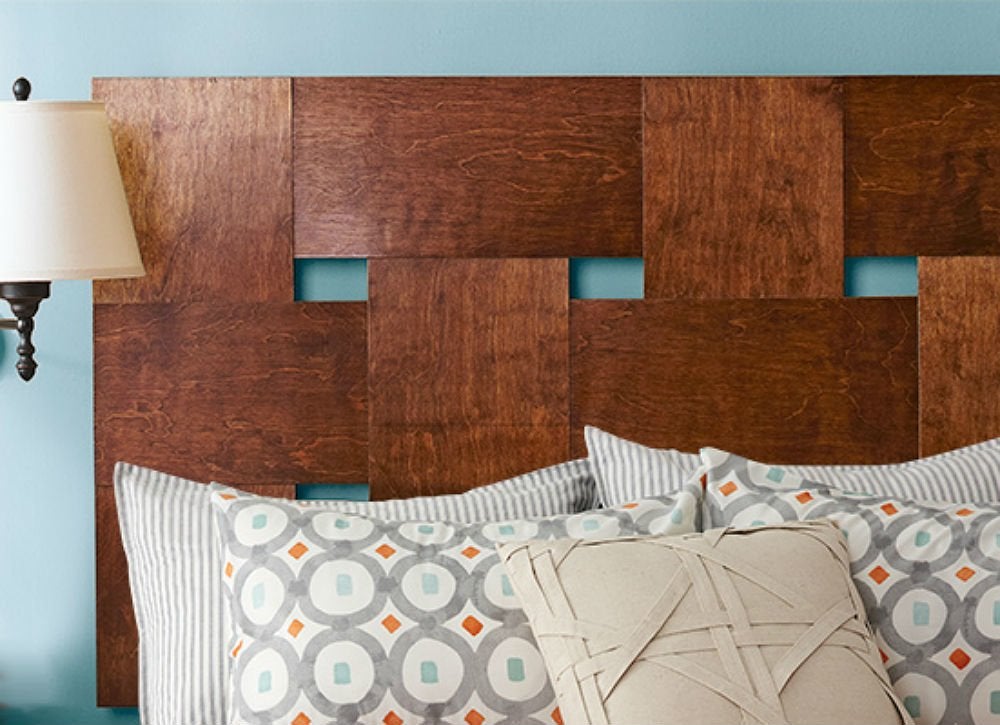
You don’t have to be an experienced woodworker to master this woven-wood headboard. After building the frame, weave pine boards through the gaps to create this dynamic look. The best part of this inexpensive DIY—besides the fact that it can come together in a weekend—is that you can
stain it any shade to match your current furniture.
Related: The Best Woodworking Tools
Paint by Numbers
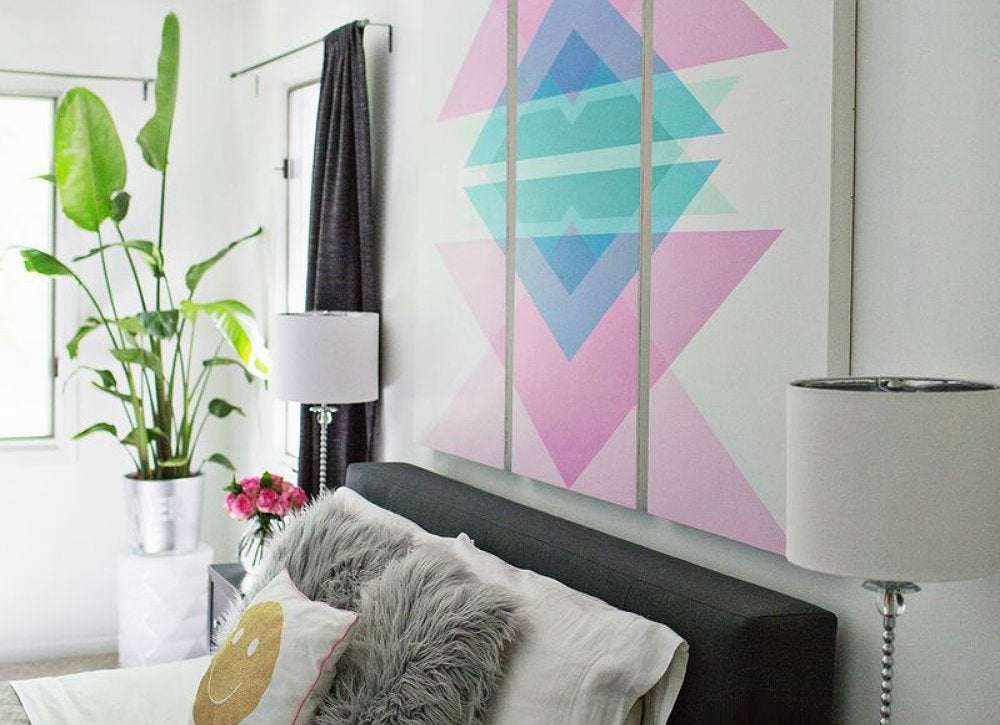
With a little planning and a geometric pattern, you can craft a custom headboard that adds color and style to your space. This blogger started by painting three wood panels white, and then used a projector to trace her pattern onto the panels. Next, she labeled each section of the pattern with a number that coordinated with a paint color, making it so much easier to complete this stunning work of art.
Related: 11 Genius Storage Ideas and Design Tips for Small-Space Living
In the Details
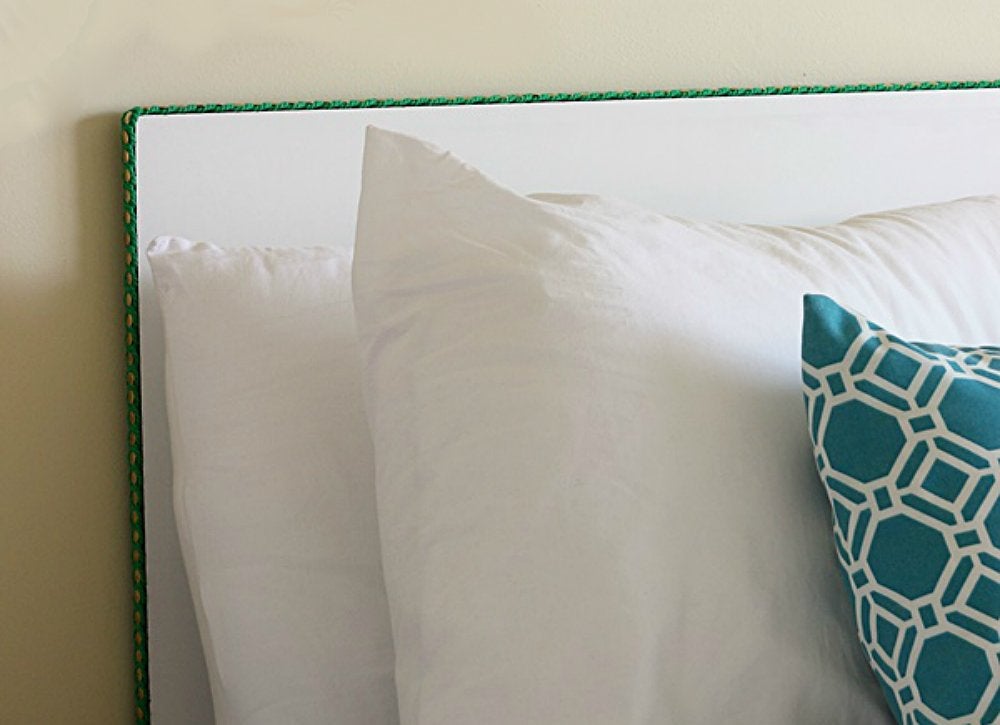
Sometimes the littlest details can make the largest style statement, as this surprisingly simple headboard proves. A piece of melamine
shelving, some fabric trim, and a few packs of brass thumbtacks come together to create this streamlined finished product that adds the just-right amount of visual interest to a colorful guest room.
Pretty Planks
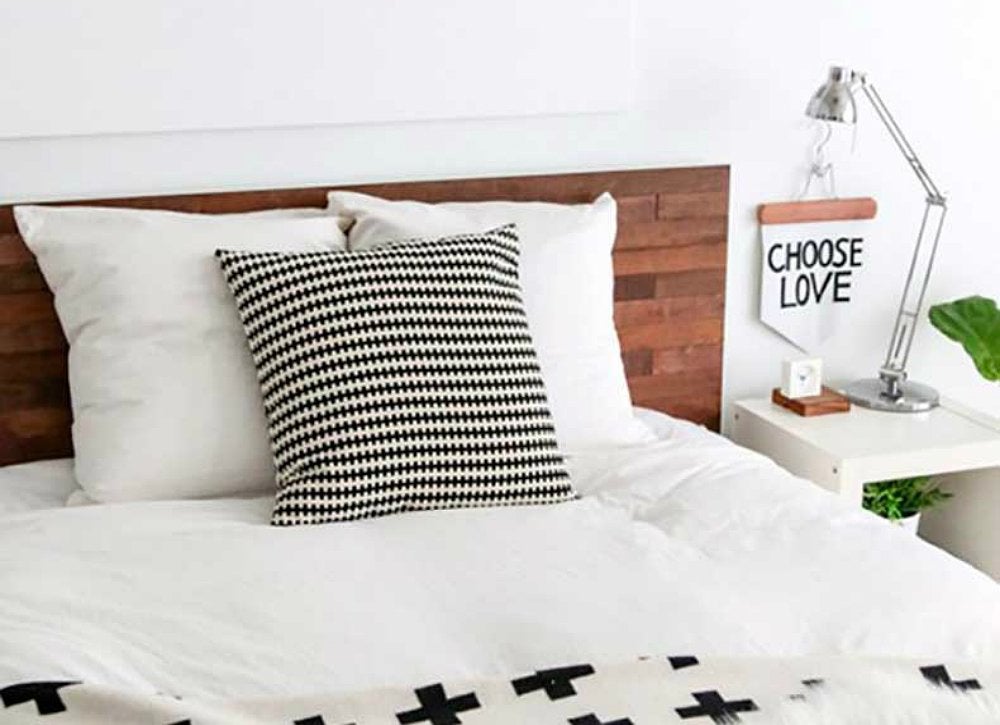
Adhesive wood panels are an amazing material that can give any homeowner the rustic look of reclaimed wood without the need for advanced skills. This
budget-friendly blogger used Stikwood to up the style game on her standard IKEA headboard, bringing it all together with little more than a rotary saw and clear polyurethane.
Tape Escape
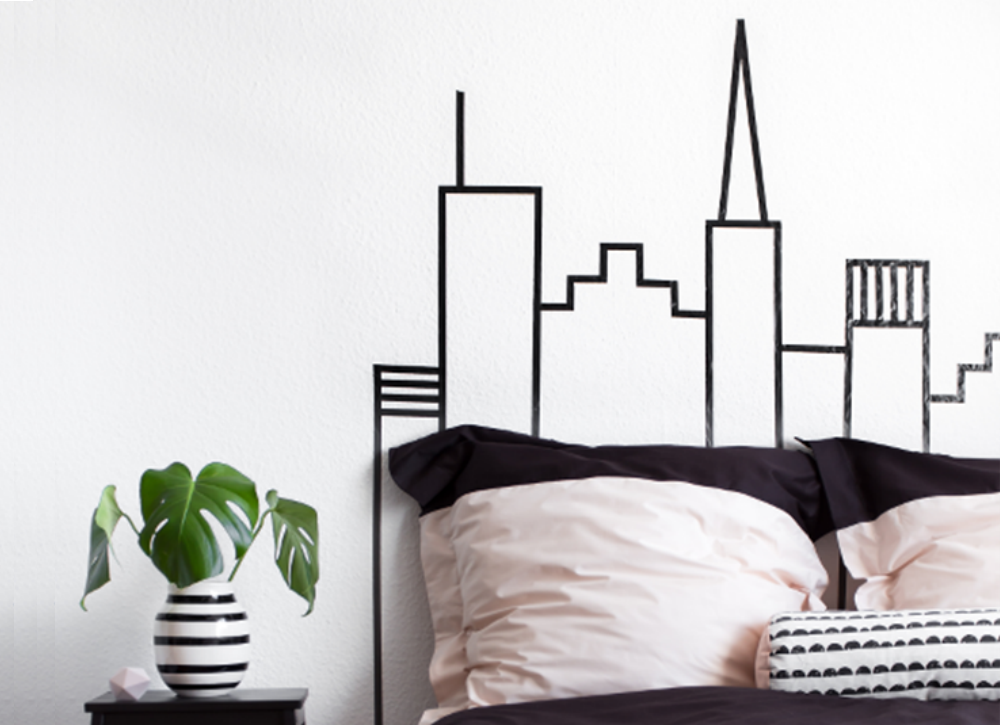
Washi tape can work wonders in temporary home decorating. Using the blank wall above your bed, let your imagination soar to design a headboard alternative that’s cost-efficient and visually interesting. Whether you go for a geometric pattern or the city skyline shown here, there are no limitations on what you can do with this super-easy headboard hack.
Related: 26 Insanely Easy Home Improvements You Can Do in 1 Hour
Great Outdoors
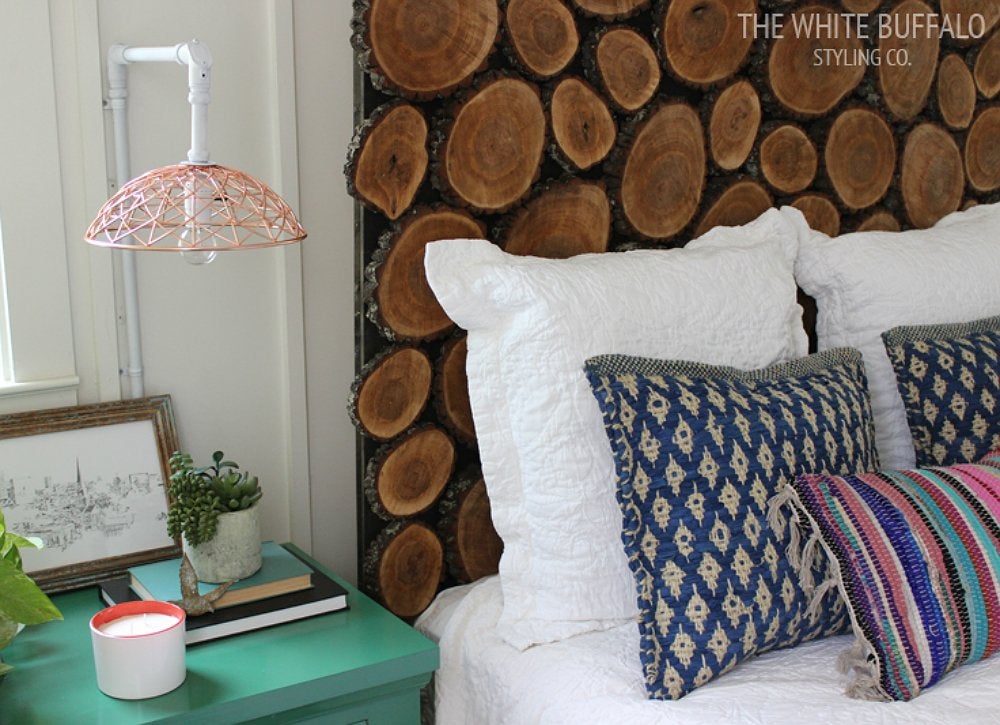
To imbue your space with natural elements, consider crafting this DIY wood slice headboard. The trickiest part of assembling the piece is having a little patience, as the wood rounds need to fully dry out before you can even begin. Once they’re ready, however, simply arrange and glue the rounds onto stained plywood for a woodsy result that is ideal for any rustic bedroom.
Chalk It Up
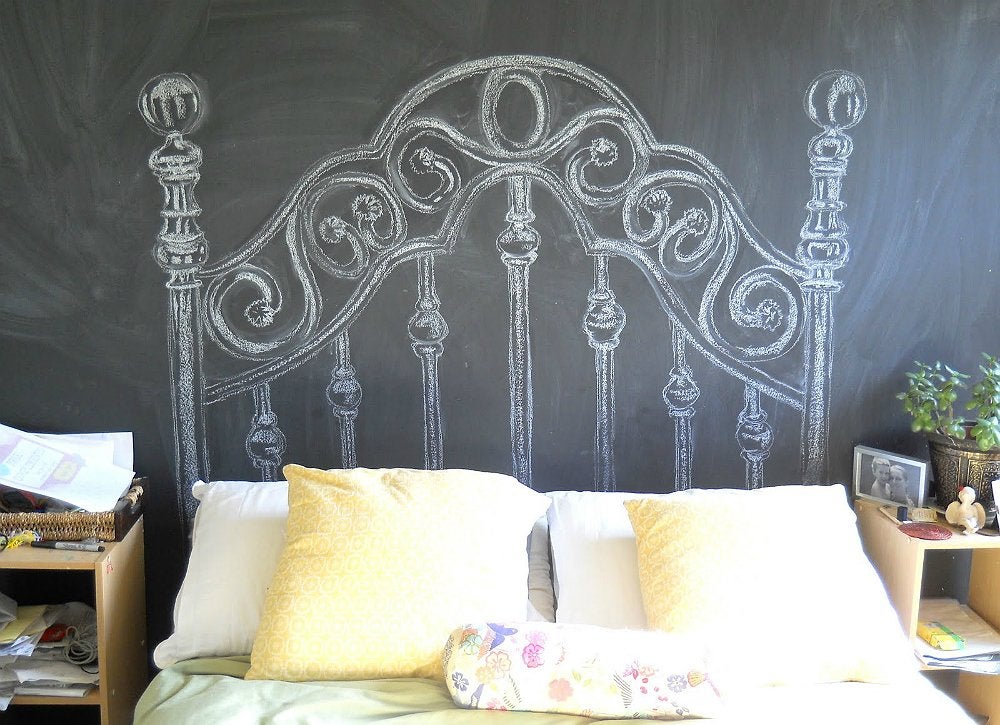
If you have a hard time making a decision or committing to a certain style, then this easy removable headboard is the perfect solution for your bedroom. Apply chalkboard paint to the wall behind your bed, and when it’s dry, draw your headboard on with chalk. The best part of this budget-friendly hack is that you can change it as often as you like, doodling new designs whenever your tastes change.
Pattern Panache
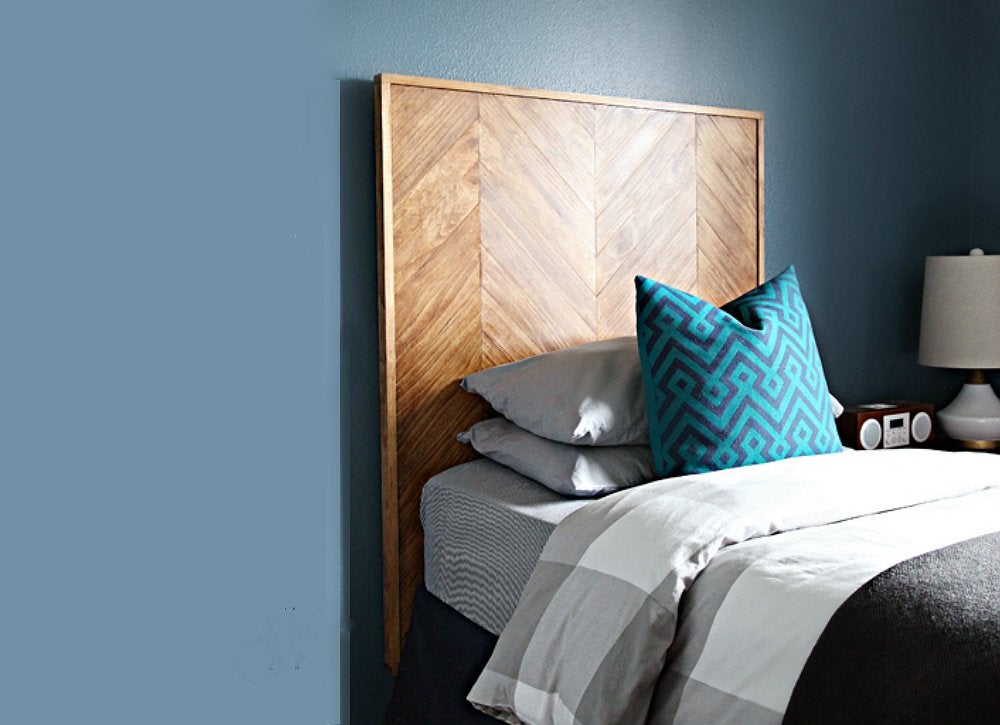
This herringbone wood headboard is a fine addition to any room in need of a natural statement piece. After the homeowners drew out the pattern on MDF, they followed a methodical process to create the herringbone effect from pine boards: measure, cut, glue, nail, repeat. They then trimmed the edges and stained the piece for a polished result that’s well worth the elbow grease.
Bedside Blinds

Old vertical blinds may no longer have a place in your window, but that doesn’t mean they can’t be repurposed into something stylish. Here they serve as the centerpiece for a woven headboard that injects the room with geometric charm. The real scene-stealers, though, are the green-painted lamps installed through the weaves, casting a warm and cozy light into the space.