We may earn revenue from the products available on this page and participate in affiliate programs. Learn More ›
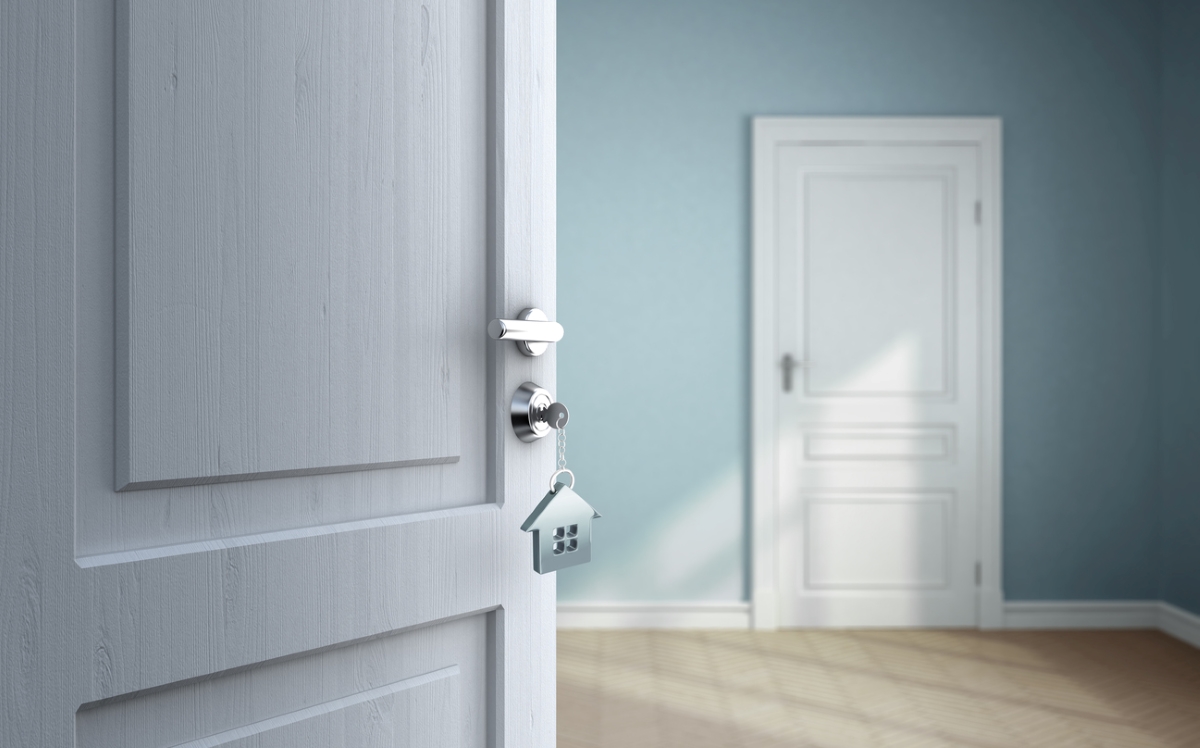
Installing a prehung door tends to be easier and more straightforward than hanging a door that isn’t prehung. While doors can be made in countless different sizes and styles—from modern, flush interior doors with standard dimensions to massive, traditionally designed entryways—there are dramatically fewer installation methods; in fact, there are only two. A door is either prehung in its own jamb, or it’s not.
Though prehung doors are less complicated to install than slab doors, installing one is still a labor-intensive project that requires some skill. Use this guide to learn how to install a prehung door, and the materials needed to complete this DIY task.
Tools & Materials
Bobvila.com may earn a commission from purchases made through these links.
Project Overview
Working Time: 1.5 to 2.5 hours
Total Time: 2 to 3 hours
Skill Level: Moderate
Estimated Cost: $250
What is a prehung door?
Before trying to learn how to hang a prehung exterior door or how to install a prehung interior door, it’s a good idea to know the difference between a slab door and a prehung door.
Prehung doors tend to cost more than slab doors, and are common in quick door install kits because they are sold by the manufacturer as a ready-to-go product. A prehung door comes with hinges attached to a three-sided frame, so DIYers only need to worry about selecting a compatible doorknob or door handle hardware. This straightforward and standardized design makes it easier to learn how to hang a prehung door than it is to learn how to install a slab door.
A slab door is a more basic type of door that does not come with hinges or a door frame. The slab is the door itself, without any extras attached. In addition to door hardware, users need to also purchase a door frame and door hanging hardware separately before hanging interior doors or exterior doors.
RELATED: Standard Door Size 101: Measurements All Homeowners Should Know
Before You Begin
When you are installing a prehung door, the goal is to mount the door in such a way that it can swing freely and close with near-perfect alignment. You’ll have to ensure that the door jamb is level and plumb while keeping the door frame flush with the surrounding drywall.
Whether you are hanging an interior door or an exterior door, it’s important to maintain a uniform ⅛-inch gap between the door and the jamb. Regularly check the frame with a level and test the door to make sure that it is able to swing freely without getting stuck on the floor or the top of the door frame. Ideally, the door will be able to close and open without sticking or sitting too loosely in the frame.
STEP 1 : Remove the old door and jambs.
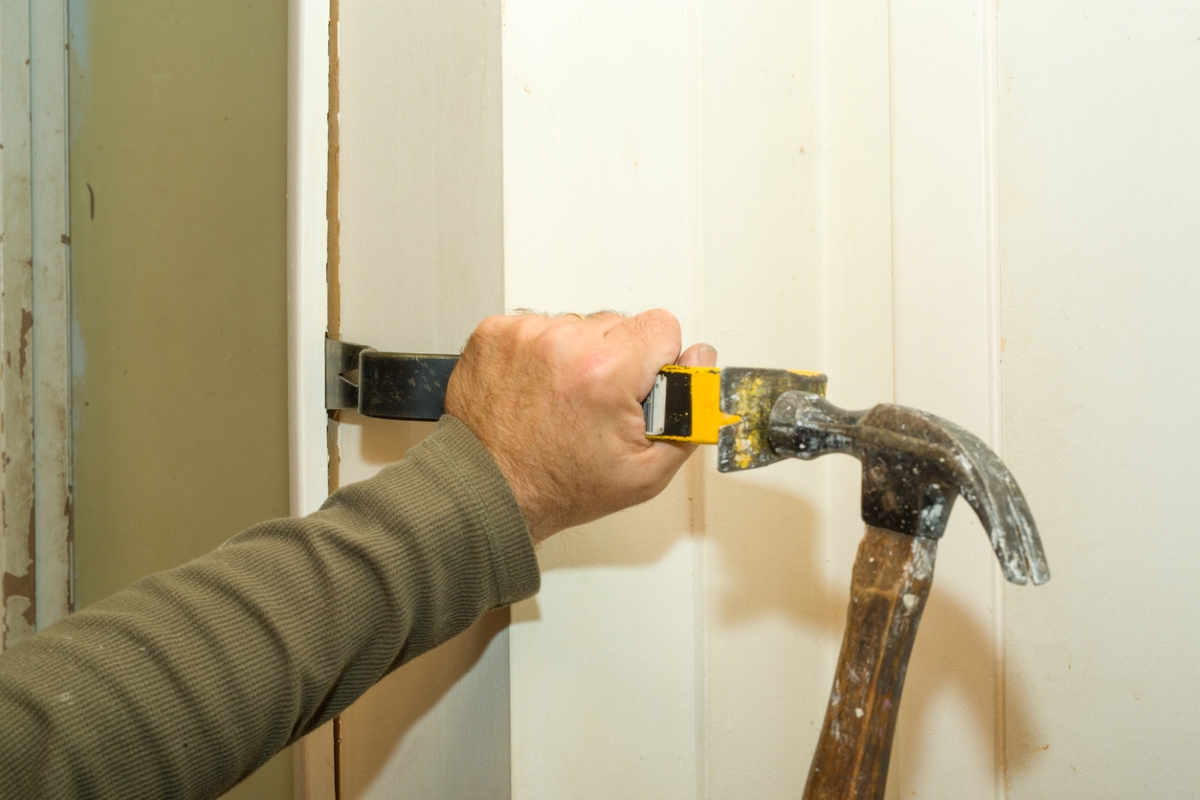
If there is an existing door, you will need to remove it and the old door jambs before you can install prehung door jambs. Start by removing the hinge pins with a screwdriver and hammer, then taking the door out of the frame. Remove the hinge plates and the strike plate from the frame, then loosen the trim with a putty knife.
Use a pry bar to carefully remove the trim and set it aside. Pry the side jambs away from the studs, then use the pry bar to pry down the head jamb and remove the connected head and side jambs in one piece. If need be you can pull apart the jambs, but it’s easier to leave them connected until the door jambs have been removed from the rough opening.
STEP 2: Measure the rough opening.
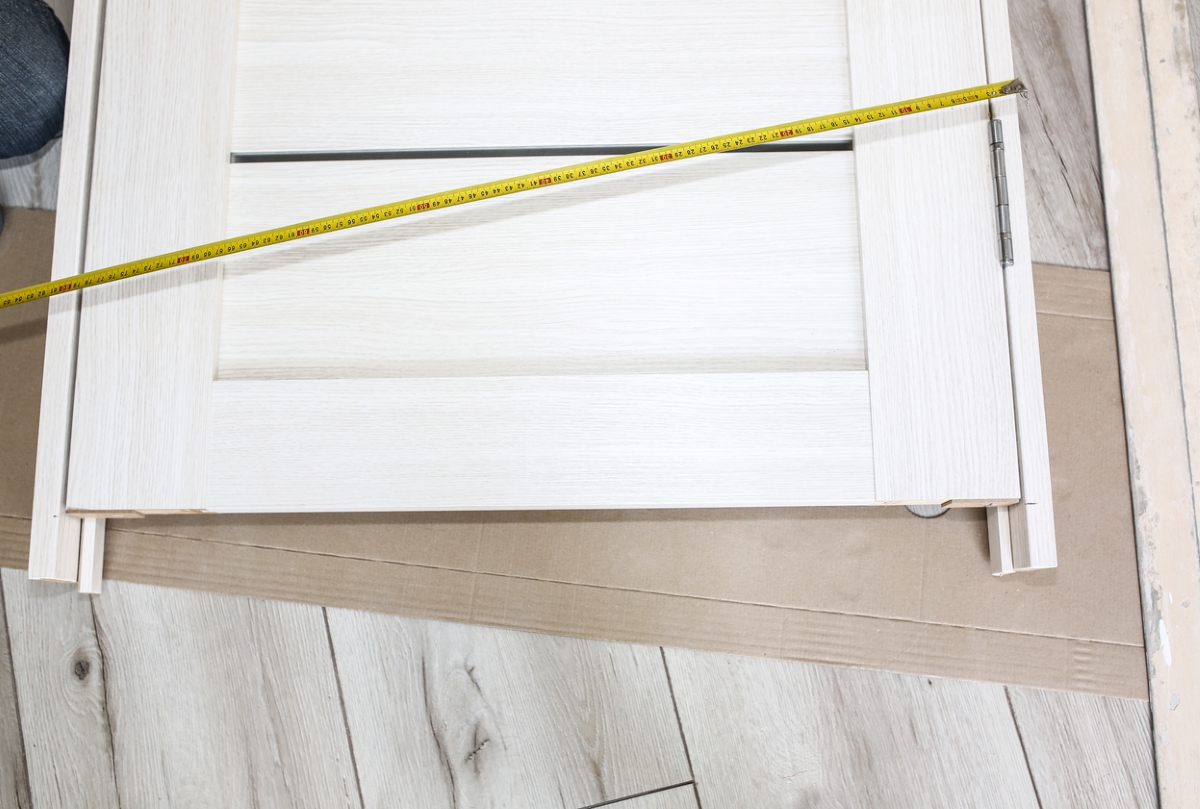
When you set out to install a new door, begin by measuring the rough opening into which you are placing it. The opening should be 1 or 2 inches larger than the door itself. That wiggle room enables you to shim the door, bringing it to the level-and-plumb position critical to proper functioning.
STEP 3: Set the door into the rough opening.
Position the prehung door frame in the rough opening. If the flooring has not yet been installed beyond the threshold, shim beneath the door jamb to account for the height that will be added once the new floor is installed.
STEP 4: Stabilize the door and secure the hinge side jamb.
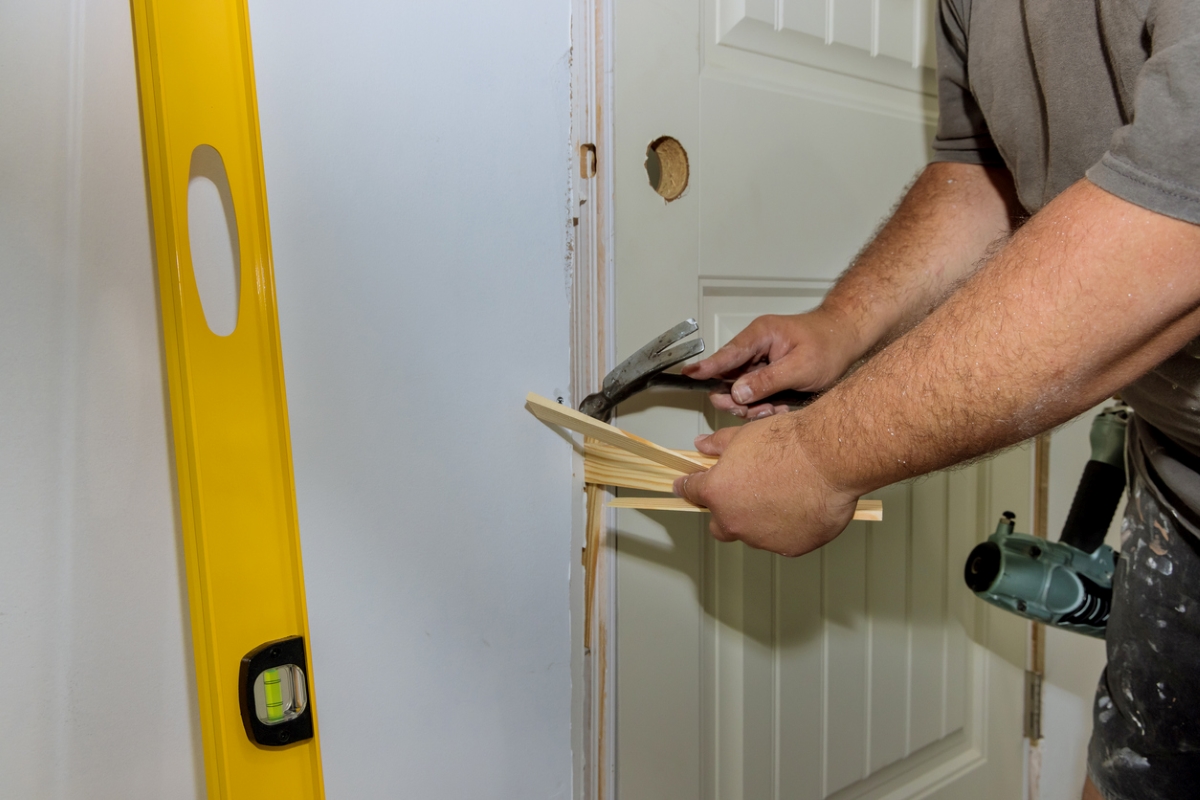
Next, make sure the hinge side of the door is plumb, or perfectly vertical. Having checked that the door is still centered within the opening, stabilize it by adding shims to both sides, near the top.
Check the alignment using a level. If the door is plumb, hold the hinge side so that it’s flush with the adjacent drywall, then nail into the jamb at the point behind which you added shims. Go on to place shims in a few more positions along the hinge side. Check the level once more, and then nail through the jamb wherever you shimmed.
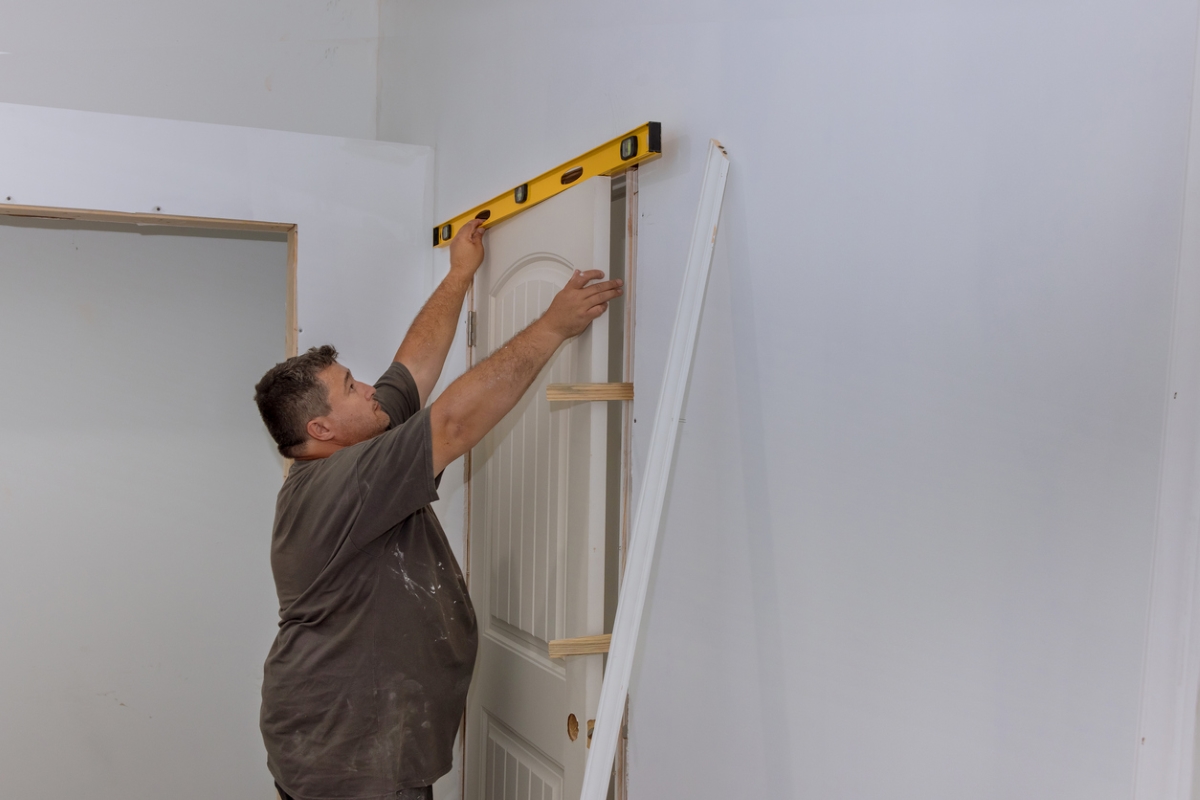
STEP 5: Level the door to ensure it will swing freely.
Close the door and confirm that its top portion is level. Don’t waste time reaching for a measuring tool, though, if you notice the reveal isn’t uniform between the door and the jamb. That’s a sure sign things are amiss.
Make adjustments by shimming the latch side of the door. Shim less when there’s too little reveal; shim more when there’s too much of one. Continue tinkering until the reveal along the top is uniform.
RELATED: How to Plane a Door
STEP 6: Line up and connect the latch side jamb.
On the latch side of the door, bring the jamb flush to the adjacent drywall. The reveal ought to be 1/8-inch here; if it’s not, then adjust the shimming you have added already near the top of the door on this latch side. Once finished, nail through the jamb where you have shimmed.
Place additional shims 6 inches from the bottom of the door, as well as above and below where the strike plate will go. As long as the reveal remains uniform, proceed to nail the jamb at each position where you have added shims.
STEP 7: Secure the top jamb and test the door.
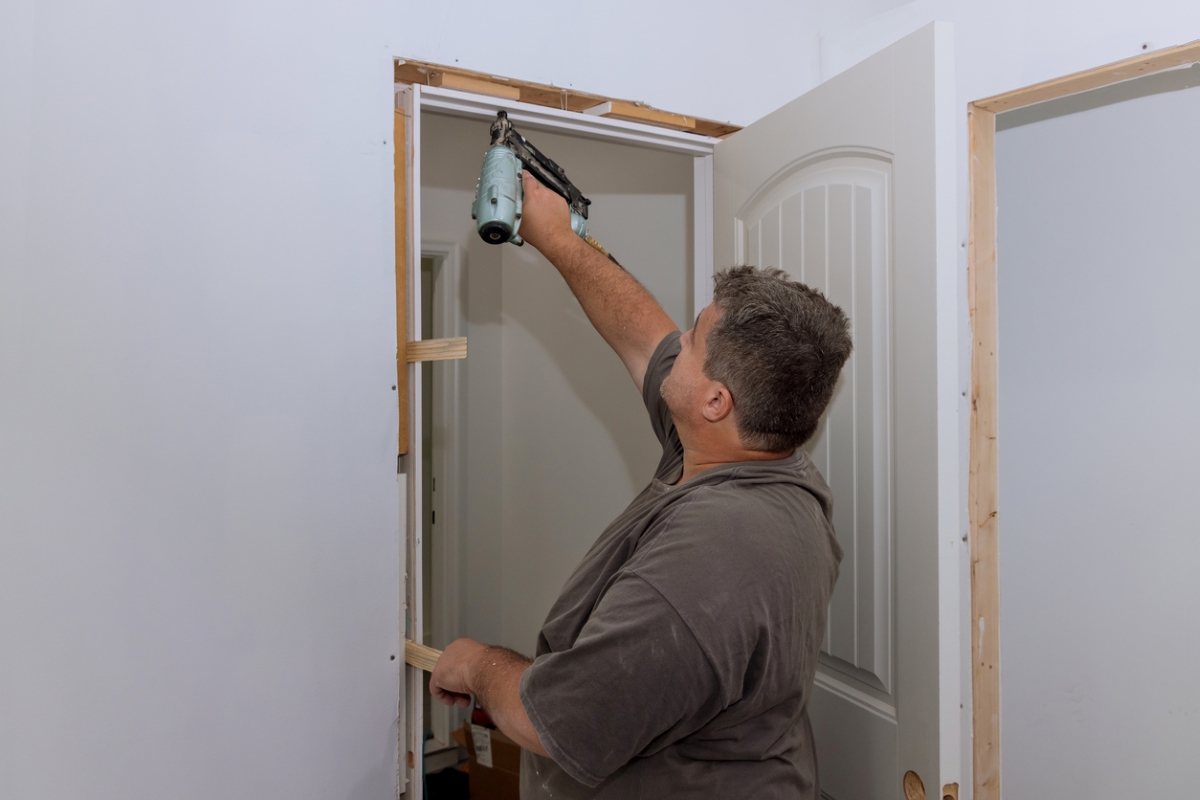
To finish, go ahead and put a few more nails through the top jamb and through the shims you nailed previously. Check to ensure that the door swings freely and closes without issues. Your prehung door installation is now complete with a level and plumb door that has a uniform reveal.
Tips for Installing a Prehung Door
In order to get professional-looking results from your prehung door installation, you must work with an accurate level and tape measure. Without them, you cannot ensure that the door jamb is level and plumb. Another thing to check before you start this installation is the length of the door jambs. If the jambs are too long, then you will need to trim the base of each jamb so that the prehung door fits properly.
As you are taking measurements, shimming the side jambs, and checking to ensure the prehung door is level and plumb, keep in mind that the top door jamb doesn’t necessarily need to be shimmed. The door casing will often keep this jamb in place until you are ready to secure it with a few nails.
- An accurate level is essential for a successful door installation.
- Measure and trim the door jambs before installation, if necessary.
- It’s not always necessary to use shims on the top door jamb.
Final Thoughts
The goal of this installation is to end up with a fully functional door that swings freely and closes securely without sticking or sitting too loose in the frame. When you are installing the door jamb, take your time to ensure that each part of the jamb is level and plumb. Frequently check that the door jambs are flush with the surrounding drywall and use shims to maintain a uniform ⅛-inch gap between the door and the jamb.
If you feel like you are struggling to line up the door jamb while supporting the prehung door, consider asking a friend or partner for help. Otherwise, you may not be able to properly line up the door, which will lead to problems opening or closing the door in the future.
FAQs
Find out more about prehung doors installation by reviewing the questions and answers below, which are some of the most common that arise when DIYers attempt to tackle this task.
Q. How long does it take to install a prehung door?
On average, you can expect a trained contractor to be able to install a prehung door in about an hour. DIYers with limited experience should be prepared for the job to take longer because it’s important to go slow and ensure the door and door jamb are level, plumb, flush with the drywall, and that there is a ⅛-inch gap between the door and the jamb.
Q. Can you put a prehung door in an existing frame?
It isn’t recommended to put a prehung door in an existing frame because you will need to remove the hardware and door from the current frame before you can try to fit it into the existing frame. It’s easier to remove the existing jambs, then install the prehung door with new jambs. However, you can usually install a new slab door into an existing frame.
Q. Can you just replace the door and not the frame?
You can replace the door without replacing the frame, though a slab door is what you’ll need. Look for a slab door that is sized to be installed in place of the old door without requiring removal of the existing frame.
Q. What is a cased opening?
A cased opening refers to a door frame that doesn’t have indents or embossing for hinges or strike plates.