We may earn revenue from the products available on this page and participate in affiliate programs. Learn More ›
Common Items with Cleaning Superpowers

We often rely on commercial sprays, powders, and potions to scrub our houses and keep everything from camping gear to cupboards spot-free. However, nature and common household items have equally amazing cleaning powers—if you know how to use them. We’ve gathered the best cleaning hacks that will save you a trip to the store and money spent on specialty products. Plus, your home and belongings will look (and feel) refreshed and sparkling.
Coffee Filters for Cleaning Glass

When your mirrors or windows start to look cloudy, you probably reach for paper towels and a glass cleaner, but this tired old cleaning method can leave behind streaks and spots. The next time you need to shine up some windows, try using clean coffee filters for spot-free glass cleaning.
Baby Wipes for Cleaning Chalkboards
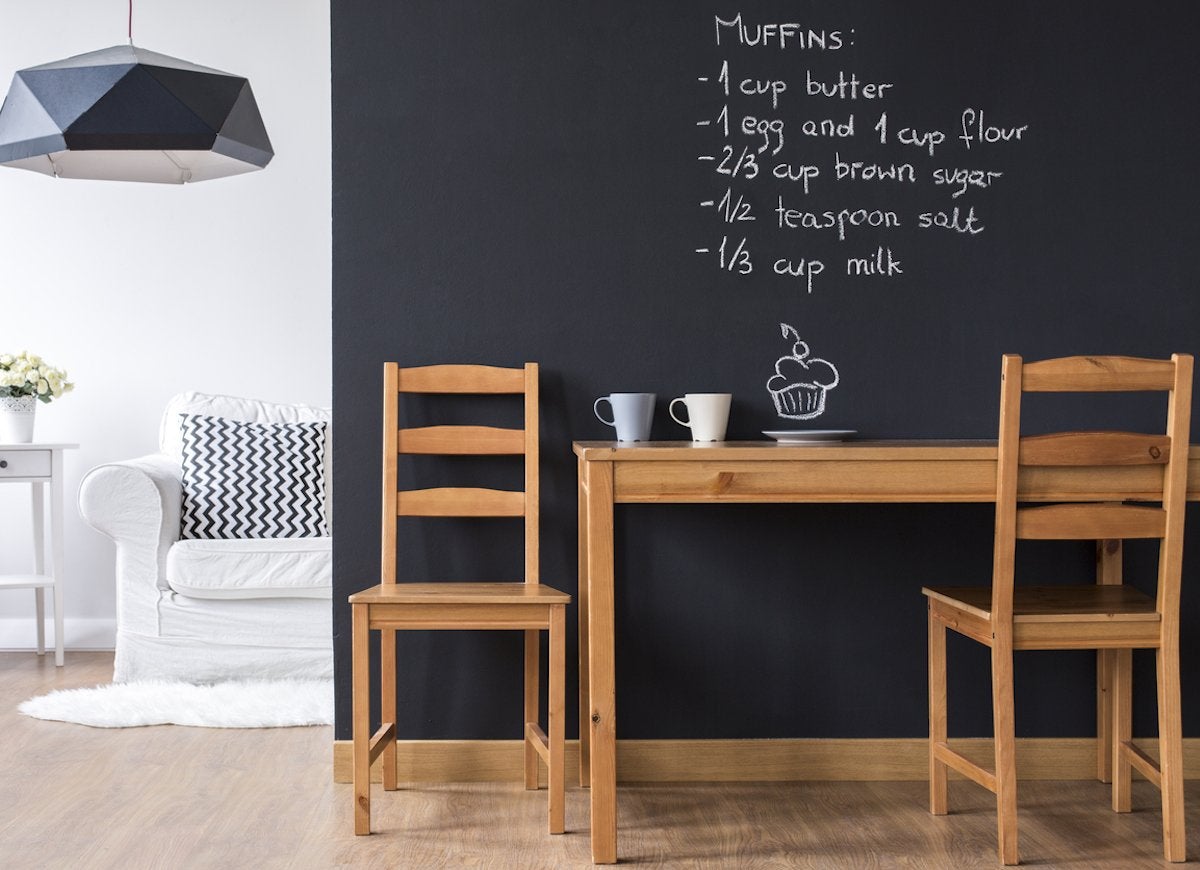
No longer do chalkboards live just in the classroom—now we have them all over the house as practical and playful decor. They’re not so pretty, though, when they’re covered with chalk dust. To get a truly clean slate without any chalky residue, clear off your chalkboard surfaces with a baby wipe.
Hairspray to Clear Dry-Erase Boards
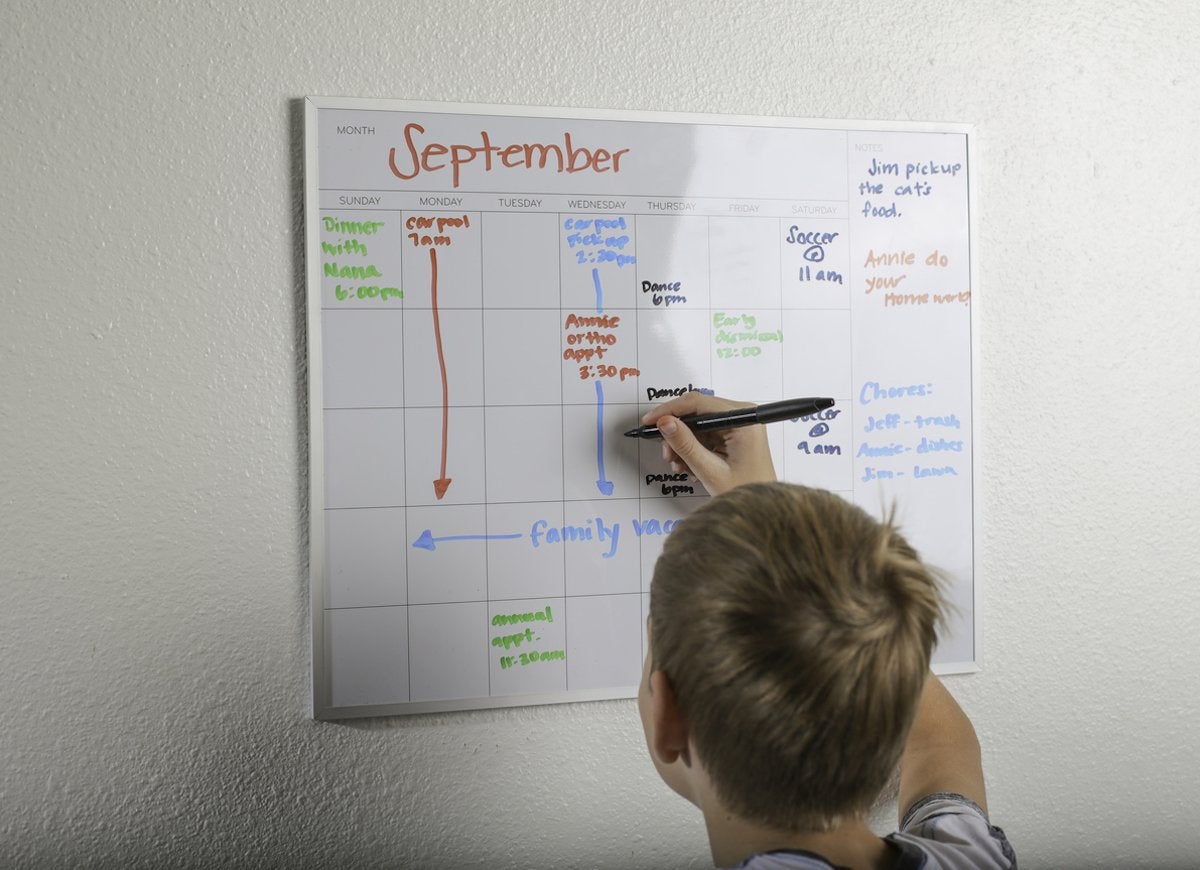
Nothing ruins a dry erase board faster than a dry erase marker stain that just won’t go away, no matter how much cleaner you put on the board. If you have a stubborn stain on your dry-erase board, try spritzing on some hairspray to remove it. After spraying and erasing, wipe down the board with good old-fashioned soap and water to get rid of the sticky residue.
Vodka to Clean Off Old Camping Gear
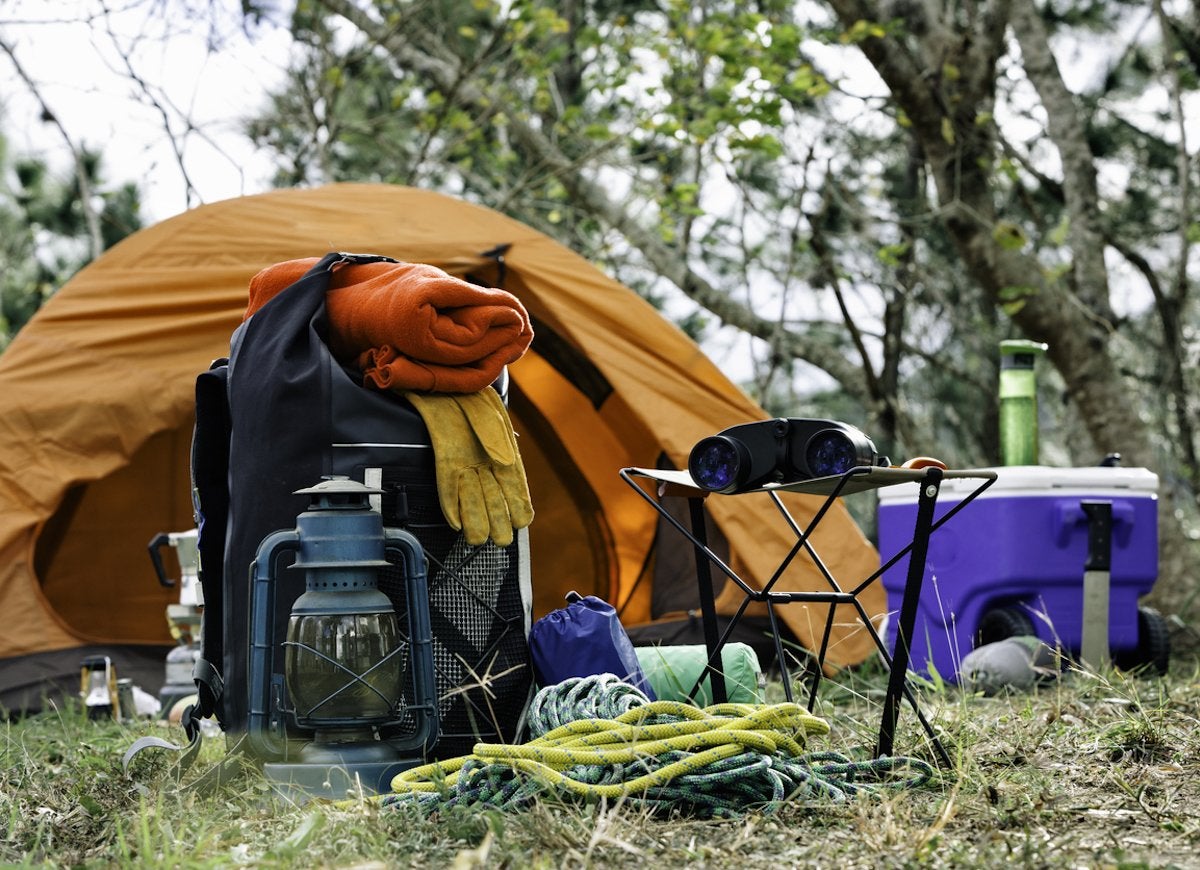
Vodka can be a nice reward at the end of a really long day, but it’s also a tough cleaning agent—especially on smelly camping gear. All you need to do to freshen up your outdoor accessories is mist them with a little bit of vodka from a spray bottle. If you want added freshness, mix in some essential oils for the perfect cleaning cocktail.
Dryer Sheets to Clean Stubborn, Stuck-On Food
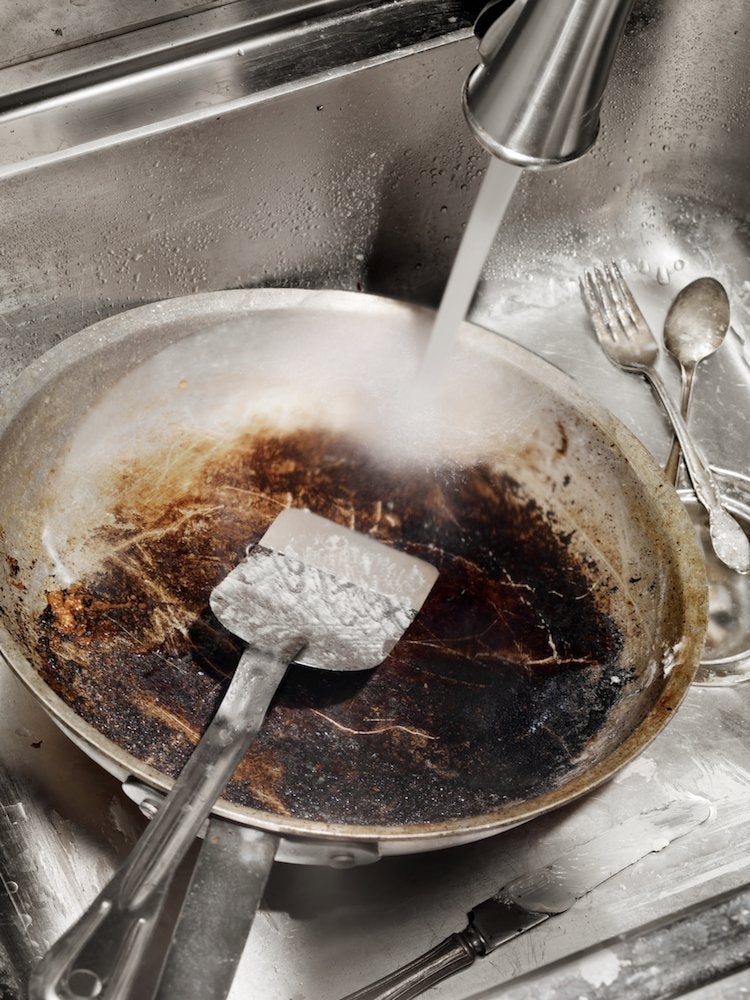
Scrubbing pots and pans is never anyone’s favorite chore, but it can seem truly impossible when you’re trying to remove heavily burnt-on food using just a scrubber and soap. Make the job easier by dropping a dryer sheet into a dirty pot filled with soap and water. Let the dryer sheet sit in the soapy water for an hour, then be prepared to be amazed at how easily all the gunk and grime come off.
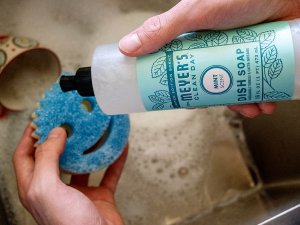
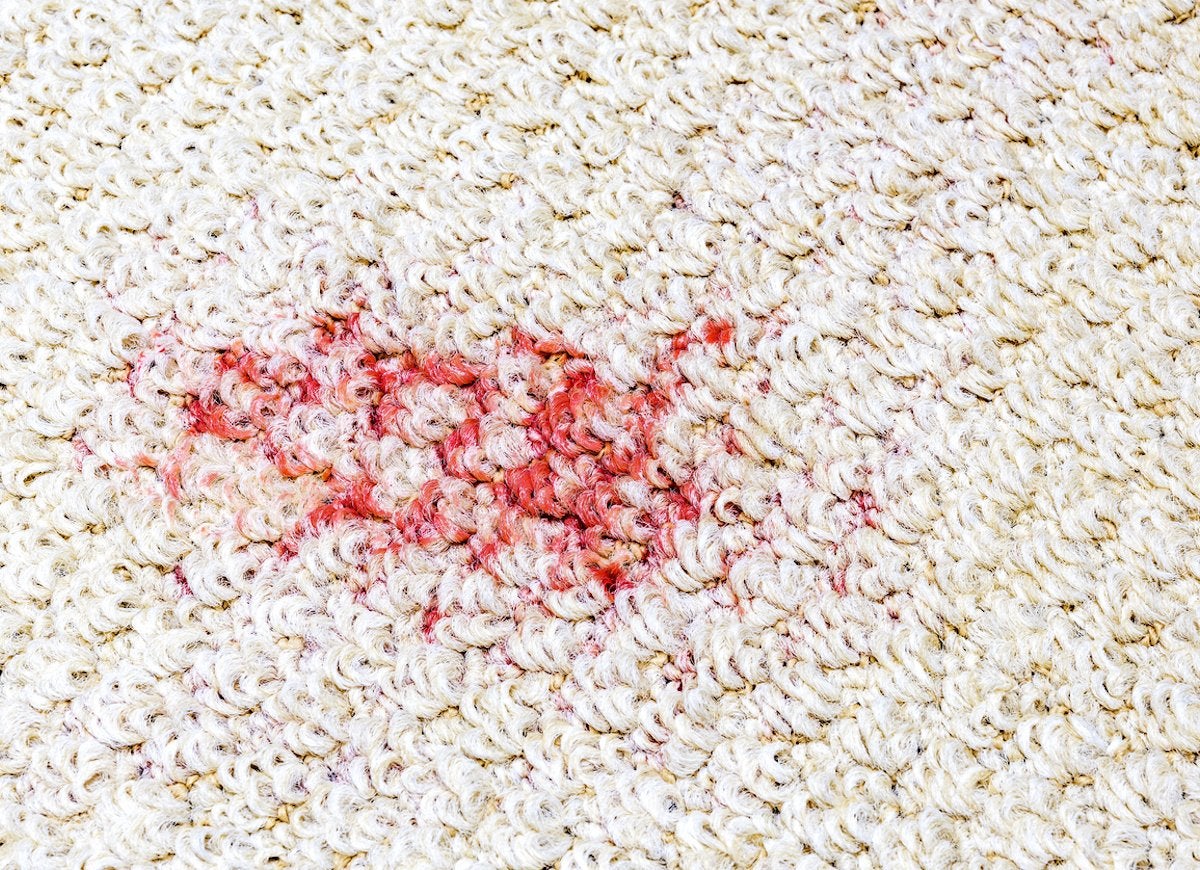
Baby Powder and Dish Soap to Remove Oil-Based Stains
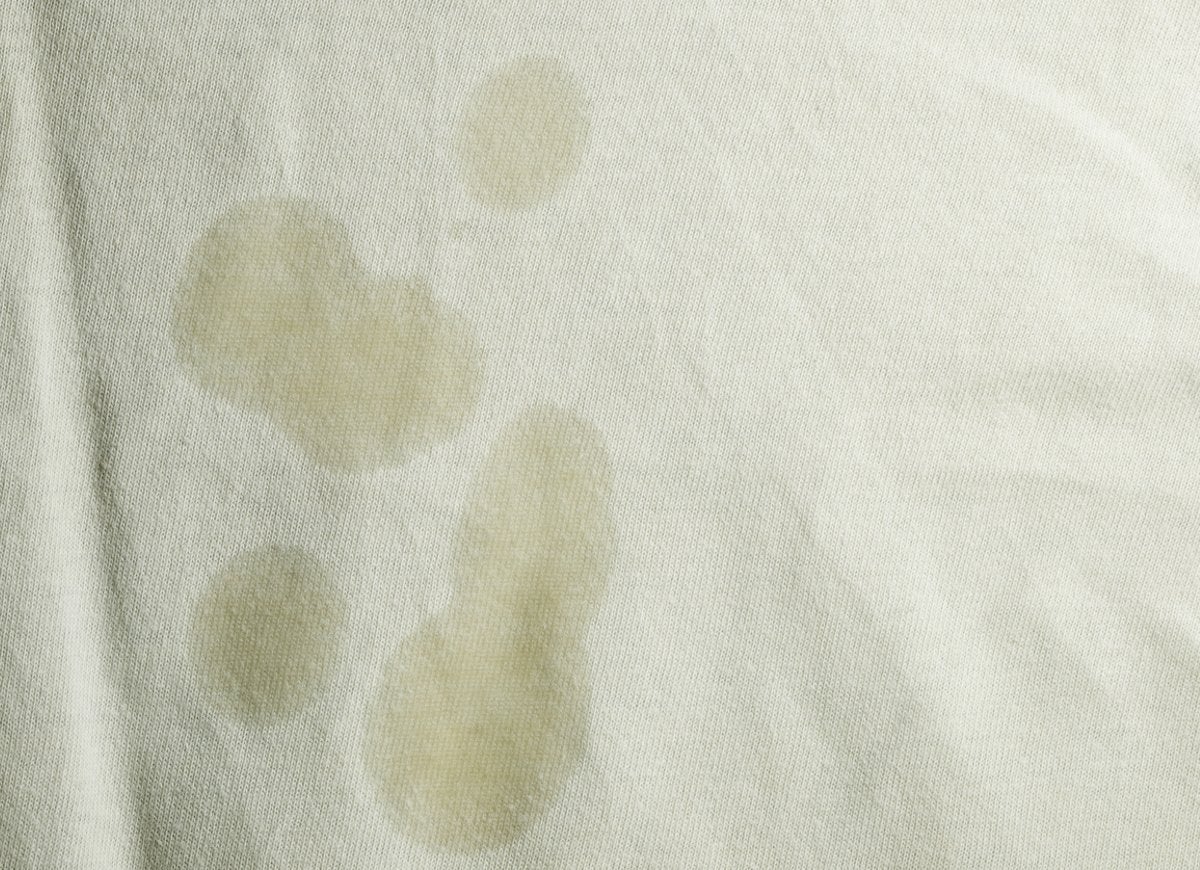
Oil-based stains are perplexing and tough to eliminate from furniture or clothing, no matter how much you dab or how hard you scrub. Remove those offending stains once and for all by treating them with a mixture of equal parts baby powder and dish soap.
Chalk to Remove Oil Stains on Clothing

How many times have you ruined your favorite shirt by splattering it with bacon grease during the breakfast rush? After your next unfortunate encounter with oil or grease, before you throw your shirt in the washing machine, pretreat it by rubbing plain old white chalk into the stain. The chalk will absorb the grease, making it more likely that the shirt will emerge from the wash stain-free.
Mayonnaise to Clean Porcelain Tubs
Besides adding a little bit of zest to your turkey sandwich, mayonnaise can be quite a helpful cleaning tool. The condiment is particularly good at eliminating rust stains in porcelain tubs or sinks. Simply spread a dab of mayo over the stain, let it set, and wipe it dry to reveal the shiny surface underneath.
Vegetable Oil for Cleaning Wood Floors
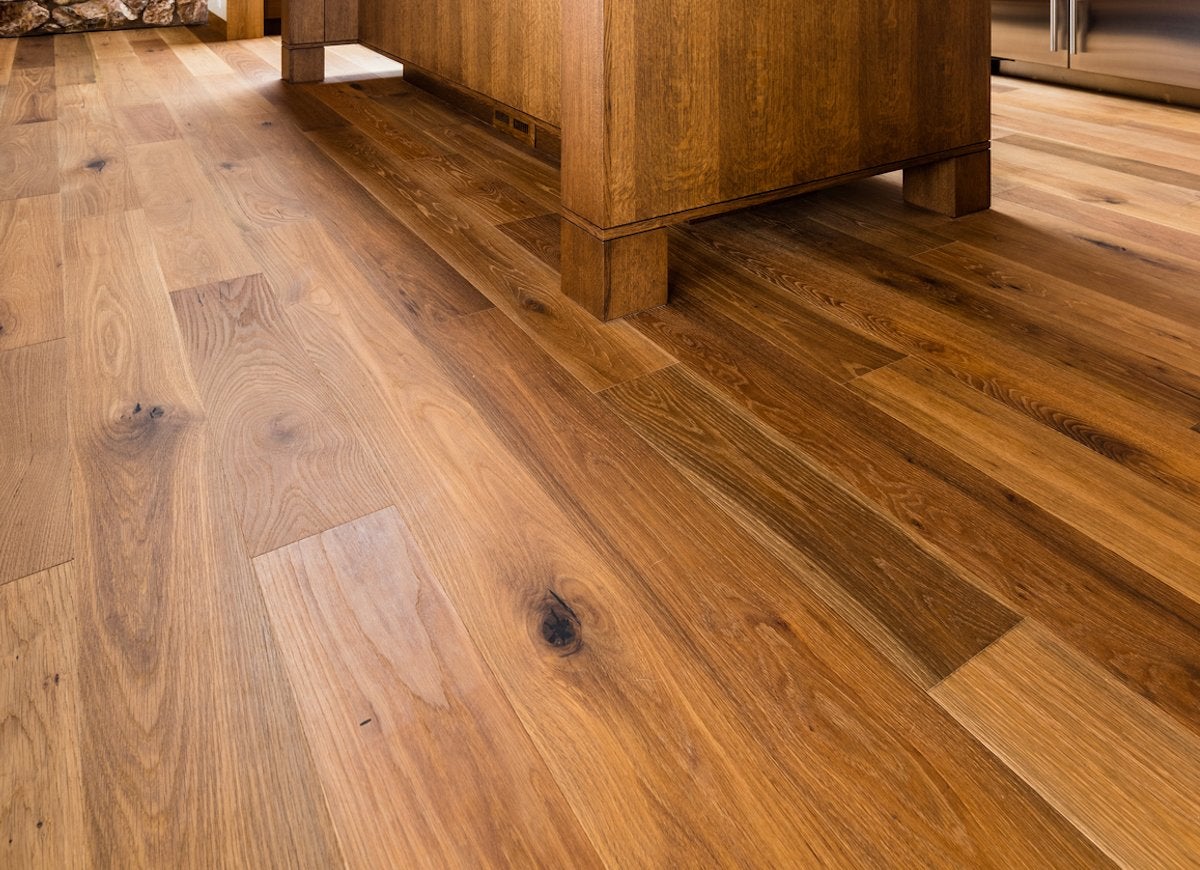
Vegetable oil is great for frying eggs and is often a key ingredient in a batch of cookies, but did you know that it can also be used to clean wood floors? Get your shiniest wood floors ever by combining equal parts vegetable oil and vinegar in a spray bottle, spritzing the floor, and mopping up the solution. Follow up with a clean cloth or dust mop.
Windshield Water Repellent for Glass Shower Doors

The same product that prevents a buildup of rainwater on your car windshield can also work wonders on your glass shower door, which is notoriously difficult to keep clean. Simply spray on the water repellent coating and wipe it down lightly to prevent those annoying hard water or soap scum stains.
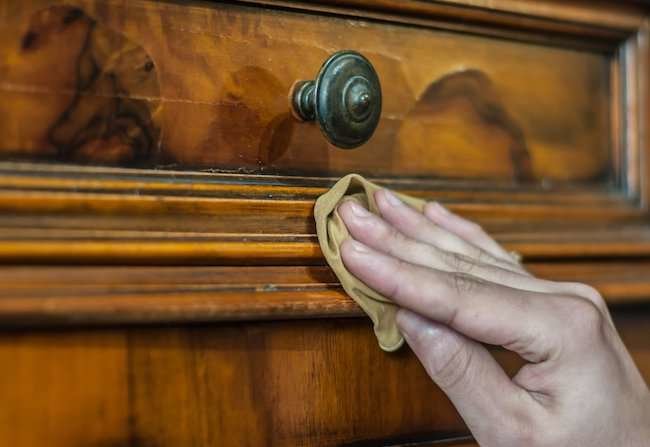
Mayonnaise for Cleaning Cloudy Wood Stains
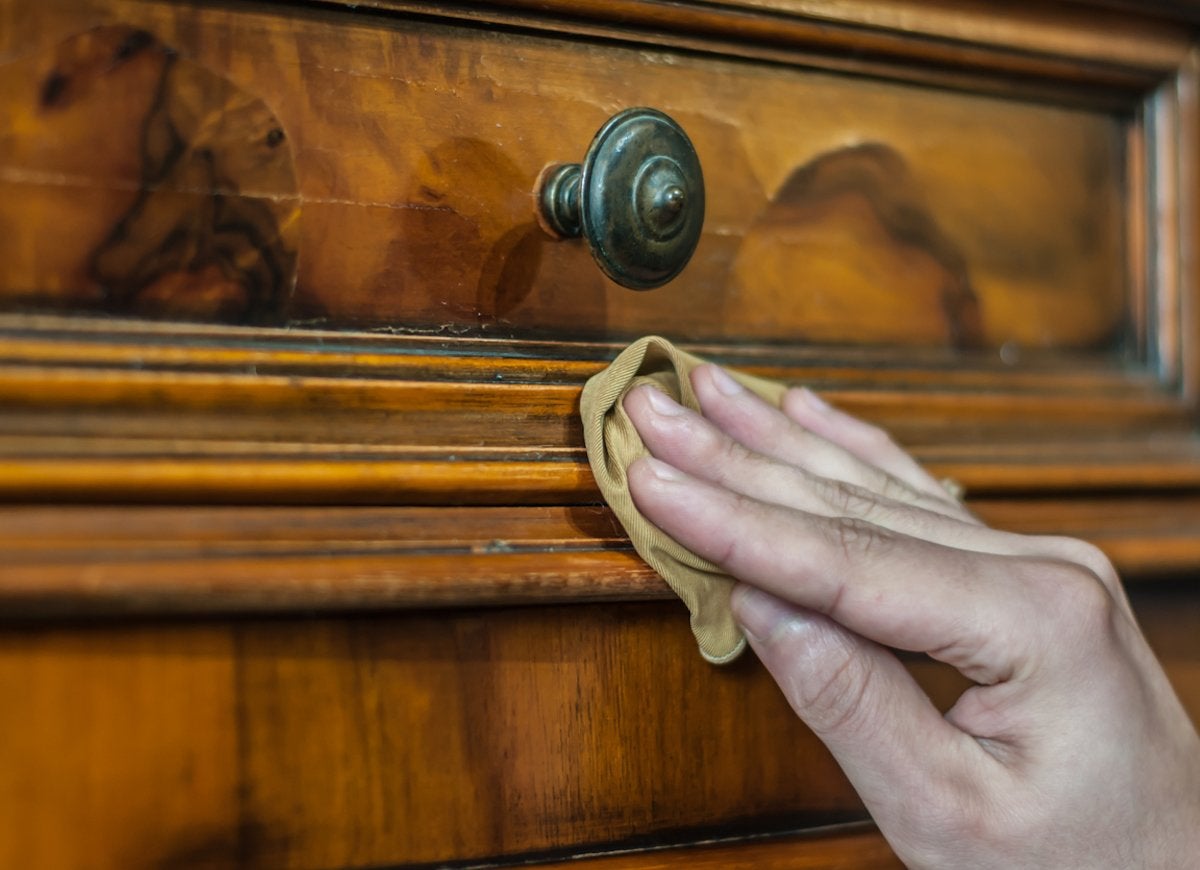
Those cloudy stains from heat or water rings can really mar the look of a nice piece of wood furniture. Brighten up that beautiful surface by slathering on some mayonnaise—yes, mayonnaise—and letting it sit overnight. Once the stain is gone, wipe off the mayonnaise, buff the spot, and then shine it up with furniture polish.
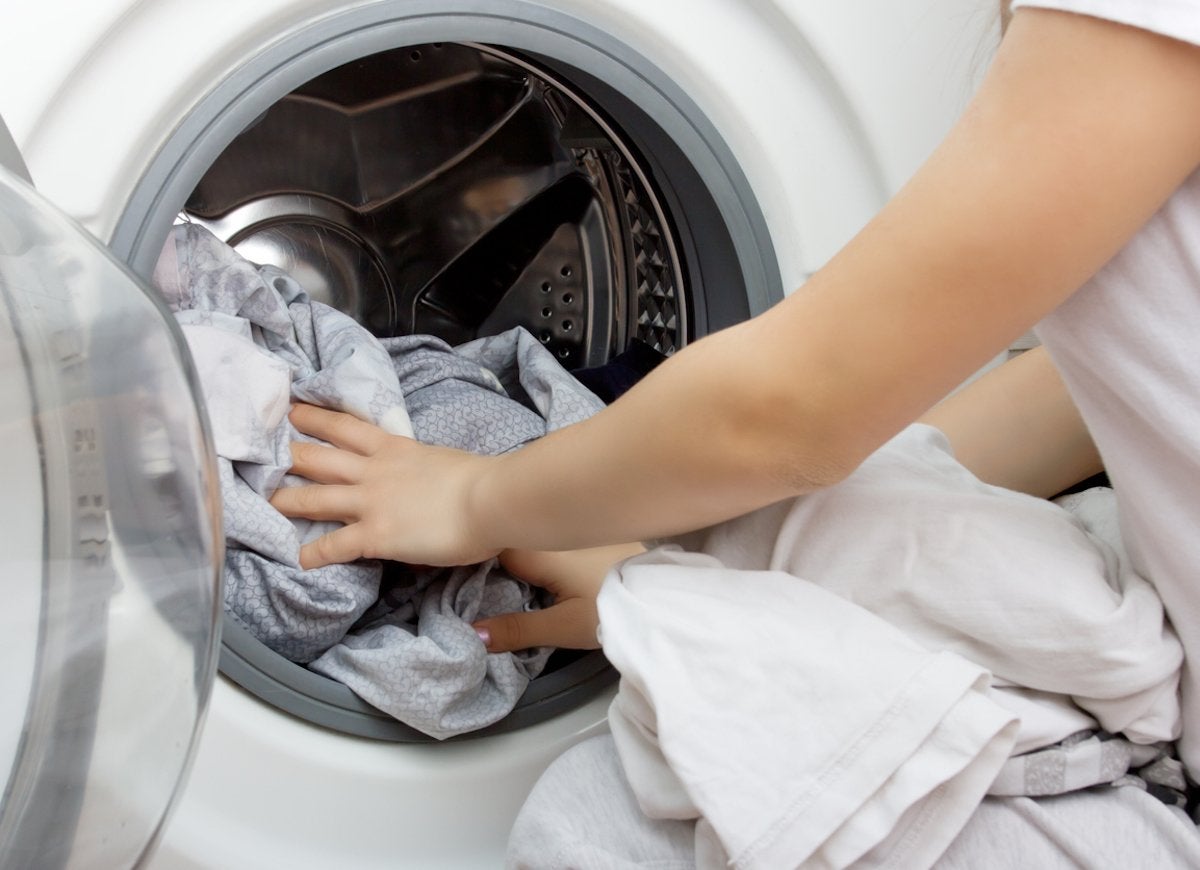
Mouthwash for the Washer
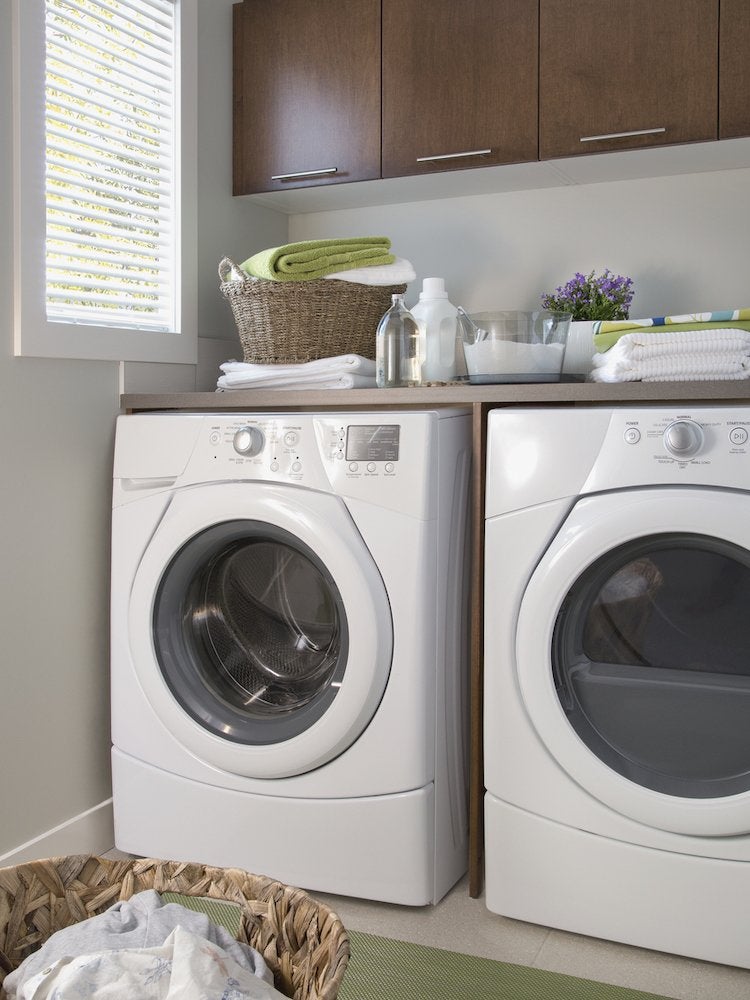
Have you ever pulled a load of laundry out of the washer that smelled less than fresh? Eliminate musty smells in the washing machine by running a cycle with mouthwash. Not only does this disinfecting substance leave your mouth smelling squeaky clean, but it also gets rid of odor-causing bacteria in the laundry room.
Cornstarch for Tarnished Silver
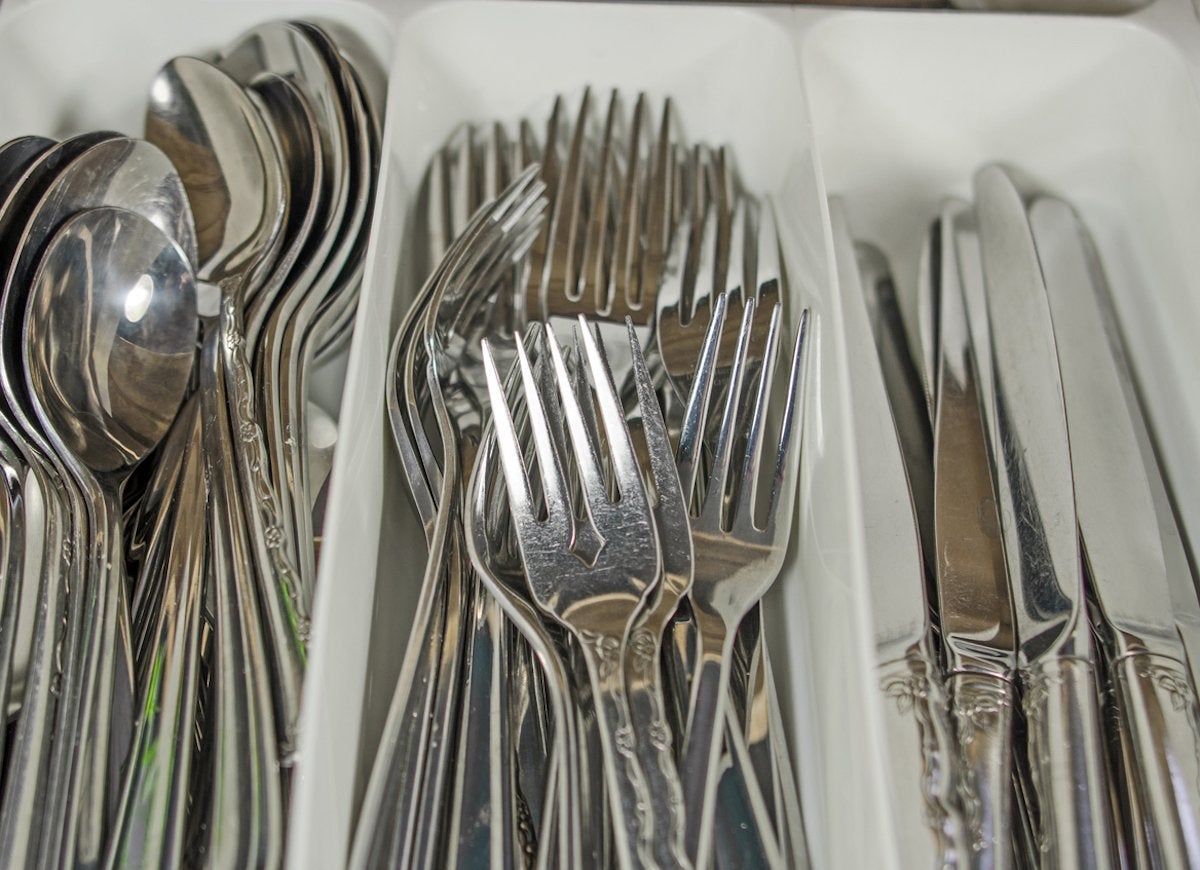
Cornstarch is primarily used as a thickening agent in soups, stews, and stir-fries, but it can also perform well around the house as a gritty cleaning agent. Apply a paste of cornstarch and water to your tarnished silver, let it dry, then wipe it off to reveal that sparkling surface.
Sunscreen to Remove Permanent Marker
Sunscreen is crucial for protecting you and your family from the sun’s harmful UV rays, but did you know that it can also protect your furniture, clothes, and other surfaces from a rogue permanent marker? Rub in a dollop of sunscreen to get rid of those impossible-to-remove permanent marker stains.
Lemon to Eliminate Odors
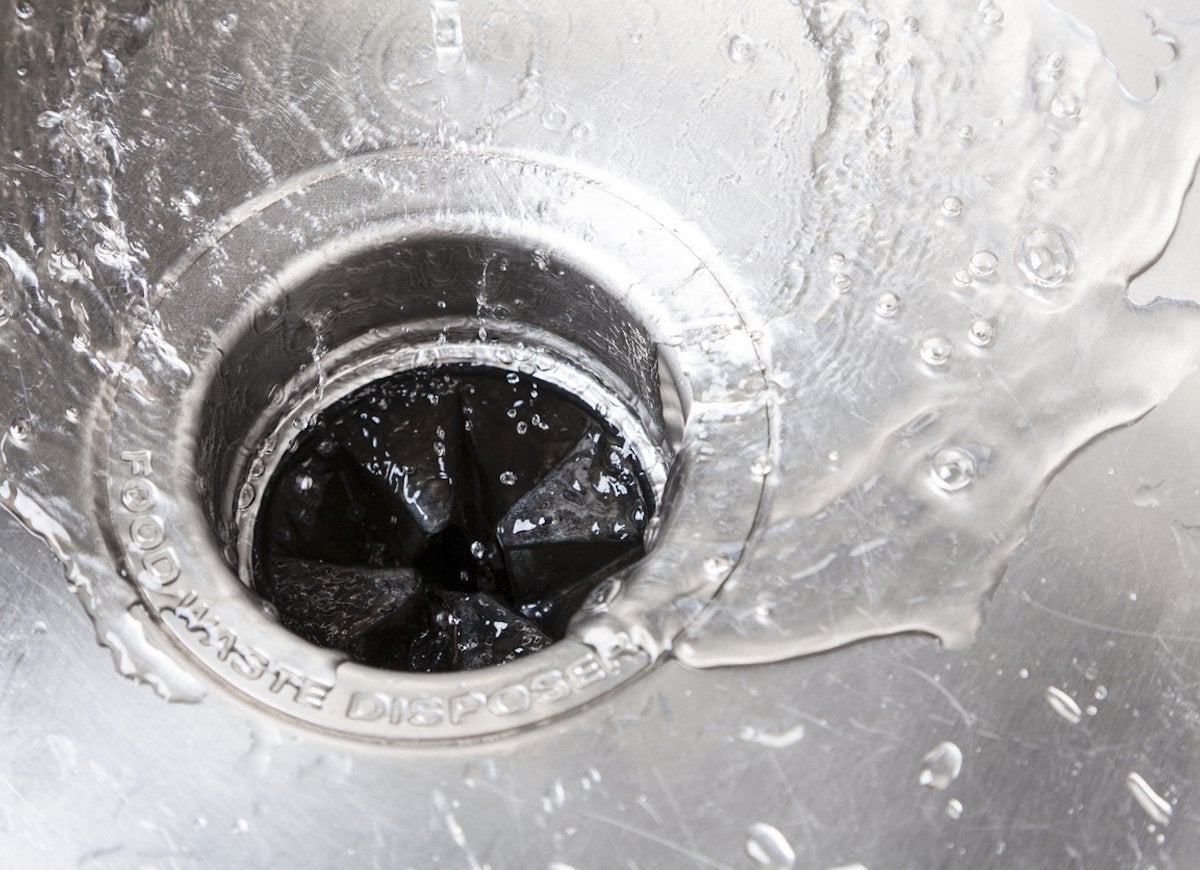
Over time, smells build up in a garbage disposal. Grinding up some lemon or lime peel instantly cleanses and eliminates funky odors—no bleach required. Thinly slice a lemon, making sto ure that the portion of fruit is clear of seeds. Then, slip it down your disposal and—once your hand is out of the disposal, of course—flip the switch. A fresh, citrusy scent should fill your kitchen.
Toilet Cleaner in the Shower
Toilet cleaner is an often overlooked, multipurpose product that does wonders for bathtub mold and mildew. Look for a product with a “clinging” formula that will stick to bathroom tiles and grout. Squeeze the toilet cleaner along the moldy grout lines in your tub or shower, and wait about 30 minutes before rinsing. Scrub away any lingering dark areas with a sponge, and wash with clean water.
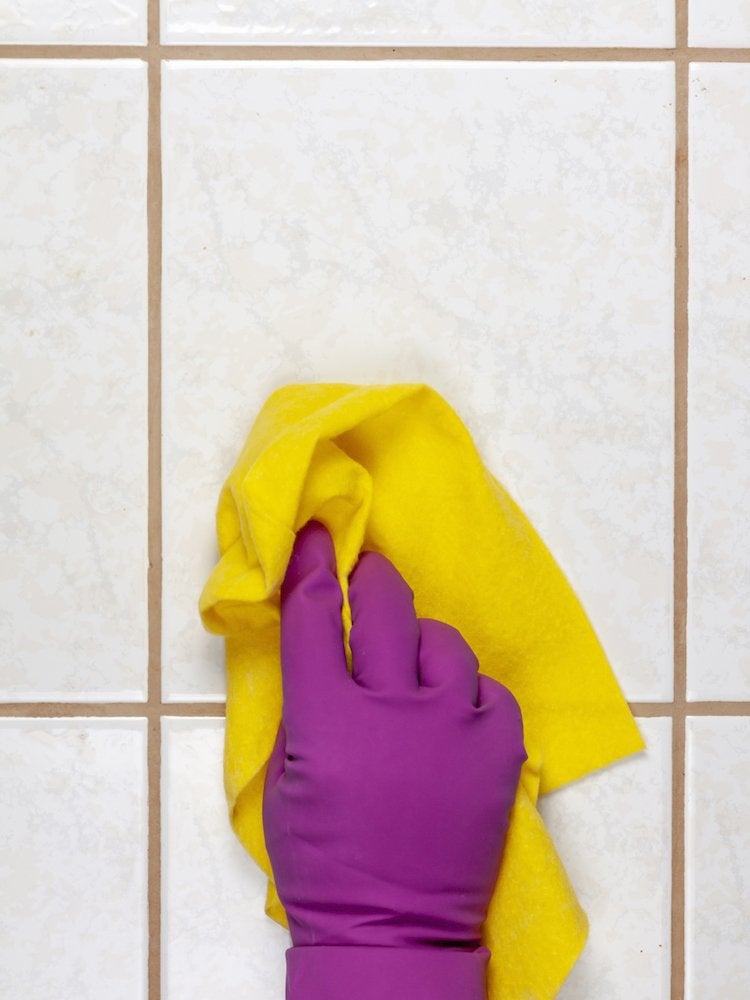
Vinegar to Wipe Away Hard Water Stains

One of the best cleaning solutions is a mixture of 50% white vinegar and 50% water. The acid in the vinegar cuts through mineral deposits that cause hard water stains. Simply spray this vinegar solution onto faucets and tile, let sit for 5-15 minutes, then wash with clean water and a rag or sponge. For tougher stains and grime build-up, mix baking soda, vinegar, and water into a paste. Use a toothbrush or sponge to polish the surface clean and sparkling.
Baking Soda to Brighten Laundry
Like white vinegar, baking soda is another household champion. This mild alkaline compound is actually a salt, and has many uses from baking to laundry. Yes, for brighter, cleaner clothes, add ½-1 cup of baking soda to your washing machine after it has filled. Then run your cycle as usual. Baking soda has natural deodorizing, softening, and brightening powers – the perfect cleaning combo and gentle on clothes.
Toothpaste for Dirty Sneakers
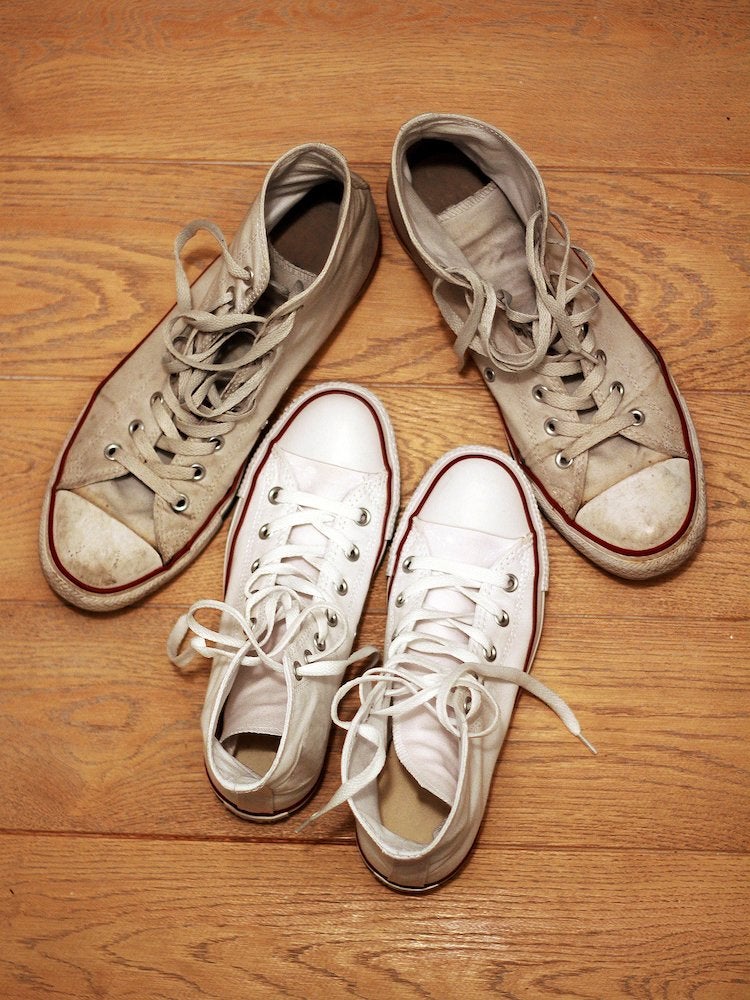
Fashion-forward sneakers often have white soles, which look great when new, but pretty dingy after a few days of pounding the pavement. Keep your white soles looking brand-new with toothpaste. Non-gel toothpaste (like Arm & Hammer, which includes baking soda for surface stains) will get your sneakers clean in no time. With an old (clean) toothbrush, scrub soles with toothpaste and a little water. For tougher stains, let toothpaste sit for 10 minutes before wiping clean.
Bread for Collecting Glass Shards
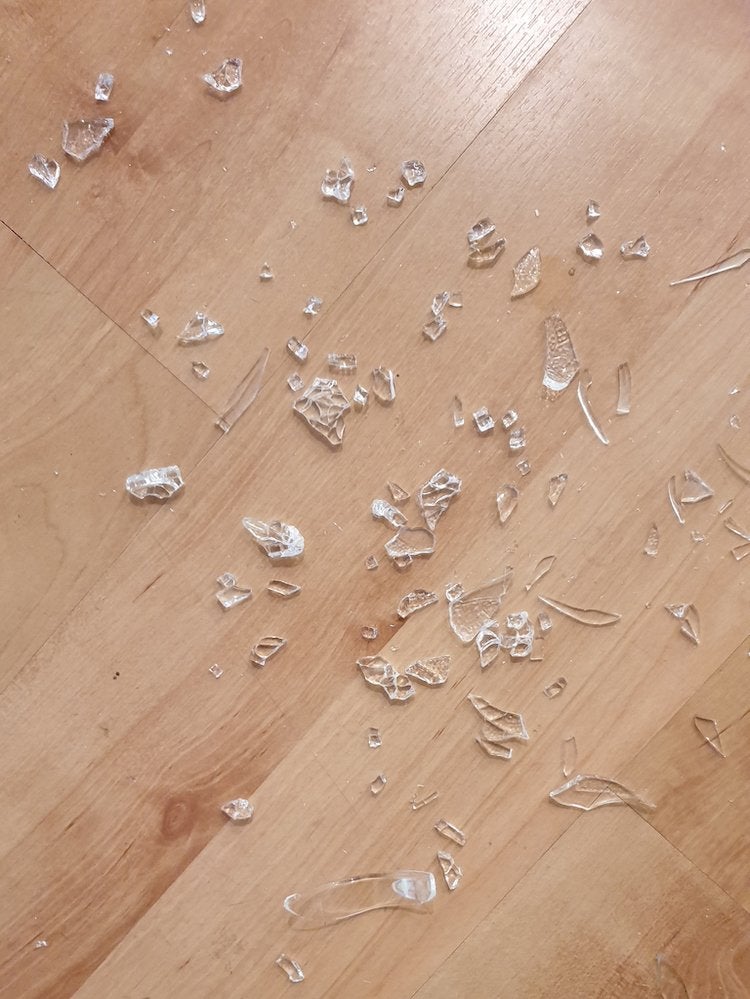
Remember the last time you dropped a glass and it shattered? It’s a challenge to wipe up all the tiny glass shards without accidentally stepping on them or getting glass embedded in your skin. Next time, grab a slice of bread. The spongy surface easily lifts tiny glass particles, which even a broom, mop, or vacuum can miss.