We may earn revenue from the products available on this page and participate in affiliate programs. Learn More ›
Of all homeowner responsibilities, few so clearly indicate the end of summer as closing a swimming pool. Properly done, closing your pool ensures that when you head back outdoors next summer, you will not have to complete a battery of maintenance tasks before splashing in for your first dip.
Winterizing a pool also protects your equipment from damage caused by freezing, which is a particularly important task if you don’t use a pool cover.
“In areas that freeze,” says Dave Williamson, owner of Fort Washington, Pennsylvania-based The Pool Doctor, “pipes still need to be winterized if [pool owners] choose not to cover the pool. Some pools have automated freeze protection, but in the event of loss of electricity that freeze protection is rendered moot.”
Knowing when to close a pool, which specific steps are important, and which chemicals to put in the water for winter can help. Here’s an overview of how to close a pool, and the supplies you need to close a pool the right way.
Before getting started, make sure you have the required tools and supplies for closing your pool for the season.
Tools & Materials
Bobvila.com may earn a commission from purchases made through these links.
- Pool brush
- Pool skimmer
- Pool vacuum with pole
- Robotic pool cleaner (optional)
- Air compressor with fittings (optional)
- Algaecide
- pH increaser (if needed)
- pH decreaser (if needed)
- Screwdrivers
- Socket wrenches
- Water test kit
- Phosphate remover
- Stain and scale preventer
- Pool antifreeze
- Pool shock
- Pool gizmo
- Skimmer plug for inground
- Skimmer for above-ground pool (if needed)
- Plug for return line
Project Overview
Working Time: 2 to 4 hours
Total Time: Several days
Skill Level: Beginner
Estimated Cost: $100 to $300, depending on chemicals and supplies on hand
Before You Begin
While many pool owners hire a service to open and close their pools, this yearly task is an accessible one-person DIY. Whether you do it yourself or bring in a pro, especially if you live in a region where temperatures dip below freezing, it’s crucial to close your pool properly before colder winter weather hits. Failure to winterize your pool could lead to cracks in the pool; damage to the pump, filter, and other components; and algae infestation.
A week or so before you begin, check your pool supplies to make sure you have all the chemicals you will need, and examine your pool cover for holes or cracks. It’s important not to start the closing process until the weather has cooled off. Wait until outside temperatures are consistently below 65 degrees Fahrenheit. If the water is too warm, the winterizing chemicals may be used up too quickly and algae could develop after you’ve covered the pool for the winter. Keep in mind that algae growth doesn’t stop until the water reaches 40 degrees.
Closing a Pool
If you choose to close your pool yourself, follow these steps to ensure that your pool will be well-protected during the offseason.
Step 1: Clear the pool of debris and pool scum.
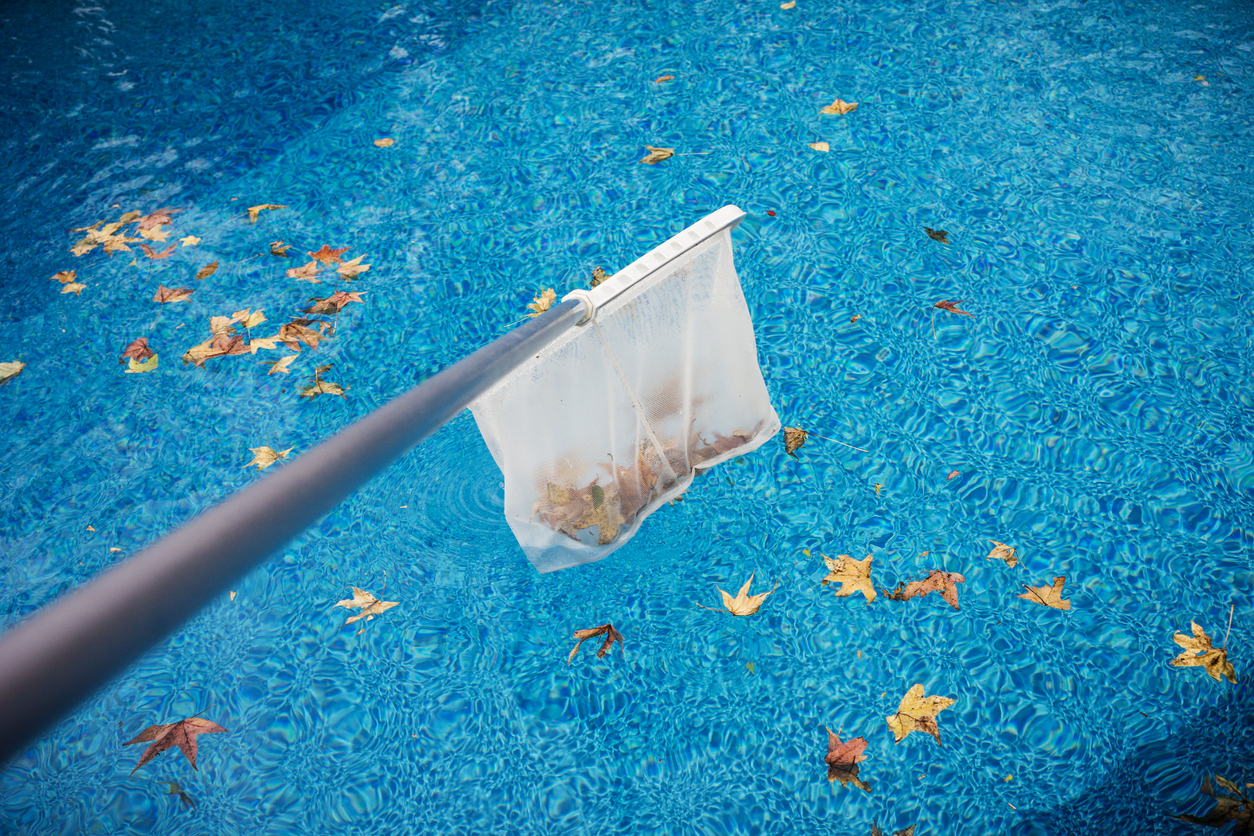
Before closing your pool, ensure it’s as clean as possible to prevent the growth of bacteria. Dirt and debris in the pool can lead to staining, clog the filtration system, and make the pool much harder to clean come springtime. Follow your typical process for cleaning the pool, taking extra care to remove dirt and grime.
If you own a robotic pool cleaner, run a complete cycle, from 1.5 to 4 hours, depending on the size of the pool, the type of robotic pool cleaner you own, and how much dirt has accumulated. If you’re cleaning the pool manually, vacuum and brush the pool thoroughly to remove dirt from the sides and bottom. Scrub the sides if mold or grime has built up. Remove debris with a handheld pool skimmer, and then clean out the skimmer basket.
Step 2: Test and balance the pool water.

You’ve done it regularly all season long, and now it’s time to test and balance the chemicals in your swimming pool once more to ensure that the water is properly balanced before you close your pool for the season.
Use a pool test kit to measure the water’s pH level, alkalinity, and calcium hardness. Next, add chemicals as necessary to get the pH between 7.2 and 7.6, the alkalinity between 80 and 120 parts per million (ppm), and the calcium hardness between 175 and 250 ppm.
Step 3: Add winterizing pool chemicals.
About a week before you plan to stop using the pool, add phosphate remover (phosphates promote algae growth) and stain and scale preventer, following the manufacturer’s instructions. These chemicals help keep the water clean and free of mineral buildup all winter long.
Step 4: Shock your pool.
Even if the water is clear, use pool shock before you close the pool for the winter. Pool shock is a powerful oxidizer that destroys organic matter and gives a boost to the free chlorine that keeps the water sanitized. Make sure the shock you buy contains at least 65 percent available chlorine, and always follow the directions on the packaging for correct use.
In general, a 1-pound bag is enough for 10,000 gallons of water. Mix the product with some pool water in a large bucket. Then, with the filter running, pour the mixture into the pool.
Wait until the total chlorine level returns to a range between 1 and 3 ppm. This will probably take a few days. Next, add pool algaecide to help keep those tiny green pool-tinters at bay through the cold months. Choose a product designed for pool closings. The amount to use varies by pool volume; follow the instructions provided by the algaecide manufacturer.
A pool-closing kit includes all the chemicals you should need to stabilize the water chemistry of your pool. Buying the kit might cost less than buying everything separately. Shop around online or check prices at your local pool supply store.
Step 5: Lower the pool’s water level.
If you live in a region with frigid temperatures that put your pool at risk of freezing, it’s important to lower the water level before closing your pool for the season. If you live in a climate where temperatures rarely dip below freezing, this step might not be necessary.
The target water level depends on your pool’s cover and surround.
- If you have a mesh cover, lower the water to about 12 to 18 inches below the skimmer.
- If you have a solid cover, aim for a water level that’s 3 to 4 inches below the skimmer.
- If you have a tile surround along the side of the pool, keep the water level between 1 and 6 inches below the tile to prevent damage to the tile.
For an in-ground pool, switch the filter to the “waste” setting and then turn it on, or use a siphon pump to bring the water level down.
For an above-ground pool, lowering water levels isn’t necessary. Simply remove the outlet hose from the skimmer basket.
Step 6: Clean and backwash the pool’s filter and pump.
If your pool has a sand filter, backwash it to discourage algae growth in the filter element. If you have a removable filter, take it out and clean the pool filter thoroughly.
To backwash a filter, start by turning off the pool’s heater. Turn off the filter, and then choose the multiport filter valve setting that’s labeled “backwash” or “drain to waste.” Some filtration systems are already connected to a waste collection receptacle, while others require that you connect a backwash hose that is directed to a waste-disposal site.
Turn on the filter and run it for between 3 and 5 minutes, until the water runs clear. Then turn the filter off, switch the multiport filter valve to the rinse setting, and run it for 30 seconds before turning off the filtration system.
Step 7: Clear the pool pump’s lines, and plug skimmers and returns.
Residual water can freeze inside your pool equipment and water lines and cause them to expand and crack. To avoid wintertime damage, these components must be as dry as possible before you close up the pool. It might be necessary to blow out the lines with an air compressor. If it is impossible (or deeply inconvenient) to do this, you can head off ice-related problems with a swimming pool antifreeze.
The draining process is easier for above-ground pools: Simply take off all the hoses and remove the plug from the bottom of the filter. It’s important that owners of above-ground pools bring the pump in for the winter: “Some pumps are meant to be permanent fixtures outdoors, but pumps for above-ground pools are generally not meant to be out in tough temperatures,” says Pat Panteliodis of Gus Pools in Whitestone, New York.
After the lines have been blown out, use a skimmer plug (measure to make sure you buy the right size) or insert a pool gizmo into each skimmer housing to prevent ice from forming and damaging the skimmer. Also remove the “eyeball” fitting from the return line and plug the opening. Check your plug before closing off the line. Panteliodis reports that one of the most common mistakes he sees homeowners make is that they continue to use rubber plugs after dry rot has set in.
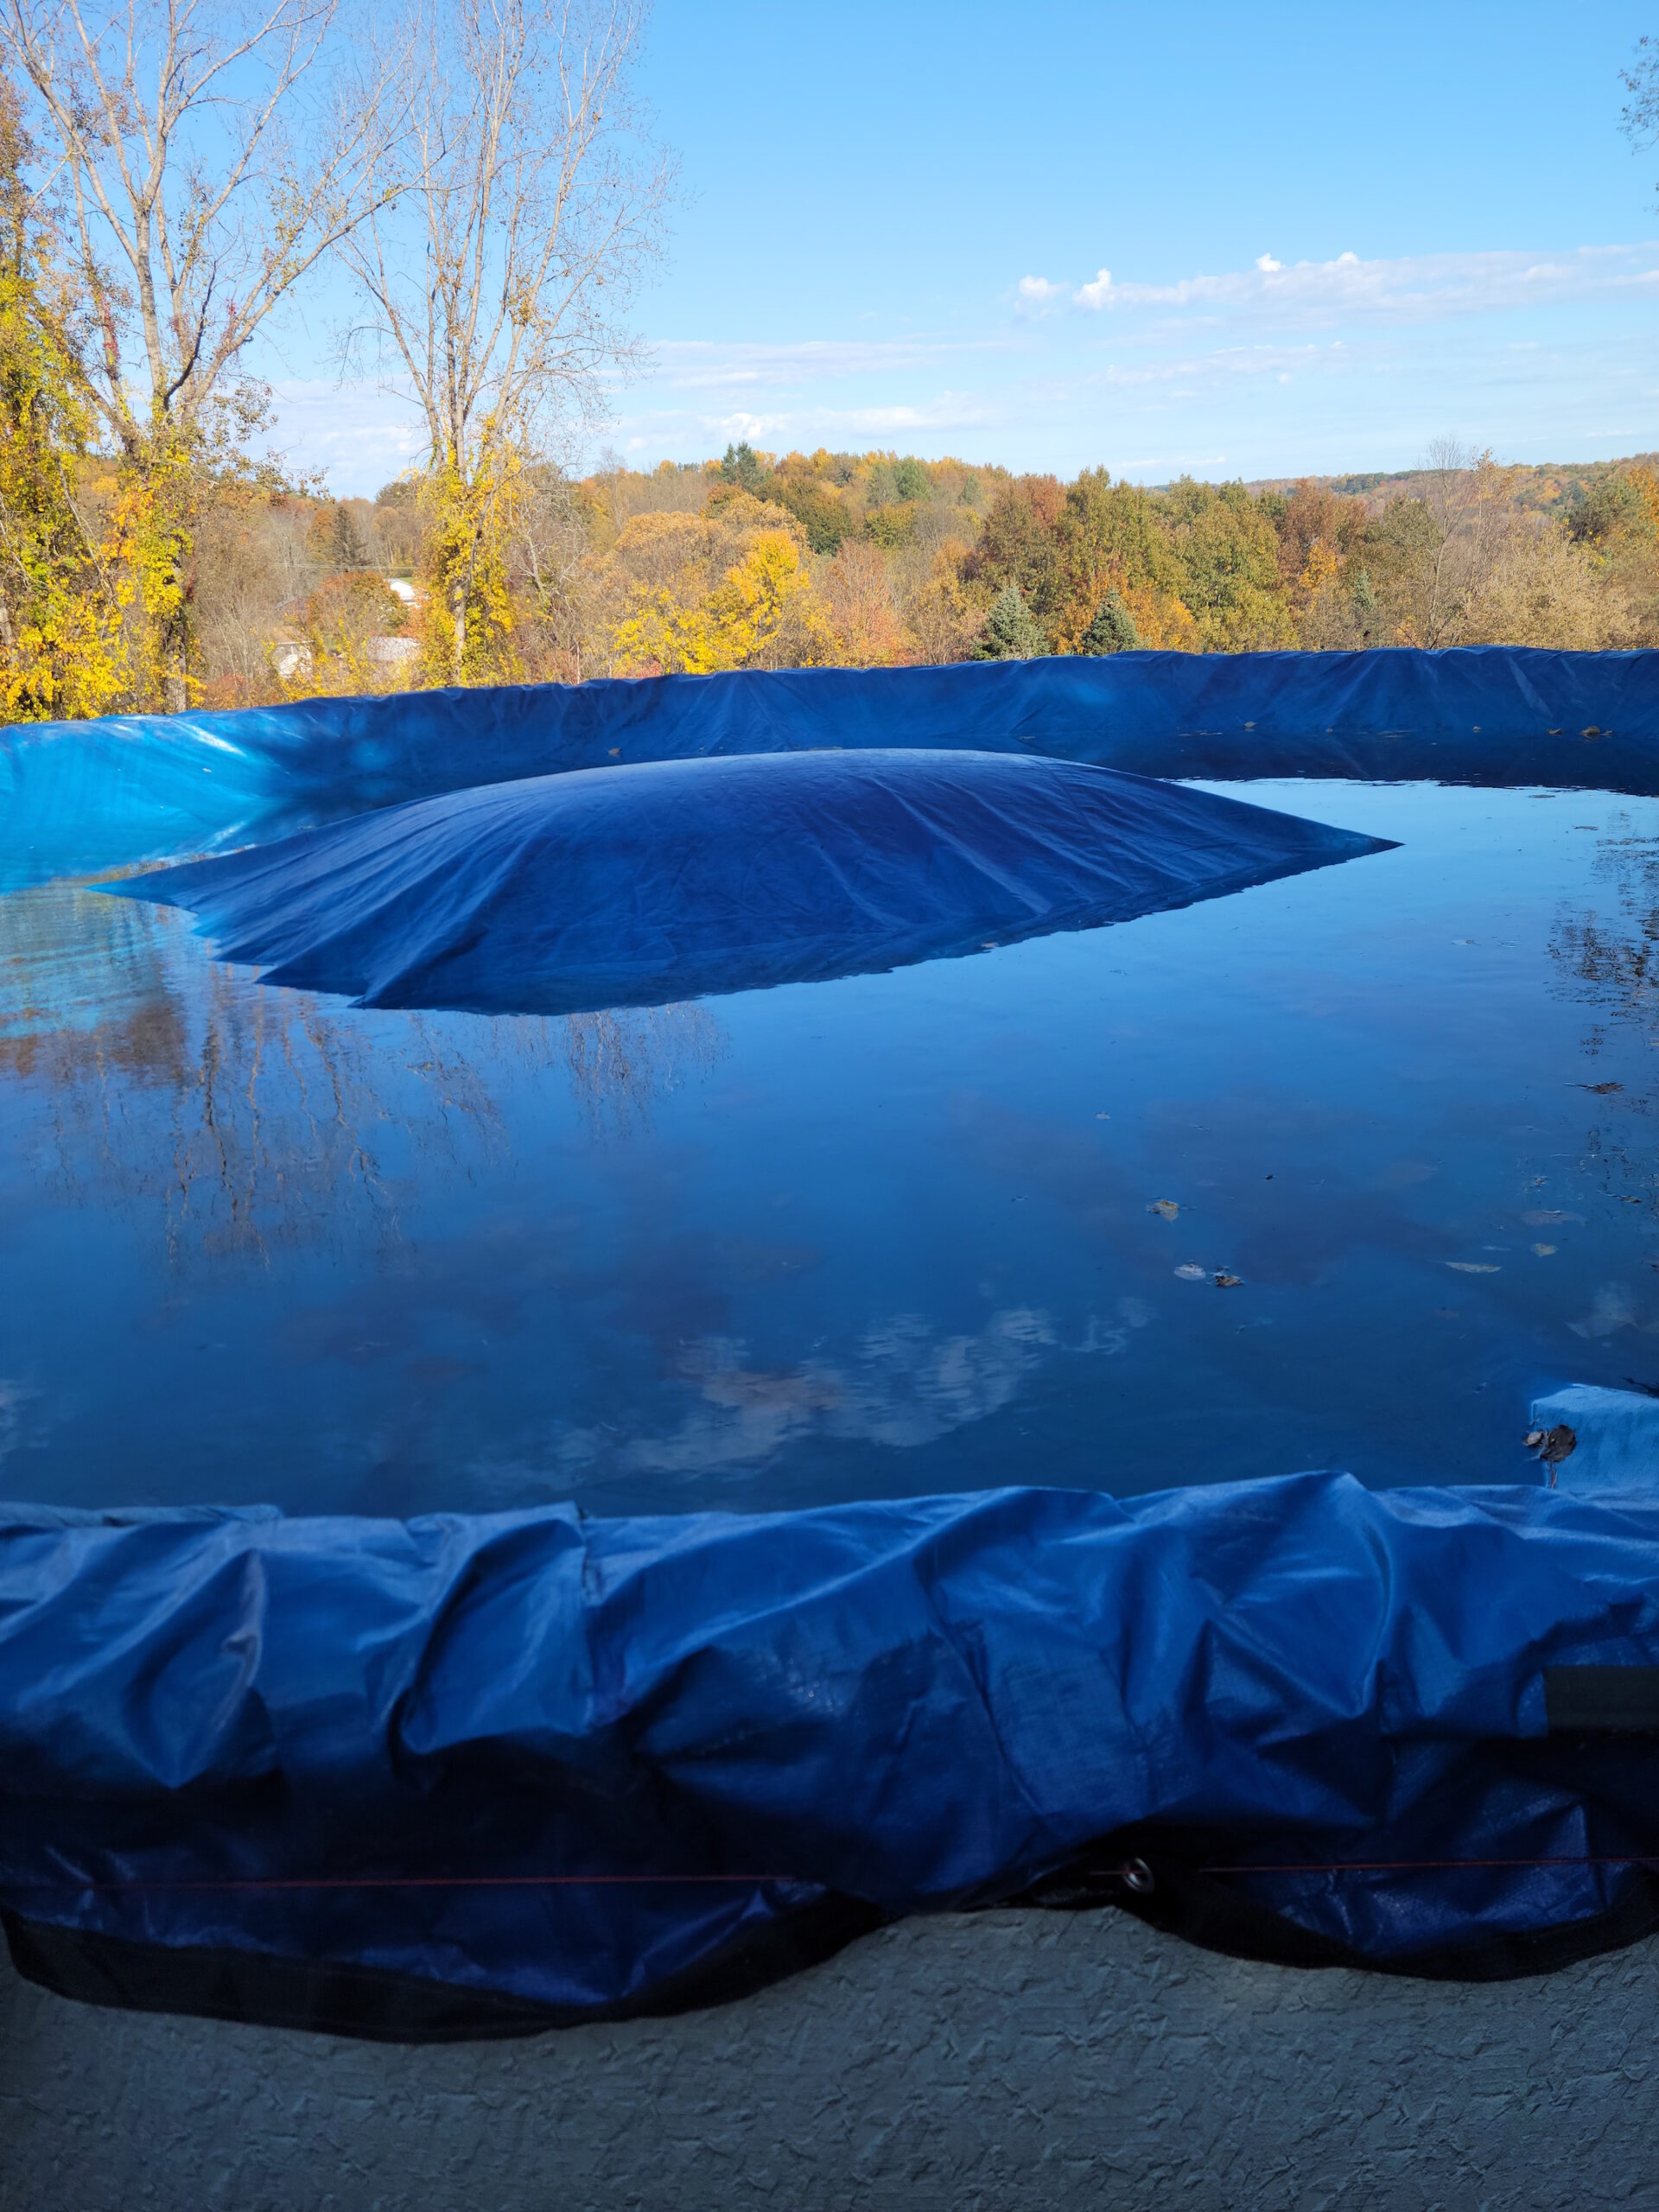
To prevent expanding ice from damaging the sides of the pool, owners of above-ground pools are advised to use a pool pillow, like the Swimline Hydrotools pool pillow, beneath the cover. Placed in the center of the pool and tied to its sides, this air-filled ring helps minimize the effects of ice in the pool and helps distribute precipitation more evenly across the pool cover. If you do use a pool pillow, don’t overinflate it, and be aware that if it leaks, contracts, or even pops in the winter, you may not be able to inflate or patch it.
For in-ground pools, a pillow is recommended only if you live in an area with especially harsh winters.
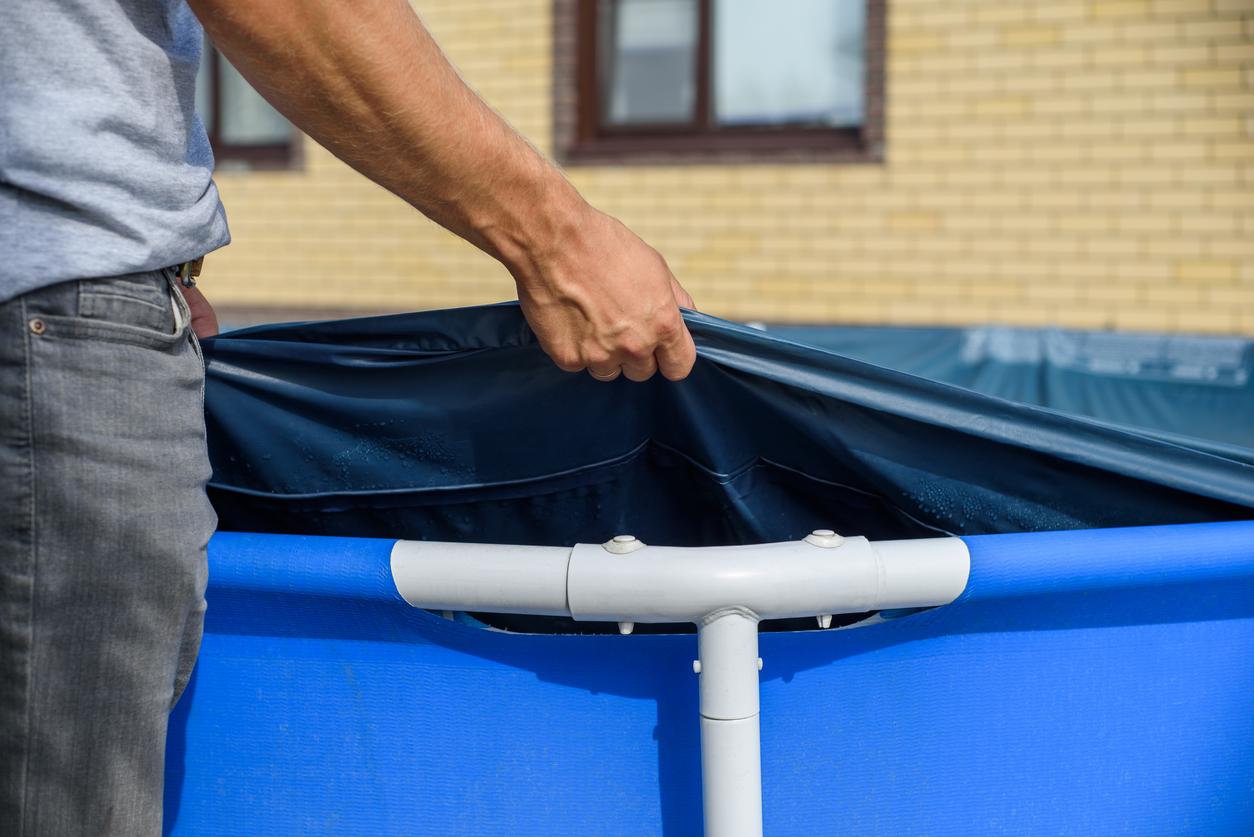
Step 8: Remove all pool accessories.
To ensure that the pool cover fits correctly over the pool, remove accessories like ladders and diving boards. This is also the time to remove skimmer baskets and other wall fittings from the pool.
Before putting them away for the winter, clean all pool accessories thoroughly and leave them out to dry on a clean surface. Store ladders, diving boards, and other peripherals in a clean, dry place during the offseason.
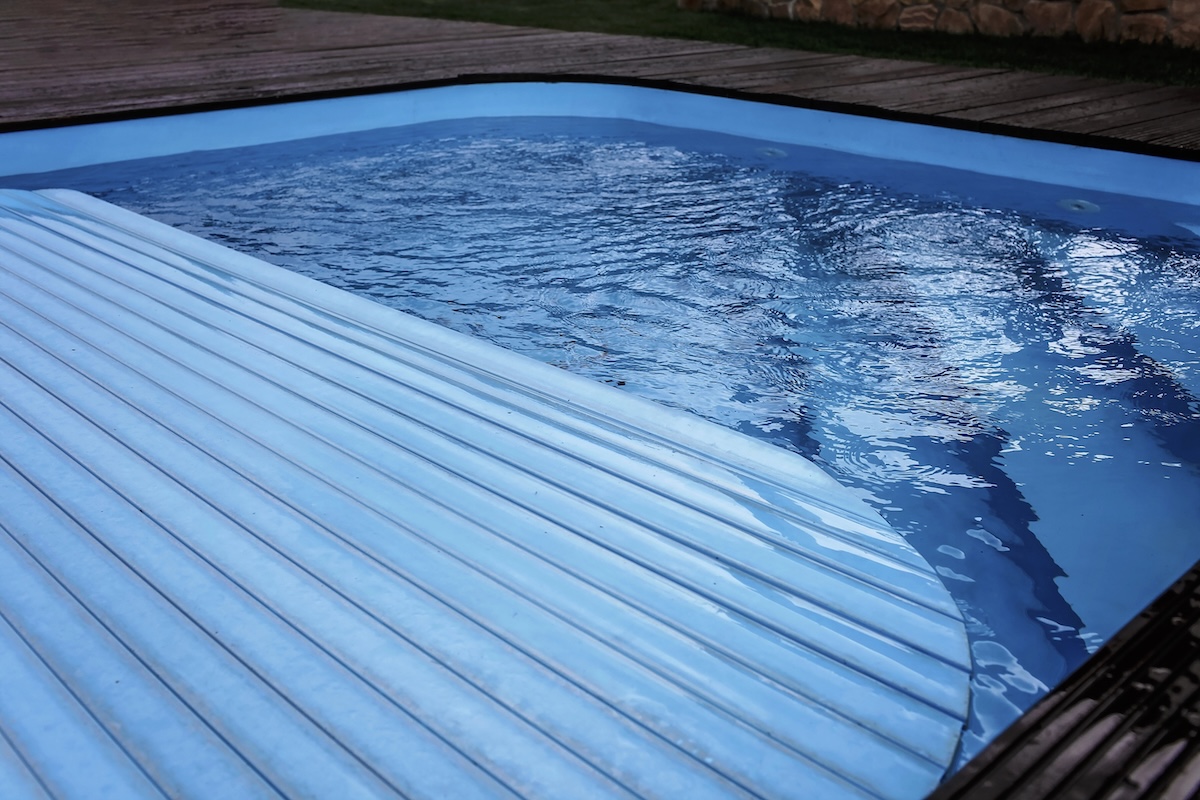
Step 9: Install a winter pool cover.
A well-fitting winter pool cover, like Robelle’s pool cover, is essential for keeping your pool clean and clear while it’s not in use. There are two types of winter covers typically found on the market: mesh and solid vinyl.
- Mesh covers are more affordable and don’t require any maintenance over the winter, but they can allow debris to get into the pool water.
- While a solid cover should keep the pool water clear, it does require a pump to remove the rainwater and melted snow that collects on the cover.
“If safety is a primary concern,” says Williamson, which is usually the case for homeowners who have children, “there is no substitute for a safety cover.”
Even while the pool is covered, be sure to follow safety precautions such as locking the gates of pool fences to avoid having a small child or pet drown in water that has accumulated on top of the cover.
Step 10: Monitor your pool’s chemical composition on a monthly basis.
Even during the winter, it’s still important to test your pool’s water and monitor its chemical balance. Check the chemical composition monthly during the offseason and add chemicals as needed to maintain desirable levels.
Try to preserve a pH of around 7.4 to prevent corrosion and scale from building up. Ensure the water is chlorinated at a level of 2 to 4 ppm to kill bacteria. Aim for alkalinity in the standard 80 to 120 ppm range. Look for a minimum calcium hardness of 200 ppm to prevent pool surfaces from staining.
Final Thoughts
Are there any tricks to closing a pool? “The only trick I can offer is that there are no tricks,” says Williamson. He says the closing process “is straightforward: Get the chemistry right, get water out of pipes—usually with a compressor— and fasten or weight the cover well, if [the cover you have] is not a safety cover.”
Depending on where you live, the size and complexity of your pool, the number of pumps, and the presence of special features like waterfalls, a pro will typically charge between $200 and $500 to close a pool. You can save a bit of cash if you learn how to tackle this task on your own so that your pool will be protected and maintained during the offseason and ready for action come spring.
FAQs
Q. Should I run my pool pump in freezing weather?
When temperatures dip below freezing, it’s important to run the pool pump continuously to keep the water moving. This should happen automatically if you have a freeze guard.
Q. How do you put antifreeze in pool lines?
After draining the water to winter levels, put antifreeze in the skimmer opening to prevent water from freezing in the pool’s plumbing lines. Most pools require approximately 1 gallon of antifreeze to ensure the plumbing is protected.
Q. When should you open your above-ground pool?
Deciding when to open your pool depends on the weather and the type of pool you have. In general, open an above-ground pool when daytime temperatures are consistently above 70 degrees Fahrenheit. While it might still be a bit chilly to swim, there are a number of benefits to opening your pool earlier in the season, including preventing algae from reproducing.
Q. Can you over-shock a pool?
Yes, it’s possible to over-shock a pool. Pool shock is simply a concentrated version of chlorine, and using too much of it can result in your pool water becoming cloudy. If you over-shock your pool, avoid swimming in it until the water clears up. Remove the cover, if you have one, to speed up the process.
Add image