We may earn revenue from the products available on this page and participate in affiliate programs. Learn More ›
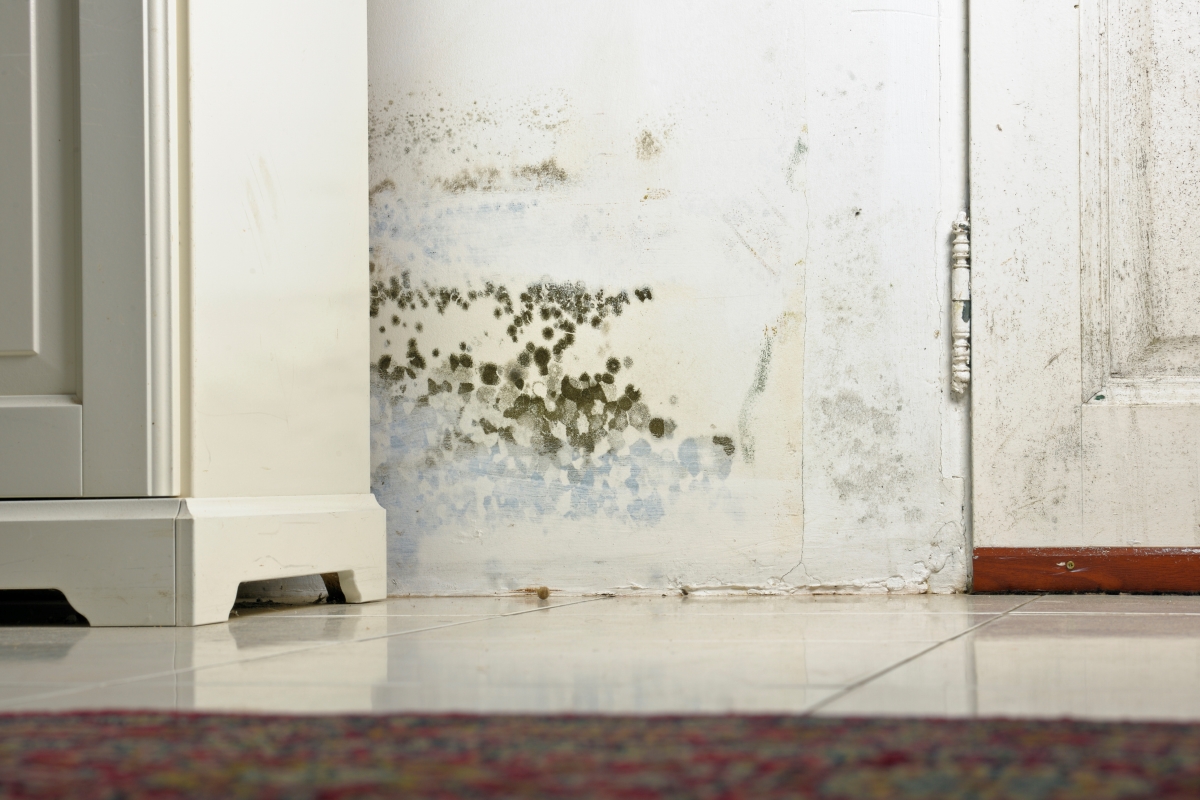
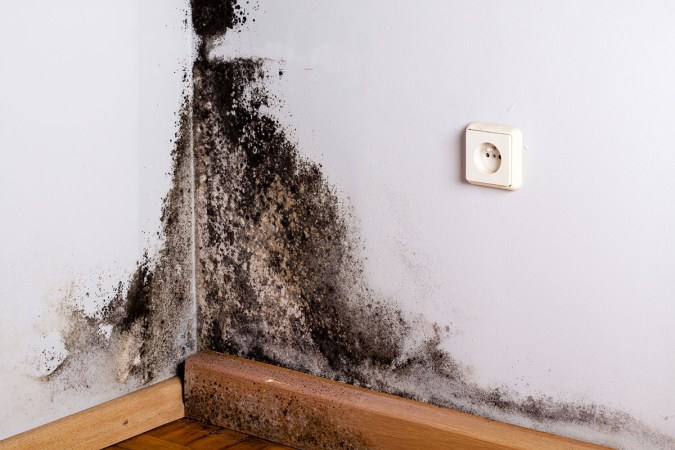
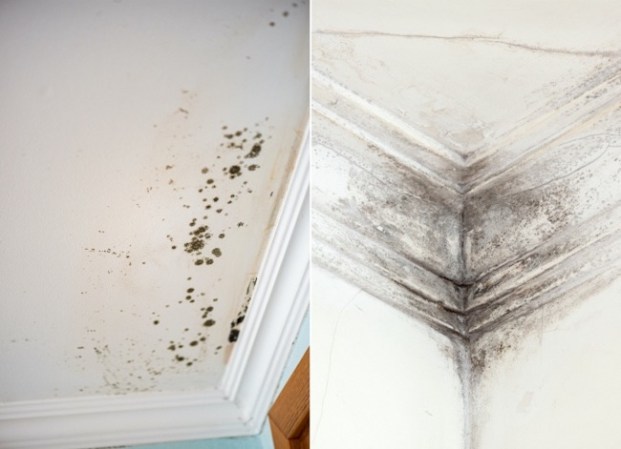
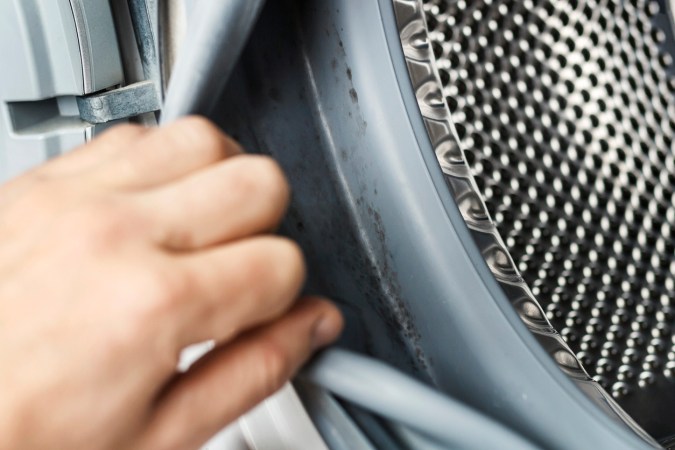
Mold and mildew are common household scourges that can over time cause damage to the home, particularly when they linger undetected. But these biological infestations can also negatively impact the health of those living in the home, especially individuals with serious respiratory problems. Once mold and mildew have been uncovered in the home, it’s important to remove them as soon as possible to prevent harm to the structure and occupants. However, it’s also crucial to learn how to get rid of mold at the source, whether the culprit is an ongoing leak, excess humidity, or a pre-existing infestation of mold in walls, ceilings, or floors. Read on to learn how to eradicate mold and prevent it from coming back.
What causes mold in the basement?
A basement is generally darker and damper than the rest of the home, so it’s already a great place for mold to take root and spread, which is why it’s important to take action as soon as you spot a potential cause of mold. Common causes of mold growth in the basement include an unvented dryer blowing moist air back into the home, condensation build-up on uninsulated water pipes, and leaking plumbing lines.
Additionally, if the home has recently experienced a flood or the basement has any high humidity rooms without proper ventilation, like a basement bathroom or kitchen, then mold may sprout and spread in these attractive areas. You can use mold prevention sprays, but generally, if you don’t want mold in the basement, it’s necessary to keep the space clean, well-lit, and most importantly, dry.
Safety Tips for Mold Removal
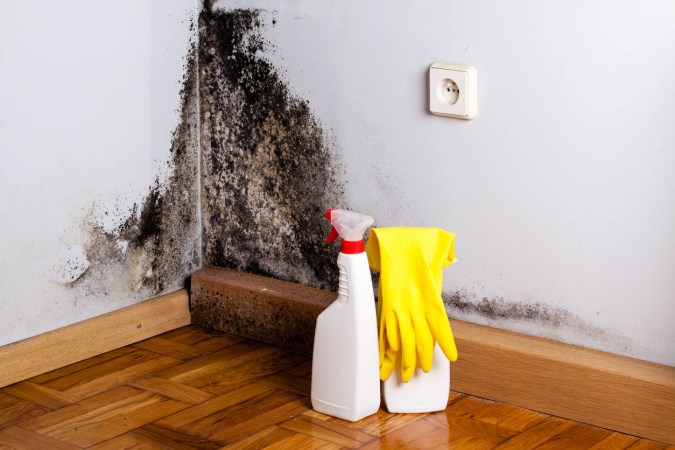
Before getting rid of mold, whether it’s in your bathroom or basement, it’s crucial that you take steps to protect yourself and any helpers. Follow these important safety tips to stay safe while you work.
- Put on closed-toe shoes, long pants, a long-sleeved shirt, gloves, safety glasses, and a mask or respirator before entering the moldy space.
- Ensure that the room has proper ventilation by opening windows and doors.
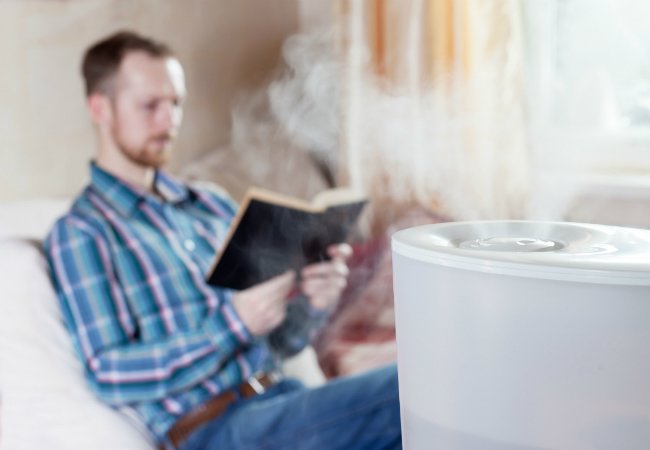
- Open all interior doors, cabinet doors, vanity doors, and drawers, then set up a dehumidifier to help remove moisture.
- Do not use a fan if the mold has already started to grow because it may spread airborne mold spores.
- Shower and change clothes after leaving the work site to avoid carrying mold back into other living areas.
- Do not mix cleaning products together. Some cleaning products can create toxic vapors when mixed.
- Throw away any items that cannot be cleaned and dried completely within 24 to 48 hours.
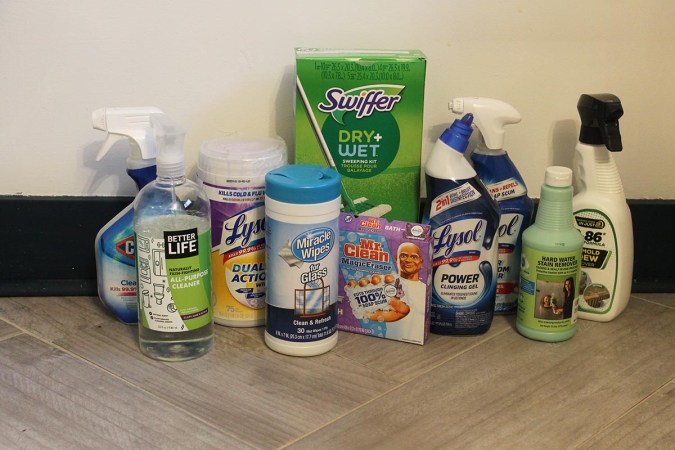
Tools & Materials
Bobvila.com may earn a commission from purchases made through these links.
Before You Begin

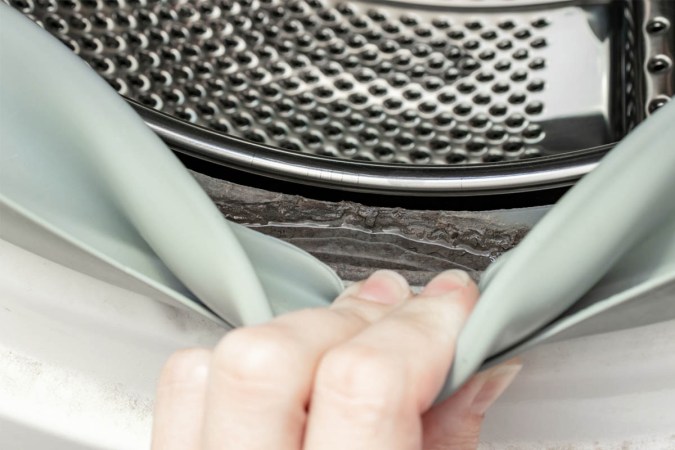
Mold can be hazardous to your health, so it’s a good idea to conduct a mold test to determine what type of mold you are dealing with in order to ensure that you are wearing appropriate personal protective equipment and that you know how to safely manage the mold removal process. Mold on walls, window frames, or even pipes is relatively easy to spot, but before it can be treated, you need to find out what caused the mold to grow in the first place and fix the issue. Otherwise, after you remove it, the mold may just come right back.
Inspect the areas of the home that are closest to the mold in order to identify any active leaks in the plumbing, excessive condensation on pipes and fittings, leaks in the foundation, high humidity levels, or even pre-existing mold infestations behind the walls, under the floors, or above the ceilings.
Step 1: Prepare the room.
In most cases, you will need to move things around to get to the mold, and you may need to toss out moldy or mildewed items, so it’s a good idea to have contractor bags at the ready. You may also want to lay down one or more drop cloths to protect the floor. If you will be going in and out of the space frequently, consider using boot covers to protect your footwear and prevent the mold from being tracked through the house.
Step 2: Remove and dispose of damaged materials.
It can be difficult to figure out how to remove mold from walls made of drywall because the mold can penetrate through the exterior layer and begin growing inside the material. When this happens, the drywall and any other affected material need to be removed from the home and disposed of according to local regulations.
Use a pry bar to pull affected drywall off the walls and ceilings, if necessary, and remove carpeting, curtains, and any other textiles that appear to have mold or mildew. While fabrics certainly don’t stand up well to mold, you may be wondering: Can mold grow on concrete? Yes, it definitely can grow and spread on concrete if the temperature is warm and the moisture levels are elevated. Mold will also grow on wood studs, so it’s important to inspect these surfaces for any signs of mold or mildew growth, including staining.
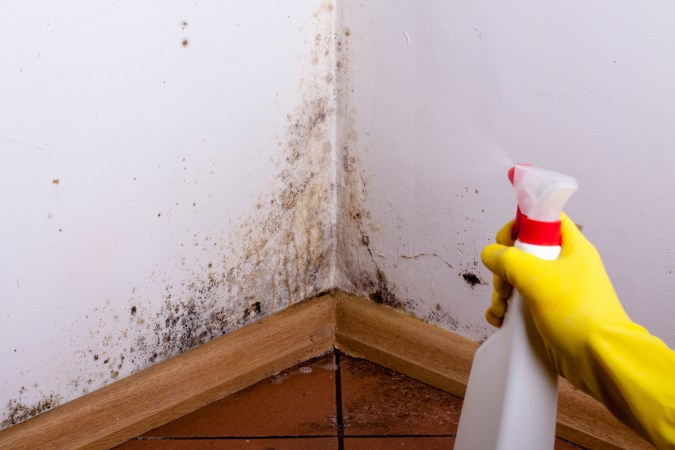
Step 3: Apply mold-killing solution to the surface.

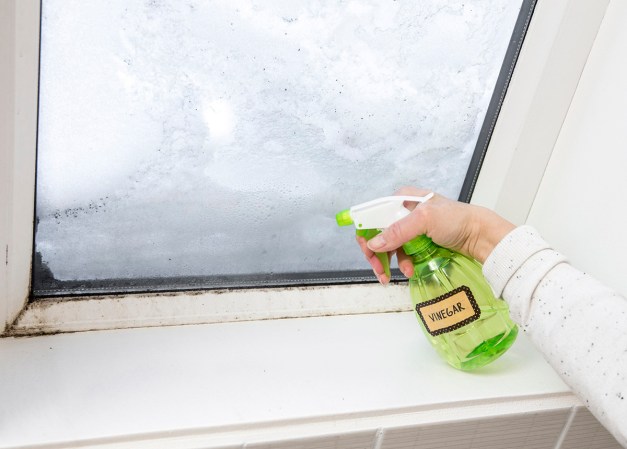
There are several innovative solutions that can solve the problem of how to kill mold that has invaded your home. The first option is white vinegar, which can be diluted with water to create an effective cleaning spray, or left undiluted to treat mold. Just remember never to use vinegar with bleach, which creates poisonous chlorine gas. Vinegar is also a poor choice for concrete surfaces because it may degrade the concrete.
Baking soda can be used instead of white vinegar to create a powerful solution that quickly kills mold, although if the problem is serious enough, it may require a mixture of bleach and water. Alternatively, you may prefer a specially designed product like Concrobium, which is made specifically for killing mold and preventing recurring growth. If you’d rather avoid using strong chemicals, try a steam cleaner—at sufficiently high temperatures, steam can kill mold.
5 Ways to Kill Mold
Here are the solutions typically used for killing mold:
White vinegar: Use undiluted white vinegar on tiles and other nonporous surfaces to kill mold, but don’t apply vinegar to drywall, insulation, or concrete because it can break down these porous materials. The vinegar should be applied directly to the affected surface and left to sit for about an hour before it is scrubbed off with a brush.
Baking soda: Mix 2 cups of water with 1 teaspoon of baking soda and apply to the affected surface with a cloth, rag, or scrub brush. Alternatively, you can create a more powerful mixture with 2 parts baking soda, 1 part vinegar, and 1 part water. This paste is ideal for removing mold stains from grout, drywall, and other porous surfaces.
Bleach: Add 1 cup of liquid bleach to 1 gallon of warm water, then mix. This solution can be used with a scrub brush to clean mold from tiles, pipes, appliances, and other nonporous surfaces. Just don’t mix bleach with ammonia, vinegar, or any other household cleaners.
Concrobium: This specialized mold treatment spray, a favorite in our researched guide to the best mold removers, comes in a variety of formats. Some are ready-to-use sprays, while others are powerful concentrates that must be diluted with water. Follow the manufacturer’s recommendations for use. This product can also prevent further regrowth in problem areas.
Steam: You can rent or buy a steam cleaner such as this one—a favorite in our researched guide to the best steam cleaners—with a variety of attachments to help address mold problems around the home. The superheated steam can be applied to curtains, clothing, furniture, and other sensitive materials, killing the mold without damaging the fabrics. Just make sure to read and follow the directions for use before trying to clean mold with a steam cleaner. Also, note that some steam cleaners can be used with detergents that can make them more effective at killing mold and mildew.
Step 4: Scrub off the mold and allow the surface to dry completely.

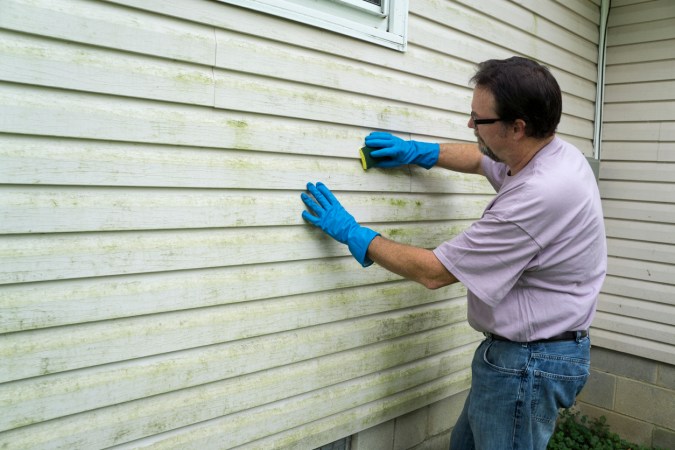
Choose the cleaning solution that works best for your situation and mix it properly (if necessary) before applying it with a stiff-bristled brush or a durable cloth to scrub away mold. While these cleaning solutions will kill the mold, you still need to wipe it off of the affected surface, especially if the mold has spread to integral parts of the home, such as the concrete foundation or the plumbing infrastructure.
Porous surfaces like drywall or even ceiling tiles should be cleaned with a cloth instead of a brush to avoid damaging the surface of the material. Just keep in mind that some porous surfaces may not be able to be cleaned if the mold has spread throughout the material. Additionally, it’s advised to let surfaces dry completely after cleaning, and you may even want to sand down wooden surfaces before repainting.
Step 5: Rebuild or fix damaged areas.
DIYers should be able to handle minor repairs after mold removal, but if the fix requires replacing a lot of drywall, it may be best to call in a pro. Leaks in the plumbing should be addressed by a professional plumber, while problems with mold on the foundation should be assessed by a foundation specialist. If the culprit is high humidity, consider investing in a dehumidifier to get some of that condensation out of the air.
Final Thoughts
Mold and mildew can cause severe health problems and may also lead to the premature degradation of your home and its contents if not treated promptly. You can stave off mold by investing in a dehumidifier to help reduce moisture within the home. Also consider using a moisture-blocking primer on the walls and ceiling to prevent water vapor from seeping through and creating an ideal environment for mold to grow behind the drywall.
Regularly checking mechanical rooms, cold rooms, basements, and any other areas around the home that are prone to condensation, leaks, and other sources of moisture will help you find problems and take action to mitigate the issue before mold and mildew can begin to grow.
About the Author
Timothy Dale spent his post-secondary education years working in the plumbing trade while completing degrees in English literature and psychology. He took on a position as a quality assurance field supervisor that mainly involved resolving problems, like flood remediation, leak repairs, flooring replacement, drywall installation, and mold removal. Dale was tasked with assessing the issue, making initial repairs, then resolving any mitigating factors, including drying out damp carpeting, treating the area for mold prevention, and removing any existing mold.

